
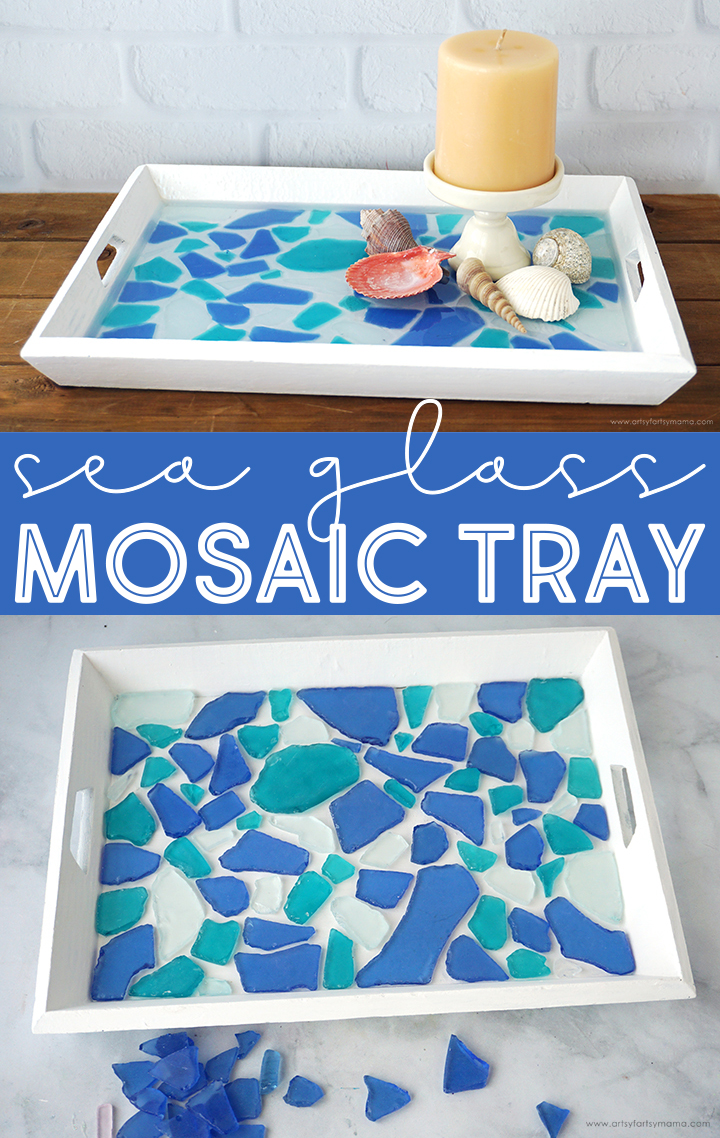
Transform a thrifted tray into a beautiful and beachy Sea Glass Mosaic Tray to put on display or to serve your guests!
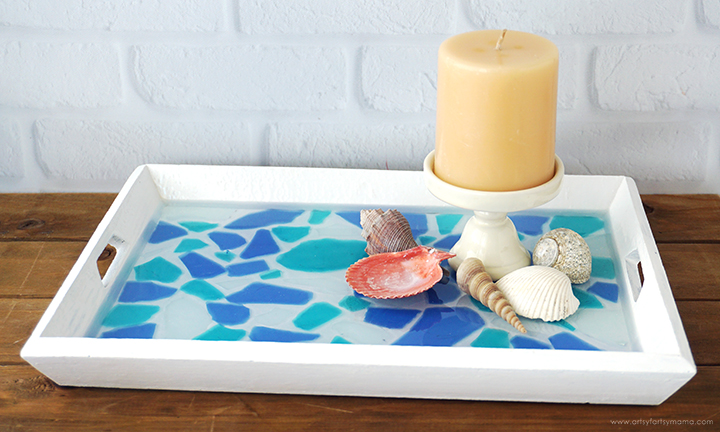
The beach is one of my favorite places to be, but alas, I live in the mountains. If you're like me and don't live near a beach, you can bring that vibe into your home with handmade decor! This Sea Glass Mosaic Tray is made using a thrifted wooden tray, real sea glass, and resin. This is such a fun project for any level of resin crafters, and is a whole lot easier than you'd think. This stunning tray will make such a statement, whether it's on display in your home or used for charcuterie.
New to resin? Be sure to check out Resin 101: Getting Started with Resin!
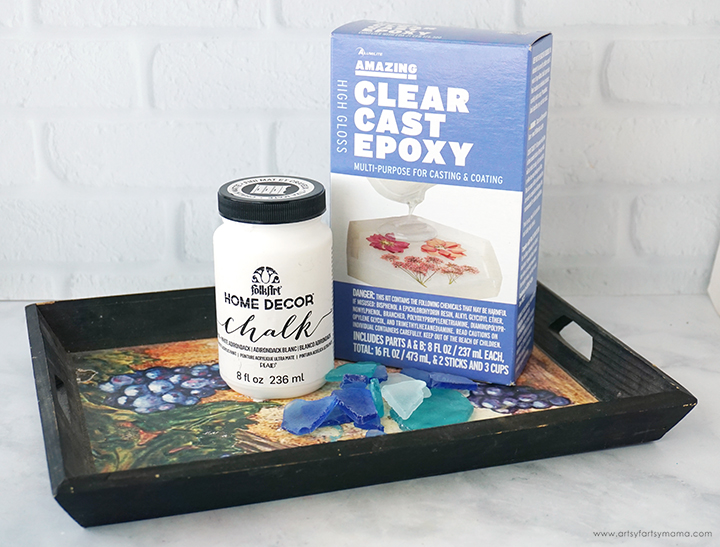
To make your own Sea Glass Mosaic Tray, you will need these supplies:
*Save 10% on resin supplies when you shop Polytek with code AFM
SAFETY FIRST: Before getting started, wear disposable gloves, protect your workspace, and be sure to work in a well-ventilated area!

You'll need a wood tray for your base. You can use an unfinished one straight from the store, or use something you already have. I found this tray at the thrift store for 50 cents that was just begging for a makeover!
There was a picture Mod Podged to the inside of the tray, but it was easily removed. I poured a little bit of water into the tray to soften up the paper, and then used a scraper tool to gently peel the paper away. Once the tray was dry, I used some sandpaper to remove any remaining residue.
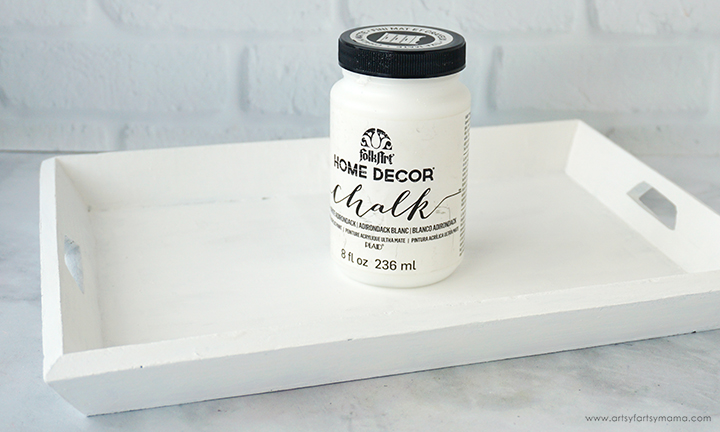
If the tray needs any sanding, do that now. Then, use cover the tray in white chalk paint. This paint covered that black paint beautifully in just two coats! For best results, make sure to let each coat of paint dry completely before adding another. Allow the paint to dry before moving on to the next step.

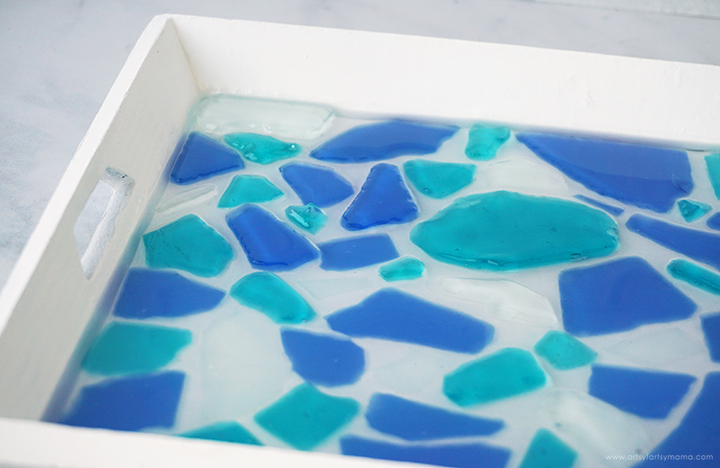
Next, pour out the pieces of sea glass and arrange them in the tray. It's kind of like a puzzle - but one where there's not really a solution... I found it easiest to place the largest pieces first, and then fit the smaller ones in next. If necessary, you can break some of the glass pieces to fit into any empty areas.
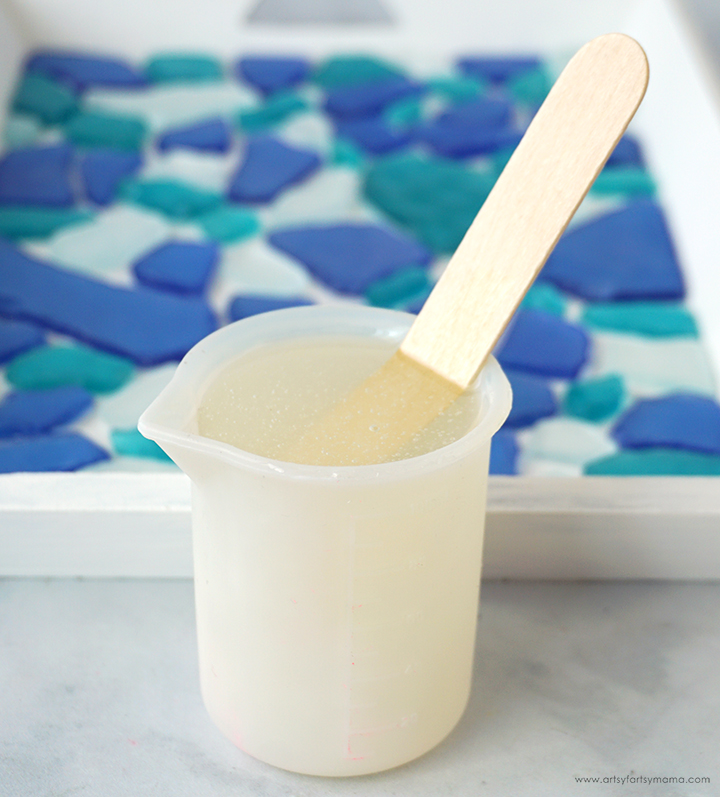
Once the glass is arranged in the tray how you'd like them, mix up about 3 ounces of Amazing Clear Cast resin. Pour in equal parts of resin and hardener to a mixing cup. Slowly stir the resin together with a stir stick for two minutes or until combined. If the resin looks cloudy or has any streaks running through it, you need to keep stirring it until it becomes clear.
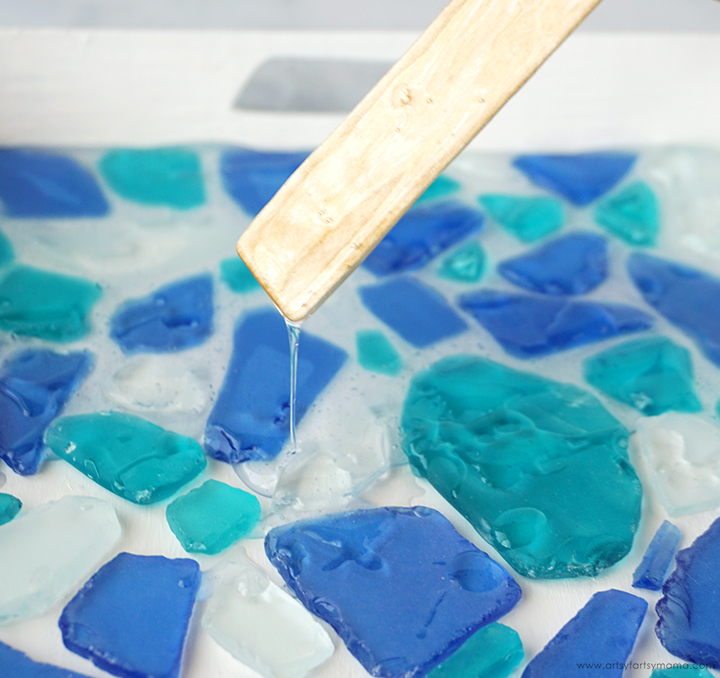
Use the stir stick to gently pour the resin into the tray, a little bit at a time. If you full-on pour the resin into the tray, the sea glass pieces could shift and move around. If you "spoon" it in, there's not as much pressure being put onto the pieces.
Add all of the mixed resin over the glass, and use the stir stick to press any of the sea glass pieces down if you see any bubbles trapped underneath. After pouring all of the resin, I noticed there were some pieces of sea glass that had some edges poking up above the surface. If this happens to you, don't panic!
Use a straw, heat gun, or spritz with 91% alcohol to remove any surface bubbles. Leave the resin to cure in an undisturbed area for at least 12 hours.

To cover the uncovered points of glass, prepare another 2-3 ounces of resin. Pour it right on top of the previous layer of resin and give it a few minutes to allow any air bubbles to come to the surface. Use a straw, heat gun, or spritz with 91% alcohol to remove bubbles. Leave the resin to cure in an undisturbed area for at least 12 hours.
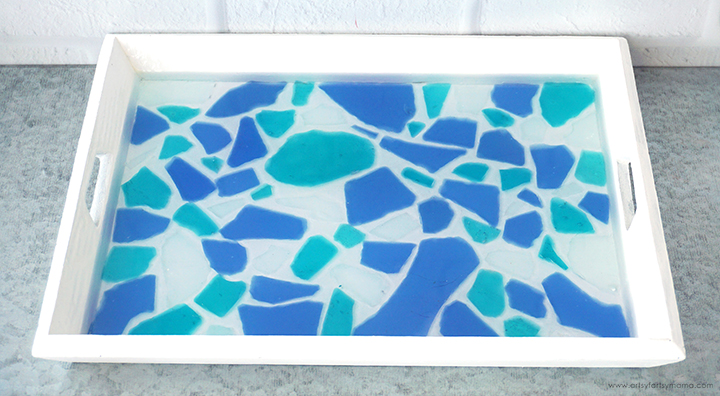
Once cured, the resin should be smooth and hard to the touch. If it is still tacky, it may just need more time to cure. Let the tray sit in a warm, flat area to cure for a few hours (or days) to completely harden. If it is still tacky after this amount of time, it could be a mixing error. You can fix this by preparing another thin layer of resin being poured on top.

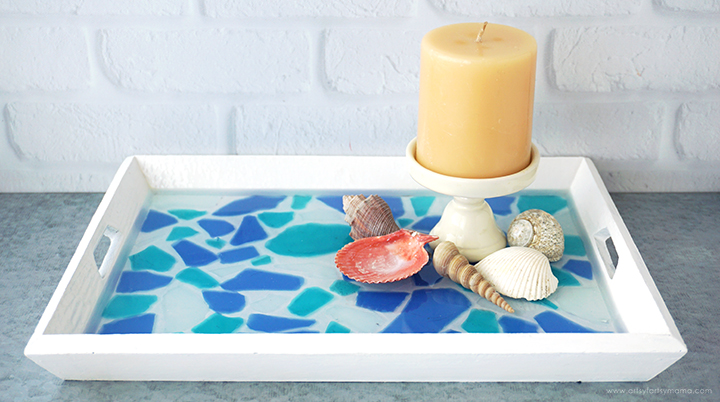
The tray is also a beautiful piece of decor to have on display! Arrange shells from a beach vacation, family photos, and so much more! I am absolutely enamored with this tray, and it's such a fan and simple resin project. As always, if you make any of these projects for yourself, I'd love to see your creations! Tag me on Instagram and Facebook, or leave a comment/photo on the project pin on Pinterest! #AFMCrafts
Looking for more ocean craft inspiration?
Check out this collection of OVER 100 creative ocean-themed craft ideas!!
Don't forget to Pin, Like, and Share!


I made a resin tray similar to yours and thought I got all the air bubbles but after it hardener, I noticed two rough spots that appear to be patches of air bubbles. Any way to remove them? Thanks.
ReplyDelete