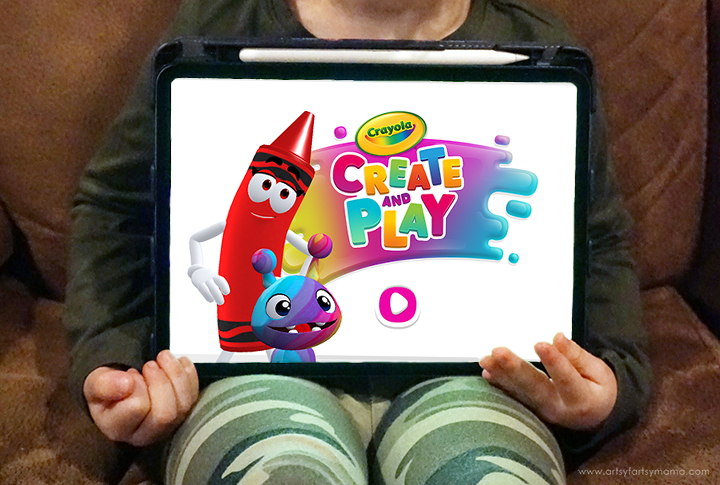
Kids ages 3+ will love learning through play and building their creative confidence in the Crayola Create and Play app!!
Posts may contain affiliate links (see Disclosure). Thank you so much for supporting Artsy-Fartsy Mama!
STEM
Showing posts with label STEM. Show all posts
Saturday, February 19, 2022
Learning with Crayola Create and Play
Thursday, September 9, 2021
Free Printable Penny Paper Spinners
Color up some STEM fun with these Free Printable Penny Paper Spinners!

This month's Totally Free Printables theme is all about the printable crafts for kids! We've got 10 creative, fun, and FREE printables to keep kids busy. My contribution to the collection is Paper Spinners, and hope you have a ton of fun with it! All of the printables in this collection are a hit with kids of all ages, and I hope you enjoy them just as much as we did putting them together!
Tuesday, April 27, 2021
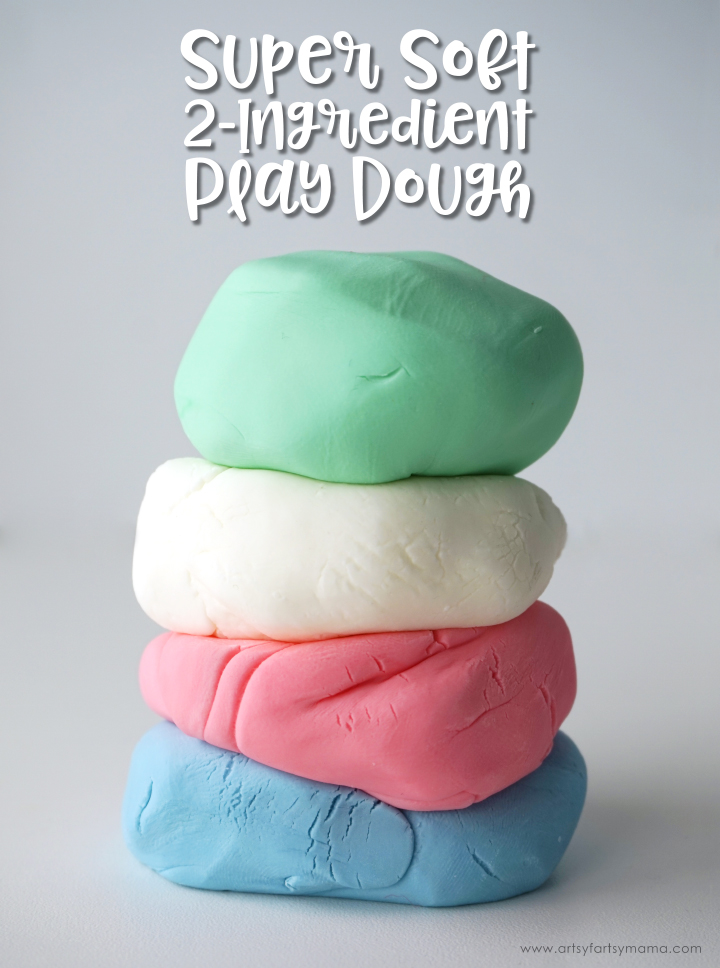
Super Soft 2-Ingredient Play Dough
Kids will love this Super Soft 2-Ingredient Play Dough made with baby lotion!

We have always enjoyed making different slimes and play dough throughout the years. My daughter especially loves getting her hands dirty and learning the science behind it all. With only two ingredients, this play dough is simple to make and has a pillowy-soft texture that kids of every age will love squishing and molding.
Friday, March 5, 2021
DIY Crystal Egg Geodes
Try this experiment to grow your very own crystal geodes in an eggshell!

Easter is just around the corner, and I've got fun (and educational) project you can do with the kids over the weekend! It's not your typical Easter craft, but your kids are going to love it. After peeling your colorfully dyed Easter eggs, save the shells to create some gorgeous geode-like crystals. Kids will have a blast helping throughout the process, and the results are amazing! I hope you have a great time doing a little bit of Easter science!
Thursday, August 13, 2020
Free Printable Solar System Bingo
Have fun learning all about our galaxy with this Free Printable Solar System Bingo game!

This month's Totally Free Printables theme is all about STEM, and we've got 16 FREE printables to keep your kids excited about learning! I had a lot of fun putting this Solar System Bingo set together, and think it would be such a fun way to teach kids about outer space. Another great thing about this game is that it's all images, so it's easy for kids of all ages to play at home or in the classroom!
Monday, March 9, 2020
Free Printable Paper Hexagon Kaleidocycle
Make your own Paper Hexagon Kaleidocycle, a mesmerizing paper toy with a colorful “twist”!

Friday, May 24, 2019
Free Printable Firework Flextangle
Make your own fireworks show at home with this Free Printable Firework Flextangle!


This 4th of July, kids can create their own custom fireworks show with this fun and free printable Firework Flextangle! Also called kaleidocycles, flextangles are a fun, hexagonal origami project for kids of all ages to color, assemble, and turn. And turn. And turn! This is a great activity to keep kids busy during the day of the 4th, or for those who have sensitivities to actual fireworks.
Wednesday, April 17, 2019
DIY Kinetic Sand
Make DIY Kinetic Sand to play with at home using ingredients you probably already have!

Kinetic Sand is an amazing way to keep kids entertained and is perfect for those with sensory needs, like my daughter who has ADHD. This kind of sand can be expensive, so I figured out a way to make it at home for a fraction of the price! Kids of all ages will have so much fun making their own sand in a variety of colors. This is also a creative STEM project you can make as a class or for homeschooling.
Monday, September 24, 2018
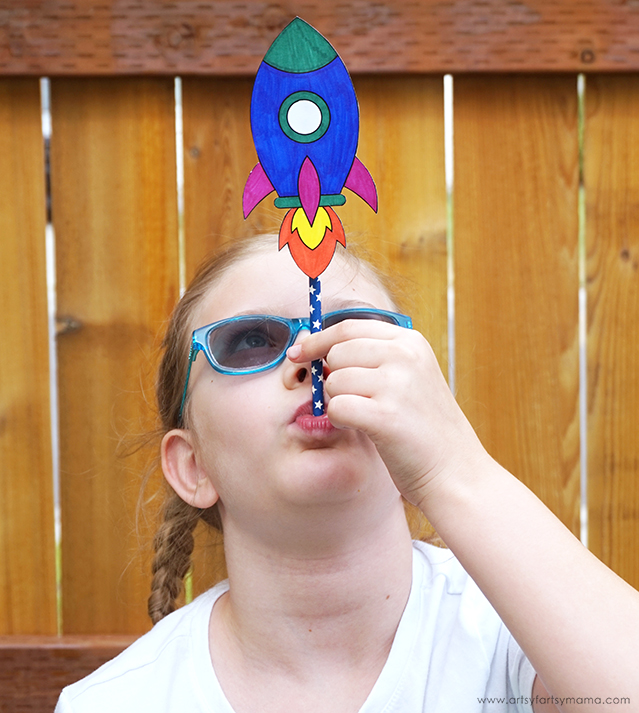
DIY Straw Rockets with Free Printable
These Straw Rockets (with free printable) are a blast and a great STEM activity!

Wednesday, July 18, 2018
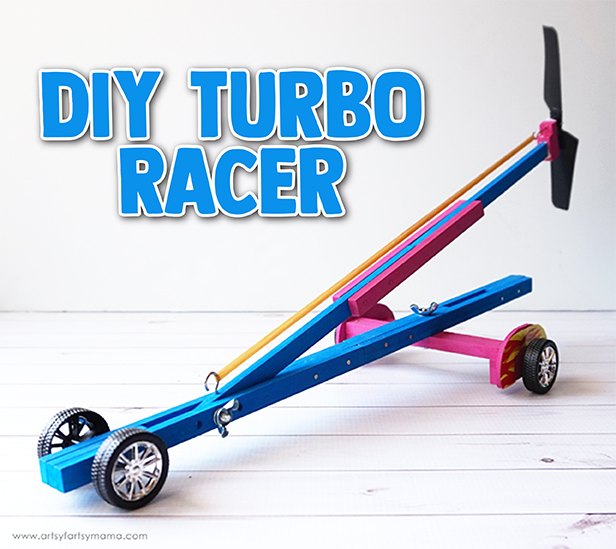
DIY Turbo Racer
Make your own DIY Turbo Racer from the Young Woodworkers Kit Club!
This is a sponsored post and contains affiliate links. As always, all opinions are my own.

Tuesday, June 12, 2018
DIY Marshmallow Launcher
Make your own DIY Marshmallow Launcher from the Young Woodworkers Kit Club!
This is a sponsored post and contains affiliate links. As always, all opinions are my own.

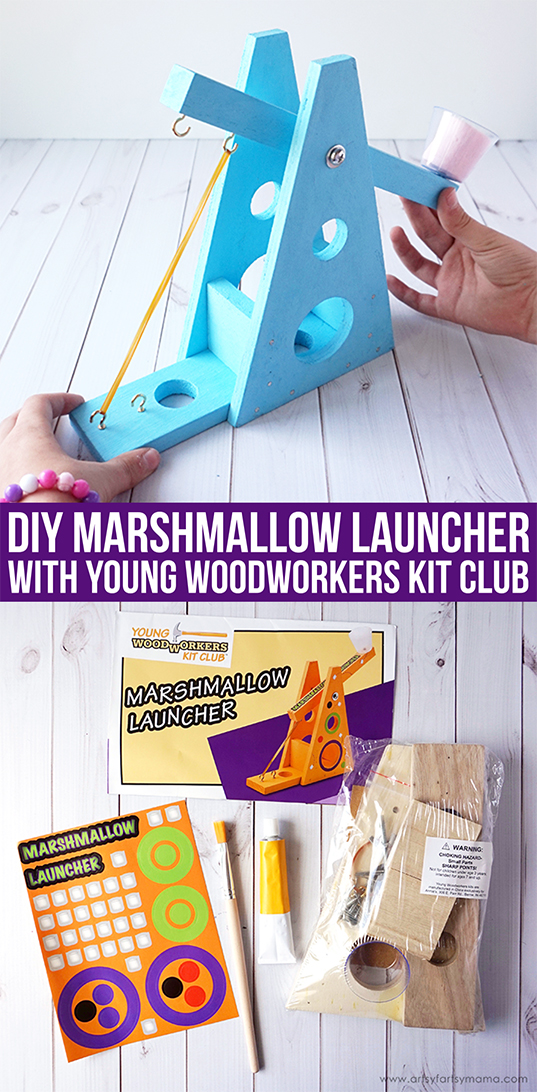
My daughter has always enjoyed helping my husband when he's working on projects around the house and assembling small building kits found at our local home improvement store. Allowing kids to help with these kinds of projects will help kids learn new creative skills, work independently, and most importantly, gain confidence! The latest project my daughter and husband worked on together was this Marshmallow Launcher kit from Young Woodworkers Kit Club!

The Young Woodworkers Kit Club is a woodworking kit series designed for children 7-12 years old. This is the perfect age to start teaching basic woodworking skills, including handling a hammer, learning to use small screws and nails, using sandpaper to round off rough edges, learning the importance of making careful measurements and much, much more! When you sign up for the Young Woodworkers Kit Club, a new kit will arrive in the mail every 4-6 weeks with a real wood project for your child to complete, like this Marshmallow Launcher Kit!


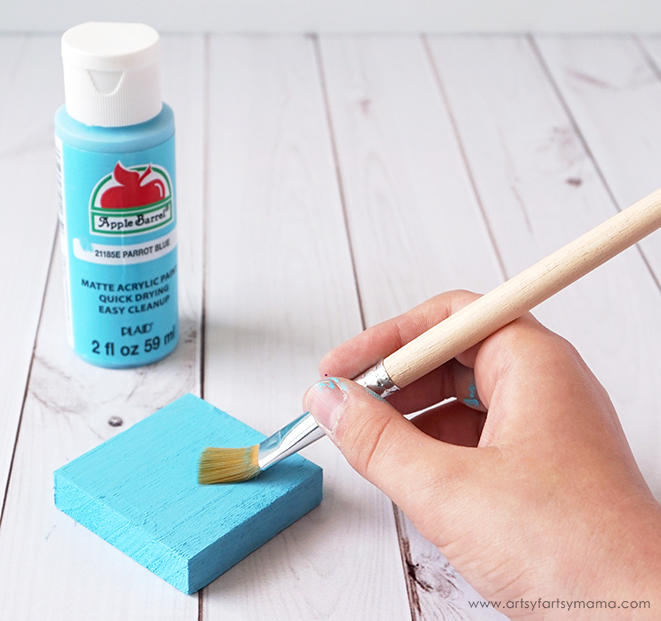
My daughter painted the wood pieces before assembling the Marshmallow Launcher. Instead of using the yellow paint from the kit, she made it her own by using some Apple Barrel craft paint in Parrot Blue color. These paints are perfect for kids crafts because they are water-based and easy to clean with soap and water!
She painted each piece with 2 coats of paint, letting the paint dry completely between each coat. Don't worry - this paint dries quickly, so they won't be waiting long!

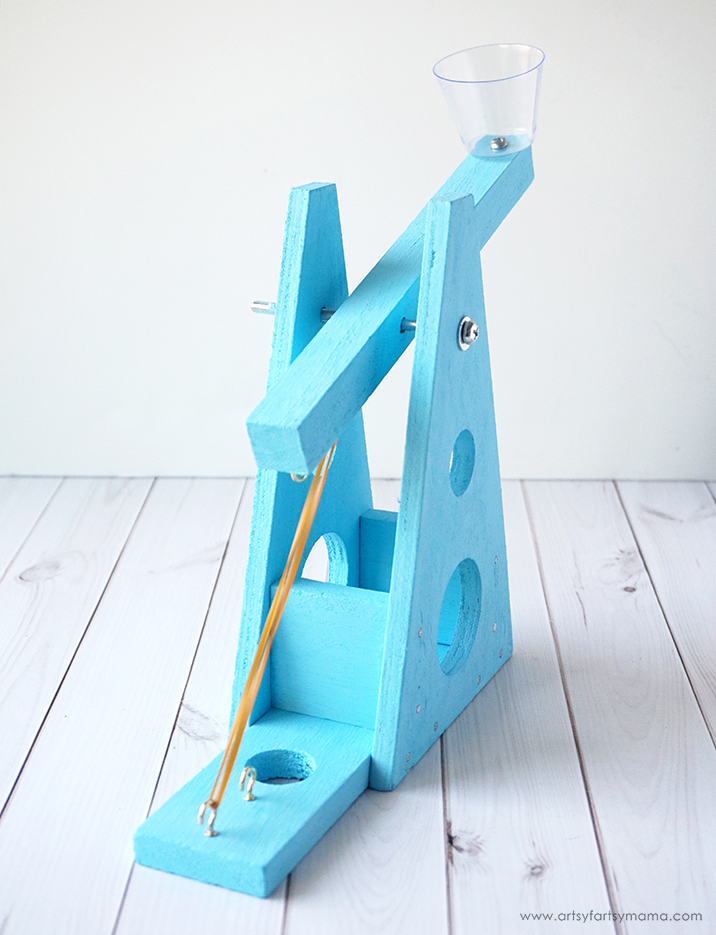
After everything has been painted, start assembling the launcher by following the easy-to-follow, illustrated instructions with photos of every step. The pre-drilled nail holes in the wood pieces make it easier for kids hammer the nails in place.

As you follow the directions, the marshmallow launcher starts to come together! Assemble the arm and attach it to the base of the marshmallow launcher with a screw and a wing nut.

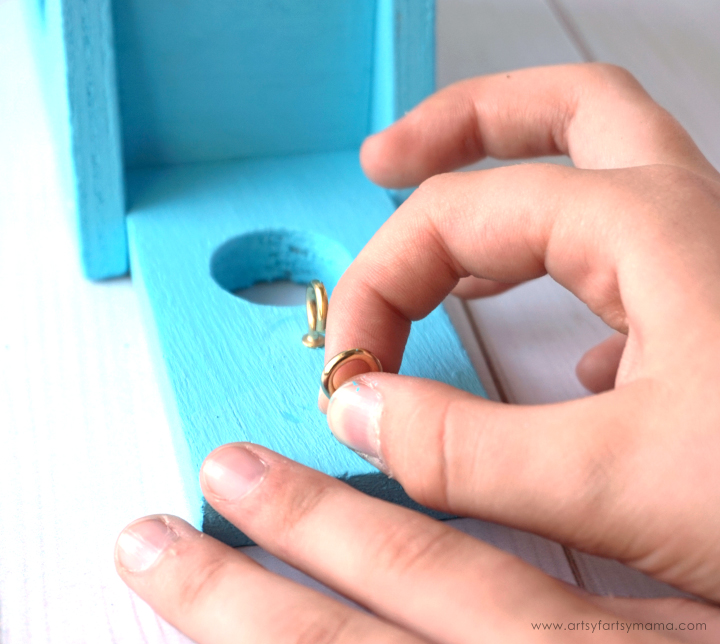
Next, attach hook screws to the base according to directions. You don't need any tools for this step, just your hands!


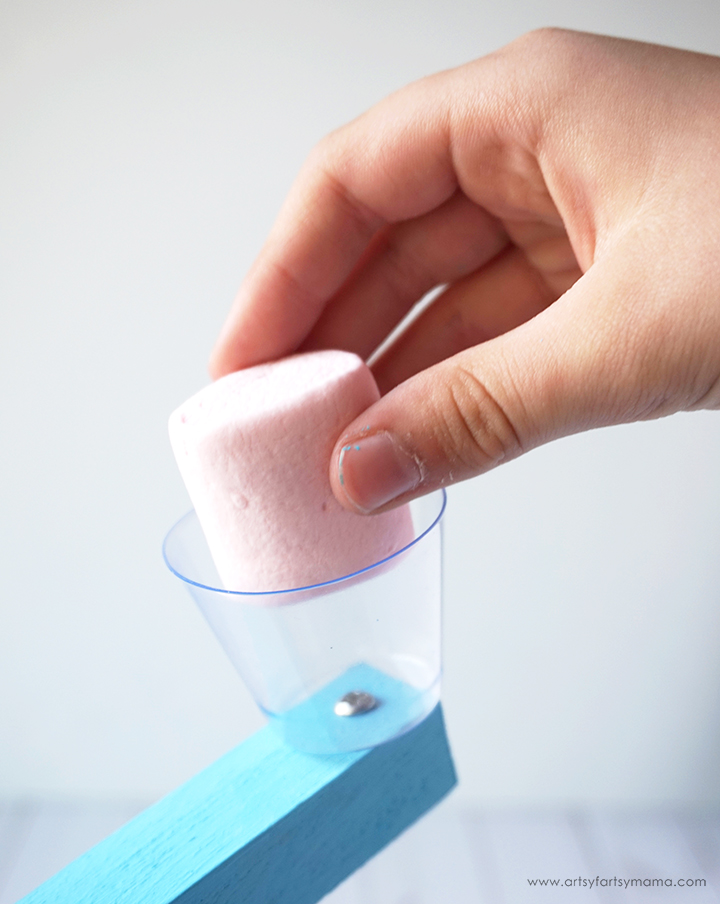
Not only is this Marshmallow Launcher a TON of fun, but it's also a great STEM activity that proves that you CAN learn while having fun! How far can you launch the marshmallow? Can you hit a target? What can you change to make the marshmallow fly the farthest?
There's so much to learn about physics (science!), when pulling the arm of the launcher back and letting go. We can use technology to learn different ways to adjust the marshmallow's flying distance. We used our engineering skills to actually build the Marshmallow Launcher. Finally, get playing and use math to measure your distance after launching marshmallows!

If you’re looking for a gift idea or summer fun for creative kids, visit Young Woodworkers Kit Club to subscribe and check out fun project ideas! You can also follow them on Instagram and Facebook for more creative inspiration.
How do you encourage creativity through the summer?
Pin this image to save the project for later!

Wednesday, May 2, 2018
Encourage STEM at Home with Circuit Cubes
This post is sponsored by BSM Media and contains affiliate links. As always, all opinions are my own.
Circuit Cubes are a fun way to encourage STEM with kids at home!

As a homeschooler, we are always looking for more fun ways to incorporate STEAM (Science, Technology, Engineering, Art, and Math education) activities into our curriculum. My daughter loves putting things together and figuring out how things work. You can also find her right in the middle of all of our home renovations, asking questions and how she can help.
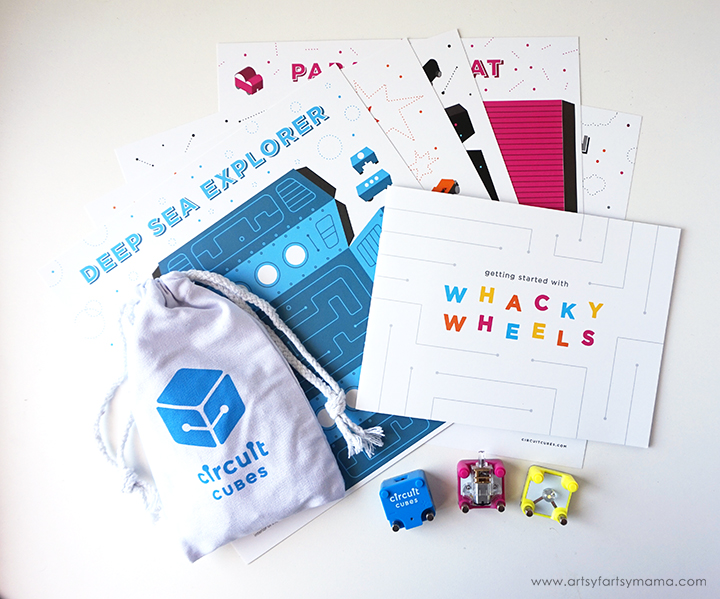
Tenka Labs designs STEM toys like Circuit Cubes for ages 8 and up with the help of STEM teachers. Circuit Cubes are electronic building blocks that are compatible with all major building block brands to encourage creative STEM play. This Whacky Wheels set comes with everything you need to build 5 cars!

The star of all of the Circuit Cubes sets are the cubes themselves. You've got the blue battery cube that is rechargeable, the motor cube, and an LED cube to light up your creations. The motor and LED cubes are semi-transparent for kids to see the technology behind the fun. By combining and mixing up the cubes, you can create all kinds of things that will move and light up to keep your kids entertained AND learning!


One of the first things we did was play with the cubes themselves to see just what they would do. The battery cube comes with a USB cord so you can charge it up. While it was plugged in, we figured out that a wheel fits perfectly onto one end of the motor cube.

We placed the LED cube on top of the motor cube and quickly twisted the wheel. That created a short burst of power strong enough to light up the bulb! My daughter thought it was SO cool that she could do that without the power of a battery and it lead to a good discussion about WHY it worked.


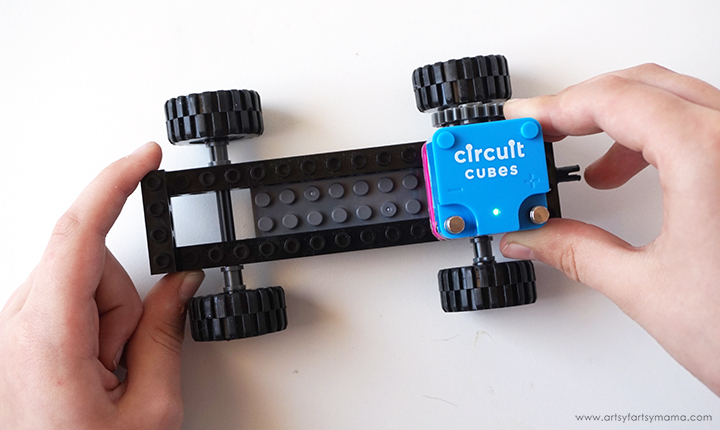
The next step is to connect the motor cube and gear to the frame, and attaching the wheels to the axles. By taking it one step at a time, it helped my daughter to better understand how the car is going to work in the end.

Make sure that the battery cube is charged, then connect it to the top of the motor cube. Turn the switch to "on" and test out the car! You can even add other LEGOs to the frame to create your own car design.

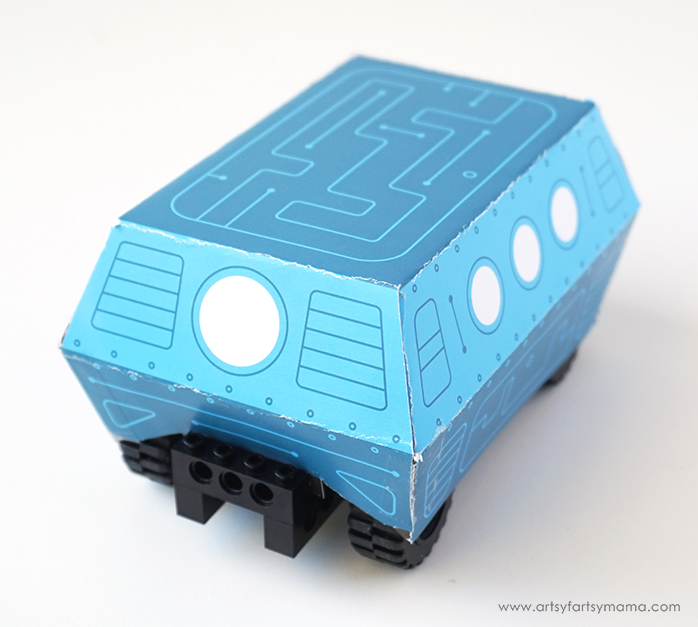
My daughter wanted to transform her car into a Deep Sea Explorer. Each design has easy-to-follow instructions printed on the page so kids can assemble it on their own. Smaller kids will definitely need help cutting out the designs and folding it into shape.

After assembling the Deep Sea Explorer shell, place it on top of the car. It fits perfectly and is so fun to watch it drive around with this new look! I'm sure we'll be assembling the rest of the designs here pretty soon.

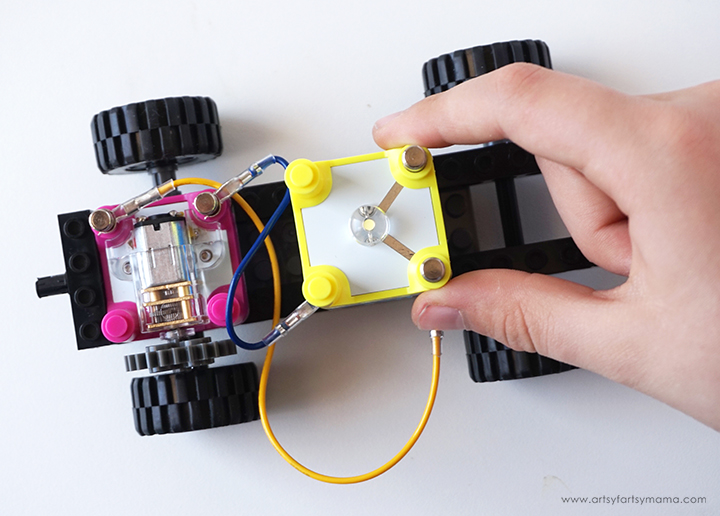
Another fun feature of the Whacky Wheels set is that it includes wires so that you can change up car designs and learn more how circuits work. We kept the motor cube in place, but moved the battery over to see how we could get the car to run with the cubes farther apart.

Next, we added the LED cube to the top of the battery cube in hopes that we could get the three to work together. It took a few tries, but we finally got it to work. This was actually helpful, because it opened the opportunity for troubleshooting and figuring out a solution.

Which Circuit Cubes sets would you like to try?
Monday, February 5, 2018
Free Printable LEGO Challenge Game
Encourage creative building with this Free Printable LEGO Challenge Game!
This post is sponsored by LEGO and contains affiliate links. As always, all opinions are my own.


What can make the world more fun? Create the answer in LEGO bricks! With the special edition LEGO® Classic World Fun set, you can explore an underwater temple and discover its secrets, before you hop in your helicopter and take off for new adventures. This 295 piece set includes a trident, pair of flippers, helmet, walkie-talkie, camera, map, flying helmet, chicken leg, glass, ice pop, fish, snake, 2 minifigures, plus a special edition tile celebrating 60 years of the LEGO brick!

How will robots help us in the future? Use the special edition LEGO® Classic Fun Future set to explore the joy of creating with LEGO bricks and construct a robot to help with chores, or create the fastest go-cart around and zoom off to the races. There are 186 pieces including wheels, shapes, eyes, a minifigure, plus a special edition tile celebrating 60 years of the LEGO brick!

What is at the end of the rainbow? Celebrate the fun of creating with LEGO bricks in the special edition LEGO® Classic Rainbow Fun set! This set features a mix of bright and colorful LEGO pieces that allow for open-ended creative play. Build a brightly colored plane and take to the skies, or stretch your imagination and create a new, fantastic creature. There are 85 pieces including wheels, shapes, eyes, plus a special edition tile celebrating 60 years of the LEGO brick!

There are 16 creative ideas for you to build when you play the game. For best results, print out the LEGO Challenge Game on cardstock. Cut out both the wheel and the arrow. To get more life out of it, the pieces can be laminated and/or mounted on cardboard. Punch a small hole in the center of the board and at the straight end of the arrow. Use a brad to connect the two to be able to spin the arrow.
Some things you should know before downloading:
*Artsy-Fartsy Mama printables are for PERSONAL USE ONLY (home, school, libraries, etc).
*You may NOT modify, re-sell, redistribute, or claim the design as your own.
*Please do not remove the credits/watermarks.
*If you'd like to share this project, you may use ONE photo and credit must be given to Artsy-Fartsy Mama and linked back to this post.

If you don't want to punch a hole and attach a brad to the game board, you can build your own spinner! My daughter was so helpful in finding pieces and had a lot of fun building the spinner for the game. When you build yours, you can use any colors you want! Have fun with it and get creative.
You'll need:
2 4x4 round plates with holes (party #60474)
6x6 round plate with hole (part #11213)
Connector Peg (part #3673)
2x4 plate (part #3020)
2x2 brick (part #3003)

First, push the connector peg through the hole of the 6x6 round plate.

Press one of the 4x4 round plates into place underneath the 6x6 round plate, with the connector peg through the hole.

To lift the spinner on the board and to keep the connector peg in place, we connected the 2x2 brick underneath the 4x4 round plate.

Set the connected round plates aside. Place the 2x4 plate on one end of the remaining 4x4 round plate.

Push the top of the connector peg through the 4x4 round plate hole, but don't connect the round plates. While holding the 2x2 brick at the bottom, tap 2x4 plate with your finger and watch it spin!

For a finishing touch, we placed the special edition 60 years of LEGO tile over the center of the round plate and attached the printed arrow over the 2x4 plate with tape. When the spinner is placed on the game board, it looks like it was made to be there all along!

Now the game is ready to play! Tap the 2x4 plate to spin the arrow. Once it stops, the arrow will be pointing to 1 of 16 creative options for open-ended creative play! If it lands on a line, spin again or come up with your own rules for playing. You can also play as a group, time yourself, or make it a contest. No matter what you choose to do, the entire point of the game is to challenge yourself to get building!

My daughter played a few rounds and wanted to show off her work for you all to see! Her first challenge was to build a robot. The LEGO® Classic Fun Future set included building instructions, so she was excited to open up the new set and put it to the test. The instructions were easy to follow and she had fun building it.

The car instructions is also from the LEGO® Classic Fun Future set. It was a fun build, and the minifigure fits perfectly. The car moves surprisingly fast! Next time, my daughter and I are both going to build cars and race them to see which one is the fastest.

When it came to building an animal, my daughter's go-to is always a unicorn. Luckily for her, the LEGO® Classic Rainbow Fun set came with everything she needed to build an amazing one! After it was built, she spent quite a bit of time playing with it. Making it fly through the sky, fighting robots, and trying to drive a car...

Last, but certainly not least is the helicopter. It's technically not a plane, but it flies and that's really what counts. These instructions are found in the LEGO® Classic World Fun set, and while they were easy to follow, it was a little more challenging of a build.
Just FYI, the unicorn can ride right on top of the helicopter without a problem...

One of the best things about this game is that is sparks that creativity and open-ended play that all kids need. Visit the LEGO shop to find all kinds of LEGO sets to play the game with. Be sure to watch for the other special edition 60th anniversary sets: LEGO® Classic Ocean's Bottom, the Walmart exclusive LEGO® Classic Limited Edition: Bricks on a Roll, and LEGO® Classic Mission to Mars!
What will you build next?
Subscribe to:
Posts (Atom)