
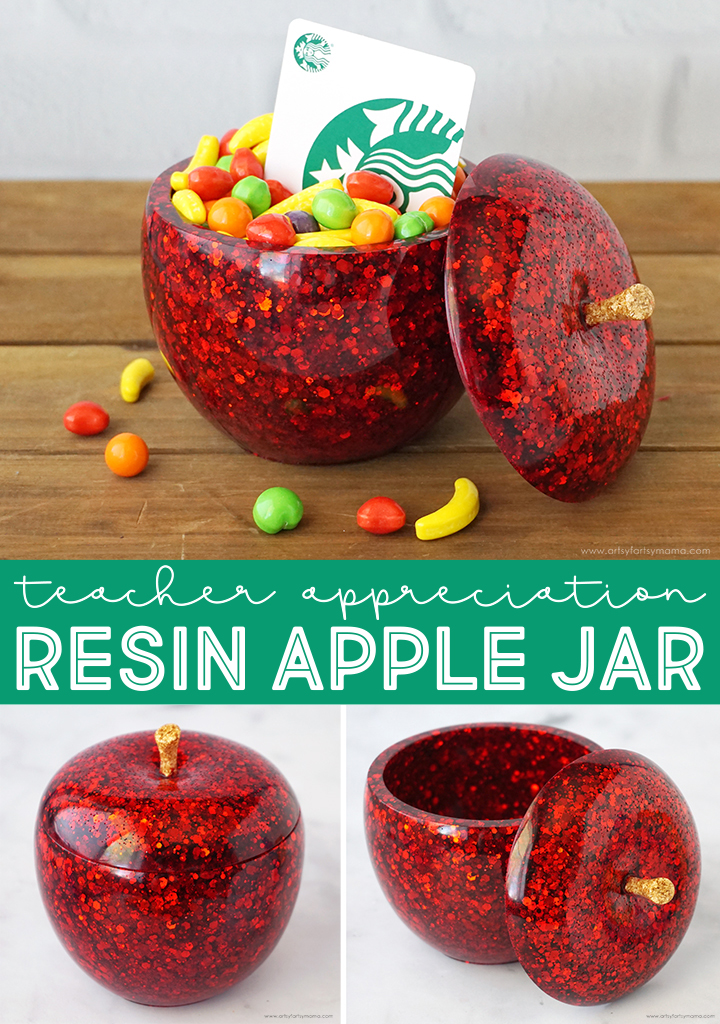
Thank your favorite teacher with a handmade Resin Apple Jar filled with goodies for Teacher Appreciation Week!

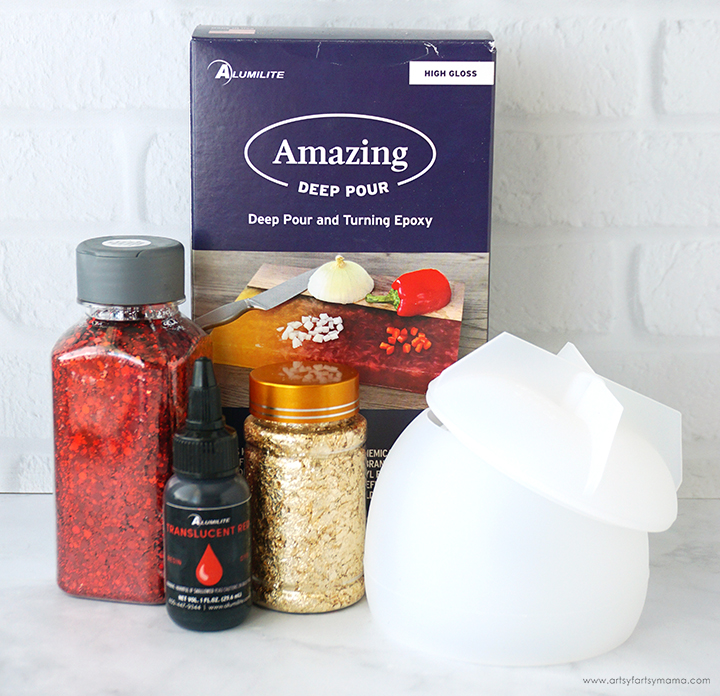
To make your own Resin Apple Jar, you will need these supplies:
*Save 10% on resin supplies when you shop Polytek with code AFM
SAFETY FIRST: Before getting started, wear disposable gloves, protect your workspace, and be sure to work in a well-ventilated area!
Prepare 8 oz of Amazing Deep Pour epoxy according to package directions. Pour in a 2:1 ratio of resin and hardener to a large mixing cup. Slowly stir the resin together with a stir stick for two minutes or until combined. If the resin looks cloudy or has any streaks running through it, you need to keep stirring it until it becomes clear.
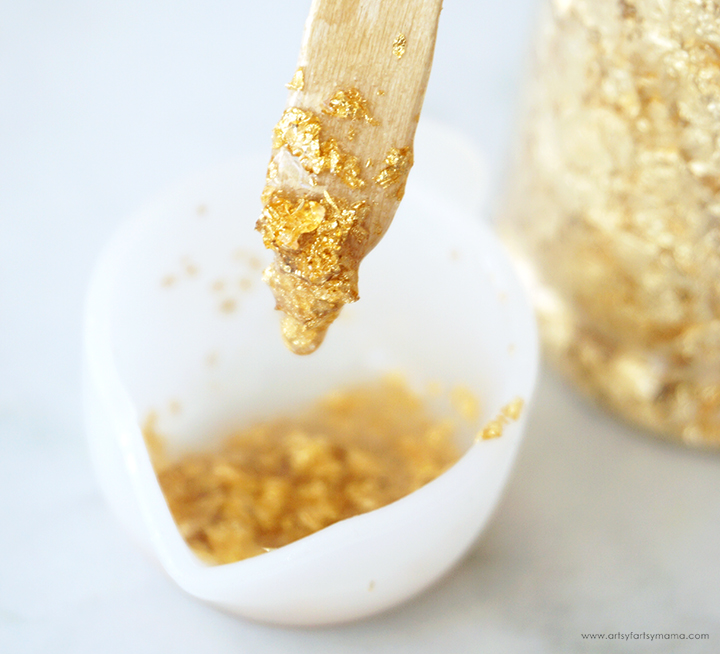
Separate a small amount of resin (less than 5ml) to a smaller mixing cup. Add a generous amount of gold foil flakes to the resin and stir with a clean stir stick until evenly incorporated. Give the resin a few minutes to "rest" and allow the bubbles to rise to the top.
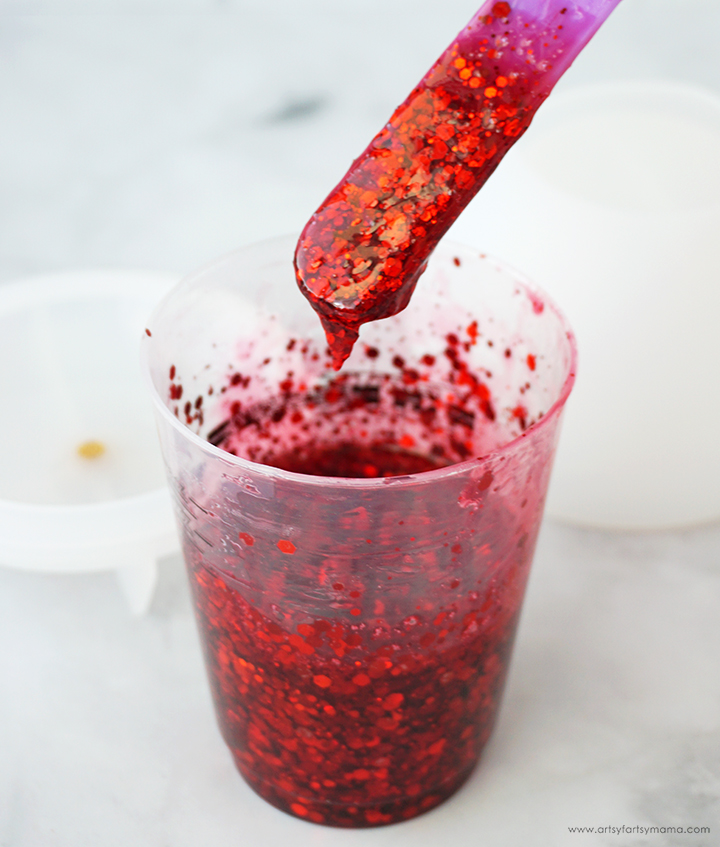
Add a 2-3 drops of red translucent dye to the larger cup of resin and stir it in until completely combined. Next, add in a generous amount of red glitter. For best results, I recommend using a mixture of fine, regular, and chunky glitters. Stir the resin well so that the glitter is evenly distributed.

Slowly pour some of the resin into the jar mold and allow it to drip down to the bottom. Gently squeeze the mold along the bottom edge to help release any trapped air bubbles. Repeat the process of pouring some resin, and then working the bubbles out until you have filled the mold to the top. Do NOT overfill.
Let the mold sit for a few minutes, and then use a straw, heat gun, or spritz with 91% alcohol to remove any surface bubbles
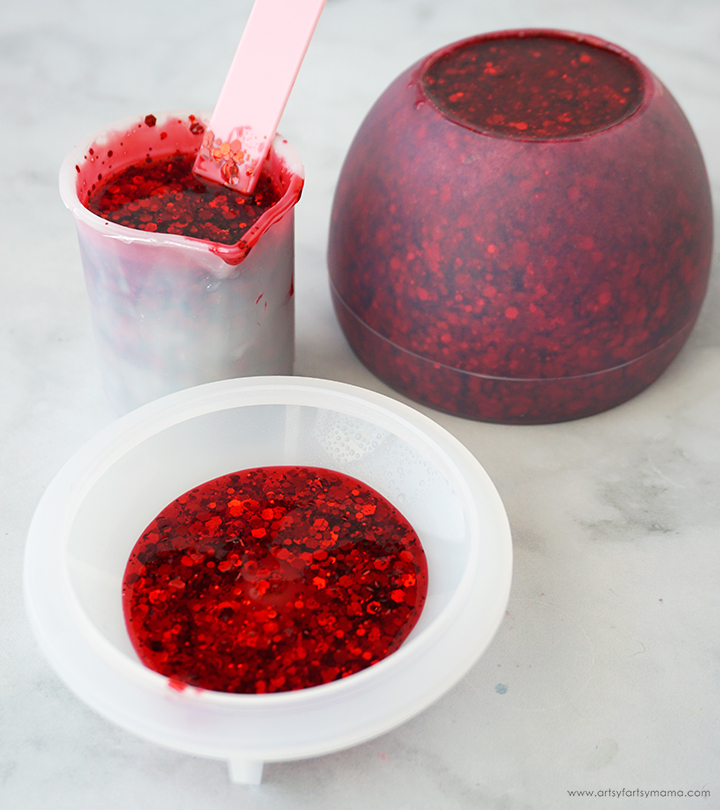
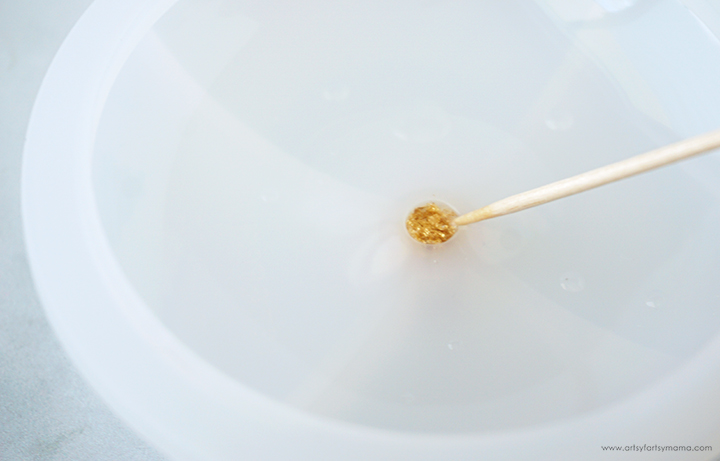
Next, slowly pour the remaining resin into the apple jar lid mold until it is filled to the top. Be careful to not overfill the mold. Let the resin sit for a few minutes to allow the bubbles to rise to the top. If necessary, use a stir stick or even a skewer to help stubborn bubbles find their way.
Let the resin sit in the mold for a few minutes, then use a straw, heat gun, or spritz with 91% alcohol to remove any surface bubbles.
Leave both resin pieces to cure in an undisturbed, well ventilated area for 24 hours. You will know that the resin is cured when it is no longer tacky to the touch and easily pulls away from the edges of the molds.
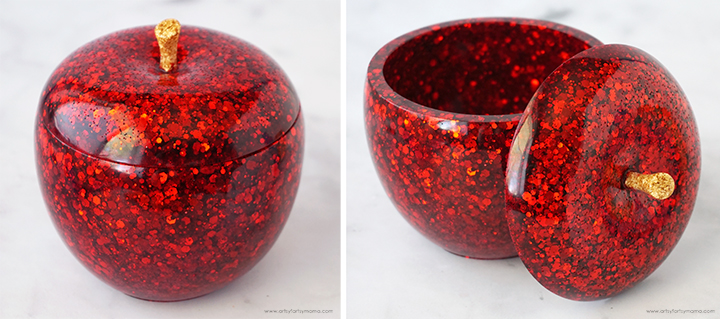
Now for my favorite step in the process: demolding! Carefully remove the cured jar and lid from the molds. Trim away any excess resin with scissors or a craft knife. Sand down edges, if necessary, and bring back the shine with clear spray sealant.
If the resin still feels flexible, it may just need more time to cure. Let the pieces sit in a warm, flat area to cure for a few hours (or days) to completely harden.
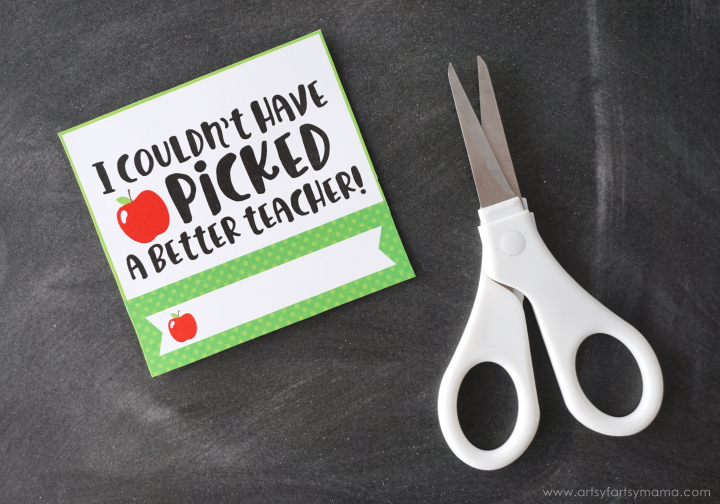
If you'd like, you can print and attach an apple-themed gift tag so your teacher knows who this "sweet" gift is from! I would recommend printing the tags on cardstock for best results. There are multiple tags in the printable, so you can share them with all of your favorite teachers.
Download Free Printable Apple Teacher Gift Tag
For Personal Use OnlyPrintables from Artsy-Fartsy Mama are for personal use only. You may use these in a home or an educational setting, but you may not sell the printable. If you'd like to share this printable digitally, share a link to this post/website only. Do not share a direct link to the printable.
This Teacher Appreciation Resin Apple Jar was such a fun project to make, and was so easy. I just know teachers are going to LOVE receiving one as a gift for Teacher Appreciation Week or back to school night. As always, I would love to see your creations! Share yours on Instagram, Facebook, or leave a comment/photo on the project pin on Pinterest! #AFMCrafts
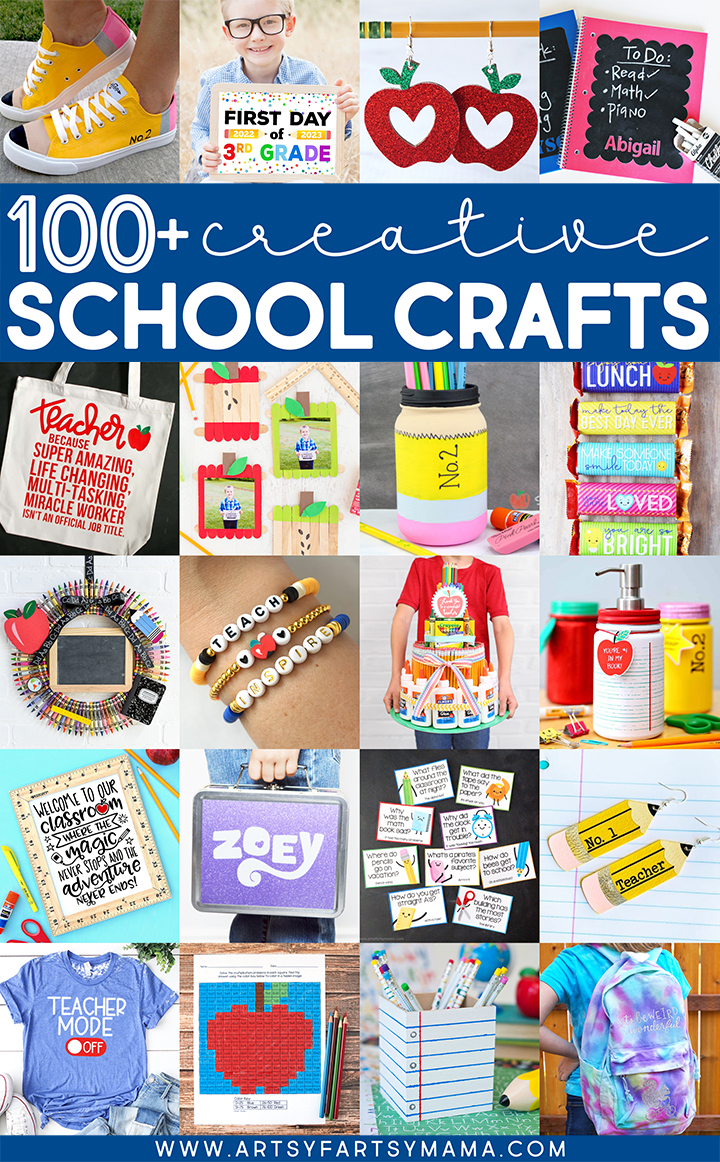
Looking for more back to school inspiration?
Check out this collection of OVER 100 creative back to school craft ideas!!
Don't Forget to Pin, Like, and Share!


Will the gift card fit inside the jar with lid on?
ReplyDeleteNo
Delete