
Learn how to make your own two-colored paracord bracelets!

Last summer we took on the Percy Jackson Challenge, and my daughter has been obsessed with Greek mythology ever since. She has read The Trials of Apollo series from Rick Riordan multiple times, and is SO excited for the release of book #5 coming this October!
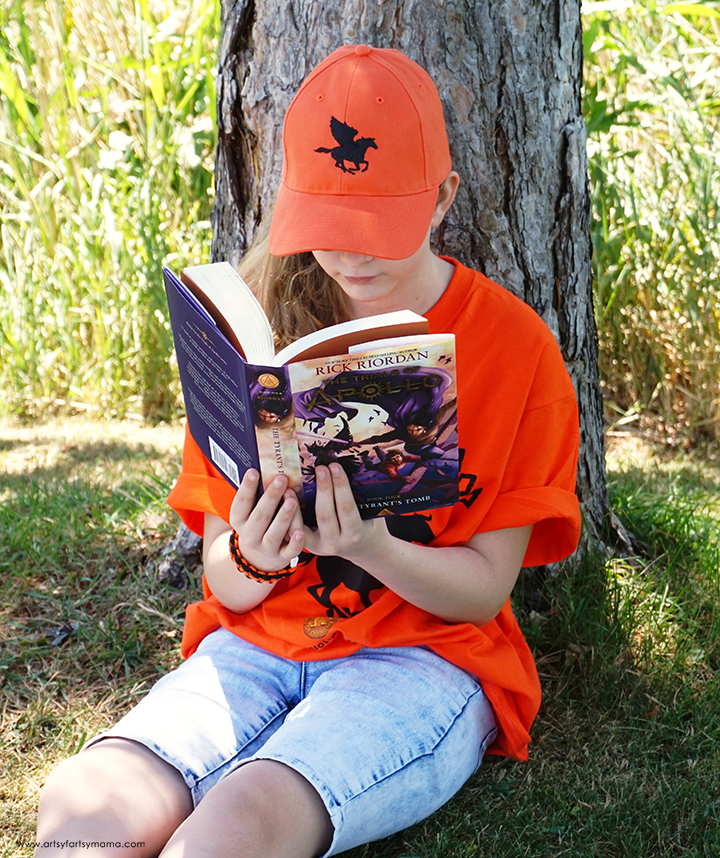
The Trials of Apollo is an exciting, hilarious, and poignant series about Apollo, an arrogant god turned hapless human, who must restore five ancient Oracles and battle a triumvirate of evil Roman emperors in order to regain his place in Mount Olympus.
Book 1: The Hidden Oracle
Book 2: The Dark Prophecy
Book 3: The Burning Maze
Book 4: The Tyrant’s Tomb
Book 5: The Tower of Nero


Step 13: Pull both ends tight to finish the second knot!


Even though our summer plans have changed, we have had a lot of fun reading The Trials of Apollo together and having our own at-home summer camp. Looking forward to even more fun this October when Book 5: The Tower of Nero is released!


To make your own "Cobra Paracord Bracelets, you'll need these supplies:
- Paracord Jig (optional, but helpful!)
- 2 Colors Paracord 550 - black/orange, purple/yellow
- 5/8" Plastic Buckle
- Scissors
- Lighter
Step 1: The amount of paracord you'll need depends on the size you want your bracelet to be. I've found that one foot of cord for every inch of bracelet has worked great. Measure your wrist for the bracelet length + 1 inch, and then cut a length of both cord colors from that measurement. For example, this bracelet is going to be 7" long, so we cut 7' each of purple and yellow cord. You will have extra, but it's always good to have more cord to work with rather than running out!!
Step 2: Fuse the ends of the cords together to make one long length of cord*. There's two ways I do this:
1. Use the lighter melt the two ends of cord and squish the ends together. Hold in place until it cools down.
2. (See image above) Cut away some of the inner strings of one cord's unfinished end. Place the melted end of the other cord inside the unfinished cord. Use the lighter to carefully melt the edges of the unfinished cord and use pliers or the side of your lighter to press the melted ends to the "seam".
*Please let an adult assist with this step to prevent burns.
Step 3: If using a paracord jig, attach your buckles onto each end. If you aren't using a jig, no problem! You will possibly need to anchor the buckle end you are tying from with tape or have someone hold it for you to keep it from slipping.
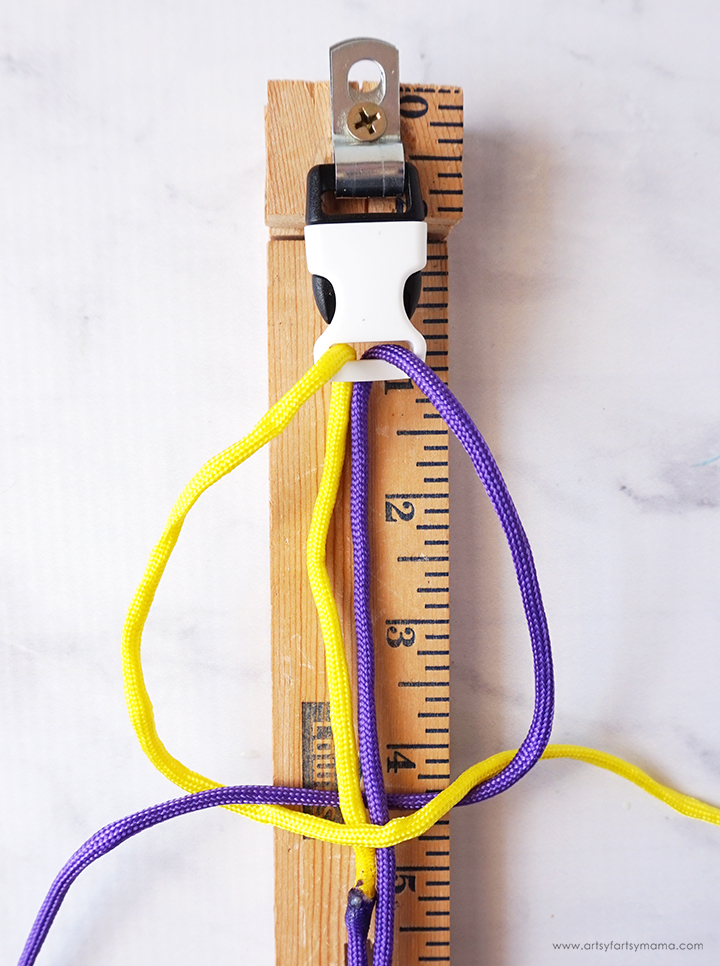
Step 4: Fold the cord 1"-1 1/2" away from the fused area. Bring the loop up through one of the buckles.
Step 5: Bring the ends up through the loop, and pull them through to make a knot on the buckle.
Step 6: Bring the loose ends up through the opposite buckle. Make sure the cords aren't twisted!
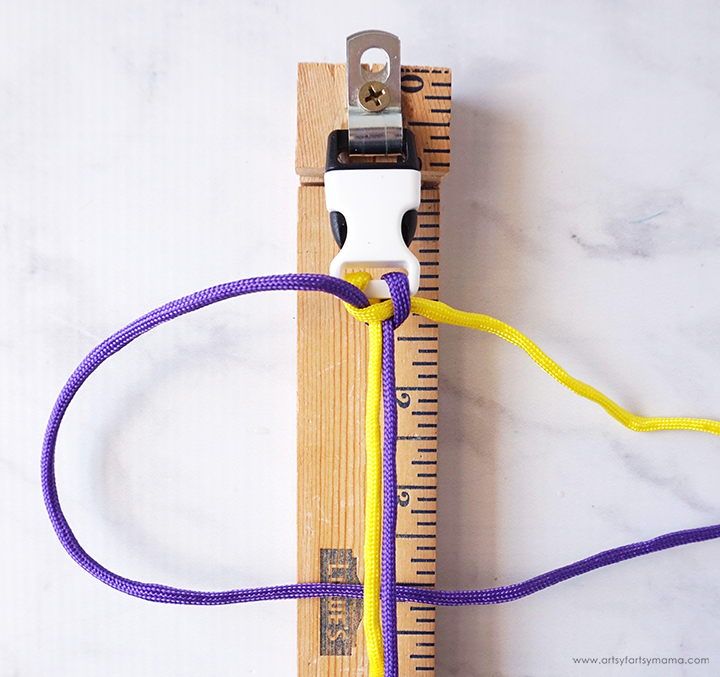
Step 7: Lay the bracelet down vertically with each color laid out on each side. The color on the left-hand side (yellow) is going to be the "inside" of the bracelet pattern. If you want to switch the colors around, NOW is the time. You just need to undo the cord and turn it over.
Step 8: Fold the yellow cord over the center cords, making a "4".
Step 9: Fold the purple cord over the end of the yellow cord, and then fold it under both cords in the center. Bring the end of the purple cord up and through the yellow cord loop.
Step 10: Pull both ends tight to finish the first knot!
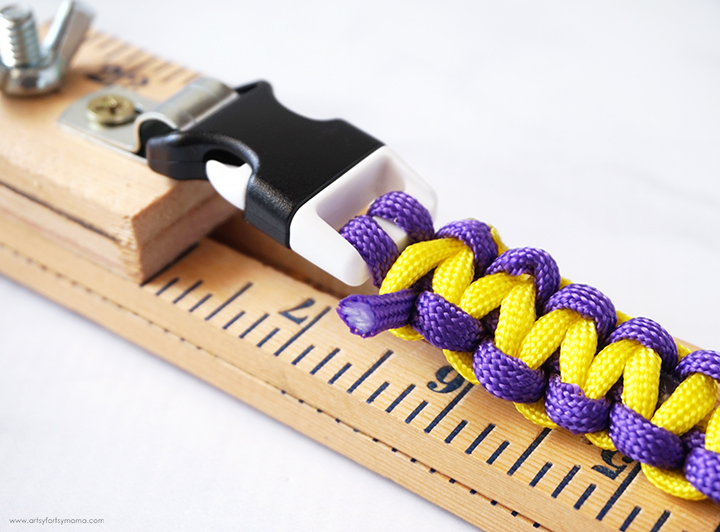
Step 11: Fold the purple cord into a "4" (or in this image, a "9"), and bring the end underneath the cords in the center.
Step 12: Fold the yellow cord under the end of the purple cord, and then fold it over both cords in the center. Bring the end of the yellow cord under and through the purple cord loop.
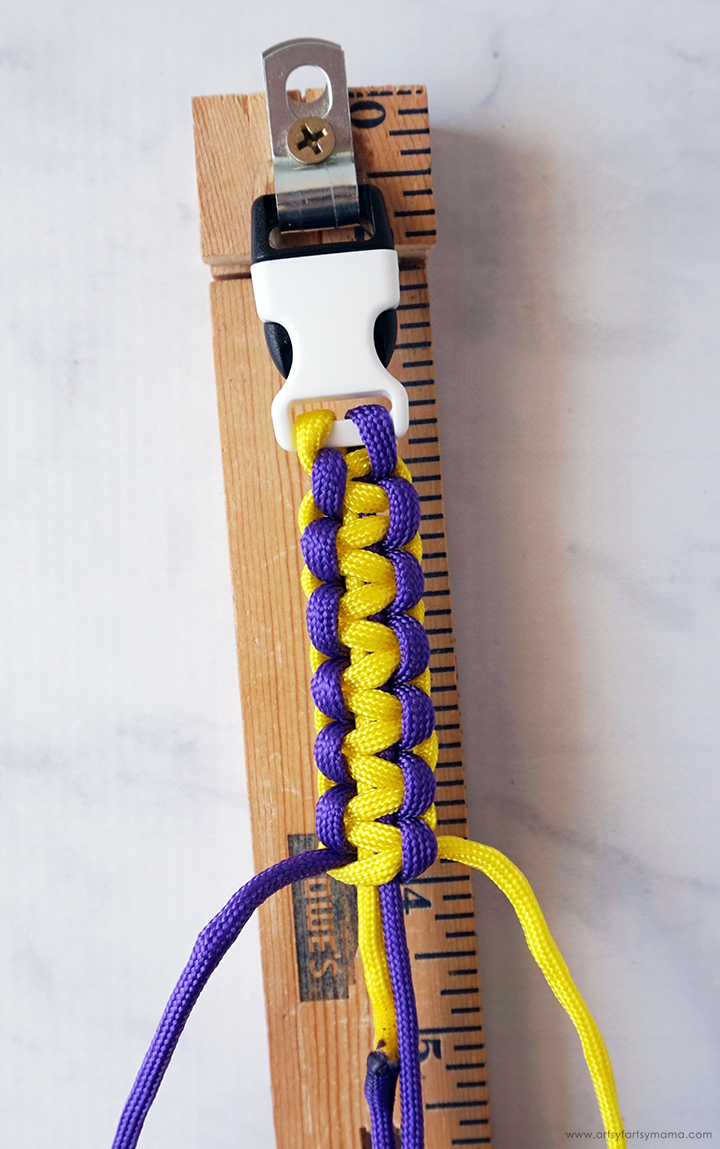
Step 14: Repeat steps 7-13 the length of the bracelet. Squish the weave together every now and then to keep the bracelet pattern tight and even.
Step 15: When you get to the end of the bracelet (no more room for knots), cut the cords about 1/8"-1/4" long.
Step 16: Melt the ends of the cords to keep them from fraying. While the cord is still hot, use the plastic part of the lighter to press the melted cord down*. This will keep it in place so your bracelet doesn't come undone, plus it smooths the melted edges. You don't want any sharp edges poking your arm!!
*Please let an adult assist with this step to prevent burns.
Aren't these Camp Jupiter and Camp Half-Blood Paracord Bracelets so fun?! Kids, teens, and adults alike will have fun making paracord bracelets in all kinds of color combinations. You can even make paracord projects in different sizes, like dog collars or keychains!
Looking for more camp craft inspiration?
Check out this collection of OVER 100 creative camp craft ideas!!
Don't forget to Pin, Like, and Share!


Chloe Myers, check out this book giveaway!
ReplyDeleteI would share this with my daughter because she is a huge reader!
ReplyDeleteI would share this prize pack with my daughter. Thank you for the chance to win!
ReplyDeleteCamp Half Blood Forever.
ReplyDeleteThanks for sharing with us I'm featuring you when the next To Grandma's house we go link party starts!
ReplyDelete