
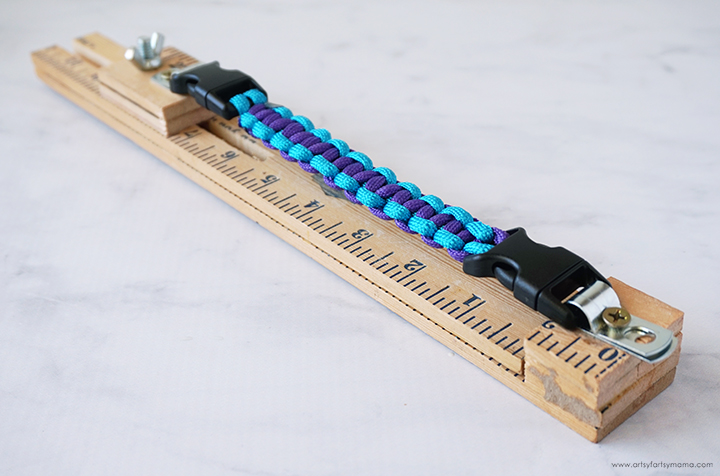
Build your own Paracord Jig from a yardstick to help make paracord projects a breeze!
My daughter just got into making paracord bracelets, and was getting frustrated by trying to tie freehanded or with the clips taped to the table. I found a bunch of paracord jigs for sale online, and knew there was some way we could make one. Then I found an amazing trick for making one out of a yardstick - genius! It costs almost nothing to make, and can be completed in an afternoon. The bonus is that my daughter is SO happy using this jig for her paracord projects, and is completed in half the time!!

To make your own Paracord Jig, you will need these supplies:
- Yardstick - I got one for really cheap at Lowe's!
- Wood Glue
- Clamps
- 1 - 1 1/4" Bolt and Wing Nut
- 2 - 1/2" Screws
- 2 - 1/4" Cable Clamps
- 1 - 5/8" Plastic Buckle
- Tools: Miter Saw, Bandsaw, Drill
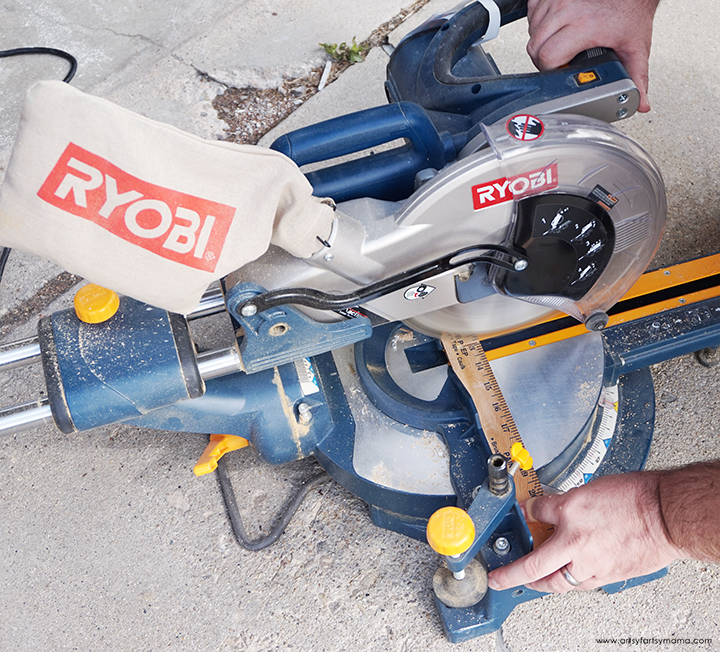
Use a miter saw to cut the yardstick at the 12" mark. Cut another piece from the other finished end to 13" long.
Place the 12" piece on top of the 13" piece and glue the pieces together with the right ends lined up and the 1" step on the left end. Clamp pieces together to hold in place while the glue dries.
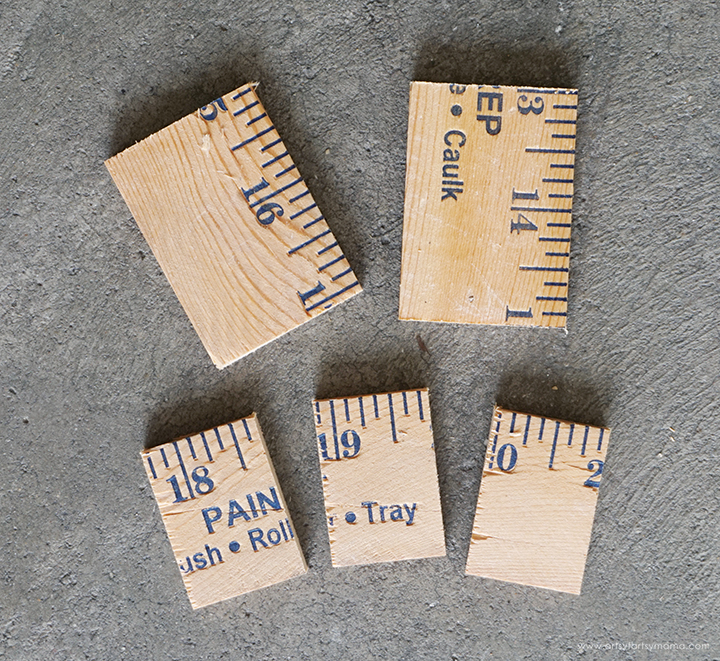
From the remaining piece of yardstick, cut three 1" pieces and two 2" pieces. Set aside.

Use a bandsaw to cut a 6 1/2" x 1/4" notch out of the right end of the longer pieces.

For a better view of what I mean, here is the jig with the notch cut out. Start the cut at the 12" mark and cut to about 5 1/2".

Stack the three 1" pieces on the left end of the jig, glue them together, and clamp in place. Stack the 2" pieces, glue, and hold in place with a clamp until the glue dries.


Bring the bolt up through the notch from underneath the jig, and put it through the drilled hole in the 2" piece. Screw the wing nut onto the bolt.
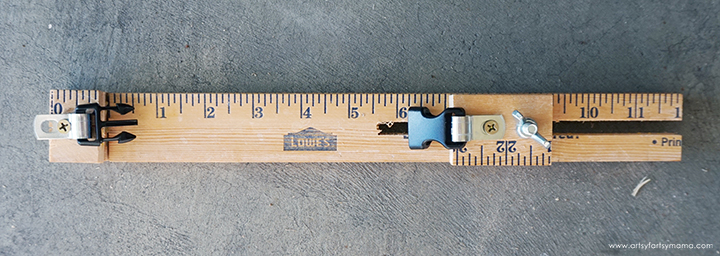
Loosen the wing nut to easily adjust the jig to make paracord projects from 4 1/2" to 10" long!
*Because of the one buckle sticking out a little far, I just add an inch to project measurements - problem solved!
If you don't want to make one, you can actually buy a finished jig. However, if you want a fun project, we had a blast making this yardstick jig and actually saved a bunch of money doing it ourselves. My daughter has loved having this jig, and it has helped her paracord projects go SO much faster!
Don't forget to Pin, Like, and Share for more FREE projects like this!


Do you sell the giggs already make? Heburell@Gmail.com]
ReplyDeleteI don't. Sorry!
DeleteCould the measurements be increased to make jig for hat bands or belts?
ReplyDeleteJust about any length.
Delete