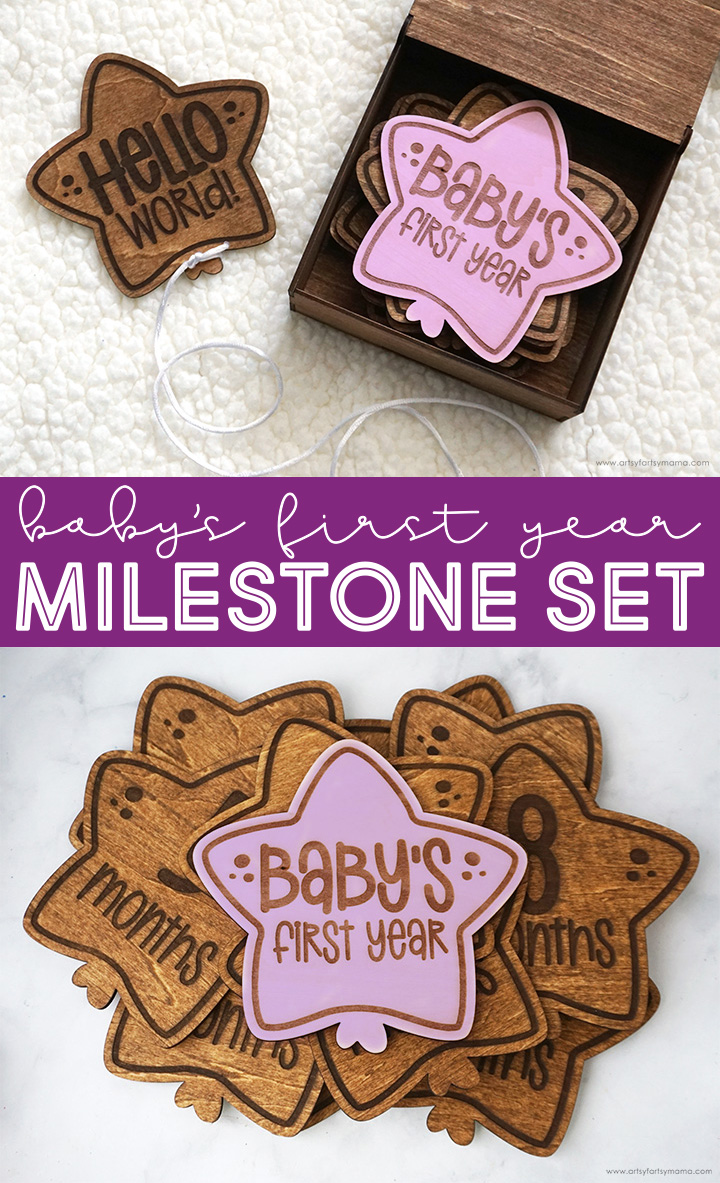
Capture your baby's first year with a custom Baby's First Year Milestone Set with FREE cut file!
Do you have a new
baby joining the family soon? If so, this post is just for you! This Baby's First Year Milestone Set is a fun way to track the progress of your baby's first year. All you have to do is place the pieces next to your baby every month and take a photo, and then you will have a monthly record of your little one's growth through their first year! Even better, I am sharing the
cut file here for FREE so that you can make your own set!
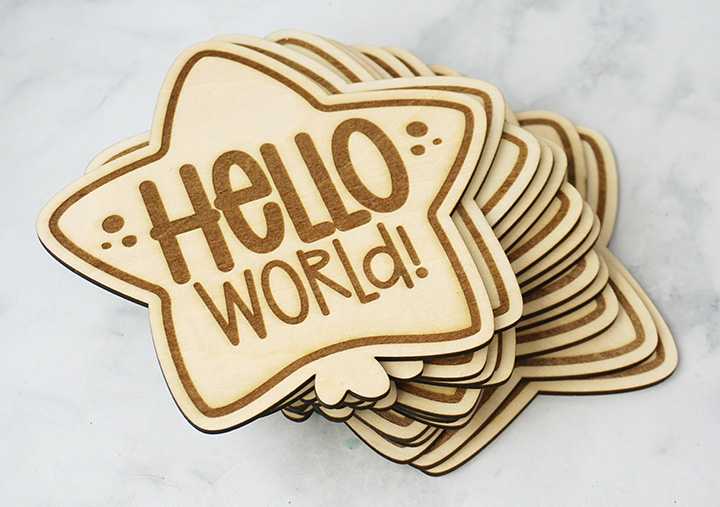
I am going to be showing you how to make this Baby's First Year Milestone Set using a laser cutter and wood, but there are SO many ways you can use this cut file to create your own set. You can cut the pieces out of acrylic (or any medium, really), or you can use your
Cricut machine and cut the pieces out of paper or vinyl! Get creative and use whatever craft material makes you happy!!
To make your own Baby's First Year Milestone Set, you will need these supplies:
*Save extra 15% off on xTool selected materials: AFFMTRS15
Printables, designs, and cut files from Artsy-Fartsy Mama are for personal use only. You may use these files for personal projects, but you may not sell them. If you'd like to share this project digitally, share a link to this post/website only. Do not share a direct link to the file.
Upload the design into xTool Creative Space. In the right menu bar, change the material setting to
3mm Basswood. When you upload an SVG design, you need to make sure each part of the design is set for cutting, scoring, and/or engraving. For this project, everything in red needs to be set to cut, and the black lines need to be engraved.
Place a piece of 3mm basswood into the
xTool S1 machine. Manually pull the laser box with your hand so that the red "+" is located on the material - it doesn't have to be centered.
In XCS, you will see "Distance (mm)" in the right menu bar. Click on the target icon to the right of that space, and the machine will automatically measure your material.
Make sure that the design elements are within the marked bounding box in XCS, and then click the green "Process" button in the bottom right corner to proceed to cutting the project.
After removing the wood from the machine, I highly recommend cleaning the soot away from around the edges using a
Magic Eraser or baby wipes to prevent making marks all over your hands and workspace.
Paint or stain all of the month pieces. I used a brown
chalk paint wax to stain the set, and then covered the "title" piece with watered-down
acrylic paint. If one coat doesn't cover the wood all the way, make sure that the first coat is completely dry before adding another layer of paint on top.
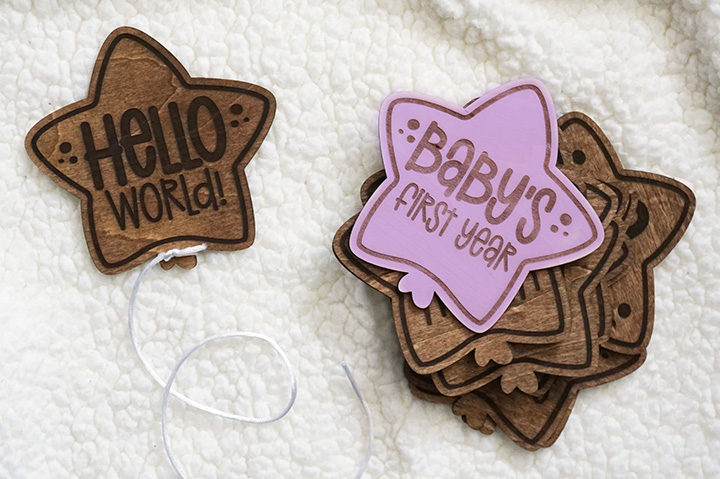
Once the pieces have dried, cut a length of
ribbon or
nylon cord between 12-24 inches long. Tie one end around the bottom of the "balloon" in a secure knot. Make sure the loop is loose enough to remove the ribbon from the piece of wood so that you can easily slide it onto another piece without having to tie it again.
Now the set is ready for use! Slide the loop onto the bottom of the yearly milestone piece that you'd like to use, then arrange it to lay next to your baby for the photo op of the month! The "Hello World" is meant to be for a newborn, and then there are pieces counting each month up until one year.
*The title piece isn't necessary for the set, but is great if you want to gift the set at a baby shower. Before cutting, you can take out "Baby's" and customize it with the baby's name instead!
This Baby's First Year Milestone Set is a fantastic baby shower gift idea, and you can wrap it all up easily. Stack the pieces in order, with the title piece on the top. Hook the ribbon to the title piece, then wrap the ribbon around the stack. Secure the ribbon to the back, and voila! The set is ready for gifting, and the new mom will have everything she needs to use it.
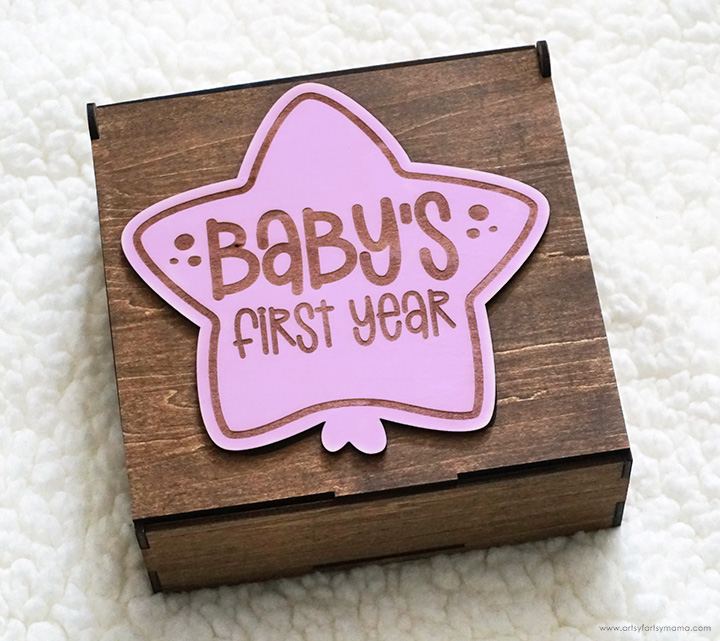
Another way to package the set is in a custom wooden box that's also been cut with the xTool S1 machine. I cut a
6"x6"x2.5" box with a flip lid and the set fits perfectly inside! Stack the pieces in order, with the ribbon tied to the "Hello World" piece on top.
You can engrave the title piece design onto the top box piece, or you can
glue the cutout to the top instead for a little dimension. Again, you can remove "Baby's" and add a name to personalize it if you'd like.
It was so much fun making this
Baby's First Year Milestone Set for my new niece or nephew that is due anytime now, and know my sister is going to love using it throughout the new baby's first year of life. If you've got new babies joining family or friends anytime soon, I hope you get inspired to give this project a try! As always, I would love to see what you're making! Share your creations on
Instagram,
Facebook, or leave a comment/photo on the project pin on
Pinterest! #AFMCrafts
Don't forget to Pin, Like, and Share!