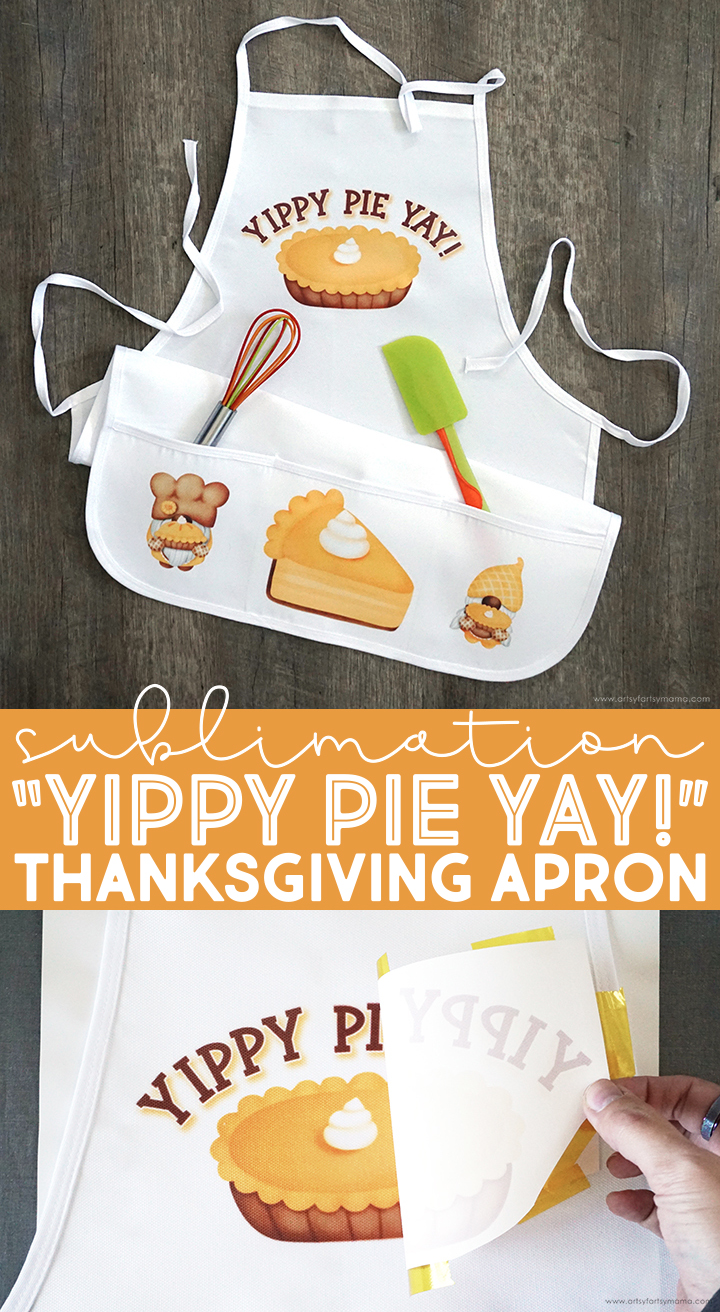
Use sublimation to make your own "Yippy Pie Yay" Thanksgiving Apron!
The majority of Thanksgiving Day is usually spent in the kitchen, so why not make something cute to wear while cooking up the feast? This sweet "Yippy Pie Yay" Thanksgiving Apron is easy to make using sublimation, and will look so cute when serving up a slice of pie. A custom apron is also a great gift idea! Make one to gift to your Thanksgiving hostess, or whip up a matching set for the whole family!
To make your own "Yippy Pie Yay" Thanksgiving Apron, you will need these supplies:
Printables and cut files from Artsy-Fartsy Mama are for personal use only. You may use these files for personal projects, but you may not sell them. If you'd like to share this project digitally, share a link to this post/website only. Do not share a direct link to the file.

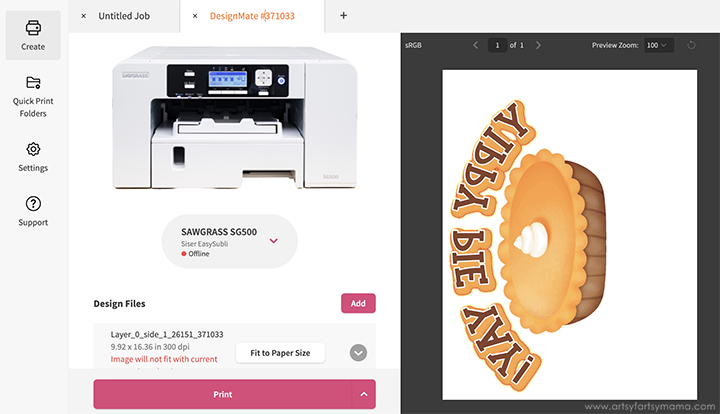
To start, open up the Sawgrass DesignMate design software. You can select from a variety of "Blank Products" to use as a canvas so that you can see how your project will look when completed. Since I am using a sublimation apron blank, I simply searched "apron" in the search bar and chose the template that is closest to the product I am using.
Upload the "Yippy Pie Yay" design, or create your own using the same Watercolor Pumpkin Pie Gnome Clipart I used in my design. Place the design(s) on the canvas, and size them to fit the apron. Because this is an average apron blank template, be sure to refer to your actual apron for accurate measurements.
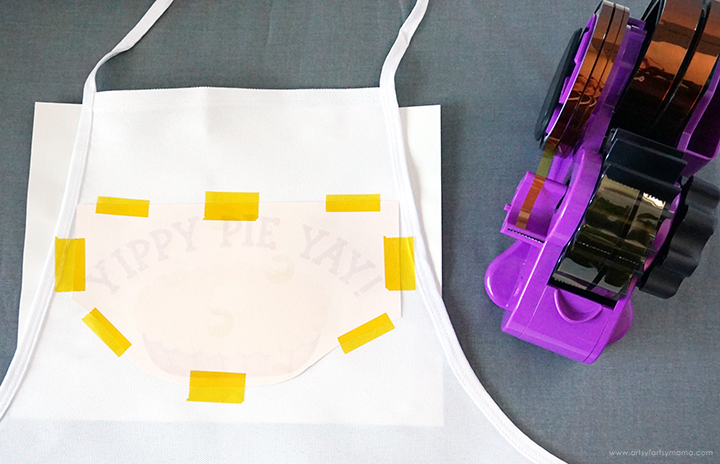
Press the apron lightly to get rid of any wrinkles, and then use a lint roller to remove any debris. Center the print face-down on top of the apron and hold the paper in place using heat-resistant tape. If you're doing a lot of sublimation, I highly recommend getting this awesome heat-resistant tape dispenser!
When doing sublimation, you need to put everything down in layers. First, put the EasyPress Mat on your workspace. Place a piece of cardstock down on the mat to protect it from getting any ink on it. Next, lay the apron on the cardstock. Last, top the apron with some parchment paper or another sheet of cardstock to also protect your EasyPress from getting ink on it.
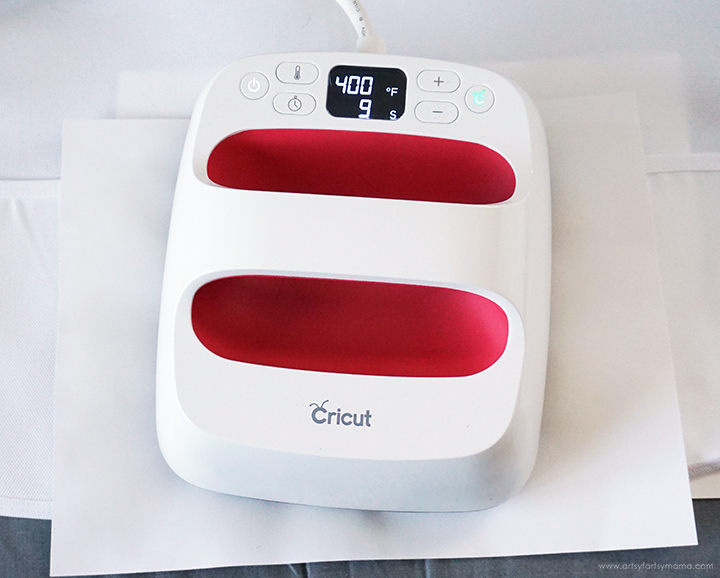
Now for some sublimation MAGIC! Set the EasyPress to 400º and 40 seconds. Gently lay the EasyPress down over the apron and press the green Cricut icon to start the timer. Once the timer beeps, carefully remove the EasyPress and let the apron cool COMPLETELY!
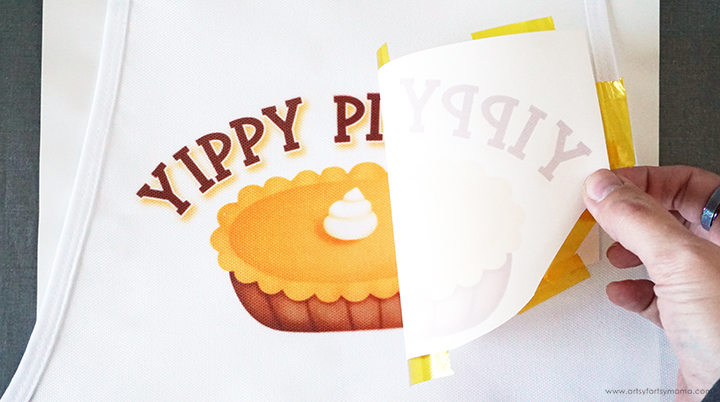
Once the apron is cool to the touch, remove the tape and paper to reveal the design underneath! You will notice that the colors will be MUCH more vibrant than the printout was on the paper. The reveal is my favorite part of the whole process!
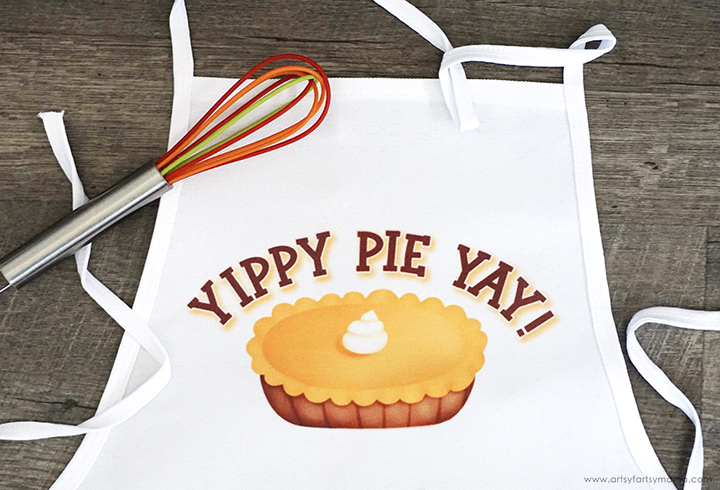
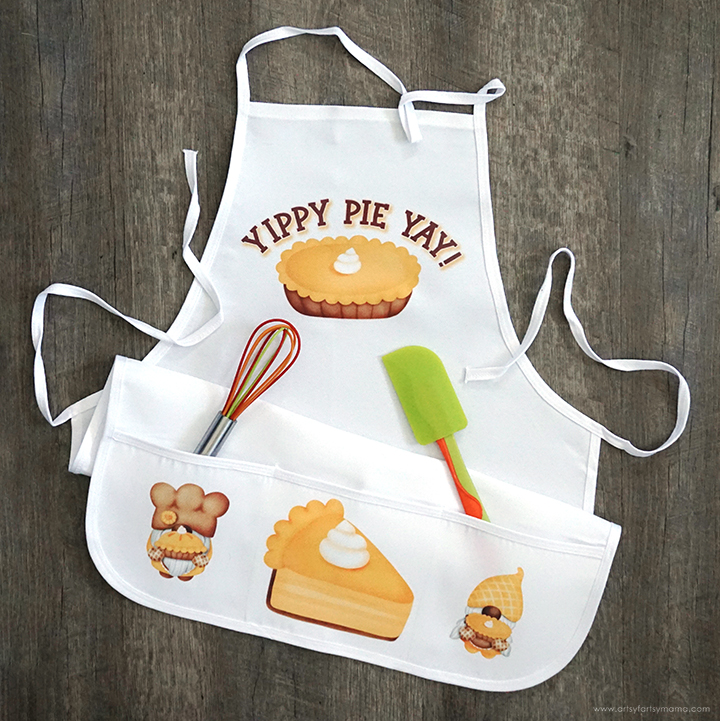
I am absolutely THRILLED with how the top portion of the apron turned out. The colors are vibrant, the design is sharp, and it looks so professional!
I like how the apron looks with the design at the top, but I felt like it needed a little bit more. There are three pockets at the bottom of the apron, which is a convenient place to add some coordinating designs to match the top.
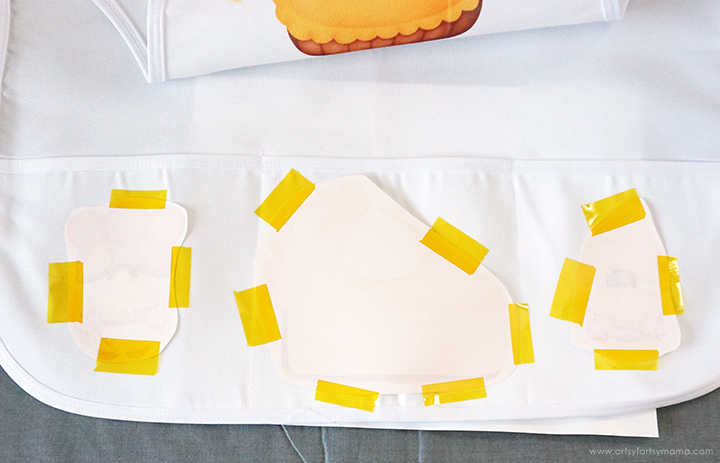
Carefully trim around the design(s) using scissors or a paper trimmer. Press the apron pockets to get rid of any wrinkles, and use a lint roller to remove any debris. Center the print(s) face-down on top of the apron pockets and hold the paper in place using heat-resistant tape.

Use the EasyPress to press the designs at 400º for 40 seconds. Let the paper cool, and then peel the paper(s) away to reveal the images underneath.

Don't forget to Pin, Like, and Share!