
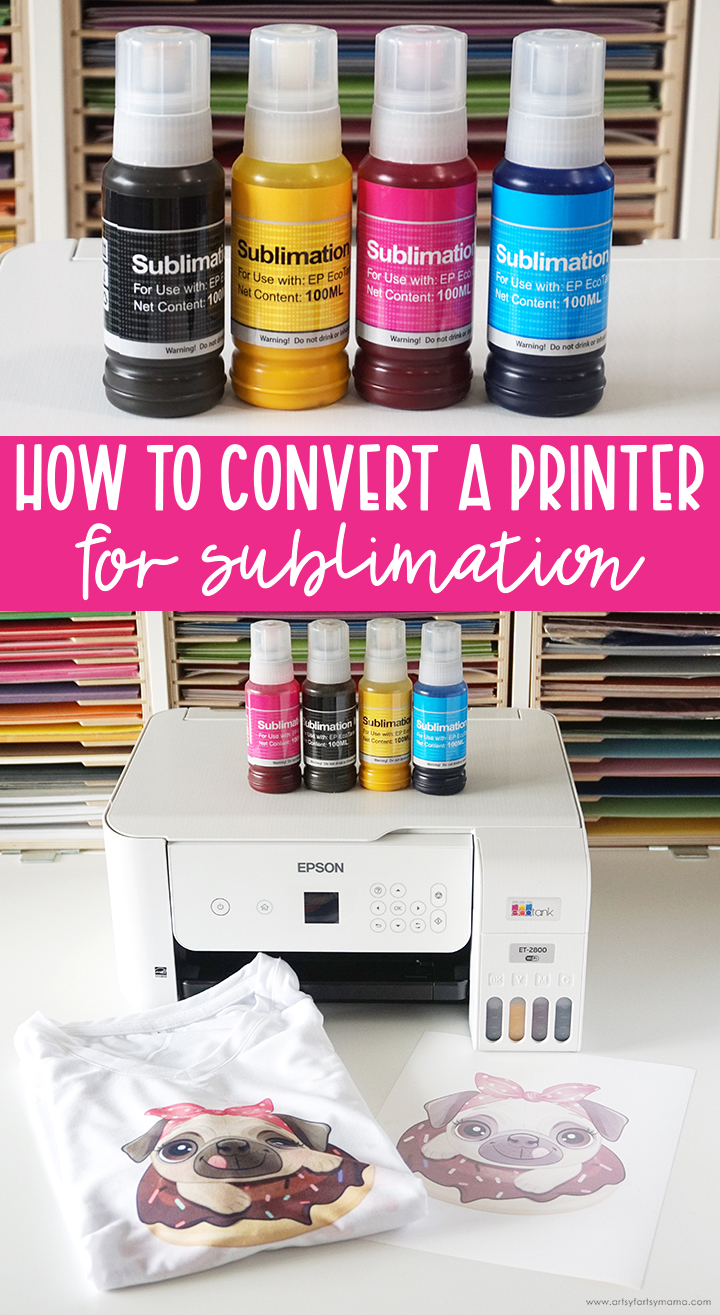
Convert an Epson EcoTank printer for sublimation projects with Hiipoo!
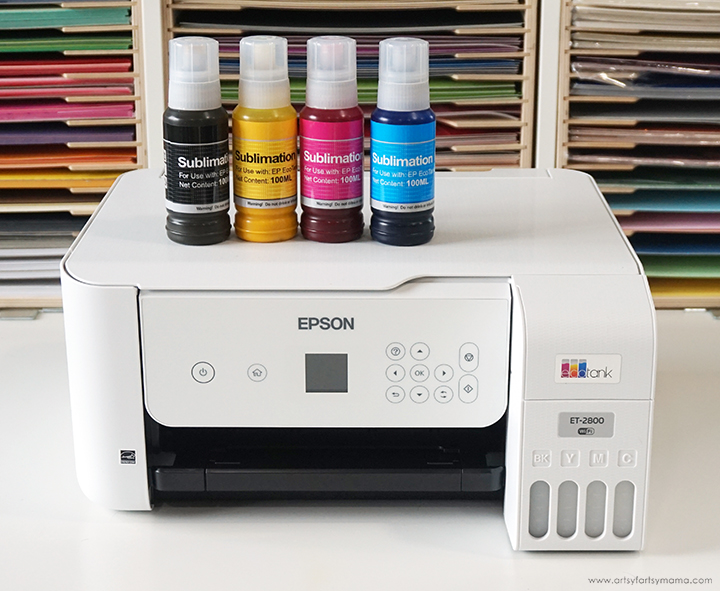
Have you tried sublimation yet? If you're familiar with applying Cricut's Infusible Ink using Infusible Ink transfer sheets, I think you'll enjoy what you can do with sublimation! Sublimation allows you to literally print your own designs to create custom projects, and I'm so excited to show you this clever hack to convert an Epson EcoTank printer into a sublimation printer using Hiipoo sublimation ink!
What exactly is sublimation?
To simplify it, the sublimation process begins by printing a design onto special sublimation transfer paper using special sublimation ink, and then applying both of those things onto a sublimation blank (like a shirt, mug, or coaster).
When heat and pressure are applied, the sublimation ink turns into a gas that is then permanently transferred to the blank. Instead of sitting on top of the blank (like vinyl), the inks are absorbed into the product itself, leaving you with a colorful, vibrant project that won't crack, peel, or wash away!
Like I mentioned, you need to print your sublimation designs. Because sublimation uses a specific type of ink, you cannot use just any inkjet or laser printer. Sublimation printers, like the Sawgrass SG500, are specialty printers made just for sublimation. The Sawgrass is a fantastic printer, but it is definitely an investment. An Epson EcoTank printer is sold as a regular inkjet printer, but can be easily converted to a sublimation printer. It will take a little effort on your part to get it going, but it is a considerably more affordable option.
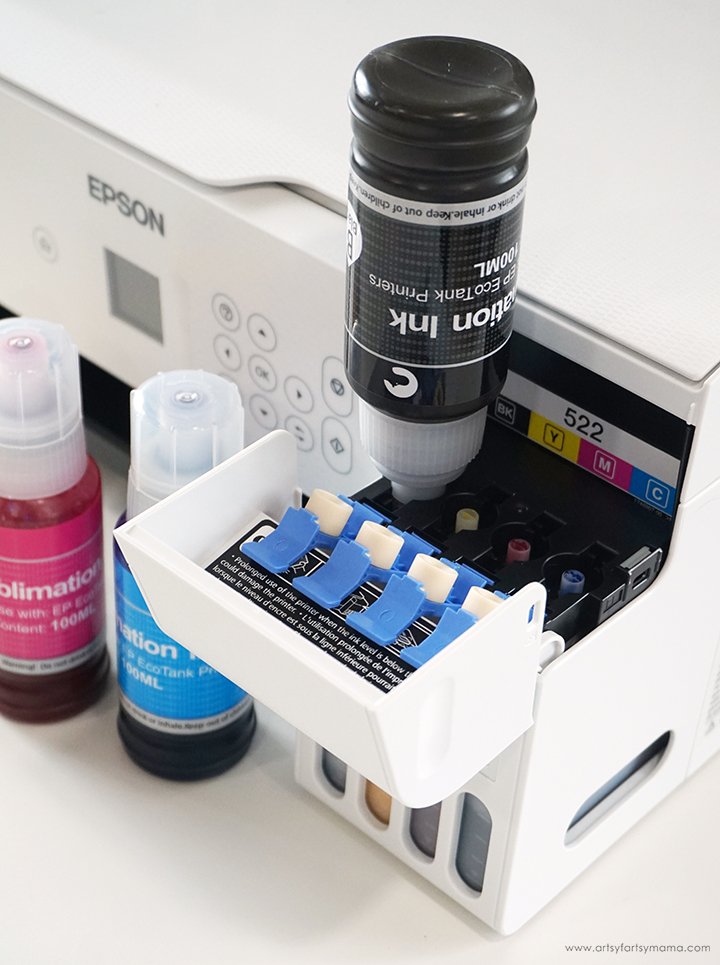
Once you have the Epson EcoTank printer out of the box, immediately put the inkjet ink bottles that it comes with out of the way. The ink cannot be used for sublimation in any way, so you won't need it at all. I recommend donating the ink to someone else who uses this printer for regular printing, or find some other way to dispose of it. Set aside the printer instructions and the cord, but do not plug the printer in yet.
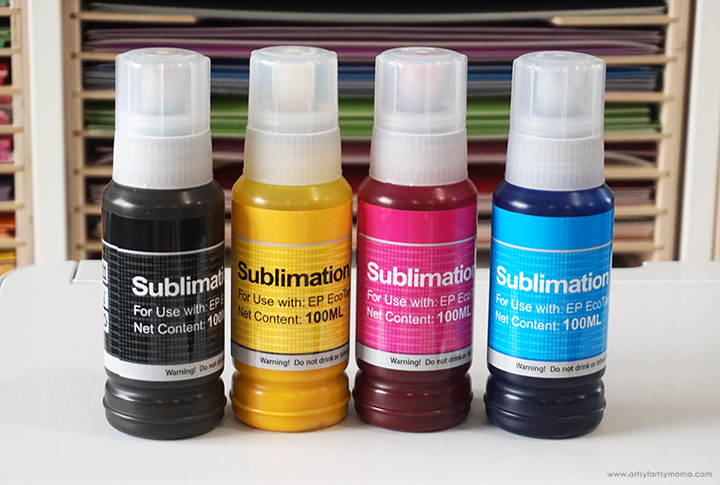
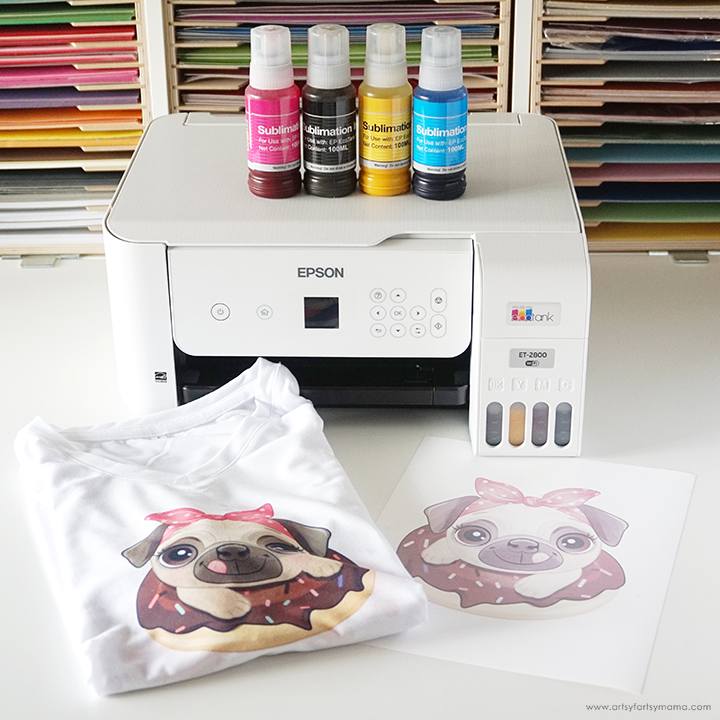
Next you will need the four bottles of Hiipoo sublimation ink. They will be clearly labeled with their colors (CMYK: cyan, magenta, yellow, and black), and are specifically made to be used with this EcoTank printer.
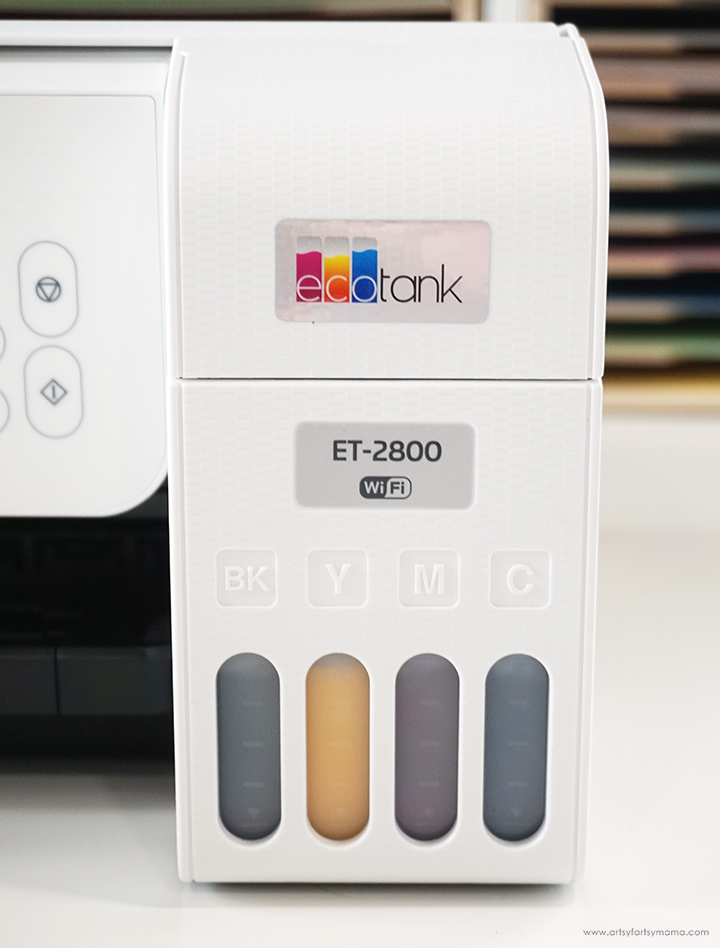
When you close the hatch and look at the front of the printer, you can see exactly how much ink you have in the printer. I love this feature because it gives you plenty of time to re-order ink before you're totally out!
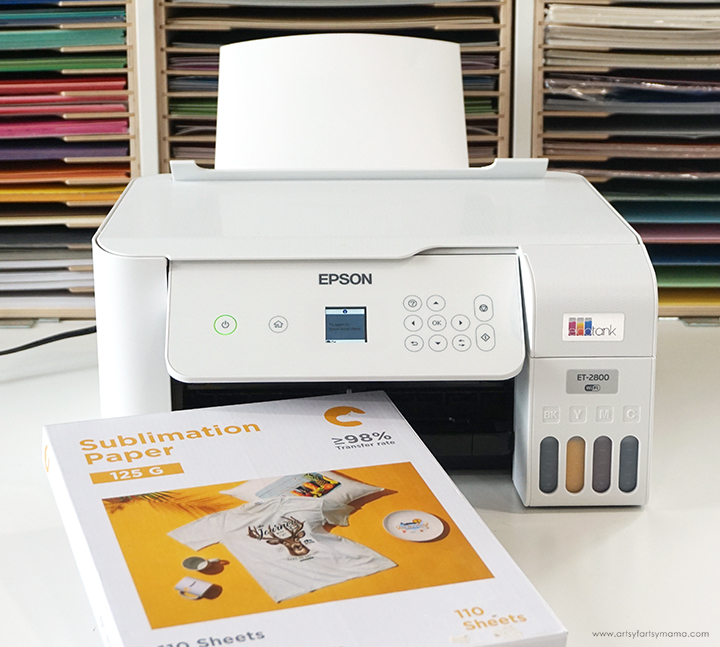
Instead of running regular paper through the printer, you will need special sublimation paper instead. The Hiipoo sublimation paper is 8.5"x11", so it fits perfectly in the printer, and you can clearly see which side of the paper to print on.
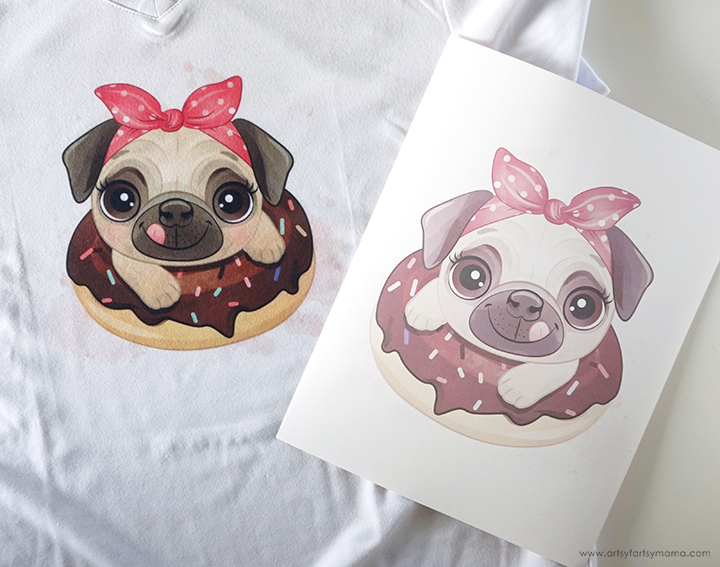
An important thing to remember with sublimation is to ALWAYS MIRROR YOUR IMAGE before printing! Sublimation is applied to the blanks face-down, so if you don't mirror, or flip, your image it will be backwards on your project. When the image is printed, it will look very light on the paper. Don't let this fool you! The magic happens once heat and pressure are applied. Just take a look at the paper vs. the shirt in the image above!
How to press:
- Lay the shirt down on a pressing mat or ironing board.
- Place a piece of cardstock inside the shirt. The ink can bleed through the fabric, leaving a trace of the design on the backside of the shirt.
- Center the sublimation paper face-down on the shirt and hold it down in place with heat resistant tape. This is very important. If your image shifts during pressing, you will get a blurry design left on your project.
- Place another piece of regular copy paper or cardstock on top of the sublimation paper before pressing. This will prevent the ink from bleeding through onto your iron/heat press.
- Press the shirt according to package directions (if there are no directions, this sublimation heat guide is very helpful!)
- Carefully peel the paper away immediately after pressing. It will be VERY hot, so be careful and wear protective gloves.
Helpful sublimation tips:
- Run a lint roller over the shirt a few times to get rid of any debris. If you sublimate over lint, you will have blank spaces if that lint comes off later.
- Try not to touch the ink on the paper. It could potentially leave fingerprints on the image, which will transfer to the blank.
- Do NOT use regular tape to hold your paper in place! Once pressed, it will leave a sticky residue on both your final project and iron/heat press.
A quick note about blanks: not every shirt or mug can be sublimated. Sublimation ink only absorbs into polyester, so if you want your image to be clear and vibrant, make sure that you are using fabrics that are 100% polyester (or as high percentage as possible). Shirts that are poly/cotton will work, but the image will come out a bit faded, with that vintage/worn look to them because the ink doesn't absorb into the cotton. Blanks like ceramic, metal, glass, etc. are usually labeled to be used for sublimation, and will have a special coating on them to be able to absorb the ink correctly.
I am pretty proud that I was able to convert this Epson EcoTank printer into a sublimation printer using Hiipoo sublimation ink. Sublimation is such a fun process, and I'm excited about all of the possibilities there are to bring my creative ideas to life!
As always, I would love to see your creations! Share your sublimation projects with me on Instagram, Facebook, or leave a comment/photo on the project pin on Pinterest! #AFMCrafts
Don't forget to Pin, Like, and Share!


