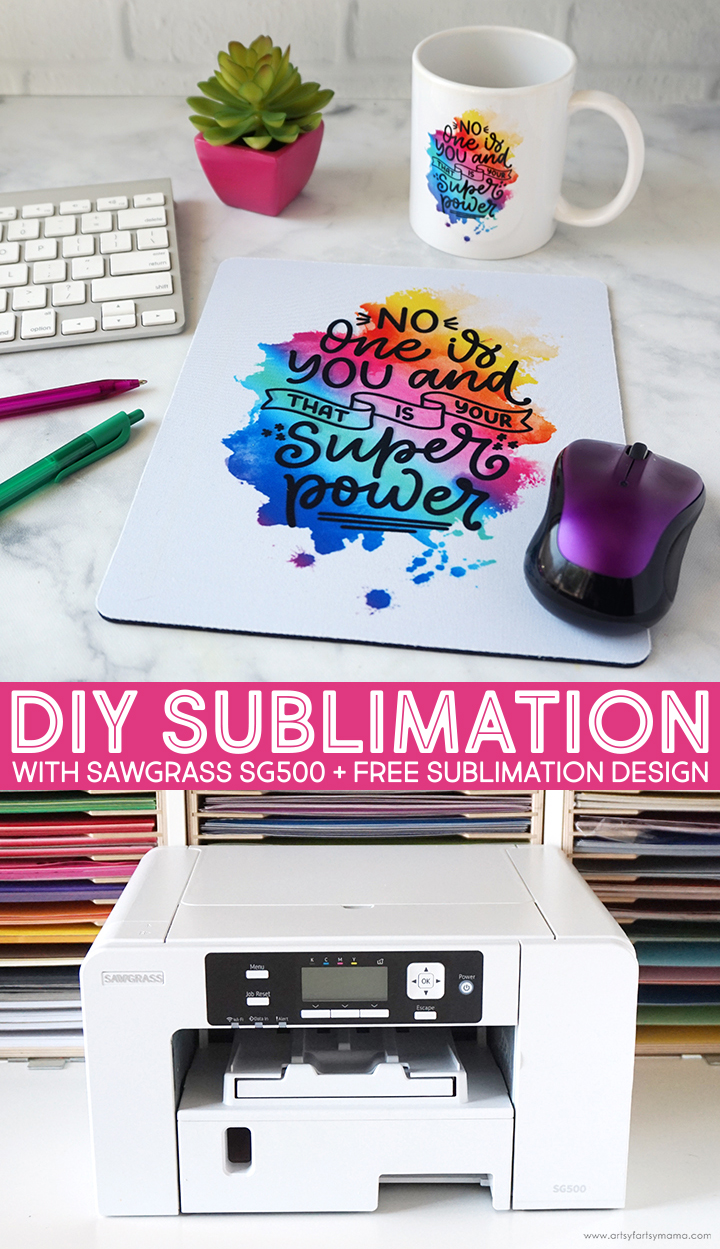
Create colorful, custom sublimation projects with the Sawgrass SG500 printer from JOANN!
I have been wanting to try sublimation for quite some time. It's been on my list of new hobbies to learn, and I'm excited to let you know that I've finally taken the leap! The new sublimation printer from JOANN has made it so easy for me as a sublimation beginner, and I can't wait to show you what I made. If you like creating custom projects like mugs, shirts, and more using photos and colorful designs, then sublimation is for you.
You might be asking, what exactly is sublimation? Basically, the sublimation process begins with printing a design onto special transfer paper using special sublimation ink, and then applying both of those things onto a sublimation blank (like a mug or a mousepad).
When heat and pressure are applied to the ink, it turns into a gas that then permanently transfers the design to the blank. Instead of sitting on top of the blank (like vinyl), the inks are absorbed into the product itself, leaving you with a colorful, vibrant project that won't crack, peel, or wash away!
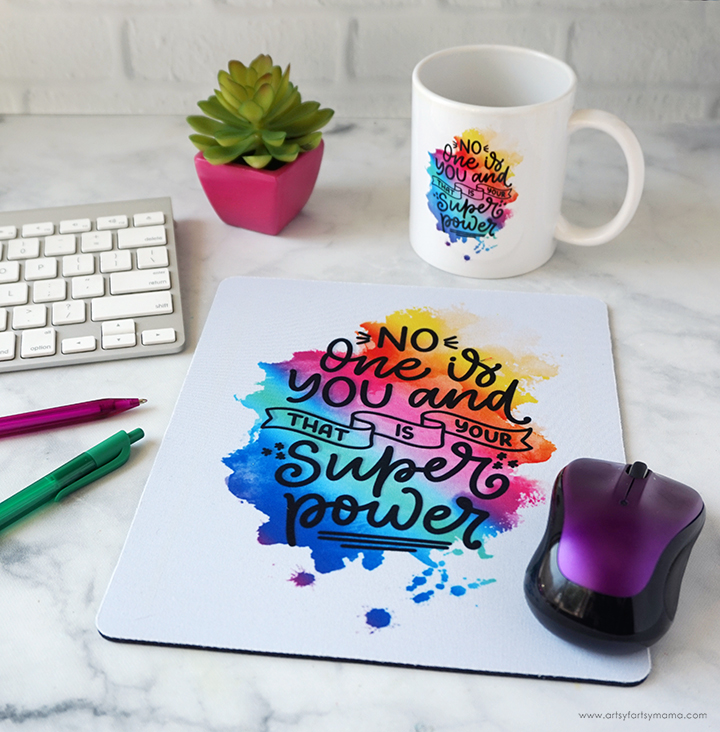
There are SO many options for sublimation blanks, but today I'm going to focus on showing you how to sublimate a mousepad and a mug to match!
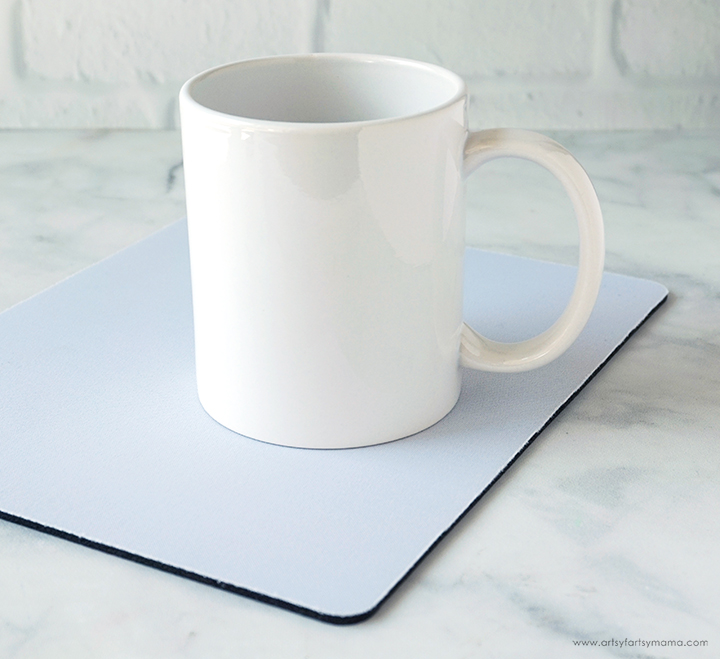
A quick note about blanks: not every mug or shirt can be sublimated. Fabrics need to be 100% polyester (or as high percentage as possible), and anything ceramic, metal, glass, etc. will have a special coating on it to be able to absorb the ink correctly. Blanks are usually labeled to be used for sublimation, and you can find quite a variety of blanks at JOANN!
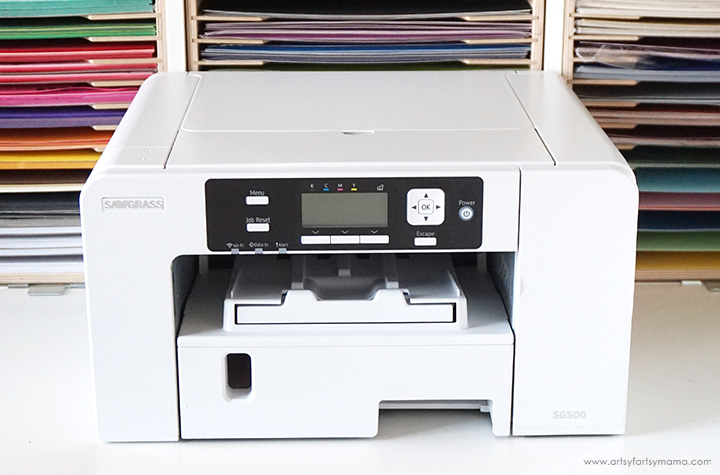
The Sawgrass SG500 Sublimation Printer makes it possible for you to make high-quality, professional-looking sublimation projects straight from your computer! I am new to the sublimation process, and am so excited to show you how easy this printer is to use. It opens up so many crafting possibilities!
Another great thing about Sawgrass printers is having access to CreativeStudio design software. You can upload your own designs, or you can use their library of free design elements, fonts, and ready-to-print designs.
You can get the Sawgrass SG500 printer, Siser EasySubli Ink, and Sawgrass sublimation transfer paper now online at JOANN.com.
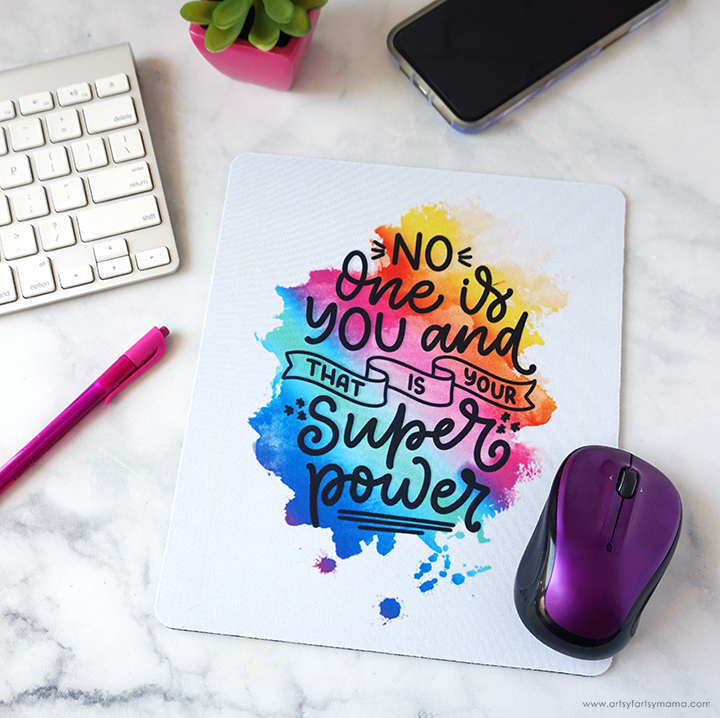
My daughter does a lot of her schooling online, so I wanted to make her a unique sublimated mousepad that is not only useful, but it will also look cute on her desk. I think it's important to make your workspace into an area with things you love to look at - like my craft room!
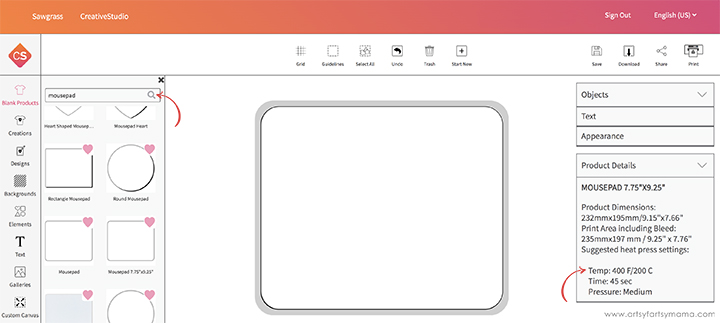
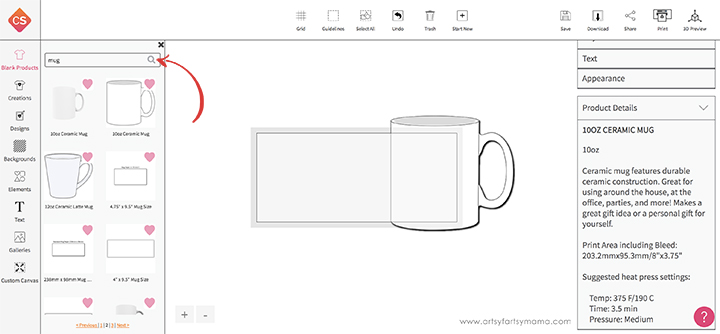
To start, open up the Sawgrass CreativeStudio design software. When you click on the "Blank Products" icon in the left menu bar, you can search for any kind of blank you will be using. Since I am using a sublimation mousepad blank, I simply searched "mousepad" in the search bar and chose the template that is closest to the product I am using.
There are product dimensions and other details listed about the template on the right-hand side of the screen to make sure that you have the right product blank selected. It even gives you the pressing time and temperature suggestion to use later!
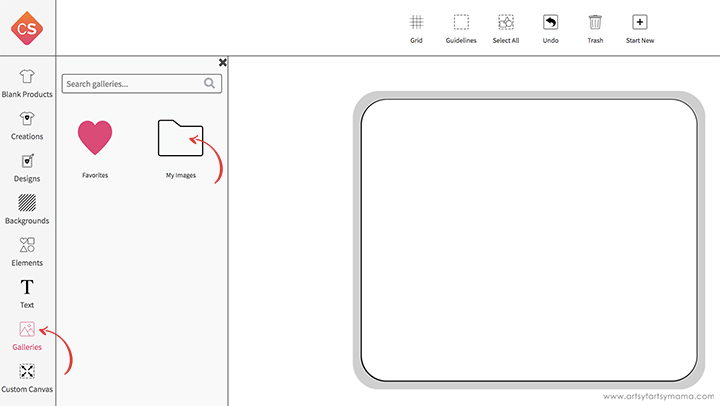
To add a design to the mousepad, you can search through the CreativeStudio design library by clicking on the "Designs" icon in the left menu bar. There are so many cute and FREE designs for every personality or occasion. I created my own design to use, so I clicked on "Galleries" icon, and then selected the "My Images" folder.
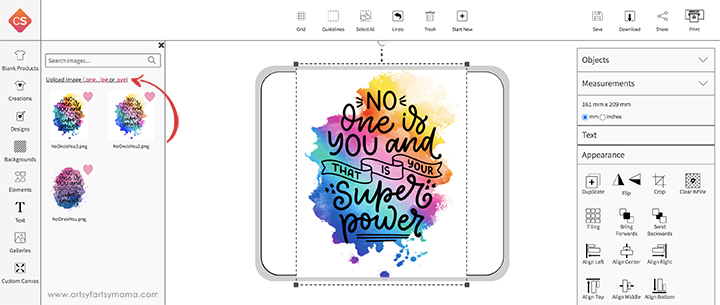
From here, you can click "Upload Image" to bring in any of your sublimation design files (PNG, JPG, or SVG). All of your uploads will be saved to this folder. Click your image thumbnail to bring your design to the template on the screen.
*Download the "No One is You" design (personal use only) for your own sublimation projects!
You can easily adjust the design image to look however you want on your project. The nice thing about using the product blank template is that you will be able to see how your project will look when it's complete. Since my mousepad is wider than it is tall, I rotated the design 90º so that it would fit the mousepad a little bit better.
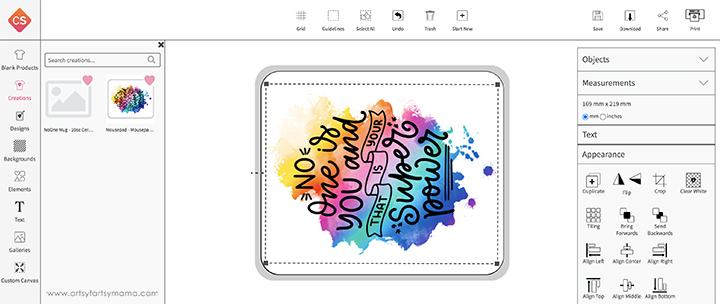
Under the "Appearance" tab on the right, you can make all kinds of other edits, like cropping, tiling, and alignment.
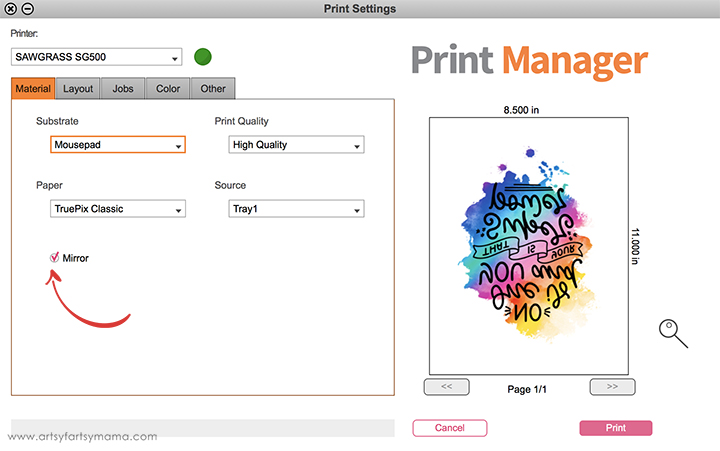
When the design is just how you want it, it's time to print! Sublimation is applied to the blanks face-down, so make sure to check the "Mirror" box so that your design will be in the right direction on your project. You can also choose your product blank item in the "Substrate" drop-down menu to make sure you get the correct print setting.
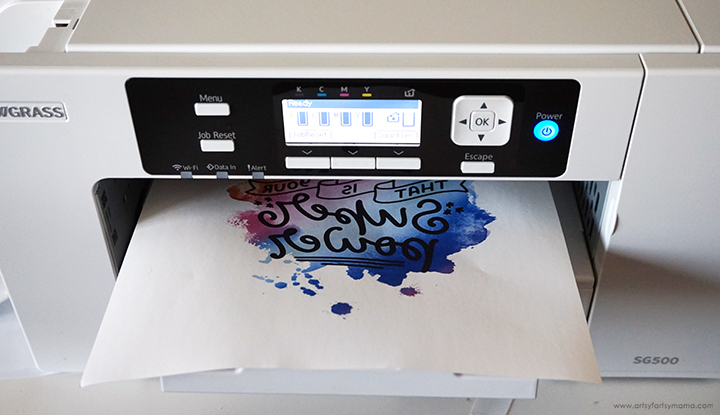
Make sure you have the Sawgrass sublimation transfer paper loaded into the printer, and then print the design out.
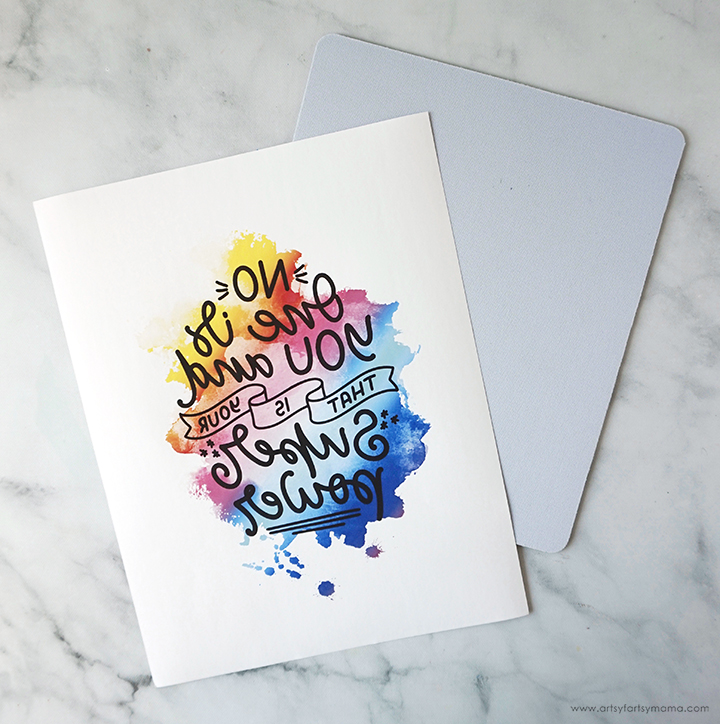
Try not to touch the print (ink) so that you don't leave fingerprints. Carefully trim the paper down to just outside the design. Run a lint roller over the mousepad a few times to get rid of any debris, If you sublimate over any lint, you will have some blank spaces if that lint comes off later.
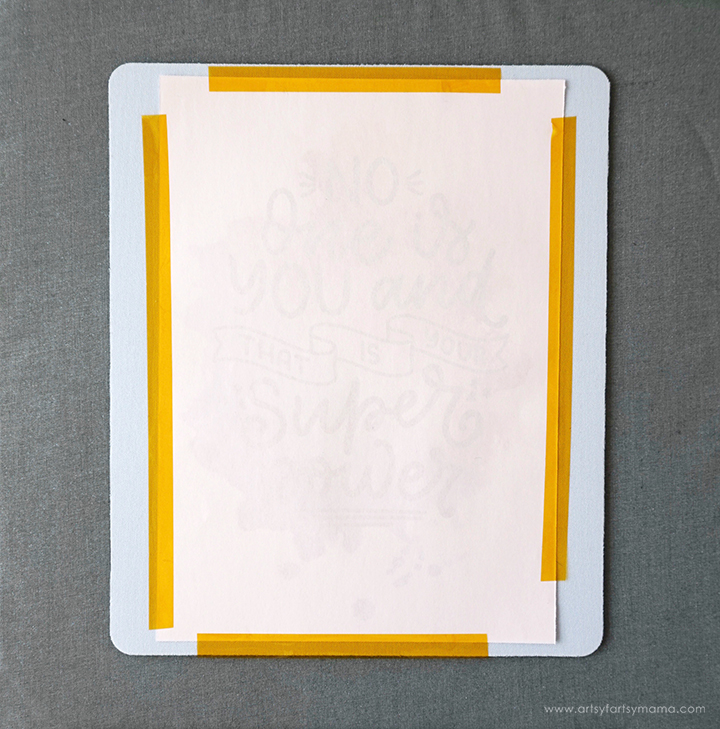
Lay the mousepad down on a pressing mat or ironing board. Center the sublimation transfer paper face-down on the mousepad and hold it down in place with heat resistant tape. This is very important. If your image shifts during pressing, you will get a blurry design left on your project. Also, do NOT use regular tape instead. Once pressed, it will leave a sticky residue on your final project and iron/heat press.

Place another piece of regular copy paper or cardstock on top of the sublimation transfer paper before pressing. This will prevent the ink from bleeding through the transfer paper and onto your iron/heat press. For the mousepad, I used my EasyPress and set it to the CreativeStudio suggested settings of 400º for 45 seconds, and pressed the design down with medium pressure.
Carefully peel the paper away immediately after pressing. It will be VERY hot, so be careful and wear protective gloves, if necessary.
Next, I wanted to show how to sublimate a mug to match the mousepad. Choose a mug template from the "Blank Products" menu to match the mug you will be using. The template for a mug will show a rectangle. This is so you can create a design to wrap around the mug!
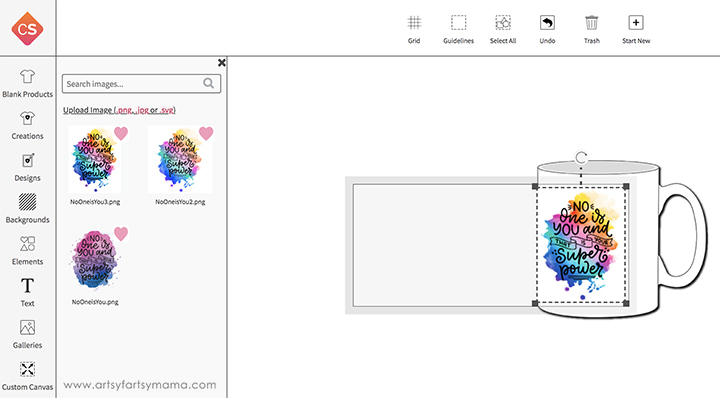
Since I'm using the same design as the mousepad, I placed it at one end of the mug design so that you can see it perfectly when the mug is turned sideways. If you are using a different design, you can upload something new or choose something from the CreativeStudio design library.
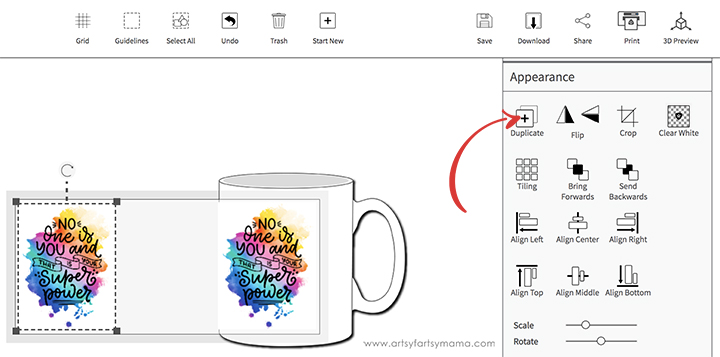
I wanted to also place the design on the other side of the mug. If you click "Duplicate" from the right "Appearance" menu, it will make a copy of the design that's already on the template. I put the second image at the other end of the template. Select each of the designs and then click "Align Middle" to make sure they are perfectly centered on the template.
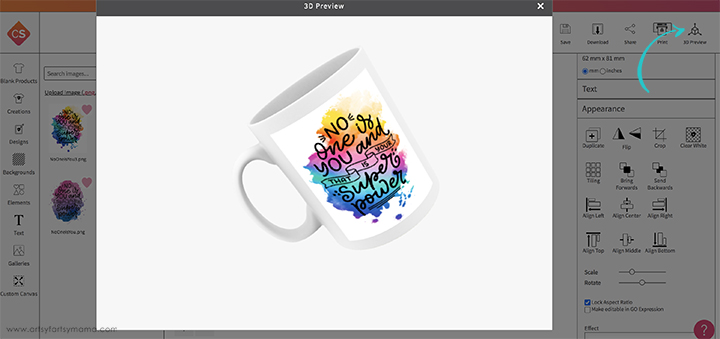
Because a mug is 3-dimensional (as compared to a flat mousepad), it can be hard to imagine the design when it's completed. If you click "3D Preview" in the top right corner, a window will pop up showing the mug with the template you designed on it. When you click and drag your mouse, you can rotate the mug to see every angle!
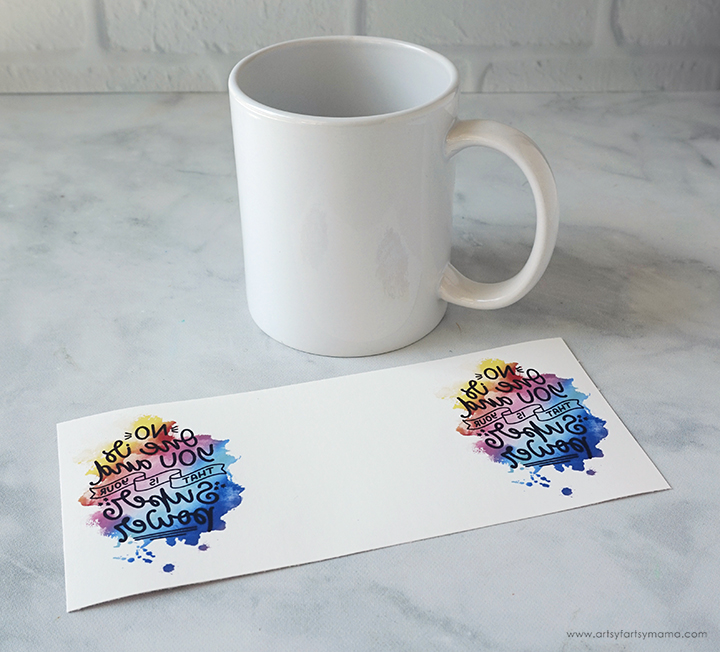
Print the mug template out on the Sawgrass SG500 using Sawgrass sublimation transfer paper, the same way as the mousepad. Make sure to click the "Mirror" checkbox and select the mug substrate!
Wipe the mug down with alcohol and a lint-free cloth. Trim the transfer paper to the edges of the design on just the outer edges.
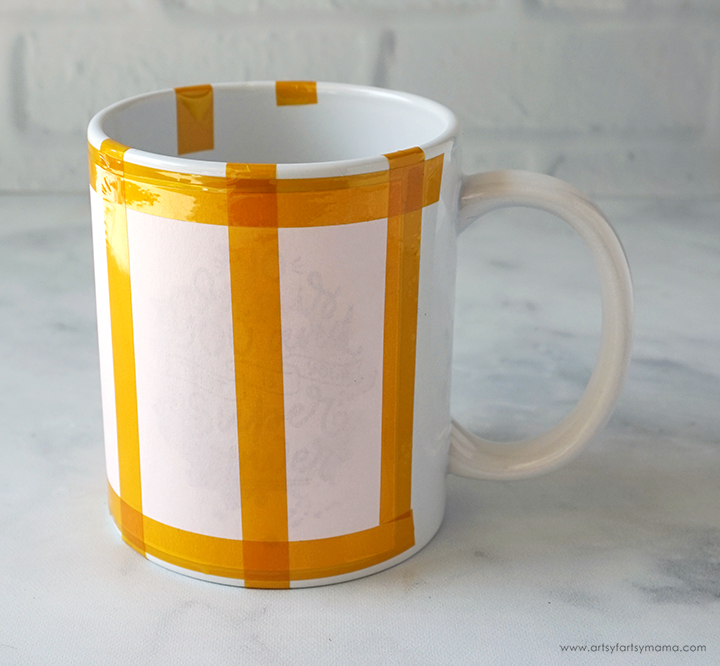
Center the paper on the mug. Add a piece of heat resistant tape to each end and then along the top and bottom edges. To make sure it definitely doesn't move, I added a few more pieces of tape vertically. Now the mug can be heated and pressed using a Mug Press, or by using an oven!
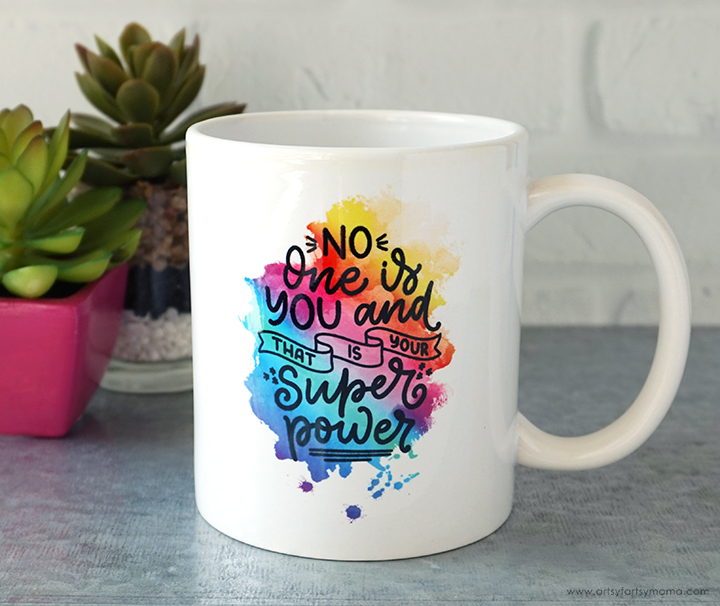
Carefully remove the tape and sublimation transfer paper immediately after pressing. It will be VERY hot, so please use caution! The reveal is my favorite part of this process. The design is on the mug permanently, so you don't need to worry about the design rubbing off or peeling. You can even put the mugs in the dishwasher without worrying!
If you're looking into getting into sublimation, be sure to visit JOANN online to grab everything you need to get started!
Don't forget to Pin, Like, and Share!