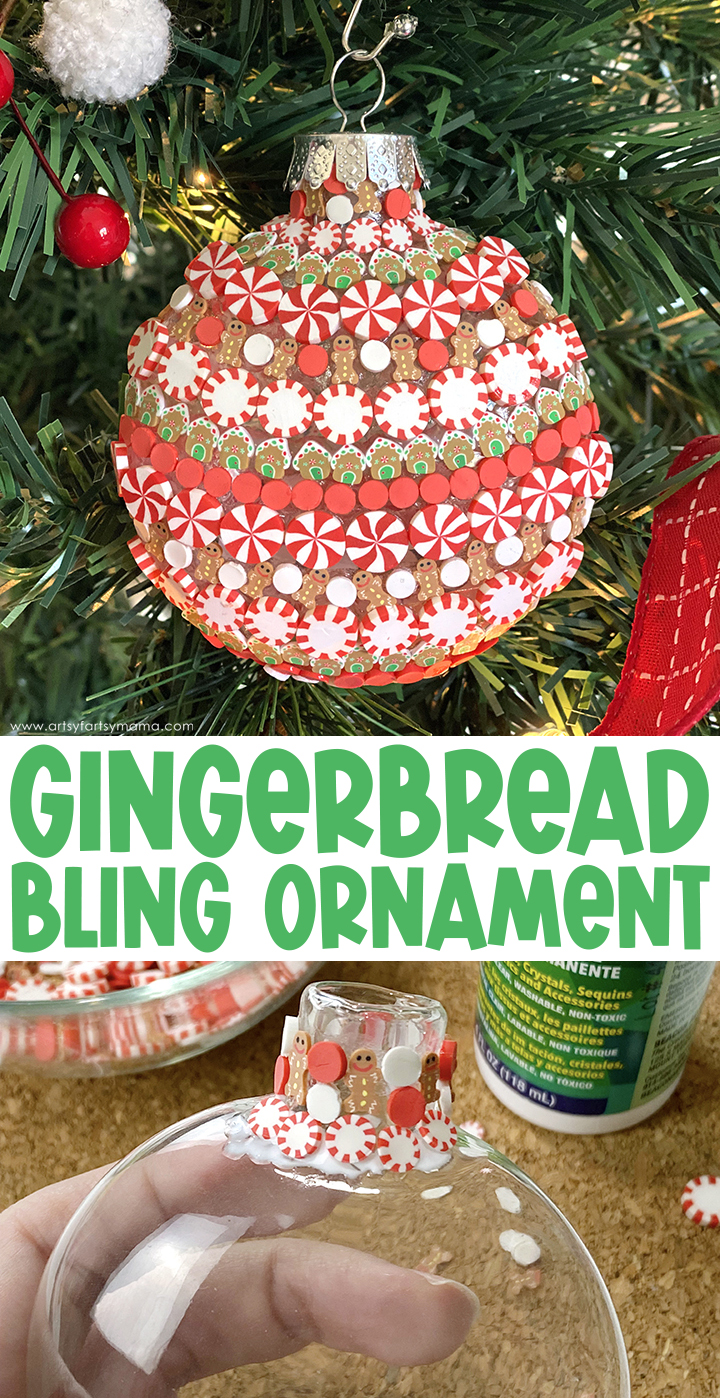
Create an eye-catching Gingerbread Bling Ornament to hang on your tree using Beacon Gem-Tac!
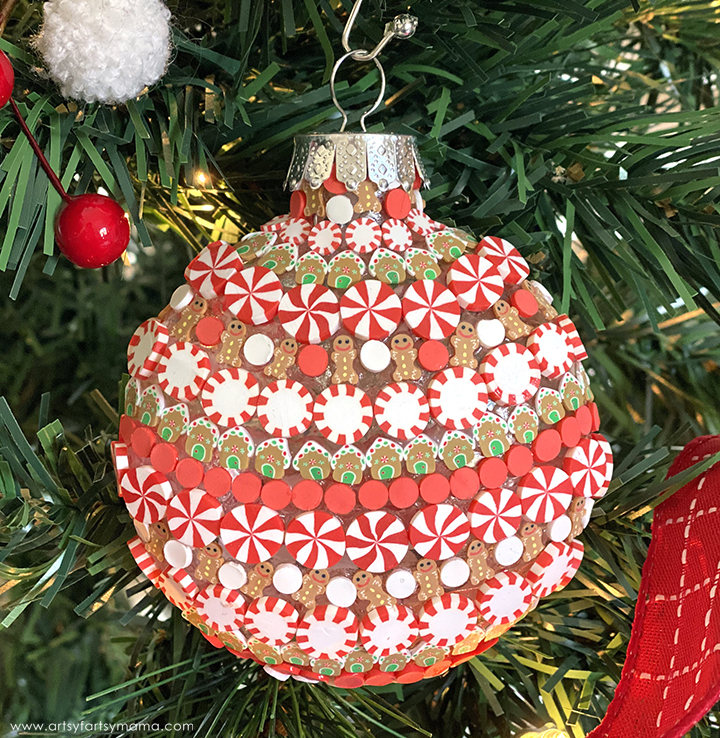
To make your own Gingerbread Bling Ornaments, you will need these supplies:
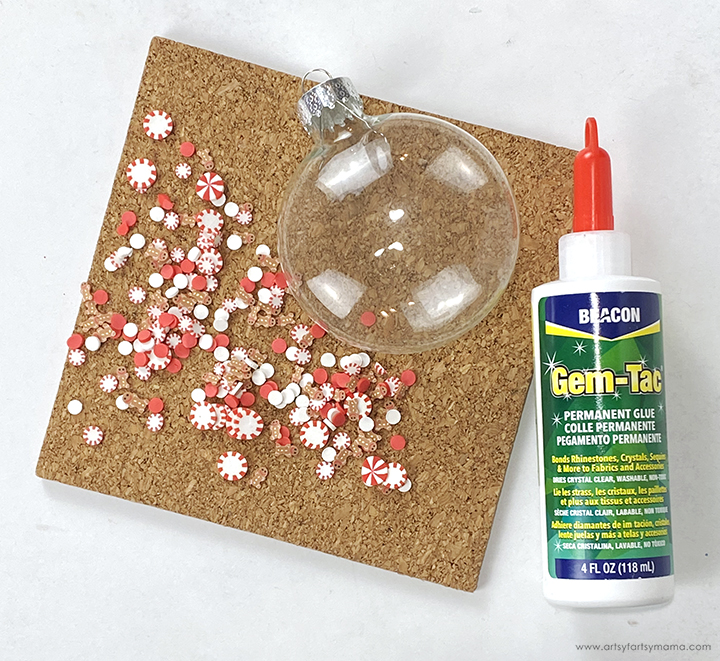
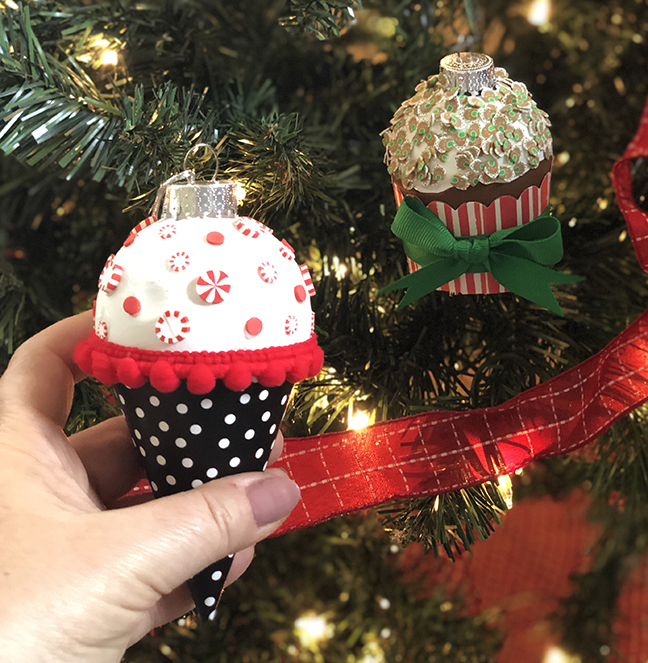
Remove the metal top of a clear flat ball ornament and set it aside. You could use a regular round ornament instead, but I liked the flat shape better for this project. Clean the outside of the ornament with alcohol to remove any dust.
Pour your gingerbread + peppermint polymer clay sprinkles into a small bowl to keep nearby too work from. I also placed a cork trivet down to keep my ornament from sliding around on the table while I was working on it, and it really helped!!
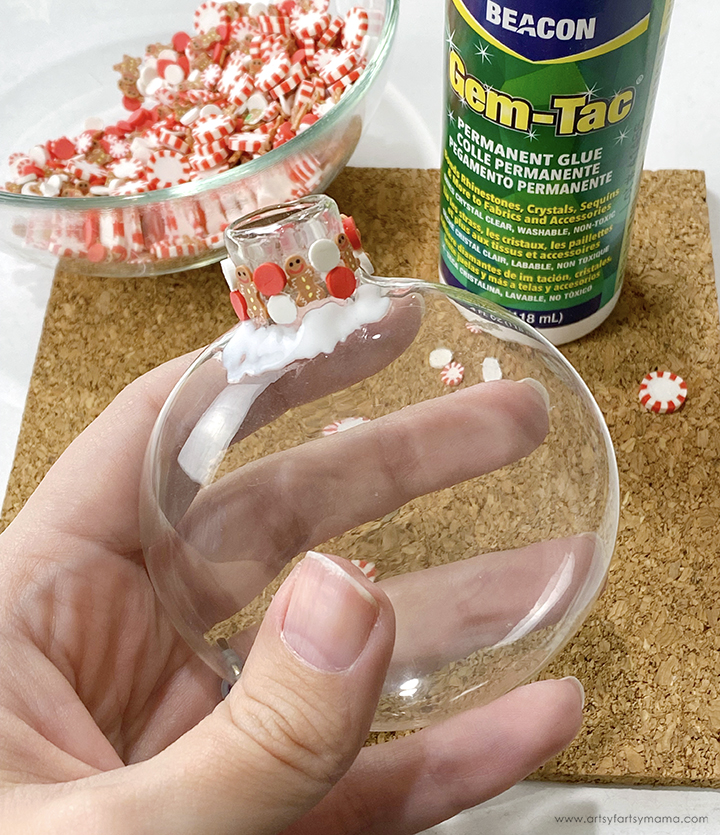
Beacon Gem-Tac is the perfect adhesive for this project. It's strong, dries clear, and is washable while wet. Add a little bit of Gem-Tac about halfway up the top of the ornament. A little goes a long way! Carefully apply sprinkles over the Gem-Tac using your fingers or a jewel picker tool. Once you have placed sprinkles all the way around, add a little more glue just below the sprinkles.
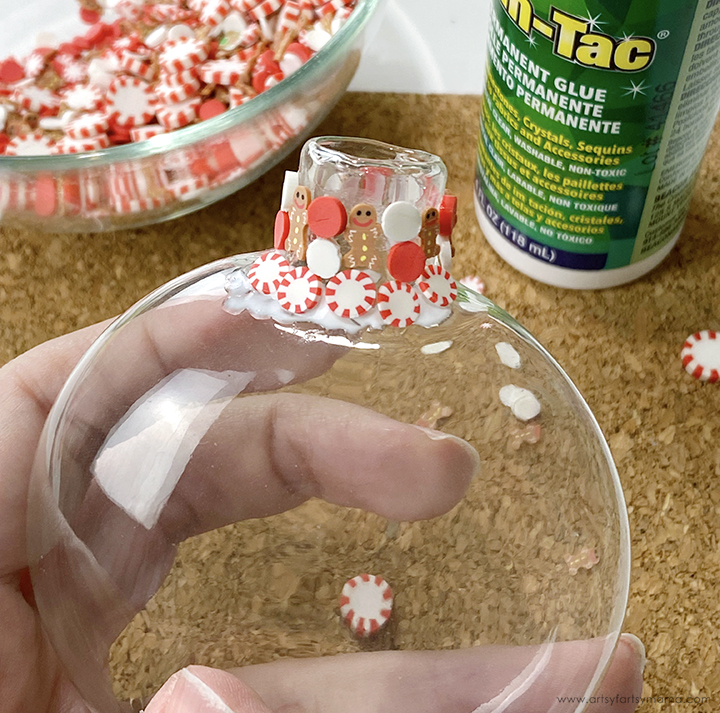
On the next line, I carefully placed miniature peppermint sprinkles. As you can see, the glue under the first line of sprinkles is already turning clear as I worked on the second line! I was really impressed that the sprinkles didn't slide around once placed, and that the glue dried so quickly.
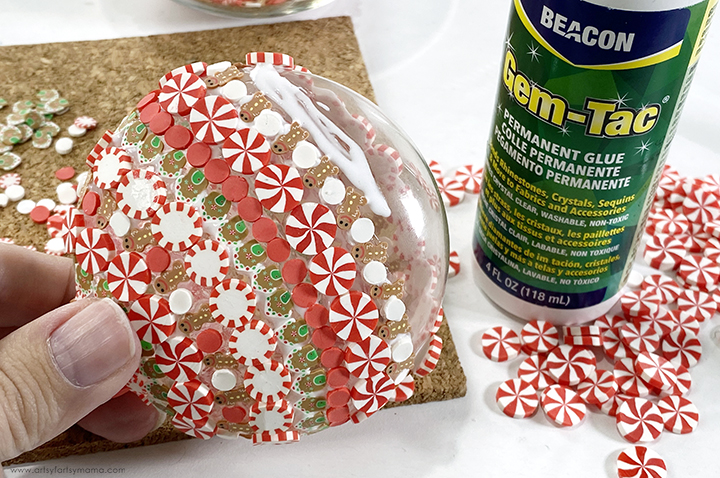
Repeat the process, placing one line at a time on the ornament, alternating sprinkle shapes as you go. I kind of love how all of the sprinkles placed like this look like a not-so ugly Christmas sweater!
For some extra sparkle, you could also place rhinestones of different sizes to the ornament to fill in any empty space or to layer on top of the sprinkles.

Once the ornament is covered, wait for the Gem-Tac to dry completely. You'll know it's dry when the glue is completely clear. Before putting the top of the ornament back on, gently bend the metal flaps on it out a little bit to make room for the sprinkles to fit underneath.
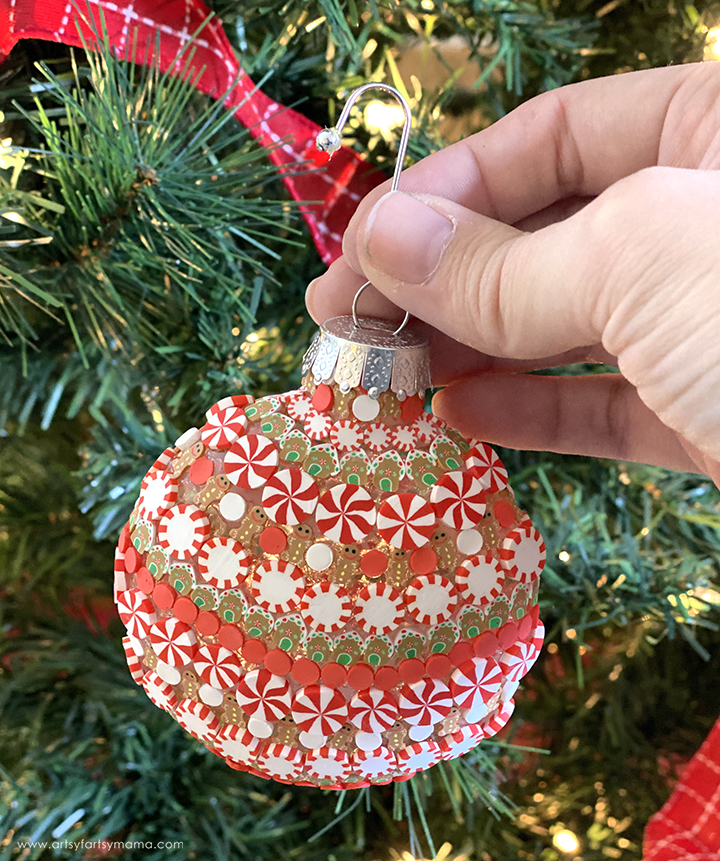
Put an ornament hook through the loop at the top of the ornament and hang it on your tree. Don't you think a tree filled with Gingerbread Bling Ornaments would be so cute? I am so happy that I finally gave this kind of project a try, and can't wait to make even more projects like this in the future!!
For more ornament inspiration using Beacon Gem-Tac, be sure to check out these other projects by Team Creative Crafts:
As always, I would love to see your creations! Share your creations on Instagram, Facebook, or leave a comment/photo on the project pin on Pinterest! #AFMCrafts
Don't Forget to Pin, Like, and Share!