
Learn to make your own silicone molds to create all kinds of custom resin projects!

Molds are a great way to make multiple copies of an object using resin. There are a ton of options out there to buy, but if you have an item you want to replicate, or have designed something yourself, it's actually really simple to make a custom silicone mold! I learned a lot throughout this mold making process, so I am going to teach you some tips and tricks to help you be successful!
Be sure to check out these other Resin 101 posts:
If you want to make a mold, you will need to start with something to make a mold of. This can be practically anything: jewelry charms, cabochons, wood pieces, polymer clay projects, 3D printed objects, and SO much more!
When choosing the item you want to make a mold of, keep in mind that the texture of the item is exactly how your project will come out in resin. For example, if the item is glossy then your project will come out with a gloss finish. Same for matte. Wood and other porous materials will need a coat of sealant to keep the silicone from seeping in.
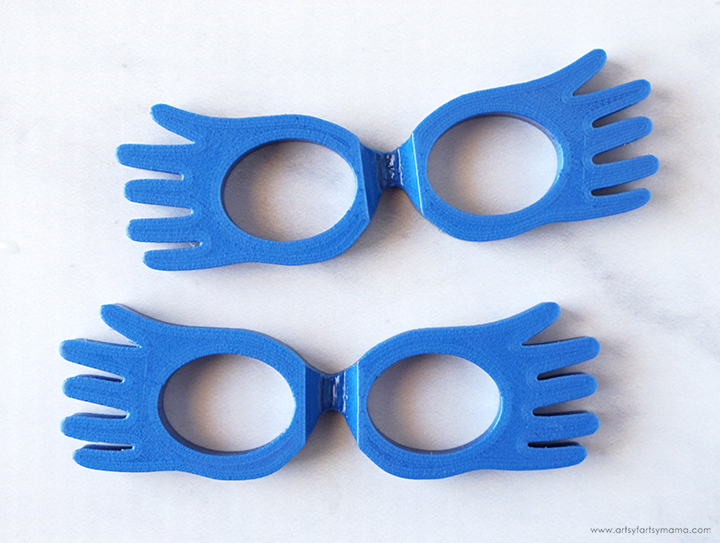
I've wanted to make a Luna Lovegood Spectrespecs straw topper for a while now, but wasn't able to find a mold anywhere. Instead, I designed the straw topper and split it in two halves to create with our 3D printer. The reason I had to split it is because vertical straw hole and the horizontal eye holes makes it almost impossible to create a mold with it all in one piece.
3D printed pieces come out with a matte finish, and have a lot of texture. I wanted a glossy finish, so I applied a few coats of clear gloss resin spray on top until the pieces were completely smooth.
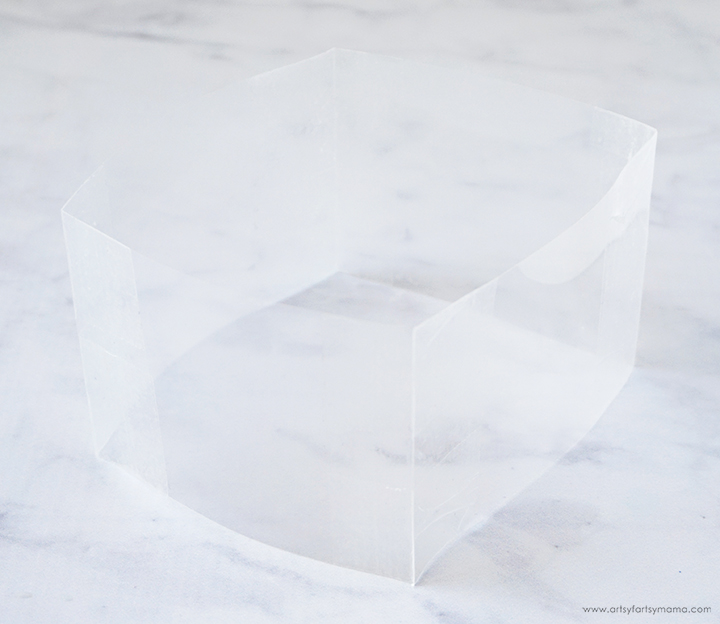
There are a TON of ways to prepare your mold form. You can use plastic disposable containers, metal cookie cutters, or you can build it yourself. I decided to go the full DIY route and used some thick acetate sheets to create the sides of my mold. Lay your original pieces down and measure about an inch around the area to figure out how large the mold needs to be. Cut four pieces of acetate, and tape all of the corners together well on both the inside and outside with packaging tape.

You need something slightly larger than the frame for the base of the mold. You can use a larger plastic lid, acetate, acrylic, or some other non-porous material. I decided to use a piece of StrongGrip Transfer Tape! It's VERY sticky, as the name implies, and it's relatively inexpensive. I cut the piece so I had an inch around the mold frame. Gently press the mold frame down around the edges to get it to stick as well as you can.
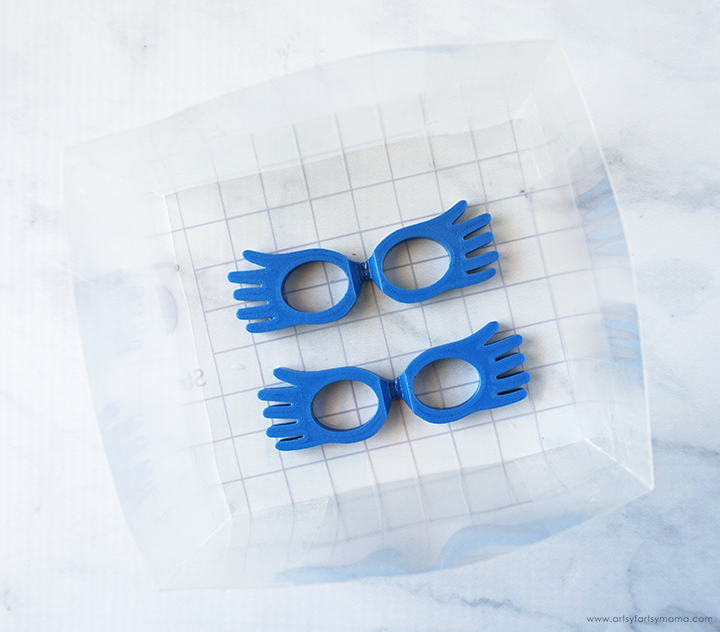
Lay the pieces face-up in the center of the mold frame, being careful not to place multiple pieces too close to each other or the frame. Press them down REALLY well, then carefully turn the mold frame over and hold the pieces in place with one hand, and use a scraper tool to press the transfer tape to the pieces and remove any air bubbles.

To reinforce the seal on the edges of the mold frame, add a thick line of hot glue around the outside of the entire frame, especially on the corners. Let the glue set completely while you mix up the silicone!

EasyMold Silicone Rubber comes in two parts: Part A (white) and Part B (blue). You need to use equal amounts of each part for your mold project. Be sure to read the complete instructions in the package, and always remember to wear gloves!
Tip: If you pour some rice into the mold frame (before adding the transfer tape), you can use that to measure how much silicone rubber you will need to mix!

Measure equal amounts of part A and part B into clean measuring cups and stir them well. Pour them both into a larger cup and use a stirring stick to scrape the edges and mix until you have a consistent color with no streaks. There should be no marbling effect in the mixture (see image comparison above). Also be careful not to mix too vigorously, or you will create extra air bubbles that can affect the quality of the mold.


Fill your mold up until it reaches about 1/2" - 1" above the object*. Tap the sides of the mold and gently throughout the pour to bring any trapped air bubbles up to the surface. Let the mold cure for at least 24 hours.
*I filled my mold quite a bit higher than that, and it turned out just fine. My mold isn't as flexible as it would be if it was thinner, but it is still 100% usable!
To remove the mold from the box, start by flipping the mold over and carefully peeling away the Transfer Tape. It should come away fairly easily, but still, take your time. The original items will probably stay put in the mold, which is totally fine. Leave them there, and then work the mold out of the frame. If you don't want to reuse the acetate, you can use scissors and cut it away.
Last, but certainly not least, carefully remove the original items from the mold. This is my FAVORITE part! They should come out pretty easily, and it is incredibly satisfying. These molds can be used for resin, wax, and clay projects, AND also for food: chocolate, hard candies, ice cubes, etc. Just make sure that you label when a mold is used for food, because they NEED to be kept separate from resin and other non-food projects!
Make sure you check out how the Luna Lovegood Spectrespecs Straw Topper that I made from this mold!!
Don't forget to Pin, Like, and Share!


You make this look so easy. I’ll have to try this.
ReplyDeleteHi Lindsay, I enjoyed reading your description of how you did your silicone rubber mould. I have been searching for a thin pourable silicone for a large beach scene (30”x50”x2” height). I have to carry the products, frame, etc about a mile and the silicone mold needs to cure in a hour or so so I can carry it, and everything else, back out. My thought is to do a first coat of the silicone so it does not need to be the full 2 inches and then use a stronger product with filler (burlap, fiberglass, etc).
ReplyDeleteThe sand will be firm yet damp so I believe I need to spray it with a firming/hardening product like lacquer (lots of thin coats so it dries fast).
Most silicone mould products are so expensive so looking for a reasonably priced option where the intricate details of the sand shapes are captured yet I can carry it out in 2 hours. Any help/advice would be greatly appreciated. This is a personal project that means a lot to me. Thanks for your time and consideration! Dusty Butler, Durham, NC. 919-308-6693, dbutler@fmrealty.com