
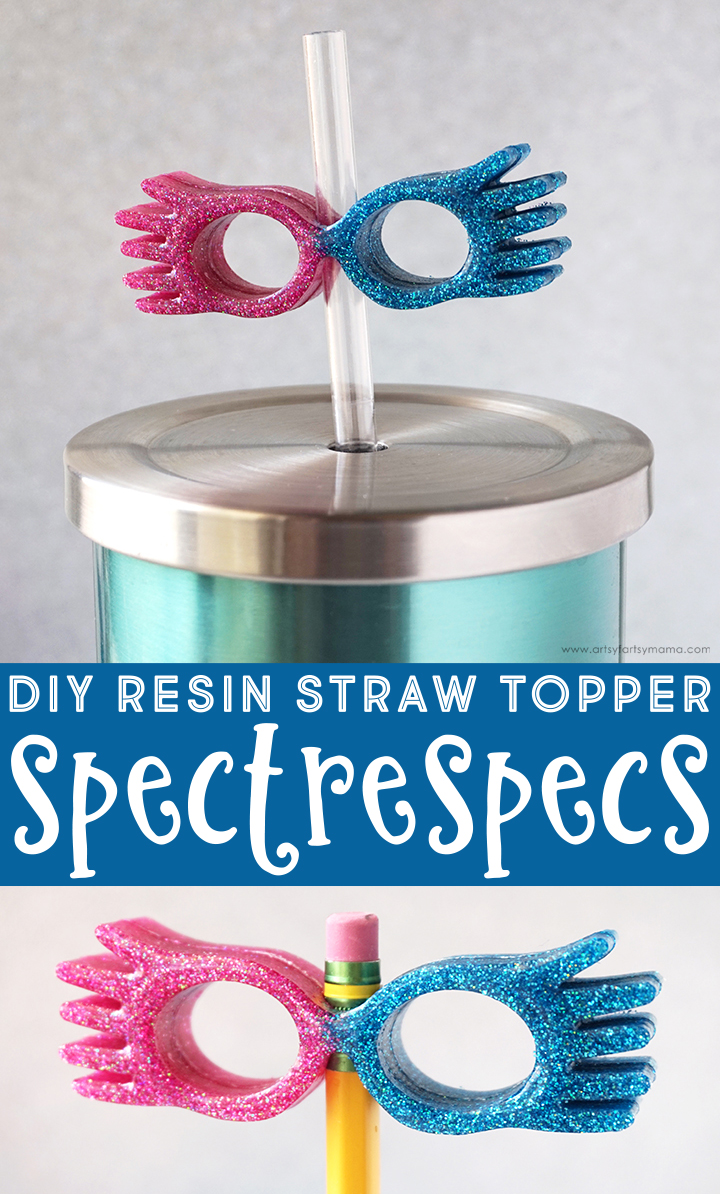
Make your own Luna Lovegood straw topper using your favorite glitters and resin!

Harry Potter is one of my favorite things, and Luna Lovegood is one of my favorite characters. She's quirky, unique, and keeps things interesting. I've been keeping my favorite tumbler with me to keep me cool in the hot weather, and decided to finally make a project that's been on my list: a spectrespecs straw topper! It stays on your straw to keep your cup recognizable, while at the same time showing off your favorite fandom!
This whole process was actually a fun experiment for me. I designed the spectrespecs to print on our 3D printer, then poured the Silicone Mold, and then created the resin piece you see here! I am really proud of myself and have been so excited to show you this project! I hope you love it as much as I do!!
New to resin? Be sure to check out Resin 101: Getting Started with Resin!

To make a Luna Lovegood Spectrespecs Straw Topper, you will need these supplies:
- EasyCast Clear Casting Epoxy
- Measuring Cups
- Stirring Sticks
- Disposable Gloves
- Castin’ Craft Transparent Resin Dyes – Blue, Red
- Fine Glitter – I used a mix of blues, pinks, and an iridescent white
- Spectrespecs Silicone Mold
*Save 10% on resin supplies when you shop ETI with code AFM
Prepare the EasyCast Clear Casting Epoxy according to package directions. Be sure to work in a well-ventilated area and wear disposable gloves. Pour in equal parts of resin and hardener to the mixing cup. Slowly stir the resin mixture together with a stir stick for two minutes.
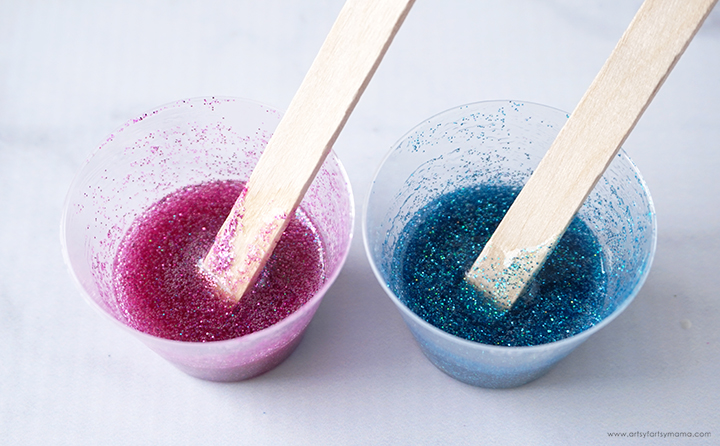
Pour the resin into two clean mixing cups. In one cup, add a drop or two of blue resin dye and sprinkle in a generous amount of blue and iridescent glitter. In the other cup, add a drop of red resin dye and sprinkle in a generous amount of pink and iridescent glitter. Stir the resin mixtures again for another minute or two with clean stir sticks until evenly incorporated.

The pieces are mirrored, so you need to mirror the coloring of each piece (as shown above). Slowly add the resin to each side until the mold is filled to the bridge of the spectrespecs. Because the mold is on the small side, I used a toothpick to fill the mold cavities.

Alternate adding blue and pink resin to the center to get a blended look where the colors meet. Use a toothpick to gently mix them along the center line.
Pop any bubbles that rise to the top using a lighter, a heat gun, or by blowing through a straw. Leave the resin to cure in an undisturbed, well ventilated area for 24 hours. You will know that the resin is completely cured when it is no longer tacky to the touch.

Once the resin is completely cured, carefully remove the pieces from the mold. The bridge area is the weakest point, so be extra careful around that area.
One thing about combining glitter in resin is that glitter will sink to the bottom. As you can see, one side of the spectrespecs is a lot more sparkly than the other. Usually, the project is face-down inside the mold and this is just what you want to happen. Unfortunately for this project, the top of the mold (without all the glitter) is the face of the project.
Not to worry, though. There's a simple fix!

Mix up a small batch of EasyCast Clear Casting Epoxy (maybe 1 oz or so) and split into pink and blue mixtures using dyes and glitters like before. Remember to work in a well ventilated area and wear gloves! Lay the resin pieces face-up on your workspace. Use a toothpick to carefully cover the top of the pieces completely without going over the edges. If you lean down at an angle (as pictured), you can see any spots that you have missed in the glare/light reflections (for example: there's a tiny spot I missed toward the inside of the lens on the bottom pink piece).
This process is call "doming", and it will give your piece a glossy, domed look. Make sure not to put the resin on too thick, otherwise it could run down the sides, pool in the back, and ruin your project.
Again, pop any bubbles that rise to the top using a lighter, a heat gun, or by blowing through a straw. Leave the resin to cure in a well ventilated area for 24 hours.

Add a few, SMALL drops of strong adhesive along the back side of one of the pieces. Carefully lay the other piece on top and line them up. Press them together well, and immediately remove any glue that seeps out (if any). Leave the adhesive to dry for a couple of hours.
Now you can slip the straw topper onto the straw of your favorite tumbler to show off your Luna Lovegood weirdness while staying hydrated! I have gotten so many compliments on this straw topper, and think they will be fun to make for fellow Luna fans as gifts!

What do you think?
Would you like to see more resin straw/pencil topper ideas?
Don't forget to Pin, Like, and Share!


I was wondering last week how this would work as a straw. It turned out so cute! Kids will love it, for sure.
ReplyDelete