
This is a sponsored conversation written by me on behalf of Cricut. The opinions and text are all mine.
Head back to school in style with this DIY Super Star Backpack and Lunchbox set!

The end of summer is on the horizon, which means it's getting to be time to start thinking about school supplies. Every kid wants something original to take to class, and that is easy to do when you can easily customize your school supplies with the Cricut! This DIY Super Star Backpack and Lunchbox was a lot of fun to make, and I hope it inspires you to customize your school supplies this year, too!
This post contains affiliate links for your convenience. As always, I only share products that I use myself and truly recommend!
- Blank Backpack and Lunchbox Set*
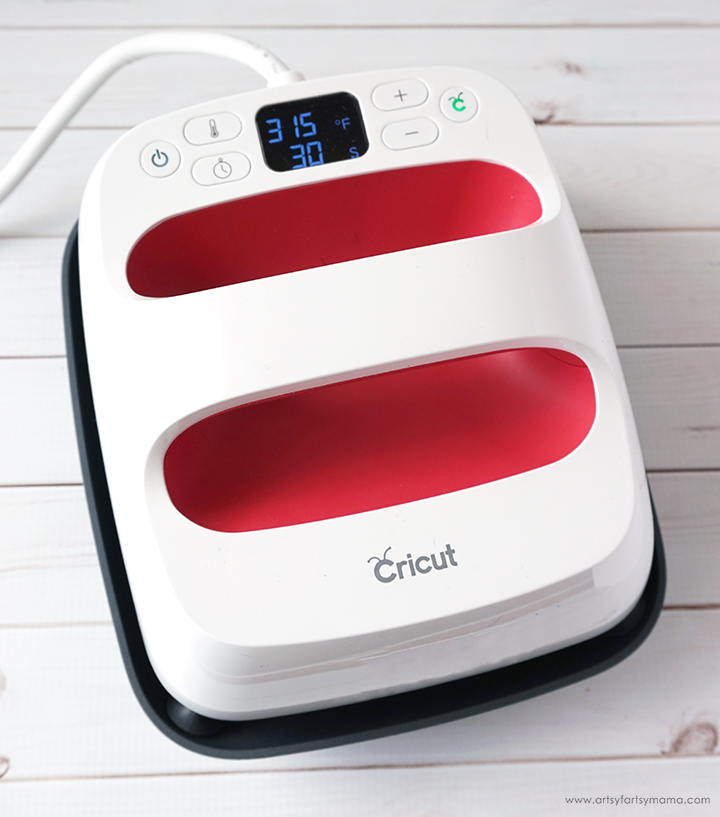
- Cricut Maker or Cricut Explore machine
- Everyday Iron-On Vinyl, black
- Foil Iron-On, gold
- Iron-On Protective Sheet
- 6"x7" EasyPress 2
- 8"x10" EasyPress Mat
*Make sure that the backpack/lunchbox you choose has a fabric exterior.
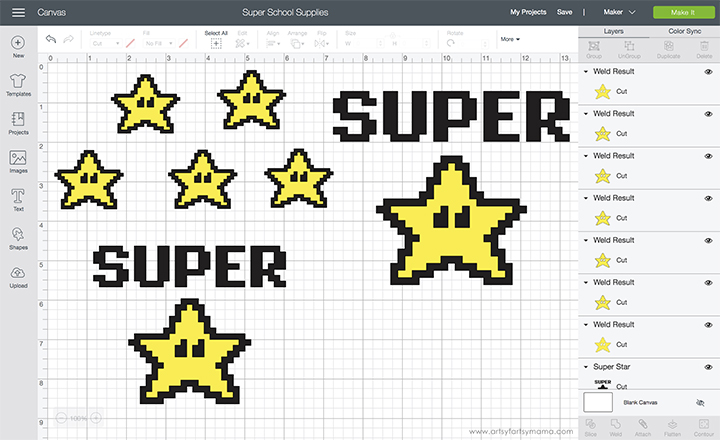
Open the Super Star Project in Design Space. Select "Customize" to make adjustments to sizes, colors, or to make more stars to fit your backpack and lunchbox. When finished, click the green "Make It" button in the top right corner.
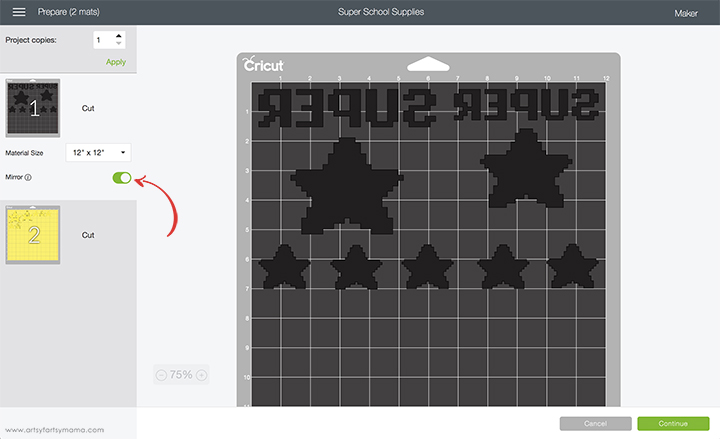
Make sure to mirror the images before cutting the iron-on vinyl! If you don't, your design will be backwards when you put it on the backpack and lunchbox. To do this, select one of the mat thumbnails before cutting, and click the "Mirror" toggle to reverse the image.
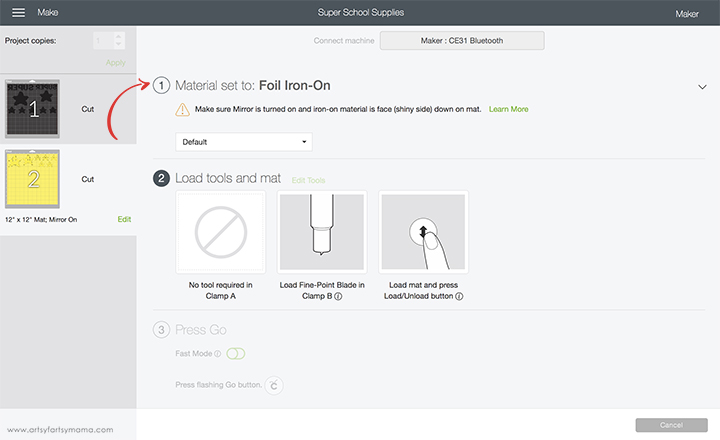
Change the material setting by clicking the dropdown menu and select the type of iron-on vinyl you are using to make sure to get the perfect cut the first time.

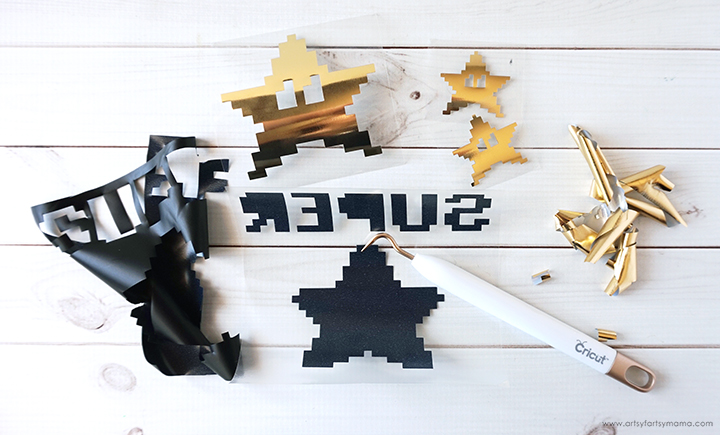
Lay the vinyl face-down on the mat, load it into the machine, and then click the "Go" button to start cutting.
Cricut Iron-On Vinyl comes with the StrongBond Guarantee - if you aren't completely satisfied with the iron-on vinyl on your projects, Cricut will replace it for free. Seriously! This means that you don't have to worry about your back to school projects not making it through the bus rides, walks to school in all kinds of weather, tumbling around in the classroom, or pretty much anything you can imagine!
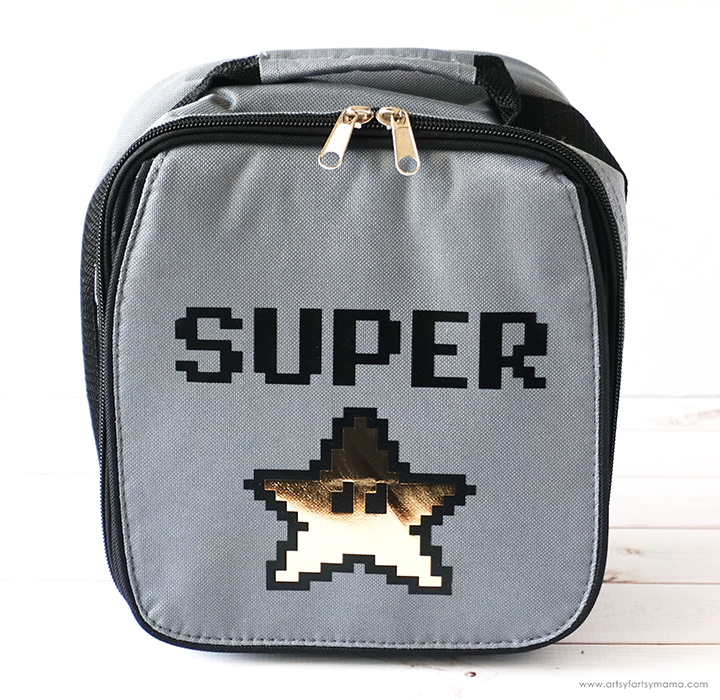
Wasn't that easy?! Kids of any age will get excited for lunch with this shiny (literally) new lunchbox!
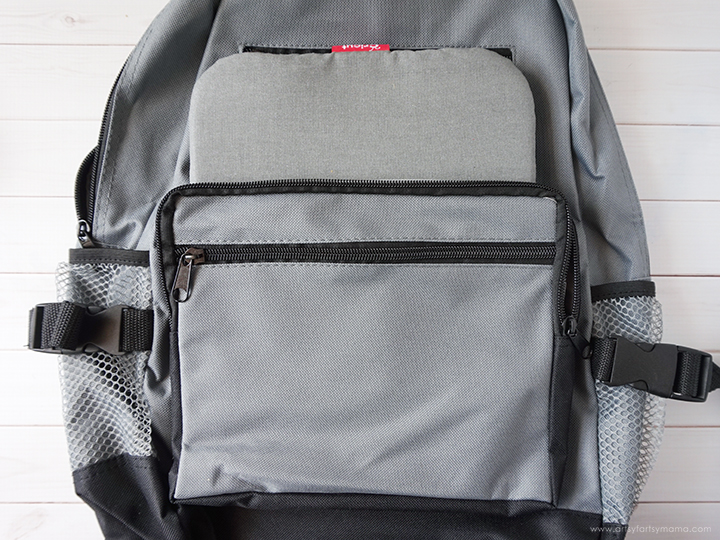
Set the EasyPress for Everyday Iron-On Vinyl. Put the EasyPress Mat inside the front pocket of the backpack.
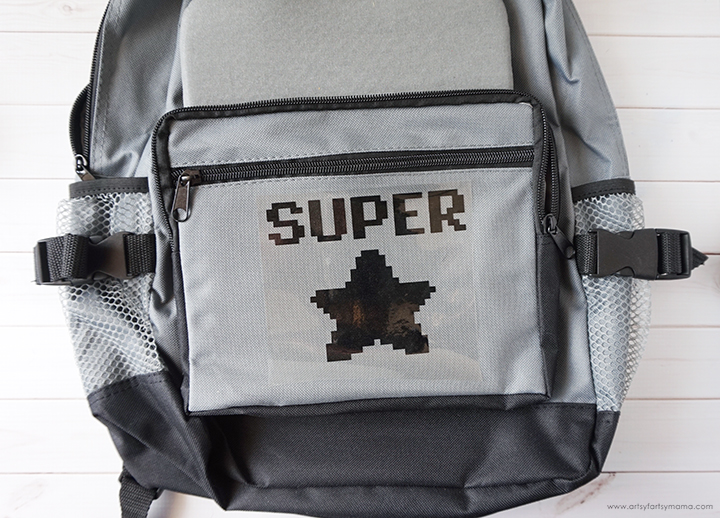
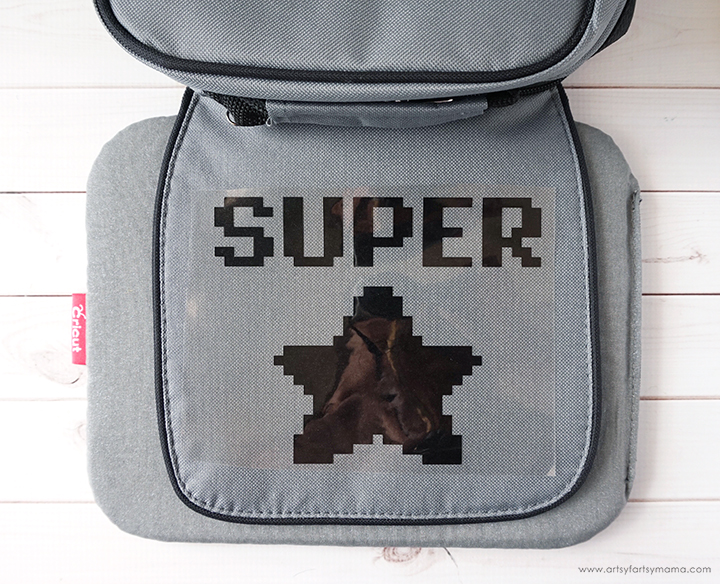
Center the black Everyday Iron-On Vinyl on the front pocket of the backpack, with the clear carrier sheet facing up. Place the Iron-On Protective Sheet on top to protect the fabric and set the EasyPress down on top. Press the green "C" button and hold firmly in place while the timer counts down. Peel the carrier sheet away while the vinyl is still warm (NOT hot).
Next, put the EasyPress Mat inside the backpack so that you can press the smaller black stars on the top portion of the backpack. Lay the vinyl down, and press it the same way that you did on the pocket (and the lunchbox).
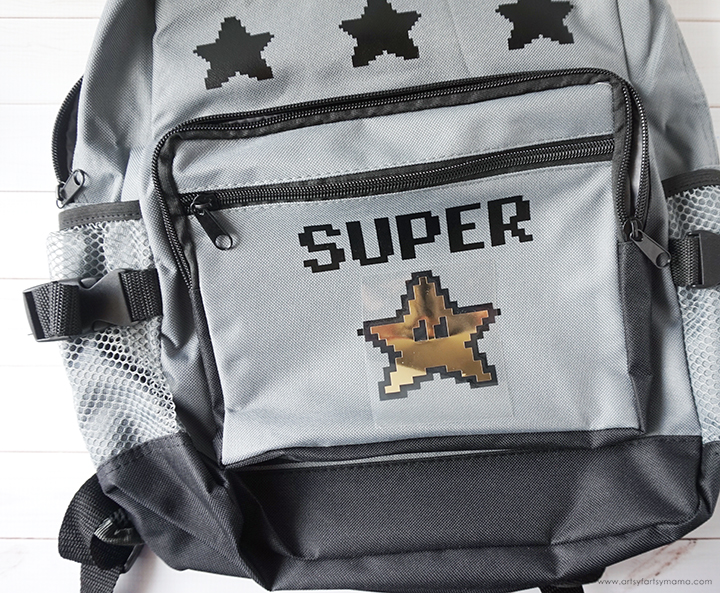
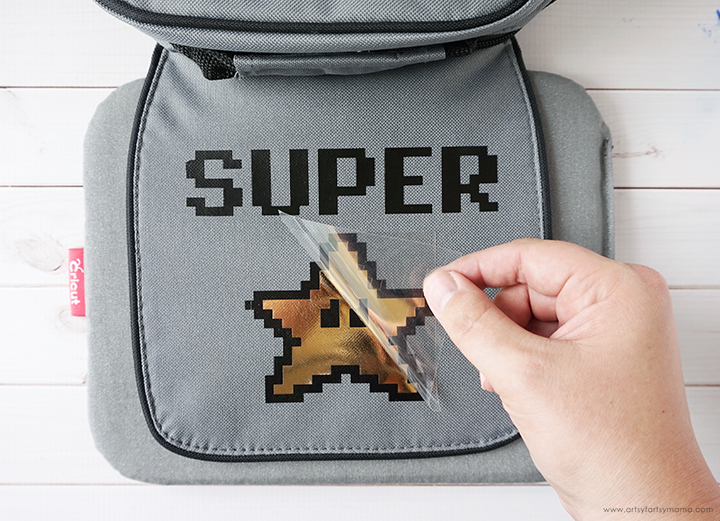
Place the stars cut out of Foil Iron-On over the black stars, and cover with the Iron-On Protective Sheet to protect the black vinyl and fabric. Adjust the EasyPress 2 settings for the foil vinyl, and then press the vinyl into place the same way on both the front pocket and the top section of the backpack. Remove the carrier sheets when the vinyl is cool.
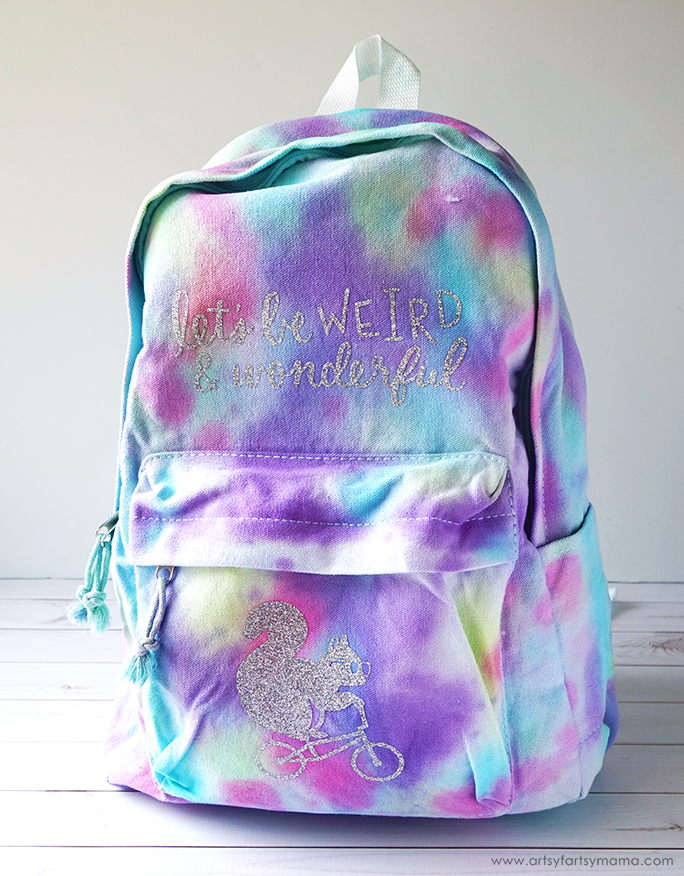
This DIY Tie Dye Backpack is another fun way to customize a backpack:
How will you customize your backpack or lunchbox?


These are sooooo cute! I love the idea of personalizing your backpack like this, it never even occurred to me.
ReplyDelete