Embrace the comfort of staying in with this FREE "Homebody" SVG cut file! Perfect for making cozy sweatshirts, coffee mugs, and home decor with your Cricut or Silhouette.

Grab your favorite sweatpants and cancel your weekend plans to create something cozy with this FREE "Homebody"
SVG cut file! Whether you're making an oversized sweatshirt for lounging on the couch, a mug for your morning coffee, or warm decor to make your space feel like a home, this design is a fun and creative way to celebrate the comfort of staying in.
Looking for even more cozy inspiration? Check out the bottom of this post for 16 additional FREE cozy cut files to keep your creative momentum going. Grab your
Cricut or Silhouette and let's get crafting!
To make your own "Homebody" shirt, you'll need these supplies:
Printables and cut files from Artsy-Fartsy Mama are for personal use only. You may use these in an educational setting, but you may not sell them. If you'd like to share this printable digitally, share a link to this post/website only. Do not share a direct link to the printable/cut file.

Upload the
"Homebody" cut file into Design Space and size the image to fit your shirt. Select different parts of the design and change colors as necessary. Get creative using your favorite colors, or add some sparkle with
glitter HTV.
Select all parts of the design that are the same color and then click "Attach" in the bottom right menu or in the menu below the selected image to keep the elements connected. If you don't attach them, all of the parts of the design will arrange themselves randomly to fit the mat instead.
Before cutting iron-on vinyl, make sure to mirror your image! If you don't, your design will be backwards when you put it on the shirt. To do this, select the mat thumbnail in Design Space before cutting, and click the "Mirror" toggle to reverse the image.
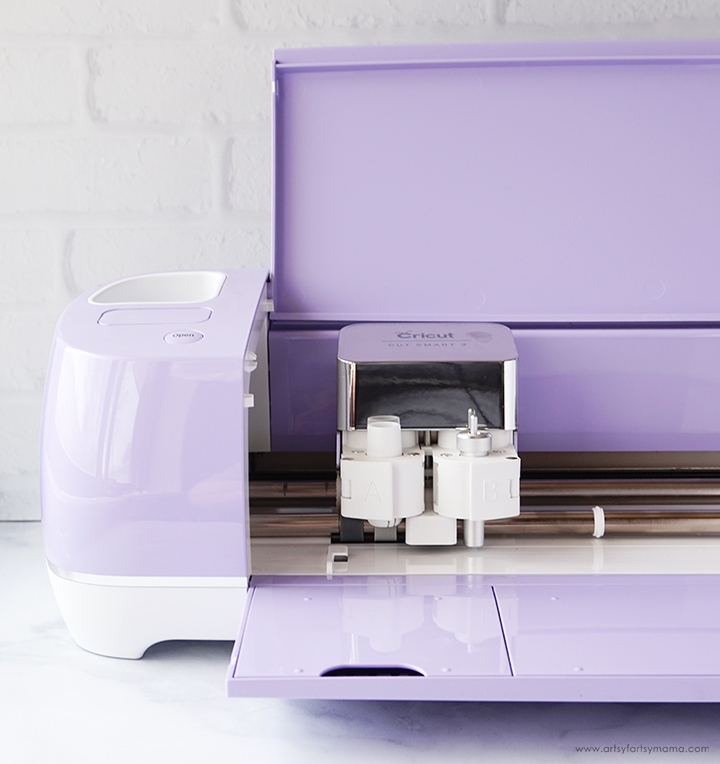
For my shirt, I cut white
HTV with my
Cricut Explore Air 2 machine. Place the vinyl face-down on the mat, and load it into the machine. Change the material settings to the type of vinyl you are cutting, and then click the "Go" button to cut the vinyl.
"Weed" the excess vinyl by removing all of the parts that don't belong in the design. I usually peel away the outer edges first (starting at the corner), and then work my way around the design. Then I use
weeding tools to help remove the smaller pieces of the design.

Each kind of HTV has a different heat and time setting, so be sure to check the recommended settings before getting started, but typical HTV settings are usually around 293–302°F and pressing for 15 seconds. Adjust the heat and time setting to your shirt and vinyl specifications.
When the heat press is up to temperature, place your shirt on the heat-resistant mat and preheat the area for 5-10 seconds. Lay the HTV down on the shirt, with the clear carrier sheet facing up. Press the shirt according to recommended directions. Turn the shirt over and press again for 15 seconds.
Peel off the carrier sheet while the vinyl is still warm. If you are layering vinyl, repeat the process for each of the different colors of vinyl, but be sure to protect the vinyl that is already on the shirt with a teflon sheet.
The cut file comes with multiple file types, so you can cut the design with any vinyl cutting machine. I hope you enjoy using this cut file, and I would absolutely LOVE to see your creations!! Tag me on
Instagram and
Facebook, and leave a comment/photo on the project pin on
Pinterest!
Like this project? Don't forget to Pin, Like, and Share!