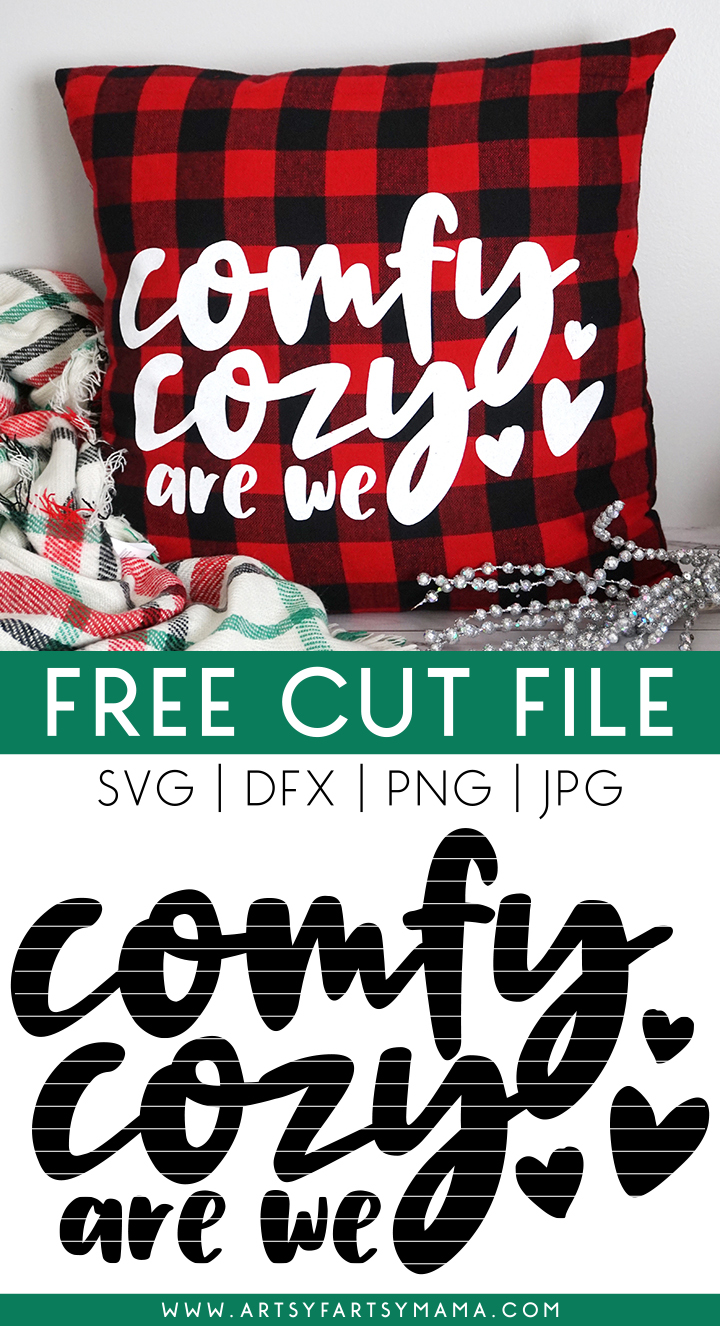
Make a "Comfy Cozy" Pillow (with FREE cut file) to brighten up your home this holiday season!
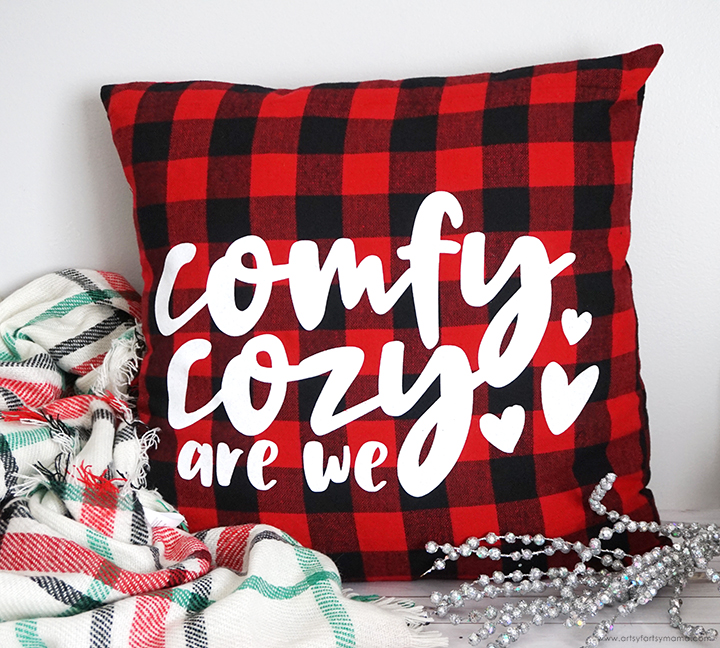
What is your favorite Christmas song? I love them all for different reasons, and think it's so fun to incorporate little bits of lyrics throughout my holiday decor. What song could be more appropriate for a soft and fluffy pillow than the "comfy cozy are we" line from the Sleigh Ride song? I am loving this new piece for Christmas, and hope you have fun using the FREE cut file for your own holiday decor!
To make your own Comfy Cozy pillow, you'll need these supplies:
- 20" Pillow (save 20% with code pillowpartyLindsay)
- Buffalo Plaid fabric
- Sewing machine, sewing accessories
- "Comfy Cozy" cut file (commercial use available)
- Cricut Maker or Cricut Explore Air 2 machine
- HTV/Iron-On Vinyl OR
- Glitter HTV/Iron-On Vinyl
- EasyPress 2
- EasyPress Mat
- Iron-On Protective Sheet
- Weeding Tools
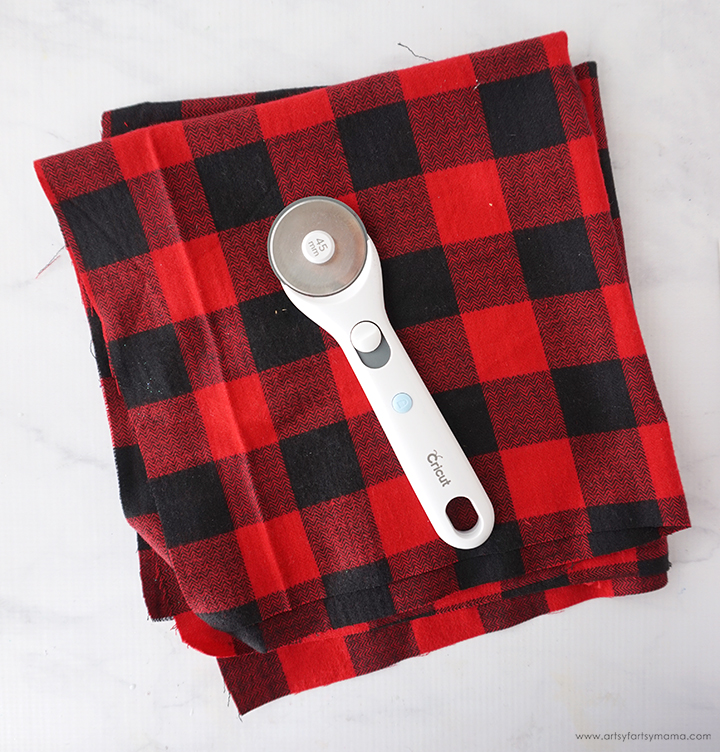
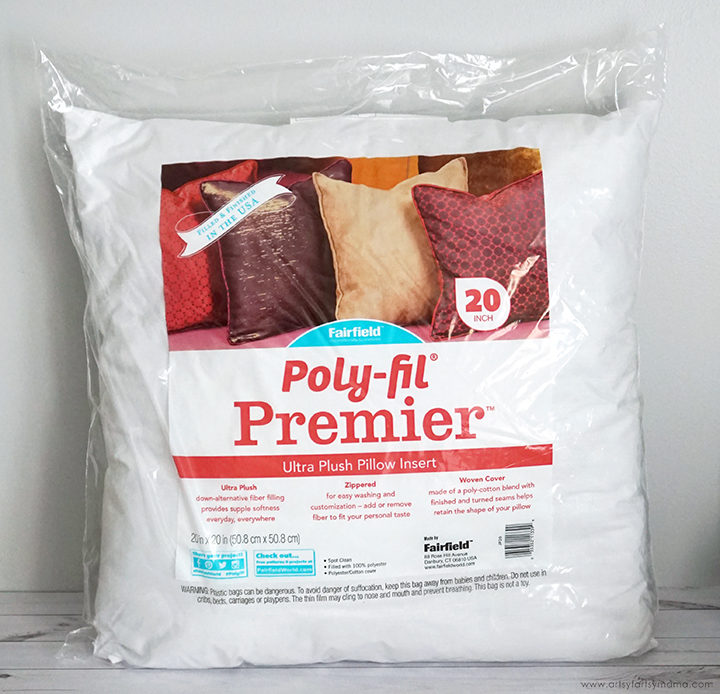
I followed this helpful envelope pillow cover tutorial to make a simple pillow cover using a soft buffalo plaid fabric. This pattern is quick, easy for beginners, and looks so cute! I recommend making the cover 19" instead of 20" so that that pillow looks a little more fluffy when finished. The pillow insert fits perfectly, and you can make an entire collection of seasonal pillow covers to switch out through the year!!
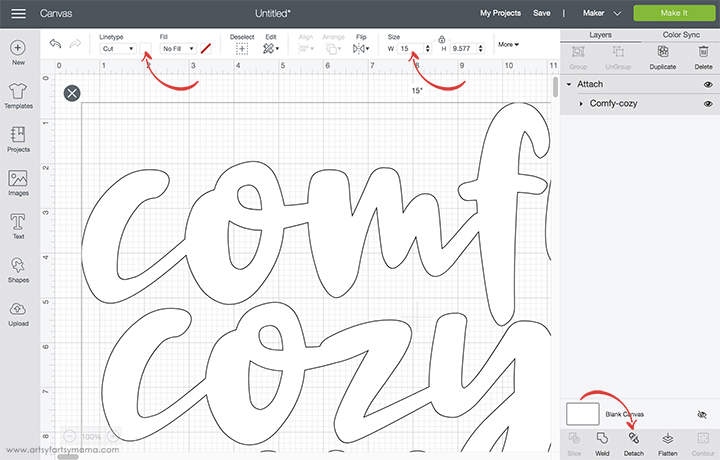
Upload the "Comfy Cozy" cut file into Design Space and size the image to fit the pillow. Select different parts of the design and change colors as necessary. To keep the design elements together, select the same colored parts of the design and click "Attach" in the bottom right corner. When you're done editing, click the green "Make It" button in the top right corner.
The cut file includes multiple file types, so you can actually cut the design with any cutting machine. All I ask is that this file is for personal use only, however, commercial use IS available! I hope you enjoy using this cut file, and I would absolutely LOVE to see your creations!!
*Here's a great tutorial on how to upload your own images into Cricut Design Space.
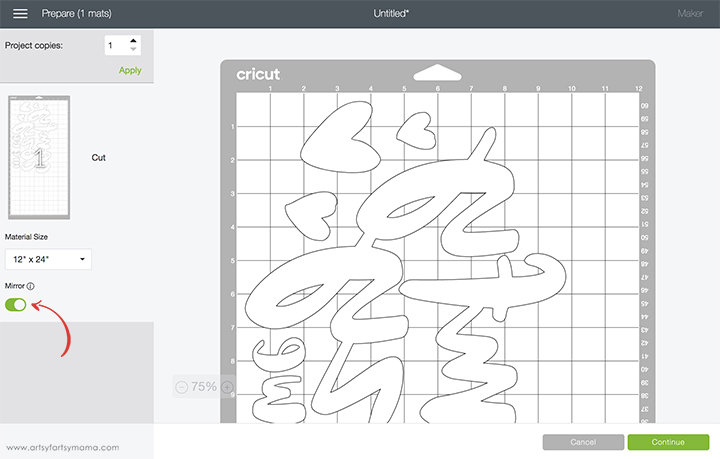
Make sure to mirror the image before cutting the iron-on vinyl! Otherwise, your design will be backwards when you put it on the pillow cover. To do this, select the mat thumbnail and click the "Mirror" toggle to reverse the image.
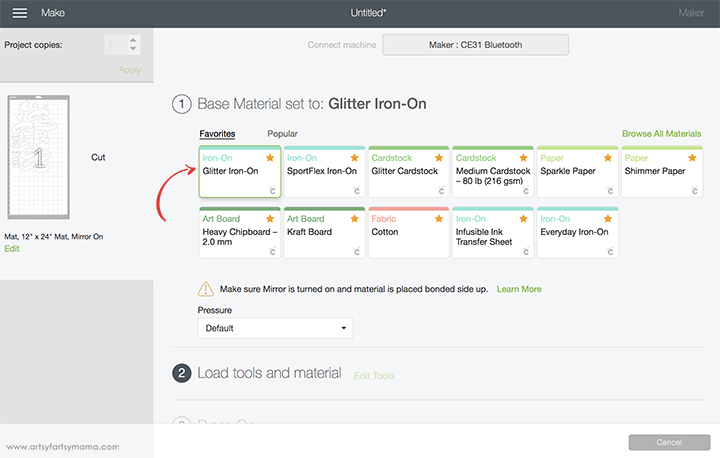
For this pillow, I used I used white Glitter HTV. Place the vinyl face-down on the mat, and load it into the machine. Change the material settings to the type of vinyl you are cutting, and then click the "Go" button to cut the vinyl.
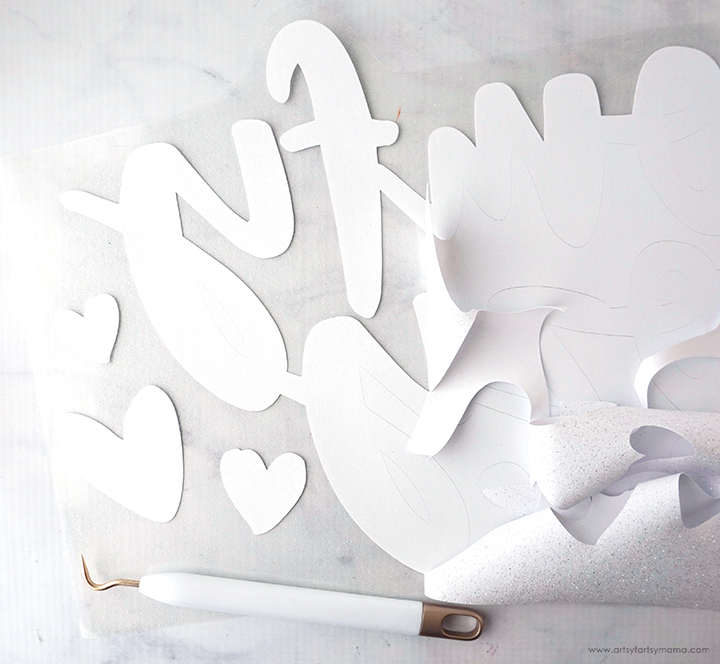
"Weed" the excess vinyl by removing all of the parts that don't belong in the design. I usually start peeling away the outer edges, starting at the corner and then working my way around the design. Then I use weeding tools to remove the smaller pieces of the design.

Center the vinyl on the front of the pillow cover. My easy way to do this is to fold the fabric in half and lay it down. Carefully fold the vinyl in half, and make fold marks on the carrier sheet. Line up the fabric fold and the creases on the carrier sheet. Press the carrier sheet down well so that it sticks to the fabric, and voila!
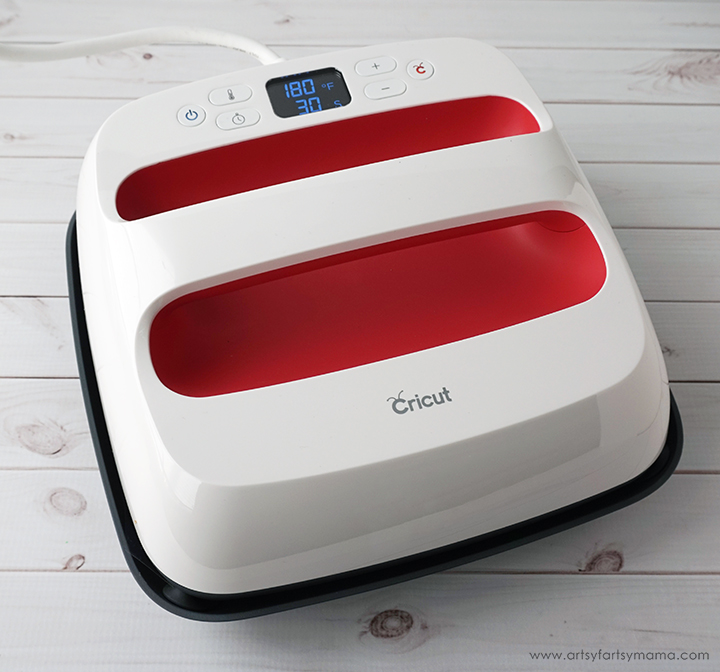
Plug in the EasyPress 2 and power it on. Each kind of HTV has a different heat and time setting, so be sure to check EasyPress Heat Guide before getting started. Adjust the heat and time setting to your fabric and vinyl specifications. Once the light turns green and the machine beeps, it's ready to use.
When the EasyPress is up to temperature, place your pillow cover on the EasyPress Mat and preheat the area for 5-10 seconds. Lay the HTV down on the cover with the clear carrier sheet facing up. Set the EasyPress over the vinyl and press the green "C" button. Hold firmly in place while the timer counts down.
If you use different vinyls, it's important to protect the vinyl that's already been pressed. Place the other cuts of vinyl onto the fabric, and cover with the Iron-On Protective Sheet. Press the vinyl into place with the EasyPress 2 the same way.
If you use different vinyls, it's important to protect the vinyl that's already been pressed. Place the other cuts of vinyl onto the fabric, and cover with the Iron-On Protective Sheet. Press the vinyl into place with the EasyPress 2 the same way.
Turn the pillow cover over and press with the EasyPress firmly again for 15 seconds. Peel off the carrier sheets. If some of the vinyl isn't sticking, cover it again with the Iron-On Protective Sheet and press it down, following the same directions as above.
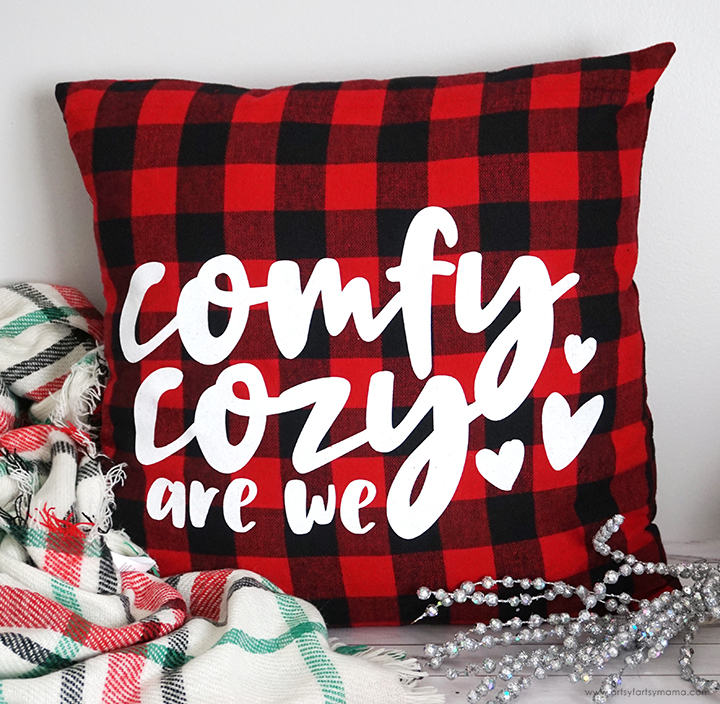
Place the pillow insert into the pillow cover through the opening in the back. Make sure to fit the pillow corners into the cover to make it nice and square. I am absolutely in love with this comfy, cozy, and extra sparkly new piece of holiday decor! As always, I would love to see YOUR creations if you decide to make this yourself. Please share your projects and tag me on Instagram, Facebook, or leave a comment/photo on the project pin on Pinterest!
Don't forget to Pin, Like, and Share!