
This wooden "It's Frickin' Bats in Here" Halloween Sign is a fun and frickin' festive piece of decor!

It's spooky season, and I'm SO ready for it! This "It's Frickin' Bats in Here" Halloween Sign is a lot of fun make, easy to assemble, and is such a frickin' festive piece of decor. I love that my xTool S1 laser cutting machine does all the work of cutting the pieces out so that all I have to do is paint and assemble the sign. I absolutely love how this project turned out, and I hope that you feel inspired to give it a try for yourself!
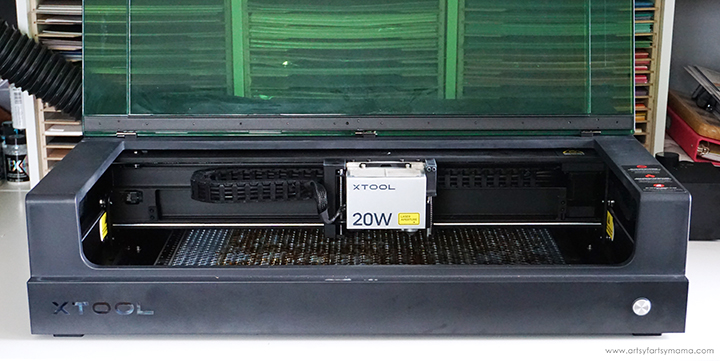
New to laser cutting? Be sure to check out how to get started with the xTool S1 Laser Machine!


To make your own "It's Frickin' Bats in Here" Halloween Sign, you will need these supplies:
- xTool M1 or xTool S1 laser cutting machine
- "It's Frickin' Bats in Here" Sign Design
- 3mm Basswood
- Acrylic Paint - black, white, purple
- Stain/Chalk Paint Wax
- Paint Brushes
- Strong Adhesive
- Clamps (optional)
*Save extra 15% off on xTool selected materials: AFFMTRS15

Upload the "It's Frickin' Bats in Here" design into xTool Creative Space. When you upload an SVG design, you need to make sure each part of the design is set for cutting, scoring, and/or engraving. For this project, I set everything to be cut in purple and the parts to be scored are orange.
Place a piece of 3mm basswood into the xTool S1 machine. Manually pull the laser box with your hand so that the red "+" is located on the material - it doesn't have to be centered. In XCS, you will see "Distance (mm)" in the right menu bar. Click on the target icon to the right of that space, and the machine will automatically measure your material.
*For more details on how to complete this step, be sure to check out my review of the xTool S1 Laser Machine!
Make sure that the design elements are within the marked bounding box in XCS, and then click the green "Process" button in the bottom right corner to proceed to cutting the project.
After removing the wood pieces from the machine, I would highly recommend cleaning the soot away from around the edges of the wood using a Magic Eraser or baby wipes to prevent making marks all over your hands and workspace.

Paint or stain the bat border piece. I used a brown chalk paint wax to stain, but you could use a watered-down acrylic paint instead. If one coat doesn't cover the wood all the way, make sure that the first coat is completely dry before adding another layer.

Next, paint the circle board, bats, and lettering with acrylic paint and allow them to dry completely. If necessary, add an additional coat for full coverage. I painted the circle in white, the cursive letters in purple, and the other lettering and bats in black.

Gather all of the pieces together to assemble the sign. Because wood isn't always perfectly flat, I highly recommend having a set of small clamps on-hand to keep the pieces in place while the adhesive sets.
Speaking of adhesive, I always use something that's strong, dries quickly, and is clear. The first two are for obvious reasons, but I like using clear adhesive because it's not as noticeable if any of it seeps out from between the wood pieces.

Apply small drops of adhesive all around the back of the bat border piece and then center it on the front of the board. Use clamps to hold the pieces together until the adhesive sets.

Next, apply adhesive to the back of the letters and attach them to the sign, aligning them up with the scored lines on the sign. Having these scored lines on the board first ensures that the pieces go on exactly where they are needed.
Dry fir the bats in place first to make sure you have them all in the correct spot (they will align perfectly with the border piece). Then add adhesive to the back of the bats and press them into place. Use clamps to hold them in place, if necessary.

Here's a little hack I use to hang up lightweight signs like this: use a pop tab! Make a mark with a pencil where you want the hanger to go, then add some strong adhesive to the back of the tab. Press it into place and add hot glue around the area for a more secure hold.

Now Halloween is officially ready to begin!! Needless to say, I am LOVING this new "It's Frickin' Bats in Here" Sign, and it was so much fun to make. As always, I would love to see what you're making! Share your creations on Instagram, Facebook, or leave a comment/photo on the project pin on Pinterest! #AFMCrafts.
Don't forget to Pin, Like, and Share!


