
Brighten up your day AND your wardrobe with a sparkling pair of Glitter Rainbow Earrings!

I think everyone needs a pair of statement earrings in their jewelry collection, and these Glitter Rainbow Earrings are mine! They were so easy to make using my xTool machine and a *bit* of glitter, and I absolutely love how they turned out. They are bright, colorful, and a whole lot of fun! Since they are totally DIY, you can easily change up the colors to suit your style. I hope you get inspired to give this project a try!


To make your own Glitter Rainbow Earrings, you will need these supplies:
- xTool M1 or xTool S1 laser cutting machine
- Rainbow Earring Design (for personal use only)
- 3mm Basswood
- Acrylic Paint or Paint Markers
- Fine Glitter (same colors as paint)
- UV Resin with UV Light
- Small Resin Mixing Cups
- Toothpick
- 2 10mm Jump Rings
- 2 Earring Posts
- Strong Adhesive
- Jewelry Pliers
Printables, designs, and cut files from Artsy-Fartsy Mama are for personal use only. You may use these files for personal projects, but you may not sell them. If you'd like to share this project digitally, share a link to this post/website only. Do not share a direct link to the file.

Upload the Rainbow Earring design into xTool Creative Space. In the right menu bar, change the material setting to 3mm Basswood. When you upload an SVG design, you need to make sure each part of the design is set for cutting, scoring, and/or engraving. For this project, everything in red needs to be set to cut, and the blue lines need to be scored.
*Feel free to adjust the size of the earrings to suit your preferred earring length. The pieces I cut were about 1.75" tall.
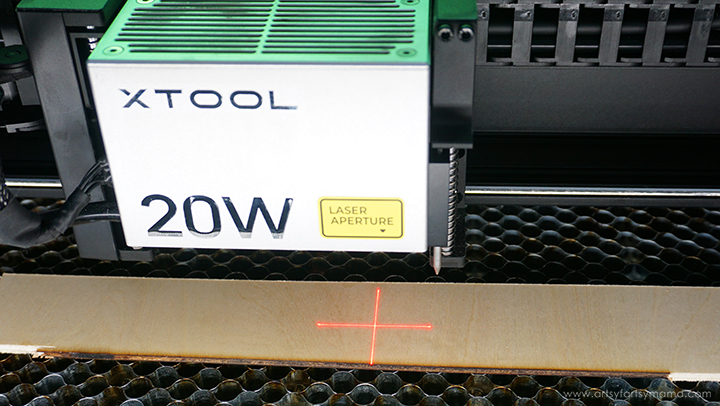
Place a piece of 3mm basswood into the xTool S1 machine - earrings are always a great project for scrap pieces of wood! Manually pull the laser box with your hand so that the red "+" is located on the material - it doesn't have to be centered.
In XCS, you will see "Distance (mm)" in the right menu bar. Click on the target icon to the right of that space, and the machine will automatically measure your material.
For more details on how to complete this step, be sure to check out my review of the xTool S1 Laser Machine!
Make sure that the earring design elements are within the marked bounding box in XCS, and then click the green "Process" button in the bottom right corner to proceed to cutting the project.

After removing the earring pieces from the machine, I highly recommend cleaning the soot away from around the edges of the wood using a Magic Eraser or baby wipes to prevent making marks all over your hands and workspace.
Once cleaned, paint the rainbow arcs on the earring pieces using your favorite colors of acrylic paint or use paint markers. I used bright pink, lime green, and aqua paints for my rainbows. Turn the earrings over and paint the back with any color you want. Don't forget to paint the cloud pieces!

While the earrings could be left as-is after being painted, you all know how I feel about adding glitter to my projects! Combine UV Resin and bright pink glitter in a small mixing cup. Use a toothpick to apply the resin to the wood over the pink section ONLY, making sure to get it right to the edges. Pop any surface bubbles with alcohol.
Cure the resin under the UV light for 3-5 minutes. The resin should no longer be tacky to the touch. If it is, the resin needs to cure for a longer time.

Combine resin and lime green glitter, and repeat the process of applying resin to the middle section. Be careful to cover the green section ONLY. Pop any surface bubbles with alcohol, and cure under the UV light for 3-5 minutes.

Next, cover the aqua section with a mixture of aqua glitter and UV resin. Once covered, cure for at least 3-5 minutes.
Repeat the entire resin process for the other earring piece.

Mix a small amount of resin with white iridescent glitter. Hold the earring post between your fingers, and use a toothpick to cover the surface of the earring piece. Pop any surface bubbles with alcohol, then cure under UV light for 3-5 minutes. Repeat the process for the other cloud earring piece.


Use pliers to open a 10-12mm jump ring for each earring. Hook the ring through the hole in the cloud earring piece, and then through the rainbow earring piece. Close the ring, repeat for the other earring, and then the earring set is complete!
Aren't these Glitter Rainbow Earrings the cutest? They make me so happy every time I look at them. They are such a fun accessory, and are an even better gift idea! If you try making some of these earrings, I would love to see them! Leave a comment, or tag a photo on Facebook, Twitter, or Instagram! #AFMcrafts
Don't forget to Pin, Like, and Share!


