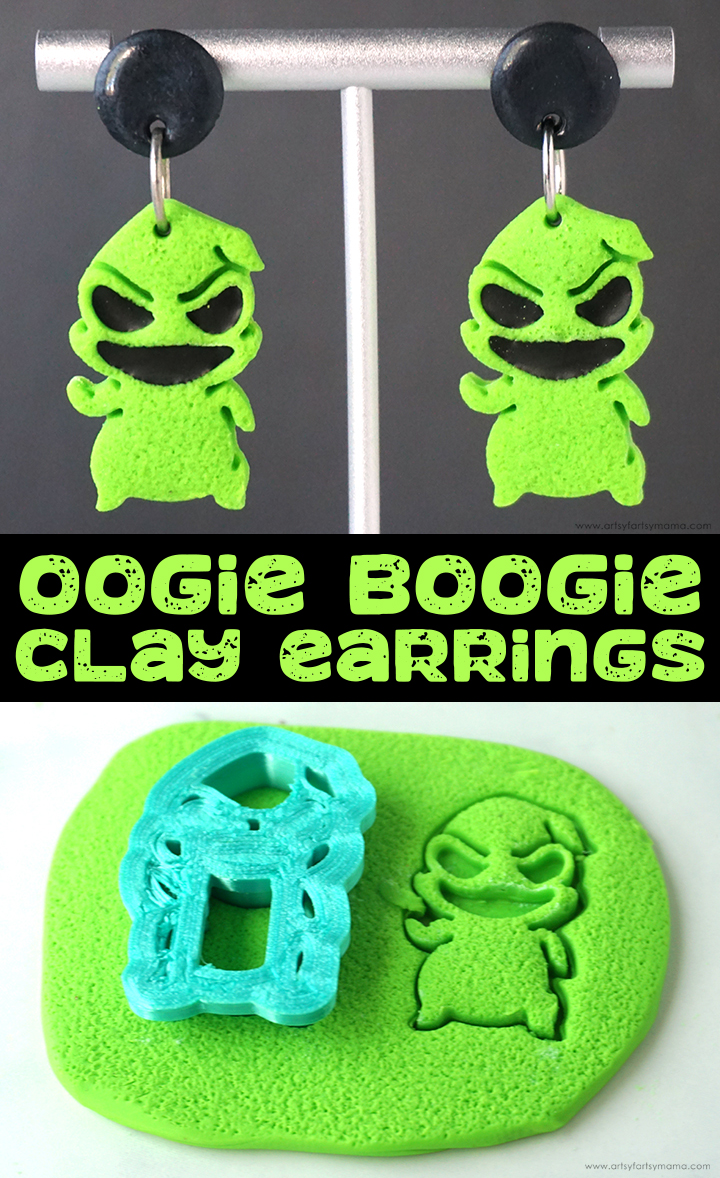
These Oogie Boogie Polymer Clay Earrings will "fill your dreams to the brim with fright"!

Well, well, well... What have we here?! Why, it's my VERY favorite Disney Villain - Oogie Boogie from Nightmare Before Christmas! One of favorite things to make with polymer clay is jewelry! I'm so excited about this spooky new pair of Oogie Boogie Earrings, and they are so fun to make for clay crafters of every level. What better way to welcome spooky season than with a new pair of earrings?!
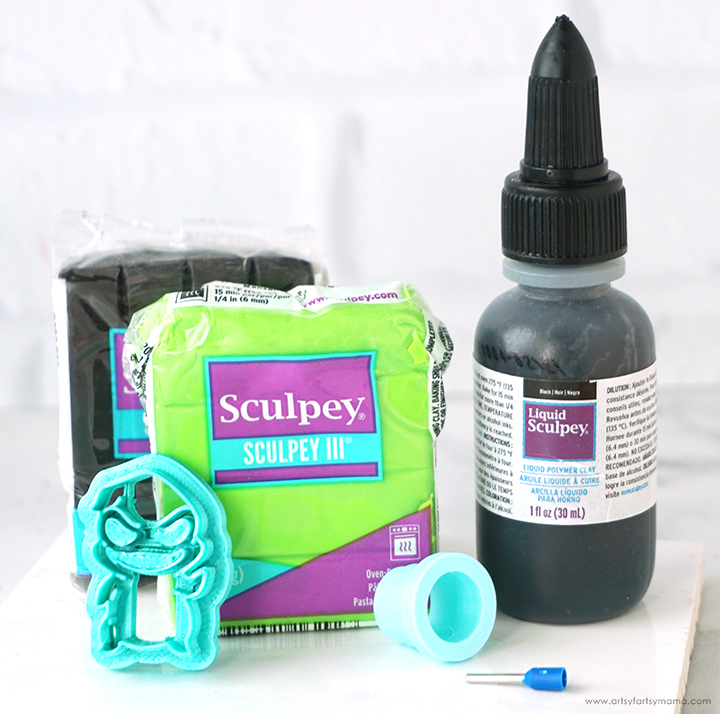
To make your own Oogie Boogie Polymer Clay Earrings, you will need these supplies:
- Sculpey III Polymer Clay - Granny Smith, Black
- Ceramic Tile or Oven-Safe Work Mat
- Clay Roller with Roller Thickness or 2 Craft Sticks
- Sandpaper
- Oogie Boogie Clay Cutter (3D printed)
- 18mm Circle Clay Cutter
- Liquid Sculpey - Black
- Gloss Glaze or UV Resin (optional)
- Adhesive
- 10mm Jump Rings
- Earring Posts
- Jewelry Pliers
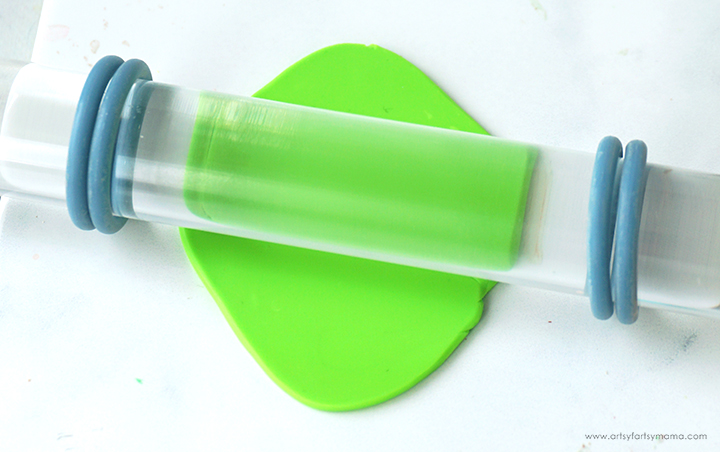
Use a clay roller with 2-3mm thickness rings or line 2 craft sticks parallel to each other with the block of green clay in between. Flatten the clay into a large rectangle. Split the rectangle in two pieces, and stack one half on top of the other for a thicker (6mm) clay slab.
Tip: If you work directly on a ceramic tile or baking mat, you don't have to worry about transferring your project when it's time to bake the clay. This significantly reduces the chances of you dropping, misshaping or ruining your project in the process.
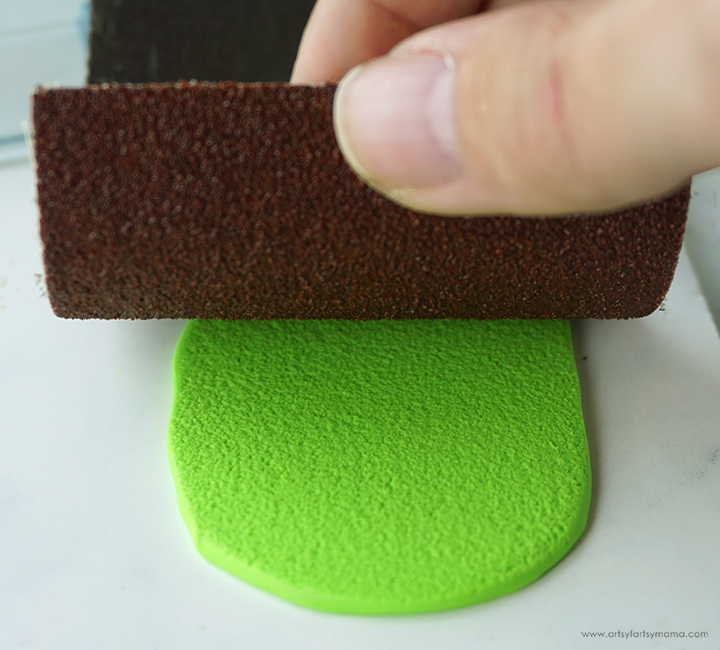
Next, give the clay some texture by using a piece of sandpaper. Place the sandpaper over the clay, and gently roll over the top of it. Slowly peel the sandpaper away to reveal the textured clay! I used 80 grit for a more obvious texture, but have fun trying other grits for different looks.

I printed the Oogie Boogie Clay Cutter with my 3D printer, and I've been impatiently waiting to put it to use! Place the clay cutter over the clay and gently press it straight down. Pull the cutter straight up. If the clay stays down, leave it there. If it comes up with the cutter, be careful how you remove it. Poking through the top to push the clay out will leave dents or holes in your work. If necessary, you can re-roll the clay and start over.
Here's a few tricks & tips for cutting clay that have worked for me:
- Place a piece of plastic wrap over the clay first, and then cut the clay.
- Dust the cutter with cornstarch or baking powder. Tap to remove the excess before cutting.
- The clay or workspace might be too warm. Put the clay in the fridge or freezer to cool it down before cutting.

Carefully peel away the excess clay and leave the earring pieces in place. It's okay if the edges of the earrings look a little rough. Just make sure to remove all of the excess clay.
If you are working on a ceramic tile or baking mat, don't peel the earring pieces up! Leave them in place until after they've baked.
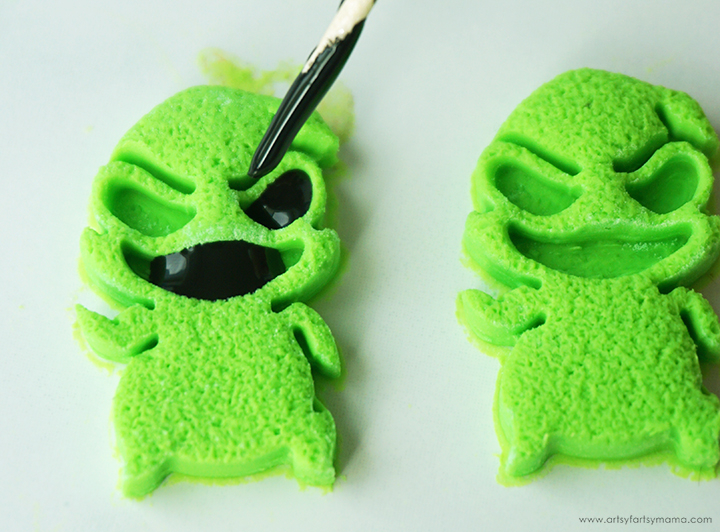
Use a toothpick to carefully fill Oogie's eyes and mouth with black Liquid Sculpey. Go slow, and be careful to not overfill!

Next, use the clay roller roll out a little bit of black clay. For a little extra shimmer, you can rub a little bit of mica powder on the surface of the clay. Cut out two small circles using a circle clay cutter. Remove the excess clay, leaving the two circle pieces attached to the tile.
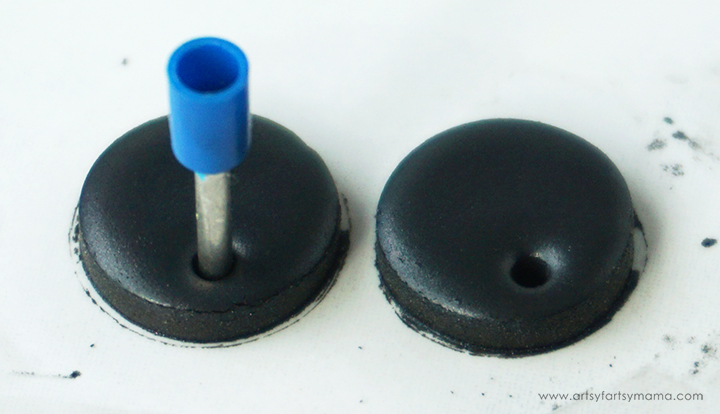
Use a toothpick or a small circle cutter to make holes in the bottom of the circle earring pieces, and at the top of the Oogie Boogie pieces.
Preheat your oven and bake the earring pieces. Most polymer clays are usually baked at 275º for 15 minutes per quarter inch thickness, but refer to your specific clay packaging directions to make sure. Once baked, let the pieces cool completely before handling.
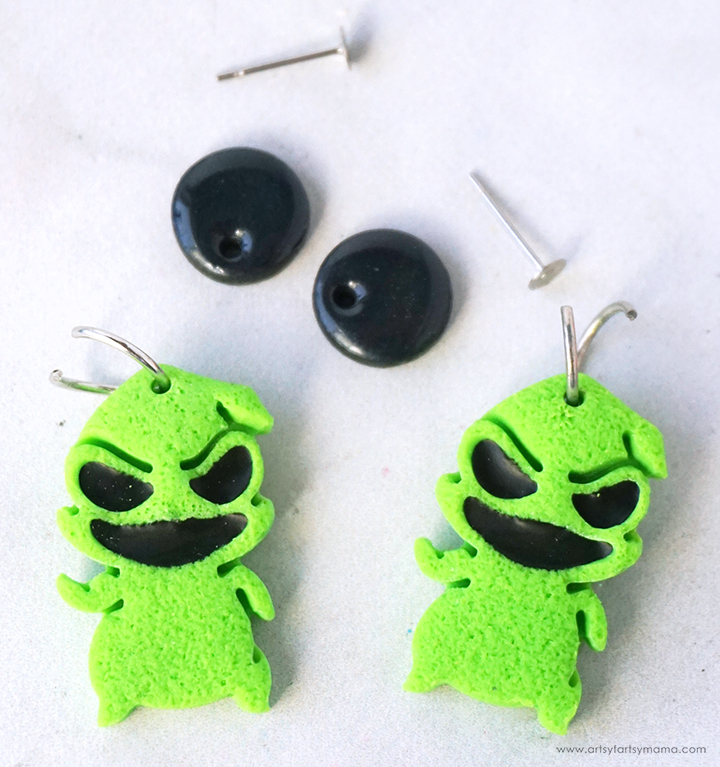
Turn the top earring pieces over, and attach an earring post to the center using strong adhesive or UV Resin.
Use pliers to open a 10-12mm jump ring for each earring. Hook the rings through the holes in the earring sets. Close the jump rings with the pliers.
Don't forget to Pin, Like, and Share!