
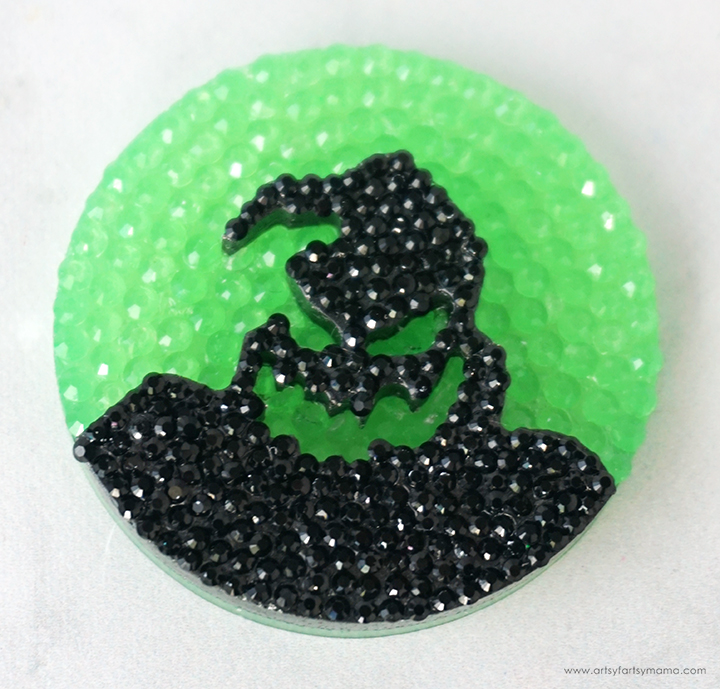
Well, well, well... What have we here?! It's an Oogie Boogie Bling Phone Grip made of resin!
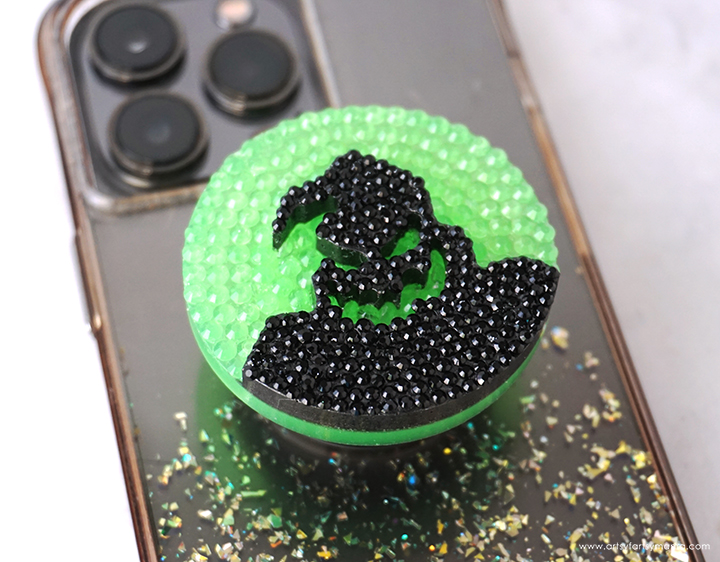
One of my favorite movies is Nightmare Before Christmas, and there's no better (worse?) Villain than Oogie Boogie! Made of resin and rhinestones, this Oogie Boogie Bling Phone Grip is sparkly, spooky, and even glows in the dark! This is such a fun and easy project for crafters of every level to complete with confidence, and I've been so excited to show you how to do it.
New to resin? Be sure to check out Resin 101: Getting Started with Resin!

To make your own Oogie Boogie Bling Phone Grip, you will need these supplies:
*Save 10% on Polytek resin supplies when you shop with code AFM
SAFETY FIRST: Before getting started, wear disposable gloves, protect your workspace, and be sure to work in a well-ventilated area!

Prepare 15ml of Amazing Clear Cast epoxy according to package directions. Pour in equal parts of resin and hardener to a large mixing cup. Slowly stir the resin together with a stir stick for two minutes or until combined. If the resin looks cloudy or has any streaks running through it, you need to keep stirring it until it becomes clear.
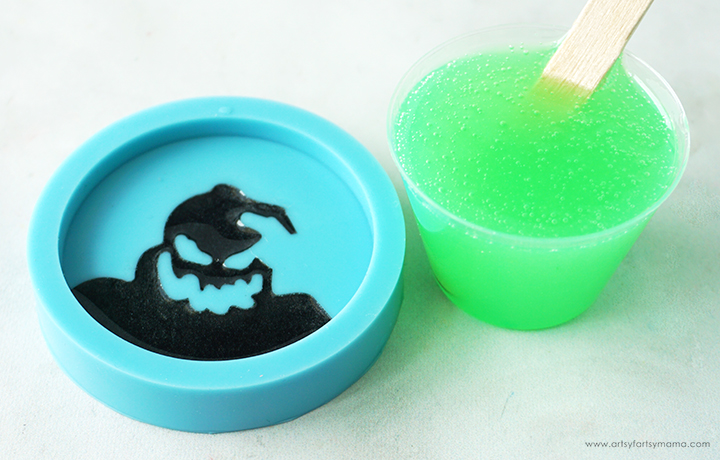
Add a generous amount of black metallic mica powder to the resin and stir with a clean stir stick until evenly incorporated. Give the resin a few minutes to "rest", allowing the bubbles to rise to the top.

Use the stir stick to slowly pour some of the resin into the Oogie Boogie section of the Oogie Boogie Phone Grip Mold until just that area is filled. Do not let any resin get anywhere out of this area! Let the resin sit for a few minutes, then use a straw, heat gun, or spritz with 91% alcohol to remove any surface bubbles.
Leave the resin to cure in an undisturbed, well ventilated area for at least 4 hours. DO NOT REMOVE FROM THE MOLD!
Prepare 30ml of Amazing Clear Cast epoxy according to package directions. Pour in equal parts of resin and hardener to a large mixing cup. Slowly stir the resin together with a stir stick for two minutes or until combined. If the resin looks cloudy or has any streaks running through it, you need to keep stirring it until it becomes clear.
Add a generous amount of green glow-in-the-dark mica powder to the resin and stir with a clean stir stick until evenly incorporated. Give the resin a few minutes to "rest", allowing the bubbles to rise to the top.
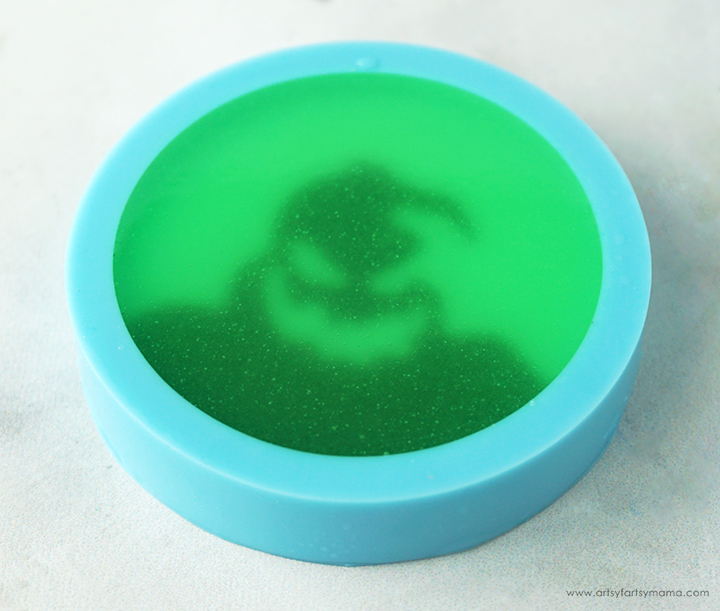
Slowly pour the resin into the Oogie Boogie Phone Grip Mold until filled to the top. Be careful to not overfill! Let the resin sit for a few minutes, then use a straw, heat gun, or spritz with 91% alcohol to remove any surface bubbles.
Leave the resin to cure in an undisturbed, well ventilated area for 12-24 hours. You will know that the resin is completely cured when it is no longer tacky to the touch and easily pulls away from the edges of the mold.

Now for my favorite step in the process: demolding! Carefully remove the Oogie Boogie piece from the mold. Trim away any excess resin with scissors or a craft knife. Sand down edges, if necessary.
If the resin still feels flexible, it may just need more time to cure. Let the piece sit in a warm, flat area to cure for a few hours (or days) to completely harden.
*If you don't want to add bling, skip the remaining steps. Attach the phone grip blank to the back of the resin piece, and you are done!

Now that the resin phone grip base is complete, it's time to add bling! Gather your blinging materials, which include E6000 Adhesive with Precision Tips, glow-in-the-dark rhinestones, black rhinestones, and a rhinestone picker tool (some rhinestone packs come with one).
Pour some of your glow-in-the-dark rhinestones into a small mixing cup or into a diamond drill tray (which is typically used for diamond painting).

The clear E6000 Adhesive is the same adhesive we all know and love, but with Precision Tips! This allows you to add adhesive, a little at a time, to small areas. Start by covering a small area on the green resin with a thin layer of adhesive.
I learned throughout the process to not cover large areas with adhesive. I covered the whole left side in adhesive, but by the time I got to the top, the adhesive was already too dry to stick. So, I would recommend working in small sections - add a little adhesive, cap the adhesive, add rhinestones, and then repeat.
Tip: Adhesive will likely continually ooze from the tip, so I would recommend immediately removing and replacing it with the cap whenever the adhesive is not in use.
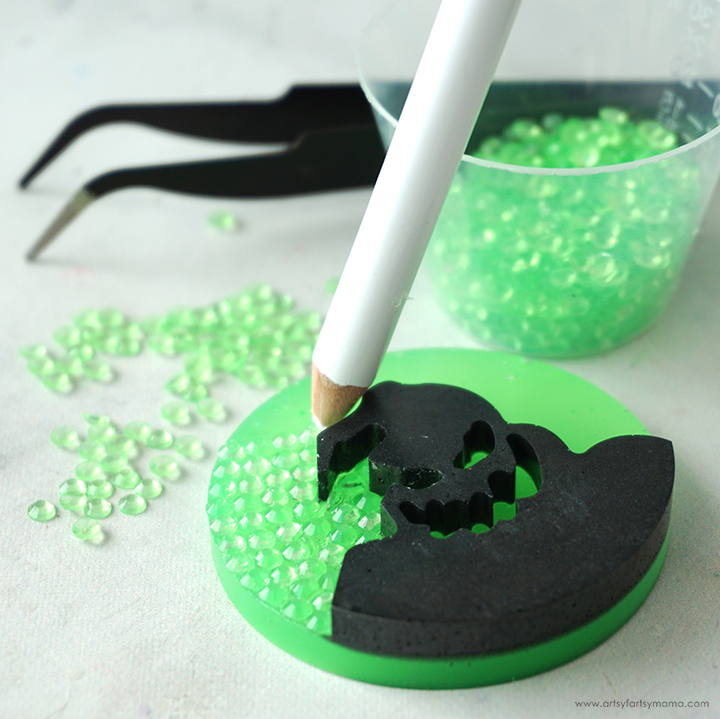
Use the picker tool to add one glow-in-the-dark rhinestone at a time to the adhesive-covered area of the phone grip. Make sure the rhinestones are placed with the flat side down! Gently press the rhinestone into the adhesive, and it will release from the picker.
I started placing the rhinestones at the bottom left corner where Oogie Boogie is, and then worked my way to the top.

Keep alternating adding adhesive and rhinestones until the green resin is completely covered. I didn't worry about covering the side edges. If you have some areas that a rhinestone won't fit (I had some trouble around that eye and pointed head area and the mouth), you can cut the rhinestones in half with jewelry wire cutters. Once all of the rhinestones are in place, you can't even tell!


I started adding rhinestones at the top of Oogie Boogie's head and worked my way down to the bottom using the picker tool. I didn't and up needing to trim any of the rhinestones for this part of the project.
I love all of that sparkle!! It took me about 30-45 minutes to cover the phone grip, but it was actually quite relaxing for me. The process reminded me a lot of diamond painting, which I really enjoy!!

Once the adhesive is completely dry (refer to packaging), attach the phone grip blank to the back of the resin piece. It's important that the adhesive is completely set. If it isn't, the rhinestones could shift or come off completely.
If you don't want to make a phone grip out of this piece, you could make it into a keychain or use as a backpack charm.

What's especially cool is how brilliantly the phone grip glows in the dark! The combination of glow-in-the-dark mica powder and glow-in-the-dark rhinestones makes the phone grip really light up in the dark!

Don't forget to Pin, Like, and Share!


