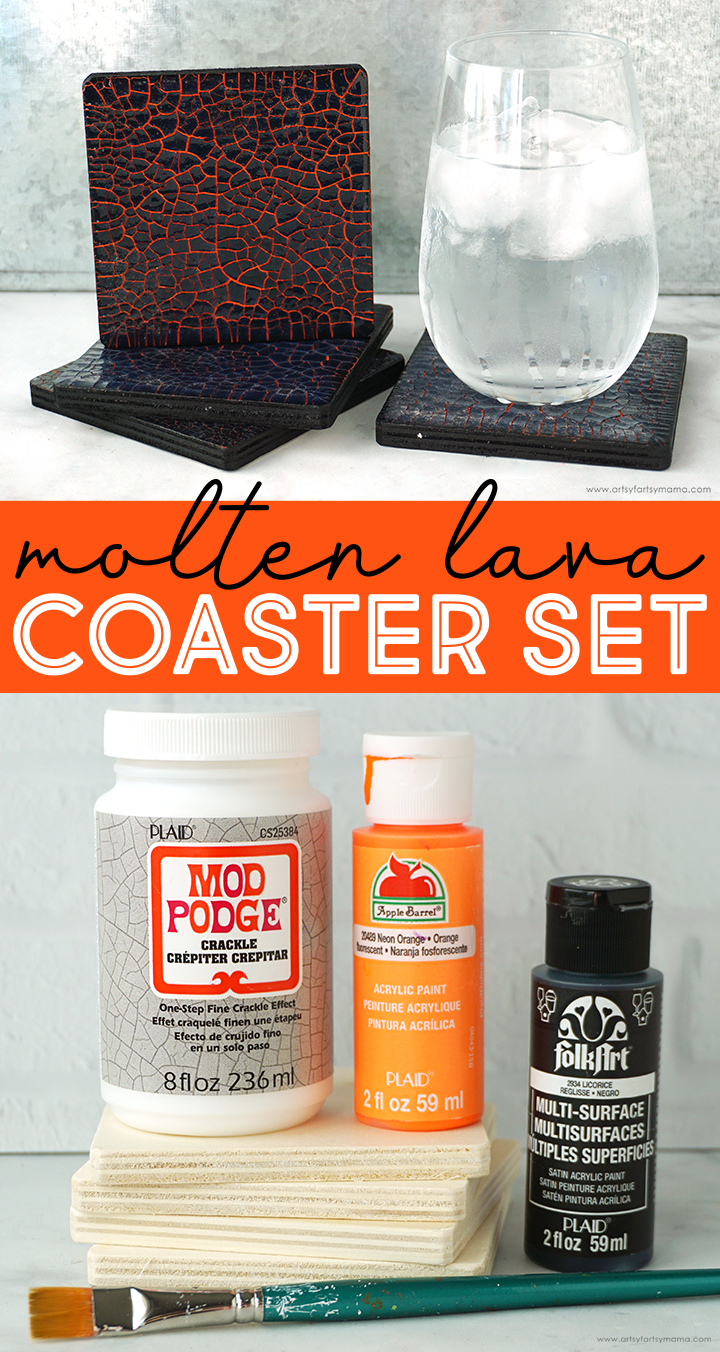
Use Mod Podge Crackle to create a set of HOT Molten Lava Coasters!
I "lava" when a project in my head works out in real life! Mod Podge Crackle is a new (to me) medium, and it was a lot of fun testing it out to get the effect I wanted for this "smoking hot" set of Molten Lava Coasters. No matter how crafty you are, these coasters are SO simple to make. They are also a creative and unique gift idea!
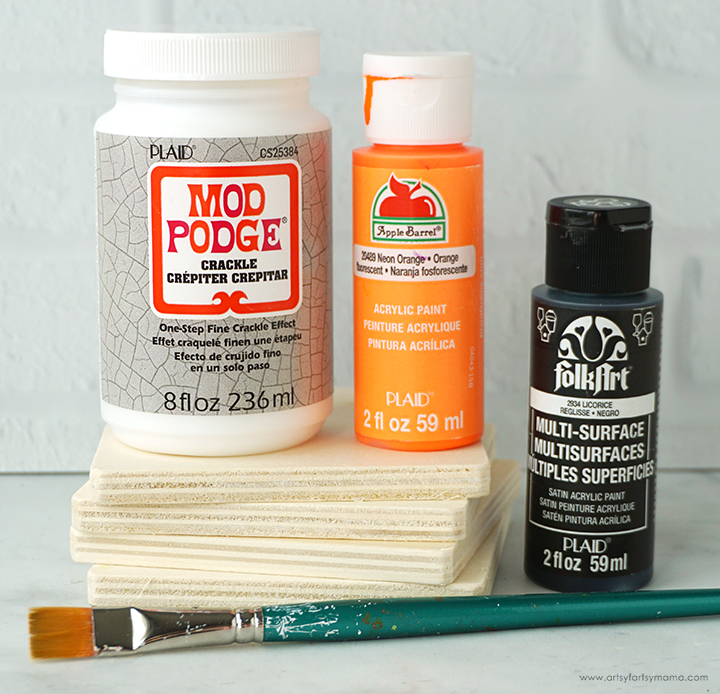
To make your own Molten Lava Coasters, you will need these supplies:
- Unfinished Wood Coasters
- Paint Brush
- Apple Barrel Acrylic Paint - Neon Orange, Flag Red
- Folkart Multi-Surface Acrylic Paint - Licorice
- Mod Podge Crackle
- Sponge Brush
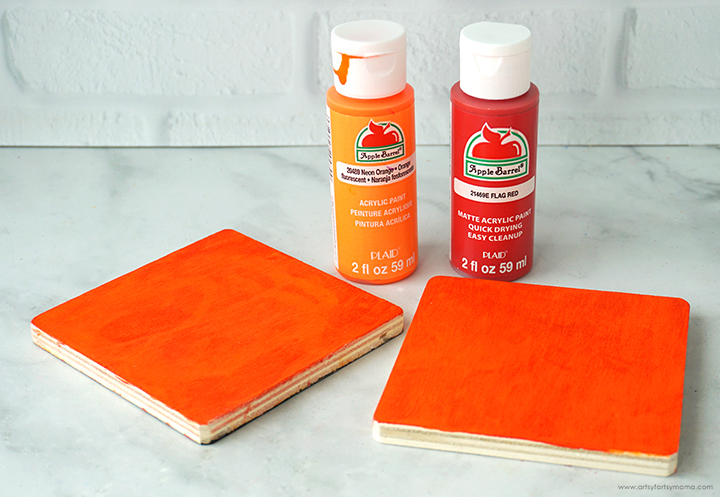
Use sandpaper to make the wood coasters as smooth as possible. Next, paint the coaster set with a marbled coat of neon orange and red acrylic paint. This is just a base coat, but the addition of red gives it a little dimension. Let this coat of paint dry completely, and then cover the coasters with another thin coat of just neon orange acrylic paint.
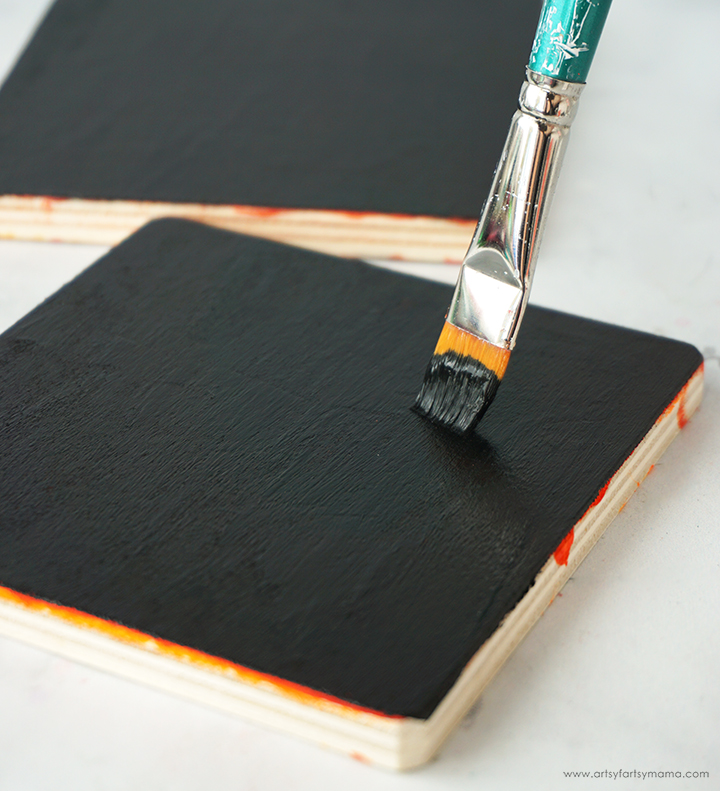
Make sure the previous coats are dry, and then top the coasters with a thin coat of black acrylic paint with a 1/2" paint brush. Allow the paint to dry completely before moving on to the next step.
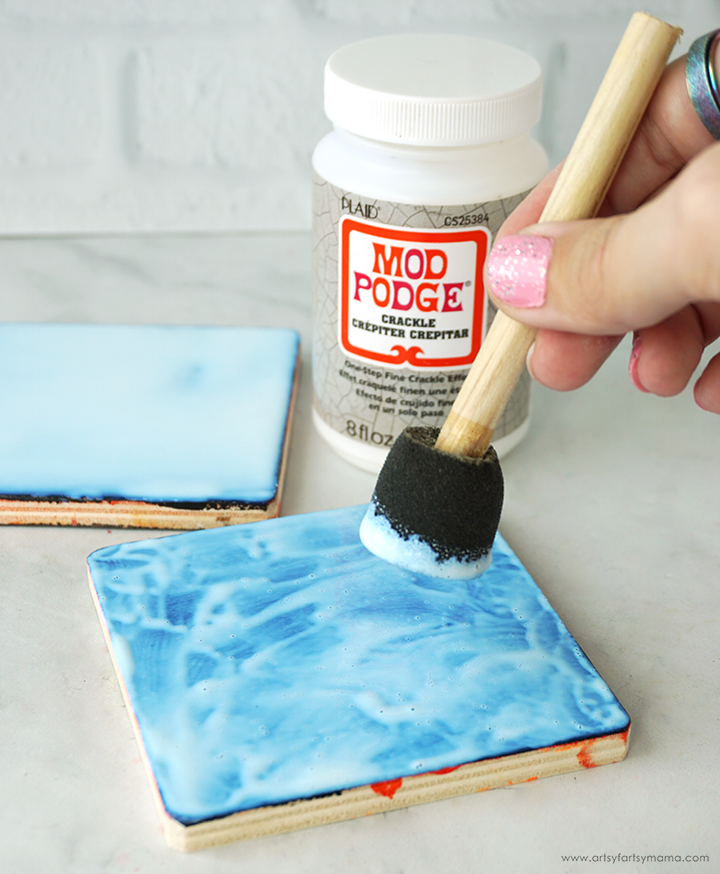
This is my first time using Mod Podge Crackle, so I did a little experimenting to see how it worked. The instructions say to paint on a single, thin coat - making sure not to overwork it. After trying that, I found the crackling effect to be very minimal.
Next, I applied a thicker coat of Mod Podge to the coaster surface using a sponge brush. I simply dipped the sponge into the bottle, and then dabbed it onto the coaster. No painting it on at all, Just basically adding an even-ish coat of Mod Podge to the top of the coaster.
On the other coaster, I literally just poured the Mod Podge Crackle on top. Didn't use a brush or anything - just applied it similarly to adding a thin layer of resin.
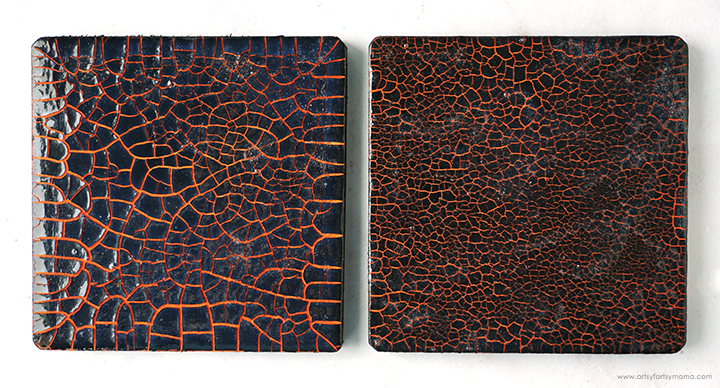
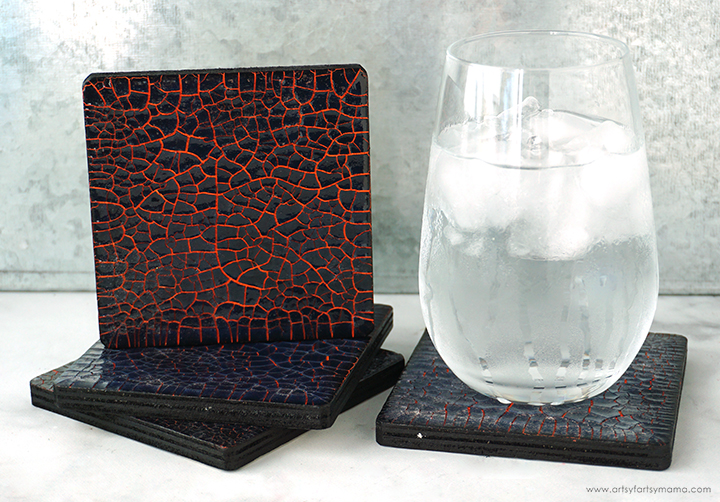
Pouring the Mod Podge Crackle on thicker definitely made a difference! It did take quite a long time to dry, but I am SO impressed with the results. The coaster on the left is the pouring application, and the one on the right was the sponge application. Either way, I think the coasters look so cool with the "burnt" black layer on top, with the "lava" peeking through the cracks!
Both coasters are amazing, but the biggest difference is that a thicker Mod Podge Crackle application creates a more predominant crackle effect! I also (unfortunately) noticed that the sponge application technique left a lot more surface bubbles. It's not a deal breaker, but I didn't really like how that looked for this project.
You'll also notice that in this comparison, that there are areas of the coaster that are still a bit opaque. Like the Mod Podge we all know and love, it goes on white and clears up as it dries. The Mod Podge Crackle is the same way, but can take up to 4 weeks to fully cure. So, make sure to give yourself plenty of time if you are making these coasters as a gift or if you have a deadline.
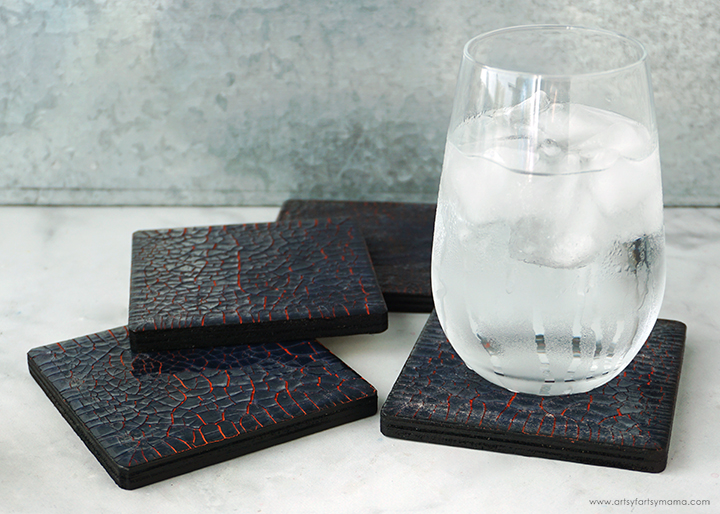
These Molten Lava Coasters are so simple to make, and will definitely be a statement piece of decor. I'd love to hear what you think about this project, and I would love to see your creations! Share them on Instagram, Facebook, or leave a comment/photo on the project pin on Pinterest! #AFMCrafts
Don't forget to Pin, Like, and Share!