
Make your yard a lot more colorful with a DIY Beaded Wind Chime!

Summer is coming up, which means now is a great time to think about activities to keep the kids busy! Whether you're creating at home, summer camp, or in the classroom, these DIY Beaded Wind Chimes are a fun and easy project for kids. The handmade wind chimes are a colorful addition to hang in your garden, porch, or anywhere that has a light breeze to help the chimes come to life. This would also be a fun activity for a summer party!
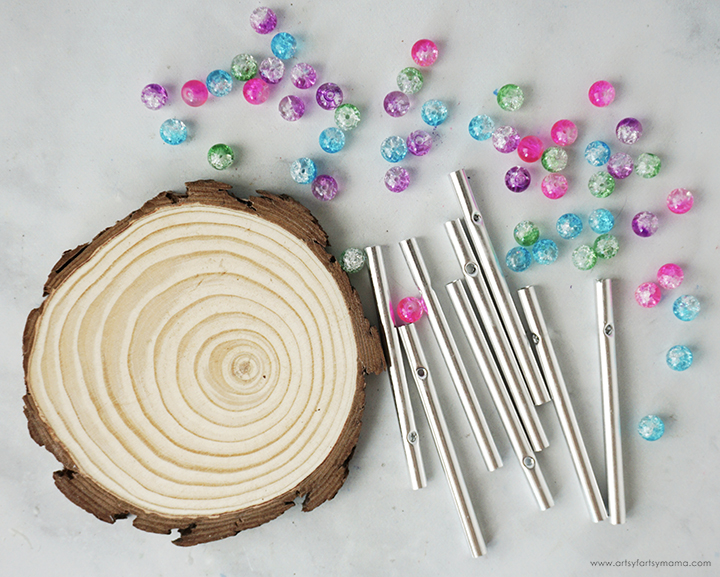
To make your own DIY Beaded Wind Chime, you will need these supplies:
Use a ruler to find the center of the wood slice and mark it with a pencil. Next use the ruler and make marks above and below the center, about 1" away from the edges of the wood. Turn the wood 90º, and make two more marks. Turn the ruler diagonally, and make four more marks in between the previous marks.
There should now be a total of 8 marks around the wood slice. The marks don't have to be perfectly spaced, just close enough! You can now erase the mark in the center.
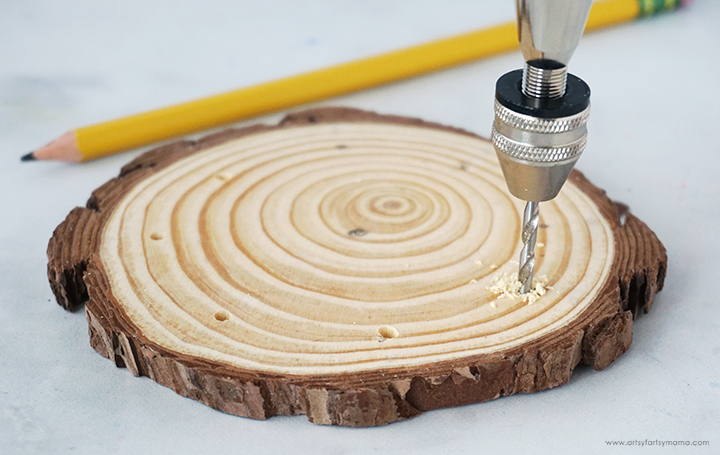
Next, use a hand drill to make a hole through each of the marks. The wood is pretty soft, so it's pretty easy for older kids to do this on their own. If you are making wind chimes with a larger group, you can do this all at once with a power drill instead and start the project with the kids on next step.
If you want to personalize the wind chime even more, kids can paint the wood slice with acrylic paint. Whether you paint it or not, I would recommend giving both sides of the wood slice a few coats of clear sealant to help protect the wood from outside elements. You can let the sealant dry while you work on assembling the rest of the wind chime.
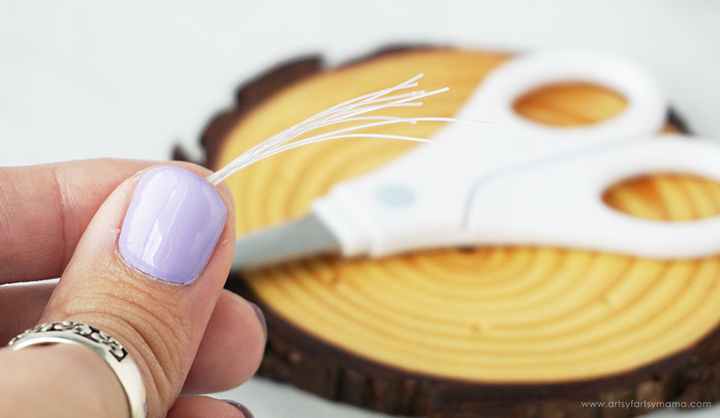
Use scissors to cut 8 lengths of invisible cord, each one measuring about 30-40 inches long.

Fold one length of cord in half, and then thread ends into each hole on the sides of the wind chime tube. Bring the ends up through the center of the tube and pull them tight. Repeat this threading process for all of the chime tubes.

Tie a double or triple-knot a little bit above the top of the chime. This will make it so that the beads don't sit right on top of the chime tube, making it impossible for the chimes to make any noise.

If you're worried about the beads coming off the cords while you work, you can tie another double or triple-knot above the beads. This is especially helpful when making the wind chimes with kids!


Once all of the beads have been threaded onto the cords, it's time to assemble the wind chime! Bring the ends of the cords up through the holes in the wood slice. Because there are so many cords, there's a chance you could drop the project during this step - and if you didn't tie a knot above the beads, this means beads will go everywhere!
I would recommend working in pairs - one holds the cord tops and the wood slice while the other threads the beaded cords through the holes. Once all 8 cords are threaded through the wood, tie all of the cords together in multiple tight knots. To make sure that it doesn't come apart, fold the cord ends over and wrap a few clear mini rubber bands around all the cords AND the knot, leaving a loop above the bands. It was hard getting a clear picture of what I mean, but you can see it in the image below:
Hook an S hook or lanyard clip through the loop in the cords, and the wind chime is ready for action! Hang the wind chime in your campground, backyard, garden, or anywhere that a light breeze comes through to hear its tinkling tune.
This is such a fun, colorful, and easy craft for kids of all ages to make at home, summer camp, and even in the classroom. As always, I love to see your version of these projects! Please share your creations on Instagram, Facebook, or leave a comment/photo on the project pin on Pinterest #AFMCrafts
Looking for more camp craft inspiration?
Check out this collection of OVER 100 creative camp craft ideas!!
Don't forget to Pin, Like, and Share!


