
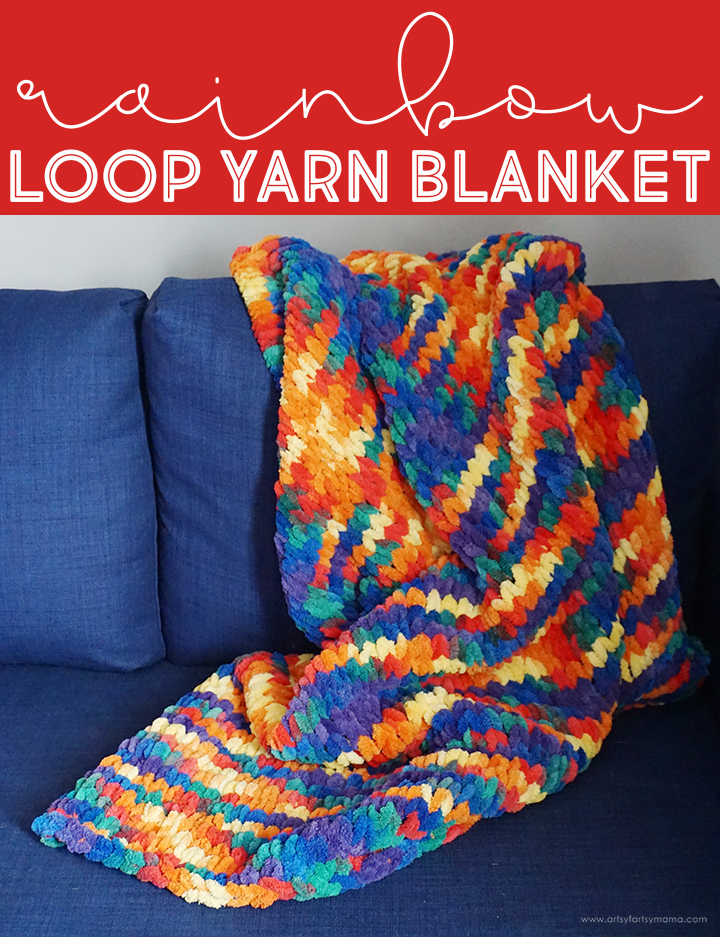
Learn how to make a handmade blanket using rainbow loop yarn!

I've always wanted to learn to knit or crochet, but I just haven't gotten the hang of it yet. As a fun twist of fate, I learned about the existence of loop yarn. Have you seen it? It's a soft and fluffy yarn with loops pre-sewn into it, and comes in so many fun colors. The best part? You can create a blanket without the use of crochet hooks or knitting needles - all you need is your hands! It's so simple, even kids can do it! I've been so excited to show you this Rainbow Loop Yarn Blanket, and hope you decide to give it a try!

To make your own Rainbow Loop Yarn Blanket, you will need these supplies:
- Bernat Alize Blanket-EZ Yarn
- Fabric Scissors
- Clothespin or Bobby Pin

First, count out a row of loops to determine your blanket width. For example, my blanket width is 60 loops, which measures to about 47-50 inches. Attach a clothespin or bobby pin right after the last loop to mark your place.
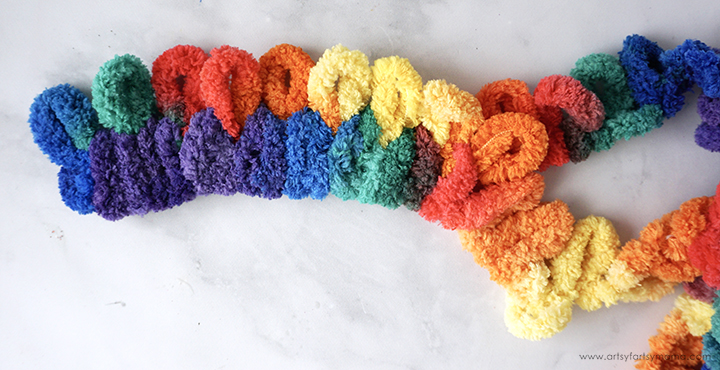
Count out another 60 loops after the clothespin. Now you have two sections of 60 loops - the beginning section is your "first row" and the next one is your "second row". Lay the first row of loops out in a horizontal line, with the loops pointing upward. Fold the yarn at the spot where you placed the clothespin. Lay out the second row just above the first, with the loops pointing up.
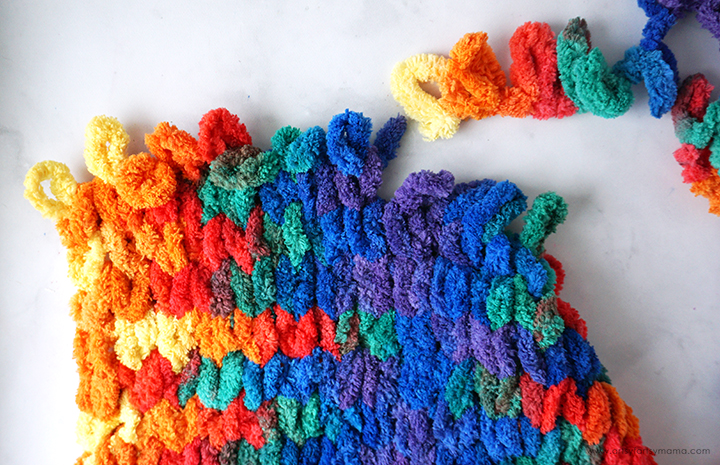
Starting at the fold, bring the first loop from the second row through the back of the first loop from the first row. Pull the loop through until the bottom edge meets up with the back of the loop in the front. Repeat this process for the entire row of loops.
Congratulations! You just successfully finger-knitted the first row of your blanket!!
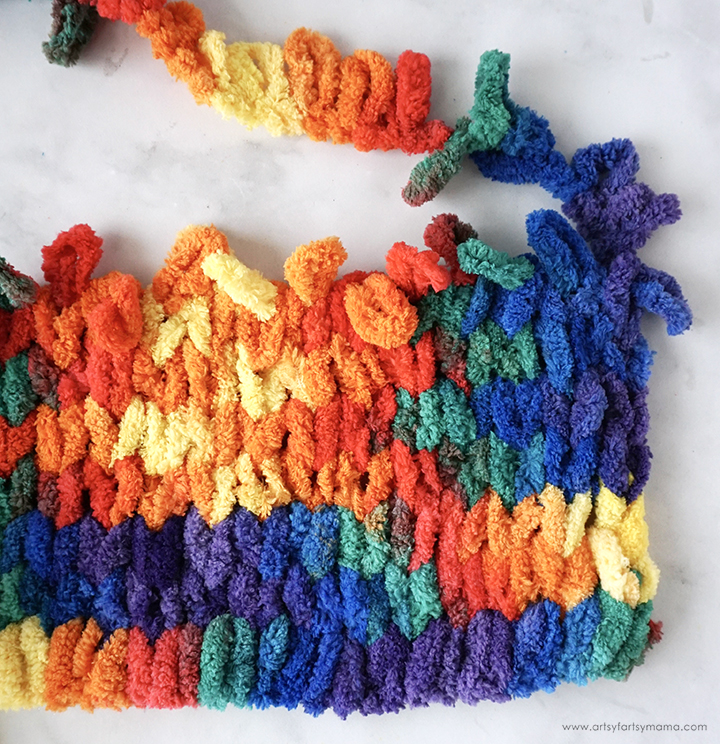
Once you complete a couple of rows, you'll get the hang of it and the process will go a lot faster. It's always fun to take a break and look at how the blanket is coming together. I love how all of the colors kind of look like tie dye when knitted together!
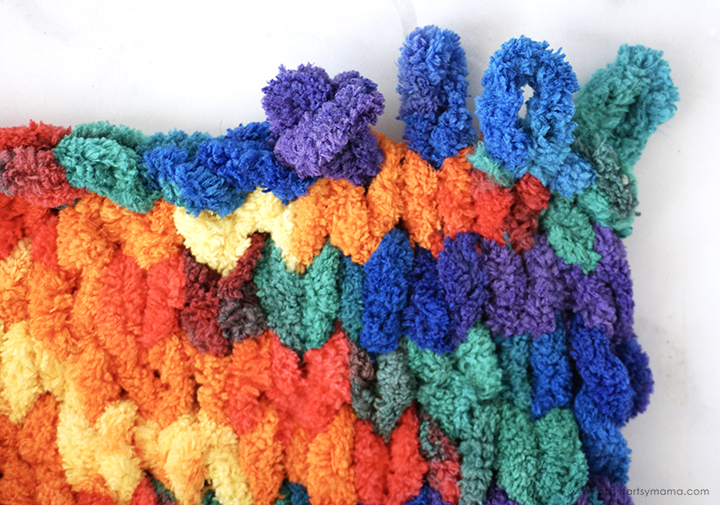
When you get to the end of a skein, cut the bottom of the last loop (where the yarn is connected) and the first loop of the new skein. Tie these ends together in a tight knot. Bring the next loop from the new skein up and through, and continue finger-knitting as usual. After a few stitches, weave the knotted yarn ends into the blanket and trim away excess ends, if necessary.

Don't forget to Pin, Like, and Share!


A video would be great!
ReplyDeleteThat is just beautiful! I will be trying this as my hands are getting older and holding needles is getting harder.
ReplyDelete