Straight out of the Hocus Pocus spell book, this stenciled sign features the iconic spell used to turn Thackery Binx into our favorite black cat!

One of my favorite scenes in Hocus Pocus is when our favorite witch trio is casting the black cat spell on Thackery Binx. It's just so mesmerizing, and we're always chanting along when it comes to that part of the movie. Because of our love of Hocus Pocus, I thought it would be fun to put the words of that iconic spell onto a piece of decor to put on display for Halloween.
By using my Ikonart kit, I was able to easily create a stencil to paint the quote onto a sign. It was so simple to make, and I absolutely love how it turned out! As a bonus, I'm also sharing the FREE design so that you can get inspired to make one of these signs for yourself!!
New to making reusable stencils? Here's how to Get Started with Ikonart!

To make your own Hocus Pocus Binx Cat Spell Sign, you will need these supplies:
- Hocus Pocus Binx Spell Design (for personal use only)
- Ikonart Custom Stencil Kit
- Scissors
- 12"x12" Wood Panel
- Chalk Paint - black, white
- Color Shift Acrylic Paint - green
- Paint Brush
- Detail Brush (optional)
- Sandpaper
- Squeegee
*Save 15% on Ikonart supplies when you shop with code AFM15
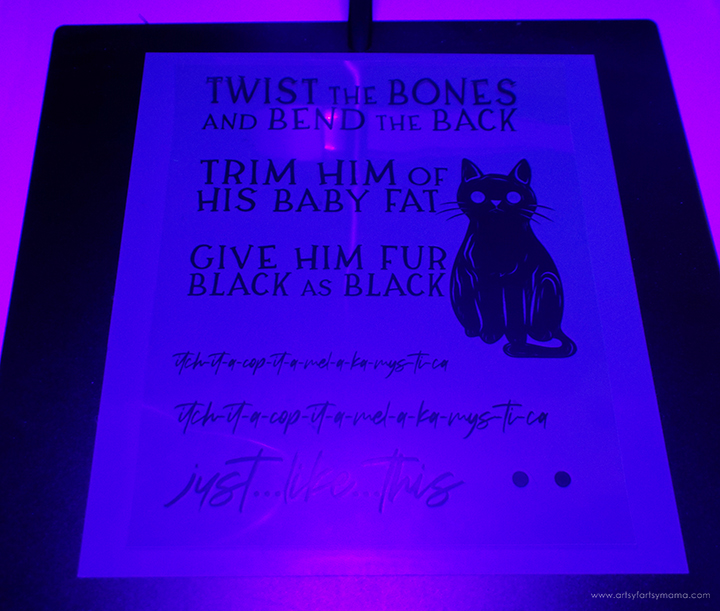
To make a stencil, you need to start with a printed design. Download the Hocus Pocus Binx Spell Design (for personal use only) and print the design as dark as possible on either inkjet or laser Ikonart Printer Film.
The next step in the process is exposing the stencil film. Set up the exposure stand with UV LED Light by following the directions included in the kit. Ikonart Stencil Film is light sensitive, so be careful to keep it out of sunlight and bright lights before exposure. Cut a piece of the film the same size as the design print.
Lay the piece of film down on the base of the stand with the textured side facing up. Place the printed design on top of the stencil film, making sure it's right-side up - meaning that you should be able to read the words printed on the design.
Lastly, place the clear exposure sheet (found in the stencil film pack) on top and press it down well to seal the design tight against the stencil film. Turn the exposure light on and expose the film for 35 seconds.
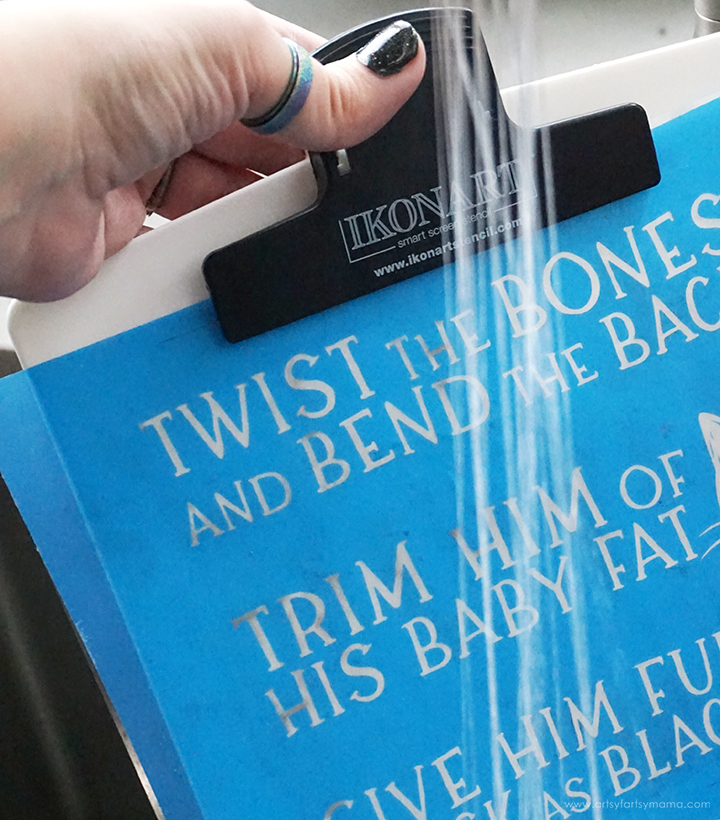
The final step in the stencil-making process is to washout, or rinse the stencil. Clip the exposed stencil film to the Ikonart clipboard with the shiny side (carrier sheet) touching the clipboard. Use the kitchen sink sprayer to rinse the stencil film with warm water until the design shows through and becomes completely clear. The washout process shouldn't take more than 3 minutes.
Gently blot the excess water from the stencil, and hang or lay the stencil flat to dry for about 45 minutes. When the stencil is dry, you shouldn't see any water spots or discoloration. Once the stencil is completely dried, place the it back on the exposure stand and expose it again for at least 2 minutes without the clear cover sheet. This extra exposure time will increase the durability of the stencil so you can get as much use out of it as possible.
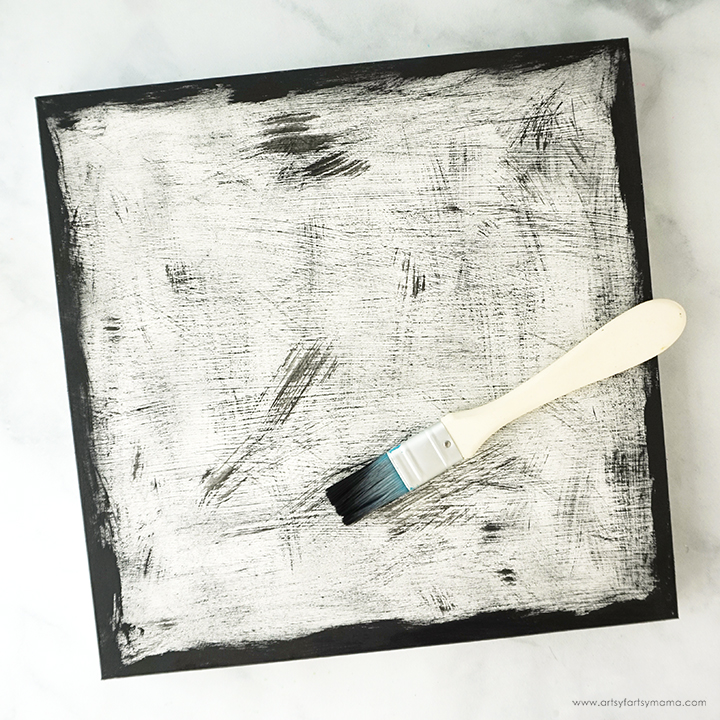
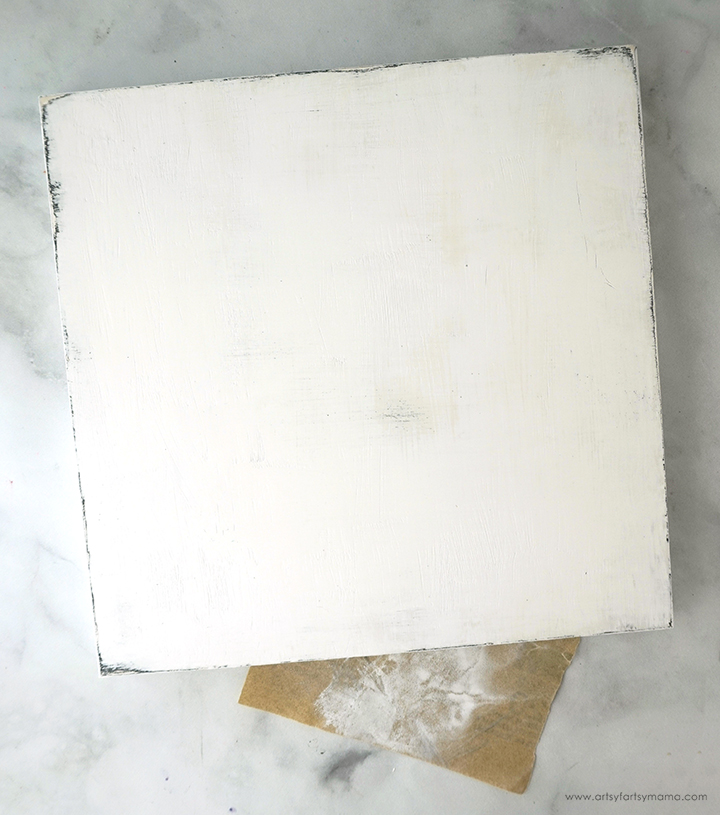
Once finished, gently wipe the sign with a damp cloth or paper towel to remove any dust.




Let the black paint dry completely before moving onto this next step. Peel the backing off of the "chanting" stencils, and arrange them on the sign. There is also a stencil piece to add color to the eyes of the cat. Once the stencils are in place, press them down well.


The Color Shift paint can dry quickly, so apply the paint to one of the stencils, and then immediately pull it up. Lay the stencil back down and add more paint for complete coverage, if necessary.

Once the stencil is completely dry, place the it back on the exposure stand and expose it again for at least 2 minutes without the clear cover sheet. This extra exposure time will increase the durability of the stencil so you can get as much use out of it as possible.
I wanted the "chanting" parts of the spell to be stenciled in a different color, so I cut all of those lines out to be separate stencils. Use a permanent marker and write "back" on the carrier sheets (shiny side) on the back side of each of the stencils.

Make sure that the paint is COMPLETELY dry before moving on to this step. If it's not, your stencil could stick to the wood permanently, ruining your project. Remove the clear backing from the stencil and center the design on the front of the panel. Use a ruler to make sure the design is centered vertically as well, and then rub the stencil down well.

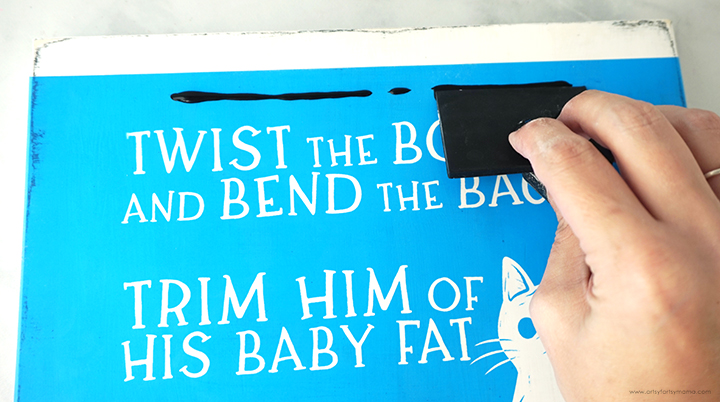
Add a thin line of black chalk paint at the top of the stencil (but not near the edge), and use the squeegee to lightly pull the paint over the stencil. Make sure all of the open mesh spaces of the stencil are covered evenly. Scrape away any excess paint and put it back into the paint bottle.

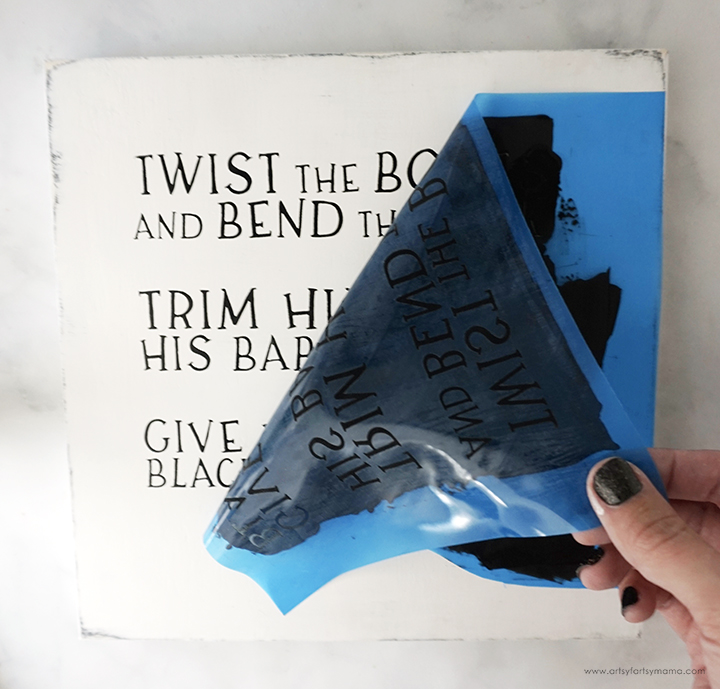
Carefully and slowly pull the stencil away to reveal the design! If you see any spots that you may have missed before completely removing the stencil, you can carefully lay it back down and add a little more paint.

If you notice a missed spot after removing the stencil, grab a small detail paint brush and add a light coat of paint over the area(s). The same goes for any bleeding - just use some white paint and touch up any areas that may need it!


Because these areas are smaller, I used my finger instead of a squeegee to apply the paint. I chose to use green Color Shift paint for this part of the sign because I love the shimmer and the way the color shifts in the light. Dip your finger into the paint, and gently wipe your finger evenly over the stencil pieces, one at a time.

Important: If you wait too long to remove a stencil and the paint dries, the stencil will pull the paint up with it, and you'll have to try it again after washing out the stencil.
Leave the sign to dry completely while you wash the paint from the stencils. To wash your stencil so that it can be used again and again, first get the clipboard wet. Place the stencil on the clipboard with the textured side up, and lightly rub the stencil under cold running water to remove all the paint.

Do not rub or scrub the adhesive side of the stencil, and NEVER use anything other than water to wash the stencils. To prevent the stencil from breaking down, don't ever leave the stencils to soak.
Remove the stencil from the clipboard and lay it down with the adhesive side up. While the stencil is still wet, place the carrier sheet onto the stencil so that the word “BACK” is readable. Hang or lay the stencil flat to dry completely.

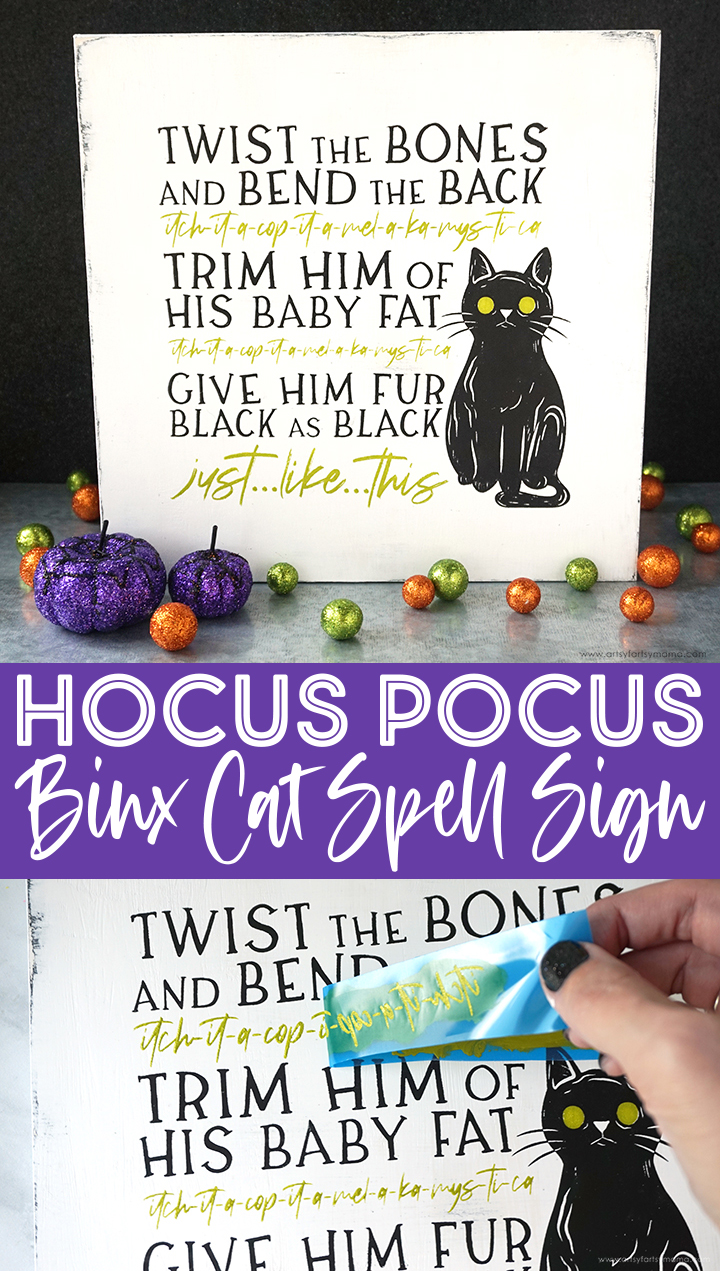
Once the paint has dried, the sign is ready to be put on display! I am absolutely in love with this new Hocus Pocus piece of decor and especially how easy it was to put one of my favorite quotes on it so easily. Because the stencils are reusable, you could easily make a few of these signs at a time to give as gifts to fellow Hocus Pocus fans!!
I'd love to hear what you think about this project, or if you are interested in trying out reusable stencils. If you've made your own stenciled projects, I would love to see your creations! Share them on Instagram, Facebook, or leave a comment/photo on the project pin on Pinterest! #AFMCrafts
Don't forget to Pin, Like, and Share!


Thank you so much for sharing such a great fun PDF. Have a Happy Holla Trick r Treat.
ReplyDelete