
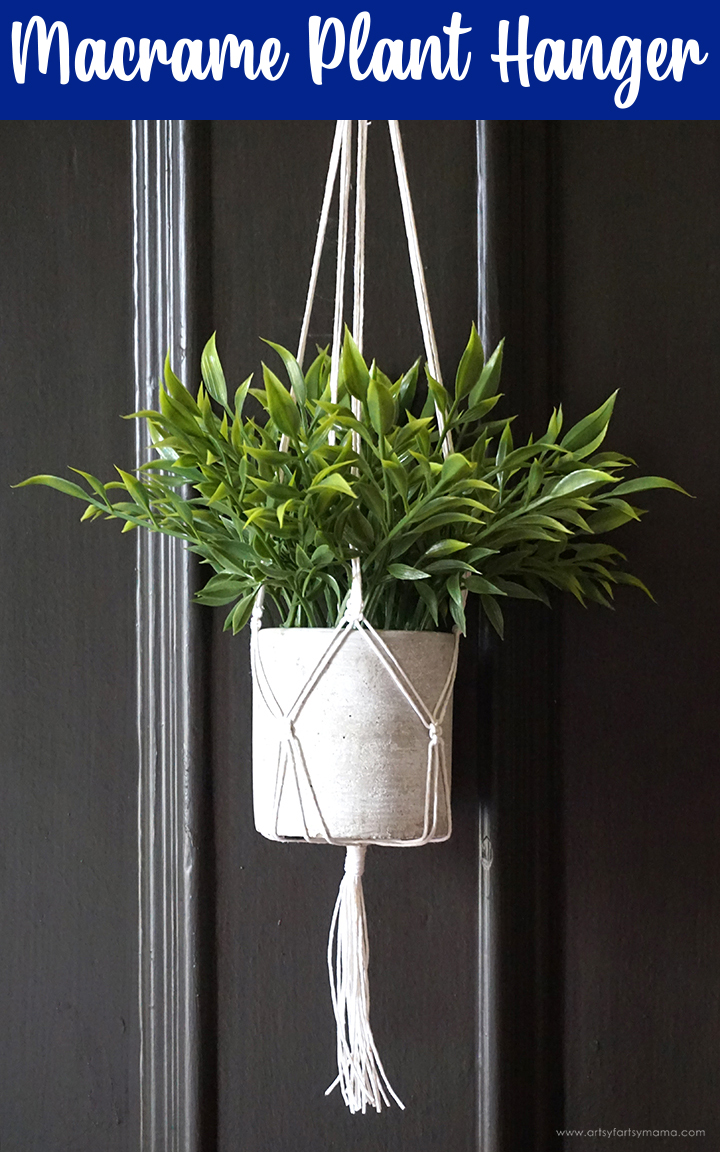
Put your favorite plant on display in a handmade Macrame Plant Hanger!


To make your own Macrame Plant Hanger, you will need these supplies:

You will need to cut 10 lengths of 1mm hemp cord:
6 pieces - 100 inches
2 pieces - 130 inches
2 pieces - 15 inches
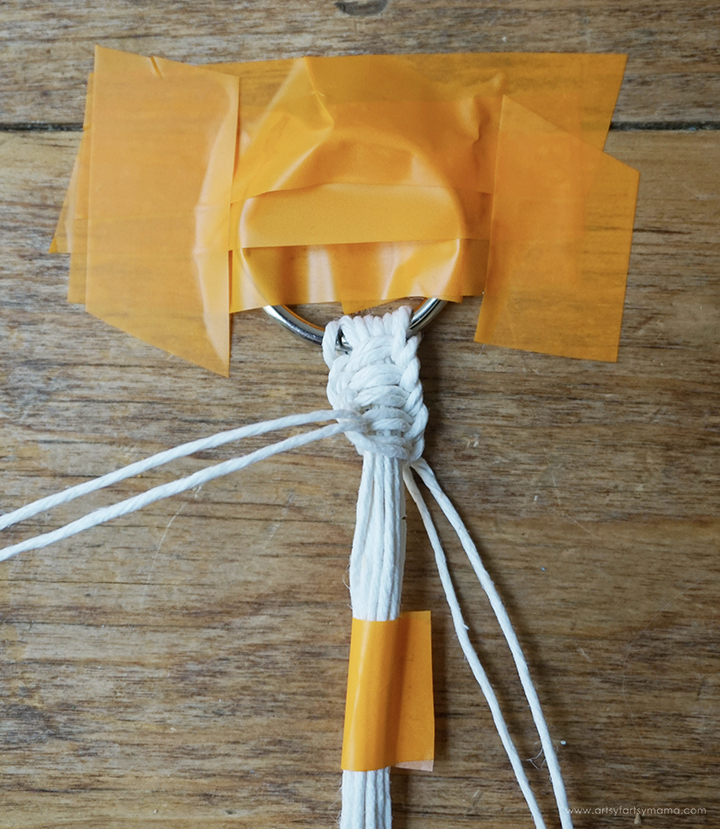
Use tape to hold the ring to your workspace. This will help to keep it from moving around as you work on your project. Fold all of your cord pieces in half, and place the 6 pieces in the center, and the two longer cords on each end. Wrap a piece of tape around the 6 center pieces to keep them together.

To start out this project, you are going to tie a series of Spiral Stitch Knots. This simple macrame knot is also called a Half Knot Spiral, because it's made with 1/2 of a Square Knot. By tying this knot repeatedly, the cord will create a spiral as you go, and it looks really cool!
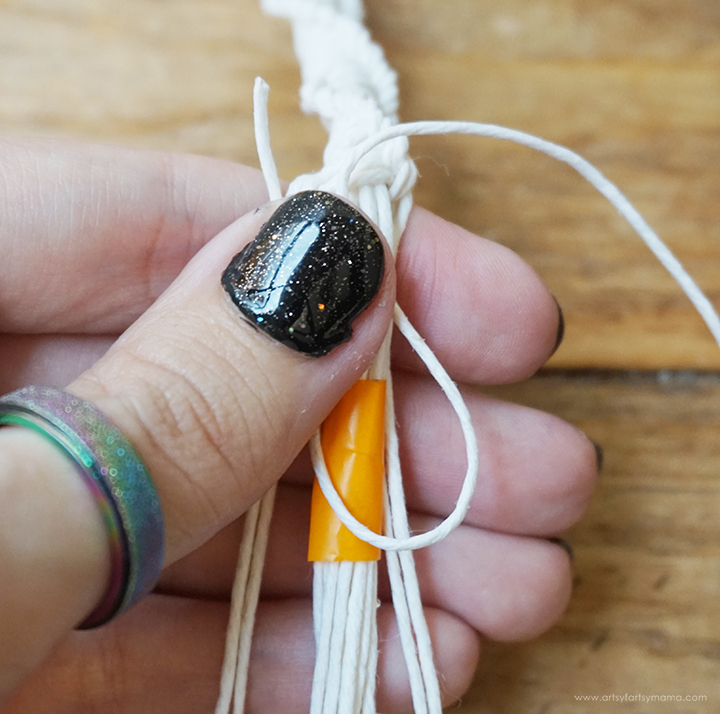
Hold the two pieces of cord on the left, and fold them over the top of the center knots to make an "L" or a "4". Make sure the two cords on the right are on top of the ends of the "L" cords. Bring the right cords under the center cords and up through the opening on the left. Hold the ends of each set of cords and pull them tight to create the first knot.
Repeat the knot again, in exactly the same steps as before. Pull the knots tight, and push them close together. You'll know that you are doing the knots correctly when you see that they start to "spiral" around the center cords.

Once you get to 30 Spiral Stitch Knots, stop and move the tape from the center cords down or remove it altogether.
Now, you are going to tie a Wrap Knot around all of the cords. Bring the side cords down and group all of the cords together. Take one of the 15" cords and fold one end into a "V" and hold it down on top of the cords, with the end pointing up.

Wrap the cord tightly around the center cords about 6 times, leaving the top end sticking out the top, and the bottom of the "V" sticking out below. Bring the other end of the cord down through the opening loop of the "V".

Pull the top cord, which will pull the "V" up and under the wrapped cord to trap the opposite end of the cord. Once the "V" is completely covered, use scissors to cut both ends just above and below the wrapped section. Carefully use the ends of the scissors to push the ends under the wrapped cords to hide them completely.
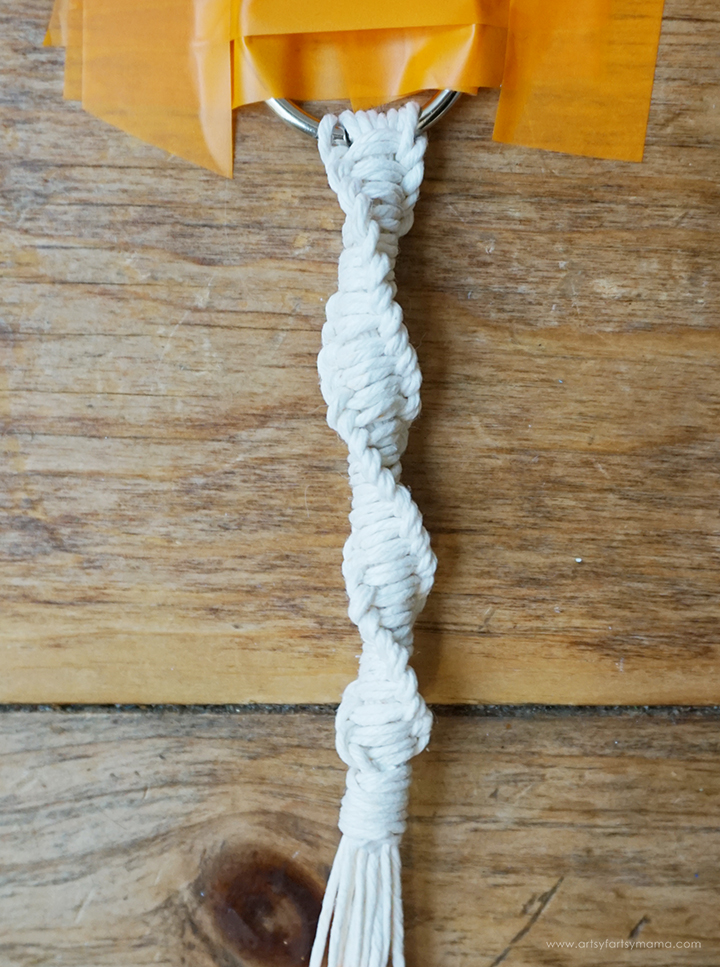
This is how the top section of the plant hanger should look once you finish tucking in the ends.

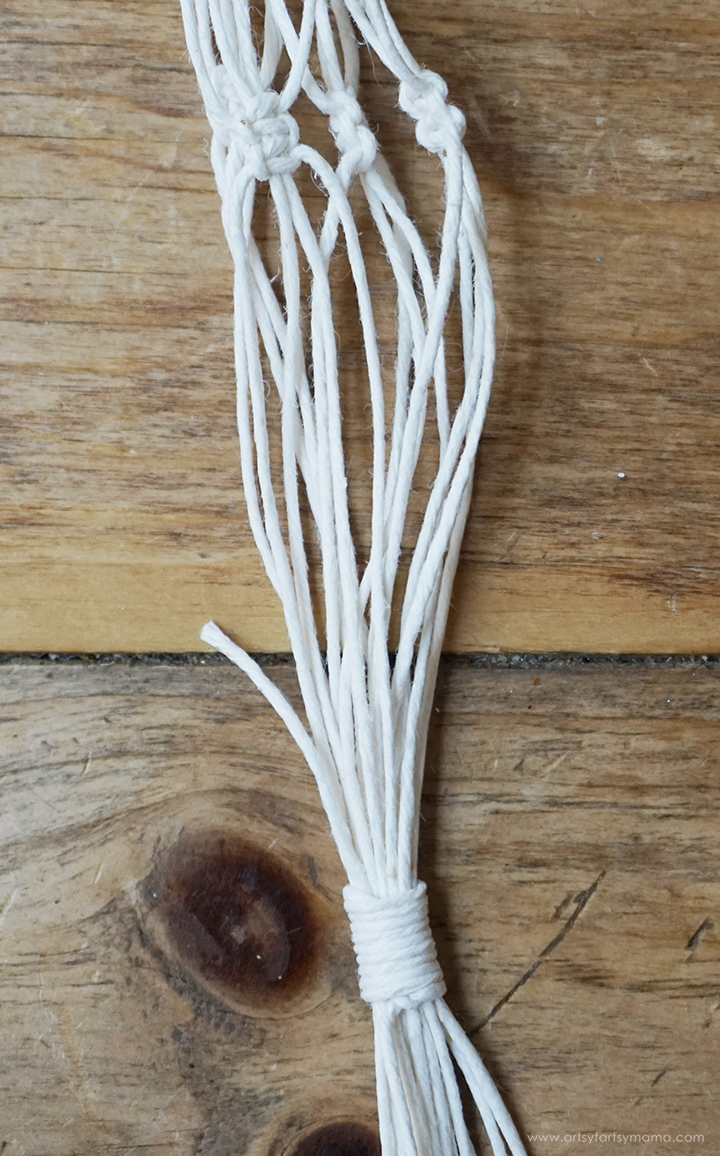
Straighten the center cords as best as you can, and then separate them into groups of 4, starting from the left. Measure down 10"-12" from the bottom of the wrapped section. Make a mark, if necessary.
Start on the left side, and tie two full square knots that start at the marking. To tie a square knot, you will first start with the same knot as the Spiral Knot. Instead of repeating that same knot, you are going to tie the knot going in the opposite direction. Repeat these two knots one more time to create two full Square Knots.
Move to the next section of 4 cords, and repeat the two Square Knots until each section has been tied. Try your best to keep them all even at the 10"-12" measurement. If they are off a little bit, they should be fine.

Now, we're going to bring the cords around to make a circle to hold your planter. Measure down 3"-4" from the bottom of the knots and make a mark, if necessary. Instead of starting at the left, I would recommend starting in the center this time.
Bring the two right cords from the group on the left, and the two left cords from the one on the right. Tie two Square Knots at the measurement mark. Move to the next section of cords, and tie them together the same way. To tie the last section, you may need to hook the ring onto something to help keep the cords from getting tangled together.
Have someone hold the ring or hook the ring onto something to hang up your project. Carefully slide your potted plant into the center to see how it fits. Gather the ends of the cords, and hold them in the center under your plant, and adjust to fit. Use tape or mark where the cords all meet underneath your plant, and then carefully remove the plant from the project.
Use the other piece of 15" cord, and tie a Wrap Knot where you marked the cords to fit underneath the plant. Pull the knot tight, and then trim the ends.

Adjust the cords so that all of the knots are placed evenly, and then your Macrame Plant Hanger is ready to be put on display!


I love how easy this project is, and how quickly it comes together. This is such a creative way to display your favorite plants, and would be a unique gift idea for fellow plant lovers! As always, I would love to see your creations! Share your creations on Instagram, Facebook, or leave a comment/photo on the project pin on Pinterest! #AFMCrafts
Want more hemp cord craft inspiration? Beth from Creatively Beth created this colorful Rainbow Hemp Cord Card, and Laura from Me & My Inklings made a beautiful Tassel Necklace!!
Don't forget to Pin, Like, and Share!


