
Making foiled cards for any "happy" occasion couldn't be easier!

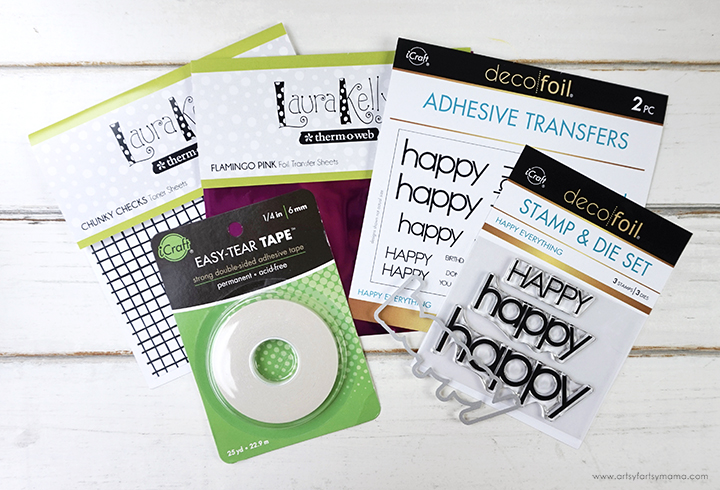
Creating handmade cards is a lot of fun, and it's a great way to spend an afternoon. Life can get busy, so I like to whip up a bunch of cards to keep on-hand for any occasion. I was inspired to make "Happy Everything" cards using the new Deco Foil "Happy Everything" Stamp & Die Set and Adhesive Transfers. These are the cutest cards, and are so easy! I hope that you feel inspired to create some simple "Happy Everything" Cards to share with everyone you know!

To make a single card, start with a 4x6 or 5x7 blank card - or make one yourself by cutting a piece of white cardstock and folding it. You will also need a piece of 3x5 colored cardstock, and a 1x7 strip of cardstock in a coordinating color.
Choose a piece of Laura Kelly Transfer Foil to pair with one of the Laura Kelly Toner Sheets. Heat up your laminator* to the 5ml setting. Place the foil on top of the toner sheet (color-side up), and put both pieces into a folded piece of parchment paper to cover the front and back. Insert the parchment paper "sandwich" into the laminator. Remove the paper from the parchment, and then peel away the foil sheet to reveal the colorful shine!
*Laminator settings may vary based on brands, temperatures, and speed settings.
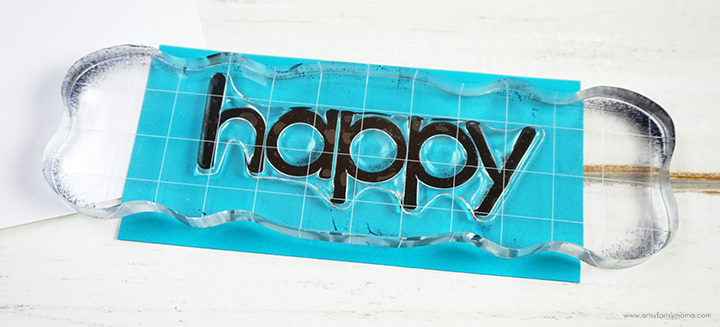
Place the largest "Happy" stamp from the Happy Everything Stamp & Die Set onto an acrylic stamp block. Tap the stamp on a stamp pad a few times. Before stamping on your project, practice using the stamp a few times on a scrap piece of paper to get a feel for it. Once you're comfortable, stamp onto the center of the 3x5 piece of cardstock.

Place the largest Happy die piece on top of the stamped cardstock, and hold it in place with small pieces of Pixie Tape. Run the paper through the Sizzix Big Shot to easily punch the word out.

Trim the foiled toner sheet and the thin strip of cardstock to fit either vertically or horizontally on the card. Turn the pieces over and apply lines of Easy-Tear Tape or Tape Runner to the back of each piece.

Arrange the pieces on the card any way you'd like. This is the way I did it:
- Align the toner sheet with the bottom of the card, and press just the bottom edge into place.
- Line the thin strip of cardstock just under the top edge of the toner sheet, and then press both papers down into place.
- Place the "Happy" over the thin strip (I put mine off-centered)
Choose a small sentiment from the "Happy Everything" Adhesive Transfers and cut it out with scissors. Peel the backing away from the piece to reveal the adhesive. Place the piece above the "Happy" and lightly rub your finger over it.

Carefully peel the front plastic piece from the sentiment. It's hard to capture in a photo, but the words of the sentiment are left behind in a clear adhesive! Now, make the hard decision of choosing a color of transfer foil to put over it...

There are a couple of ways to apply foil to the adhesive sentiment. Cut a piece of transfer foil sheet to fit over the adhesive. Lightly tap it into place. You can now either run the card through the laminator to apply heat to the foil, or you can apply pressure to the foil by running your card through the Sizzix.
After you have applied the foil, peel the foil sheet away to reveal the shiny sentiment that is now permanently in place on the front of your card. It really is as simple as that!

I love that I can use the same sized pieces but in different colors and patterns to make coordinating, but unique "Happy Everything" cards! Even just changing the orientation of the card is such a fun difference in design, don't you think? I like to make a bunch of these cards in an afternoon, and then store them in a box for those moments when I need a handmade card.
These cards are so easy to make, and are a lot of fun for beginners. I love all of the bright colors, patterns, and textures!! Which Happy card is your favorite? I love how they are all made using the same template/layout, but all look so different.
As always, I would love to see your creations! Share your creations on Instagram, Facebook, or leave a comment/photo on the project pin on Pinterest!
Don't forget to Pin, Like, and Share!


Saw a picture of a tree made from this site but I cannot find it. Looks like cut outs of colourful glittery shapes that forms a Christmas tree.
ReplyDeleteHi Lorraine, here is the link to the post you are referring to: https://www.artsyfartsymama.com/2017/11/diy-modern-christmas-tree-sign.html
Delete