
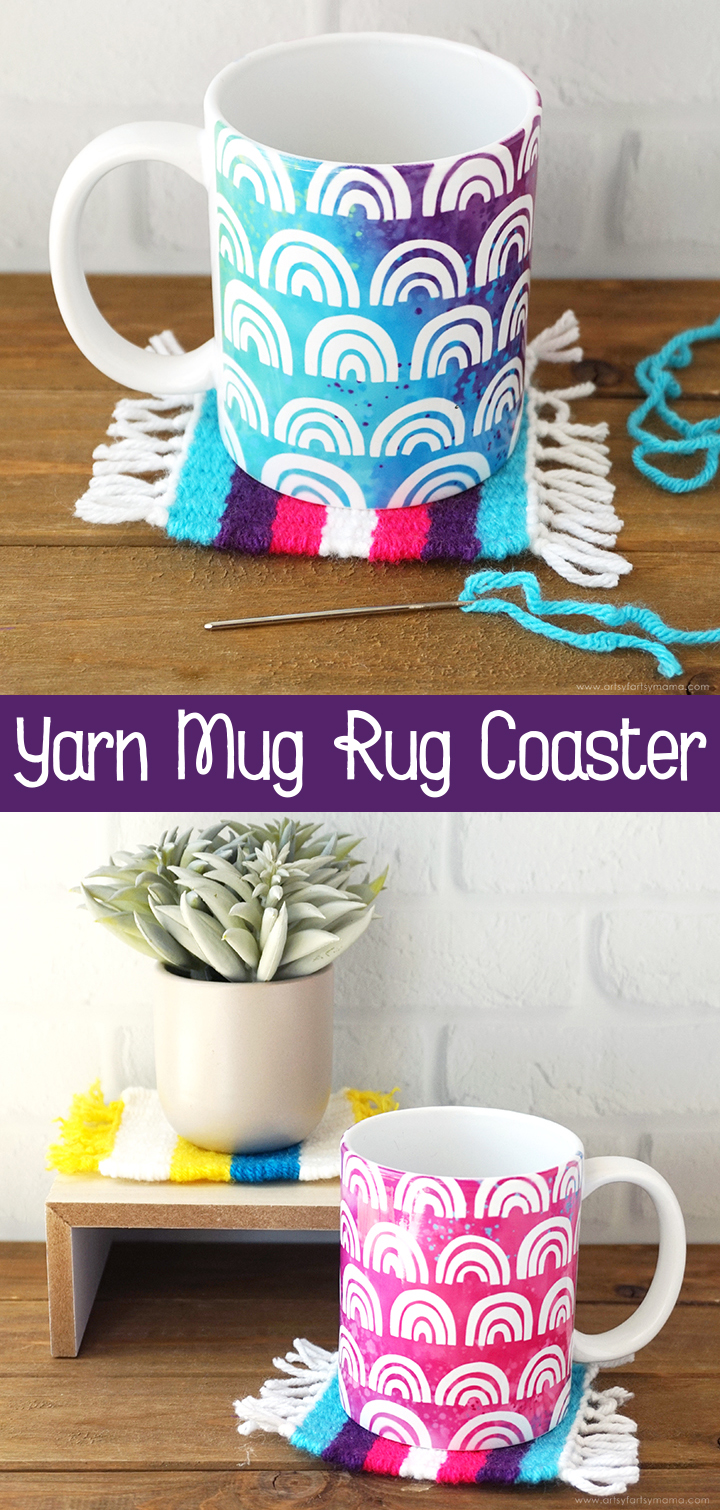
Create a custom "Mug Rug" coaster in your favorite colors of yarn!
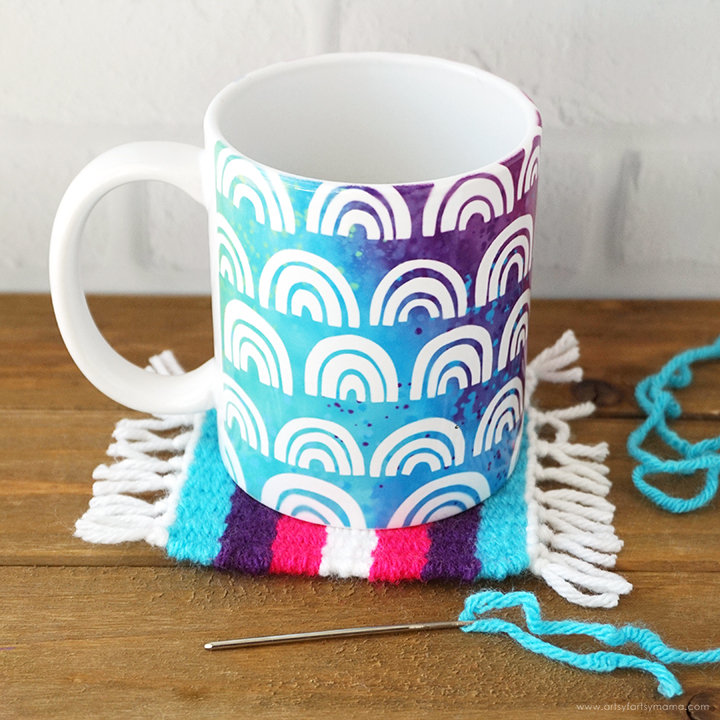
There are so many things you can create with yarn, and this project is a fun one for everyone to try! Have you ever heard of a "mug rug"? It's a coaster - or a literal rug for your favorite mug! I think it's such a cute name for such a cute project. Not only is a mug rug simple to make, but it's a great way to teach kids how to weave. You only need a few simple supplies to create your own custom striped coasters to display on your table or to share as a gift.

To make your own Yarn Mug Rug Coaster, you will need these supplies:

Make a Loom
Cut a piece of cardboard measuring about 5" x 7" to create your "loom". With the cardboard laying vertically, use a ruler and marker to mark along the top and bottom edges at every 1/4".
If you want your coaster to measure a specific size, use your ruler to make horizontal lines for the top and bottom edges of your coaster. I just winged it, so I skipped this step.
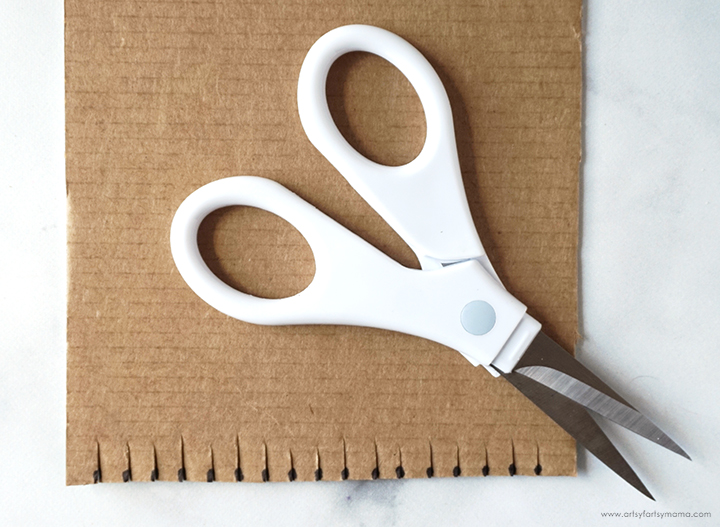
Use scissors to carefully cut into the cardboard at each of the marks along both the top and bottom edges. You can make the cuts as deep as you want, but I'd recommend cutting them only about 1/4" - 1/2".

Wrap the Loom
Decide which colors of Red Heart Super Saver yarn you want to use for your mug rug. I would recommend using between 2-4 colors total. For younger kids or beginners, using less colors of yarn will be easiest. There are over 140 colors available in Super Saver line, so you've got a lot to choose from!!
First, select the color of yarn that you want the tassels on the mug rug coaster to be. Take the yarn and insert it into one of the end notches at the top of the loom with the end on the back side. Tape the end of the yarn to the back, making sure it's a couple of inches below the notch. Turn the loom over to the front side, and bring the yarn down straight through notch below.
Wind the yarn around the loom, moving from one notch to the next, top to bottom. Make sure that you are wrapping the yarn so it's taut, but not so tight that it bends the cardboard. When you get to the end, trim the yarn and tape the end down on the back side of the cardboard.
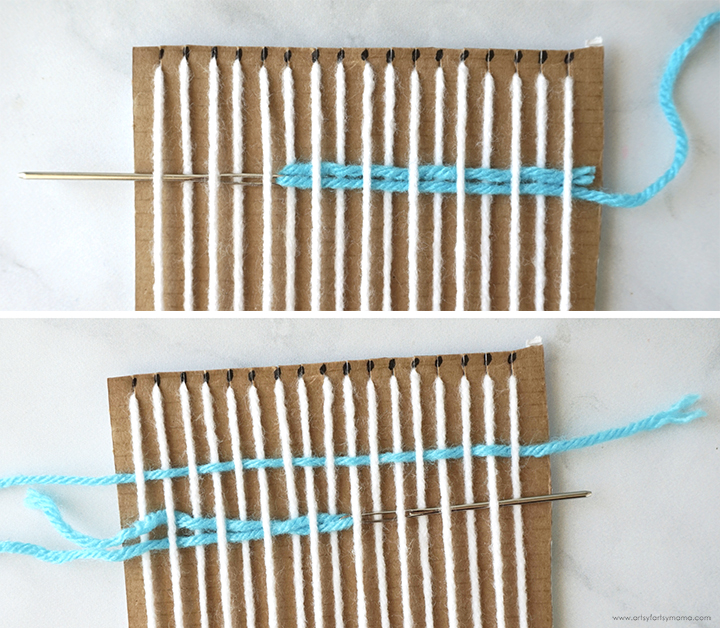
Weaving
Thread a coordinating color of yarn onto a yarn needle (or bobby pin). Weave the needle from right to left, alternating going under and over the lines of yarn. When you reach the other end of the loom, pull the yarn through and leave a 4 inch tail hanging from the edge.
For the next line, weave the needle through in the opposite direction - from left to right, going over and under the lines of yarn. Pull the yarn through, but just enough that the yarn is laying evenly. Make sure it isn't pulled too tight!

Use a fork to push the weaved lines of yarn together. When you have just a couple of lines weaved, the yarn may shift as you push them together. If you have horizontal guides marked, try to keep the top of the coaster aligned with the guide. If you're eyeballing it, just make sure you are a few inches away from the notches in the loom.
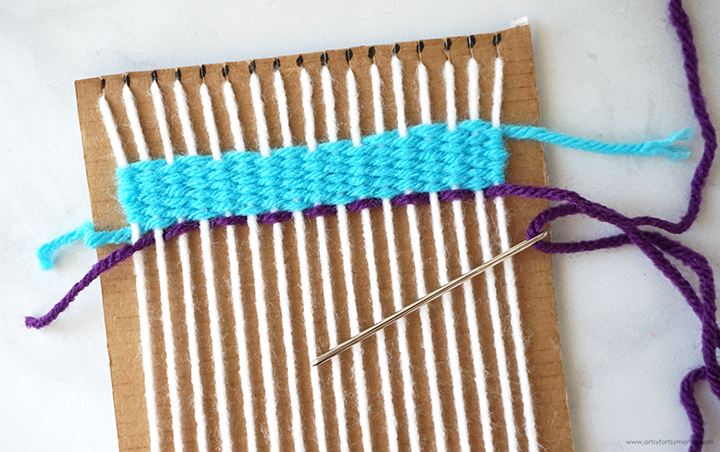
When you reach the end of the yarn or want to change colors, weave the last line and leave a 4" tail of the old yarn. Re-thread the needle with new yarn and weave the next line as usual, making sure to leave a tail with the new yarn.

If you have coaster guides on your loom, you are done when the top and bottom of your weaved lines match your marked guides. Otherwise, you can place a mug on top of your loom and decide how large you want the coaster to be. To finish this part of the project, trim the tail of the last weaved line at 4".
The more you practice, the more fun you can have using different colors of yarn! To make my stripes the same size, make sure to count the same amount of lines of each color. It made for a lot of tails, but I love how bright and colorful this coaster is!

Remove from the Loom
Remove the coaster from the loom by cutting through the yarn on the back just below the notches at the top and bottom. Carefully pull the yarn out of the notches.
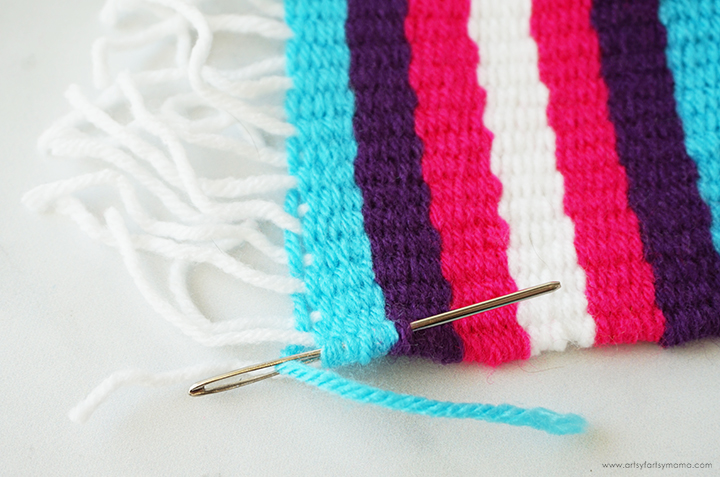
Weave in Tails
Thread the first tail at the top of your coaster through the needle. Carefully insert the needle through the loops on the end of the coaster and gently pull the tail through. Trim the tail right next to the loop, being careful to not cut through the coaster. Repeat this process for all of the tails.

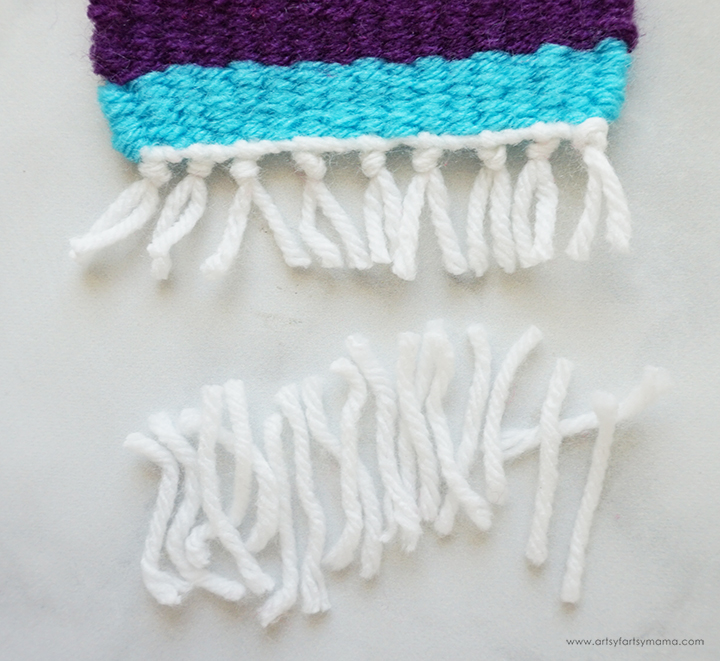
Finish Edges
Cut an 8" piece of yarn in the same color as your fringed edges. With the coaster laying right-side up, we're going to tie knots along the bottom. Tie the "new" piece of yarn to the "old" fringe piece on left end to connect the two pieces of yarn. Lay the old fringe straight down, with the new fringe laying next to it on the left side of it.
Fold the new piece over the the old so that it looks like an "L" or a "4" (see example in the center of the image above). Bring the end of the new piece up and through the loop, and pull it tight to make a knot. The "new" piece of yarn should now be on the right side of the old.
Cross the new piece over the next piece to the left of it, tying it the same way. Repeat this process until you get to the other end. Rotate the coaster and repeat this knotting process for the top of the coaster.

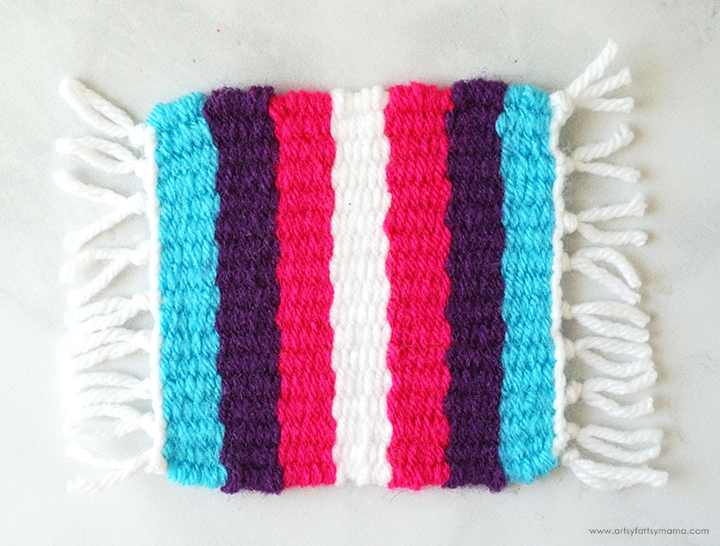
Knot Fringe
Take the first two pieces of yarn, and loop them around your finger. Bring the ends through the loop and pull the knot tight up against the edge of the coaster. Move on to the next two pieces, and tie them in a knot. Repeat until you get to the end. Rotate the coaster and repeat for the top edge of the coaster.
Use scissors to trim the fringe to the same length. If you want to make the fringe a little more fluffy, you can use a macrame comb to carefully brush through the yarn. Don't forget to trim the fringe on the opposite end!
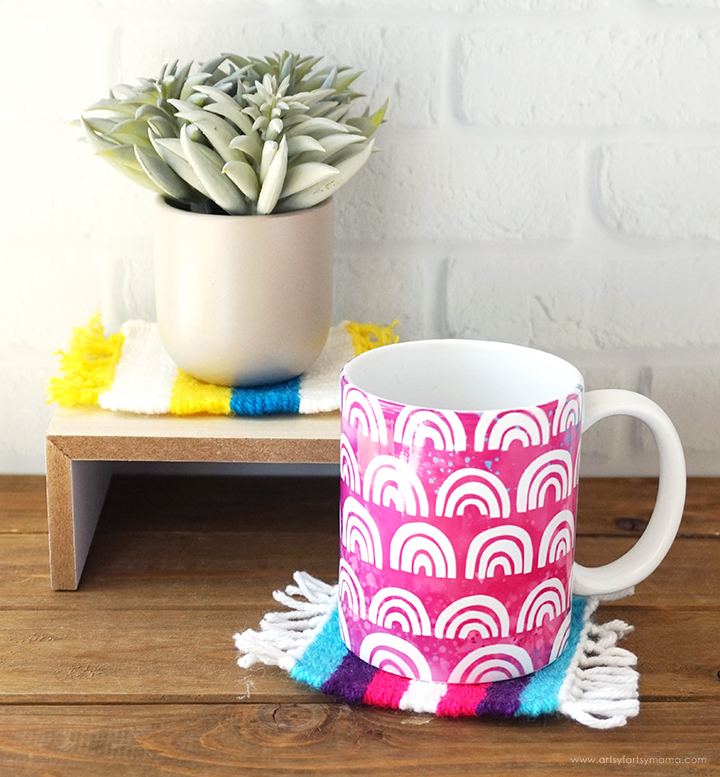
Now the Yarn Mug Rug Coaster is complete! Once you finish your first one, it's kind of addicting to make a whole set of them in a variety of colors and stripe sizes. This is such a simple project, especially for kids and teens. Not only can they learn to make their own textiles, but it feels so good to create something that can actually be used every day!!

The mug rug works great as a coaster to protect your table from water rings, but it can also be something decorative! Place your favorite plants on a specially made rug to keep on your workspace, or make one to hang up as a piece of wall art. There are so many creative ways to incorporate a handmade Yarn Mug Rug Coaster into your home.
This was a fun project that my daughter and I worked on together, and even inspired my teacher husband to give this a try in the classroom. I love that kids can easily make Yarn Mug Rug Coasters on their own, and I think these would be a sweet handmade gift for them to share with family and friends.
As always, I would love to see your creations! Share yours on Instagram, Facebook, or leave a comment/photo on the project pin on Pinterest! #AFMCrafts
Looking for more camp craft inspiration?
Check out this collection of OVER 100 creative camp craft ideas!!

Don't forget to Pin, Like, and Share!


Well this is simply adorable in every way.
ReplyDelete