
Display your love of this wizarding treat with your own Chocolate Frog Shaker Charm made with resin!

Anything off the trolley, dears? Chocolate Frogs are my go-to Wizarding World treat, and now I can carry one with me everywhere I go with this resin shaker charm I just made! Even though there are quite a few steps in the process, resin shaker charms are actually pretty simple to make. Once completed a shaker can be used as a purse/backpack charm or keychain, and will ALWAYS be a fantastic gift idea!!
New to resin? Be sure to check out Resin 101: Getting Started with Resin!

One of my favorite Harry Potter moments is when Harry first opens up the Chocolate Frogs on the Hogwarts Express. The chocolate frogs are just so fun and memorable, and are actually one of my favorite treats that I've brought home and enjoyed from the Wizarding World!

To make your own Chocolate Frog Resin Shaker Charm, you will need these supplies:
- Chocolate Frog Box Silicone Mold
- Amazing Clear Cast
- Mold Conditioner and Release Spray
- Measuring Cups
- Stir Sticks and Toothpicks
- Disposable Gloves
- Mica Powder or Glitter - Dark Blue, Brown
- Metallic Gold Acrylic Paint
- Metallic Micro Beads
- Hand Drill Tool
- Unscented Baby Oil or Glycerin
- Oiler Bottle
- Super Glue or UV Resin
- Jewelry Eye Screw
- Key Ring with Chain
*Save 10% on resin supplies when you shop ETI with code AFM
SAFETY FIRST: Before getting started, wear disposable gloves, protect your workspace, and be sure to work in a well-ventilated area!

Prepare about 1 oz of Amazing Clear Cast resin according to package directions. Pour in equal parts resin and hardener to the mixing cup. Slowly stir the resin mixture together with a stir stick for two minutes. Pour the resin into a clean mixing cup, and then stir the resin mixture again for another minute or two with a clean stir stick until evenly incorporated.
If the resin mixture is still cloudy or streaky, you will need to keep stirring until it becomes clear. To keep the bubbles down to a minimum, don’t stir too fast, and give the resin a minute or two to “rest” after mixing to let any bubbles rise to the top.
Use the stir stick to carefully fill the mold for the top of the box. Let the resin sit for a few minutes, then use a straw, heat gun, or spritz with 91% alcohol to remove any air bubbles that rise to the top.

Add about 5 ml of the resin into a clean mixing cup, and then add in a generous amount of brown mica powder and/or glitter. Stir the mixture well until the powder has been combined with the resin. Because the frog mold is so small, use a toothpick to carefully fill the mold up with resin. Be sure to gently poke the resin into the frog's toes, otherwise they can get air bubbles.
Let the resin sit for a few minutes, then use a straw, heat gun, or spritz with 91% alcohol to remove any air bubbles that rise to the top.
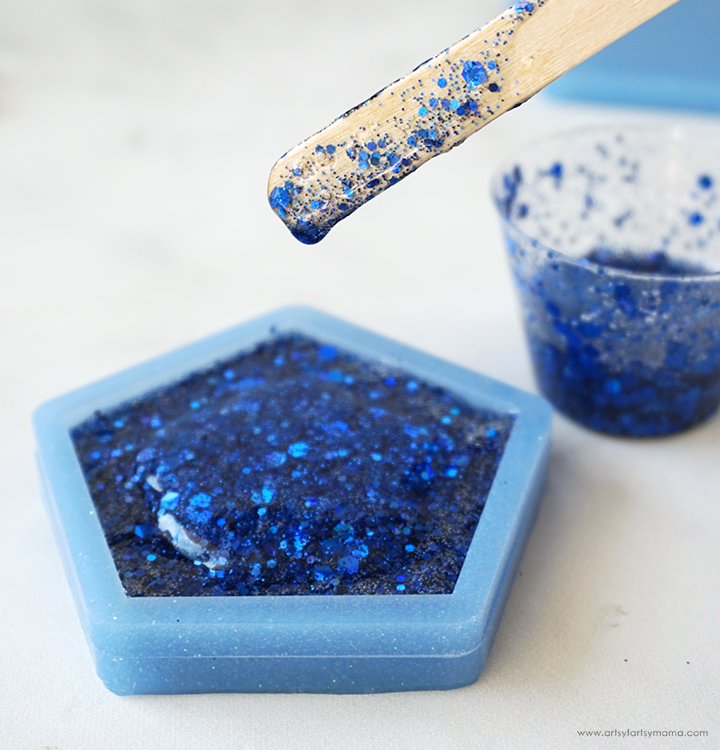
Add a generous amount of dark blue mica powder and/or glitter to the remaining resin and stir the mixture well to incorporate the color. Use the stir stick to fill the shaker mold all the way to the top. Let the resin sit for a few minutes, then use a straw, heat gun, or spritz with 91% alcohol to remove any air bubbles that rise to the top.
Leave the resin in the molds to cure in an undisturbed, well-ventilated area for 24 hours. You will know that the resin is completely cured when it is no longer tacky to the touch and pulls away from the edge of the mold.


Before assembling the shaker charm, there are some etched details in the pieces that need to be filled in. To do this, you will need a toothpick, metallic gold acrylic paint, and q-tips or paper towel.
Start with the lid, because it has less details. Dip the tip of the toothpick into the paint, and spread the paint over the letters. You're going to feel like this is a terrible idea, but trust the process! You want to put enough paint on to fill in the etching, so put it on thick. Let the paint sit for a few minutes to dry a little, and then dip the q-tip or paper towel in a drop of water. You don't want it dripping, just damp to gently wipe away the excess paint. This will take a few passes, but keep going until the resin is paint-free except for the wording.
If you accidentally wipe away too much paint in the etching, go over the bare areas with paint again and repeat the process until you are satisfied with the fill. Once cleaned, set the piece aside to dry completely.

The base piece of the chocolate frog box has a much more ornate design, with more area to cover. Take your time filling the etching, and repeat the process as many times as needed. Once filled and cleaned up, let the paint dry completely.

Place the frog piece face-up in the open center of the box/base piece. If you want more things to float around with the frog, I would recommend micro beads, chunky glitter, or polymer sprinkles.
Next, put a thin layer of super glue or UV resin around the edge of the resin. Carefully place the clear top piece over the top, making sure to line up the edges. If you use glue, press the top down well so that the two pieces are bonded together tightly. If using UV resin, keep the pieces lined up and put the resin under UV light until the resin has completely cured.

You can keep the charm as is and give it a shake, but I prefer to give the shaker charm a "waterfall" effect, which makes the fillers inside slowly float back down. To do this, you need to fill the charm with baby oil (I prefer unscented) or glycerin.
Since the opening of the charm has been sealed off, we need to make an opening to fill it. Use a hand drill tool to carefully drill down through the top of the box and into the open area inside the charm.

Fill an oiler bottle with baby oil or glycerin. Put the needle through the drilled opening and slowly squeeze the bottle to fill the center of the charm. Take your time and keep some paper towels on-hand. Sometimes the oil will go back up through the hole and will spill everywhere!
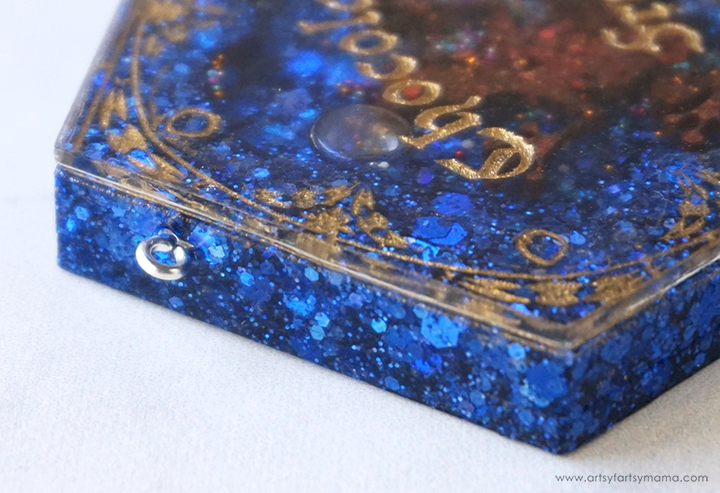
Once the charm is full, wipe the opening well to remove any oil residue. Cover the hole with a couple drops of super glue or UV resin, and insert an eye screw. Cure the resin or let it the glue dry completely.
Give the charm a good shake to admire the waterfall effect and repair any leaks, if necessary.


I always recommend "doming" a finished shaker or keychain to give it an extra layer of protection. To do this, lay the charm down on its back. Mix up 2.5ml - 5ml resin and leave it clear. Carefully cover the top of the charm with resin without going over the edges. This will give your charm a domed top that also completely seals the front of the charm. Pop any bubbles that rise to the top. Leave the resin to cure in an undisturbed area for 24 hours.
This is such a unique gift idea that any Harry Potter fan will love, and I think you will find that resin shaker charms can be a lot of fun to make!! As always, if you make any of these projects for yourself, I'd love to see your creations! Tag me on Instagram and Facebook, or leave a comment/photo on the project pin on Pinterest!
Don't forget to Pin, Like, and Share!


