
Hit the pool in style this summer with a hand-embroidered beach tote!

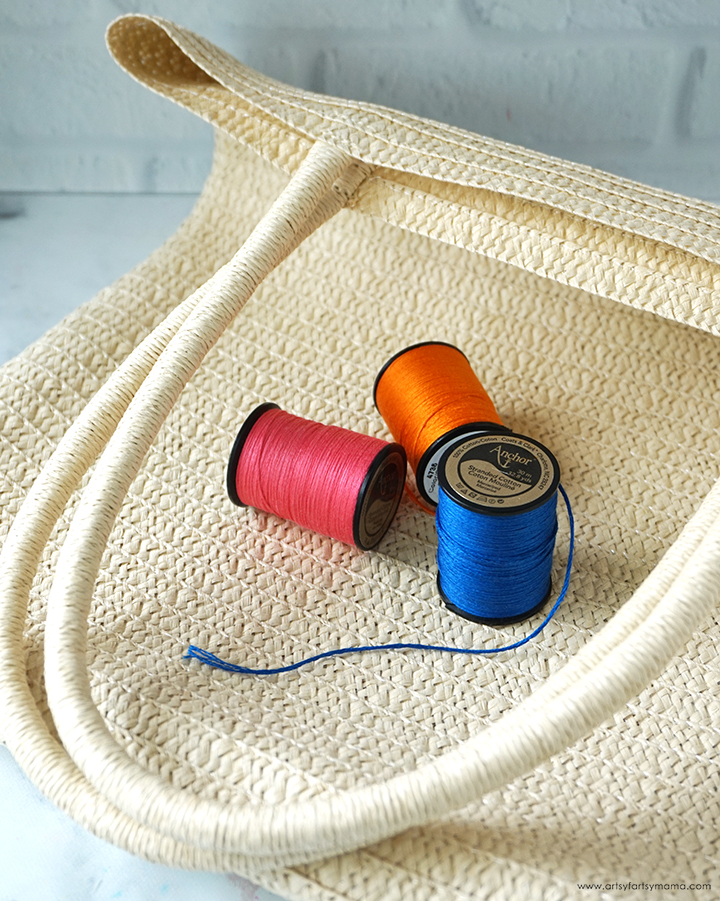
When I first saw this straw beach bag in the Target Dollar Spot, I knew exactly what I wanted to do with it. With just a little bit of time and Anchor Embroidery Floss Spools, I could make this plain bag into something special. This Embroidered Beach Tote Bag is a great project for anyone of any skill level, and is a lot of fun to customize. Once completed, you can take this tote to the pool or the beach to hold all of your personal belongings.
To make your own Embroidered Beach Tote, you will need these supplies:
- 14"x15" Straw Tote Beach Bag (I found mine for $5 at Target)
- Sunrise Beach Tote Printable (for personal use only)
- Water-Soluble Marker
- Anchor Embroidery Floss Spools
- Embroidery Needle
- Scissors

Download the Sunrise printable, or create your own word art to put onto the beach tote. Print the design on regular copy paper. Place the paper inside the beach bag, with the words facing the front of the bag. Use a pin or tape to hold the paper in place. Place the bag on a light box or a window, and use a water-soluble marker to trace the letters onto the bag.
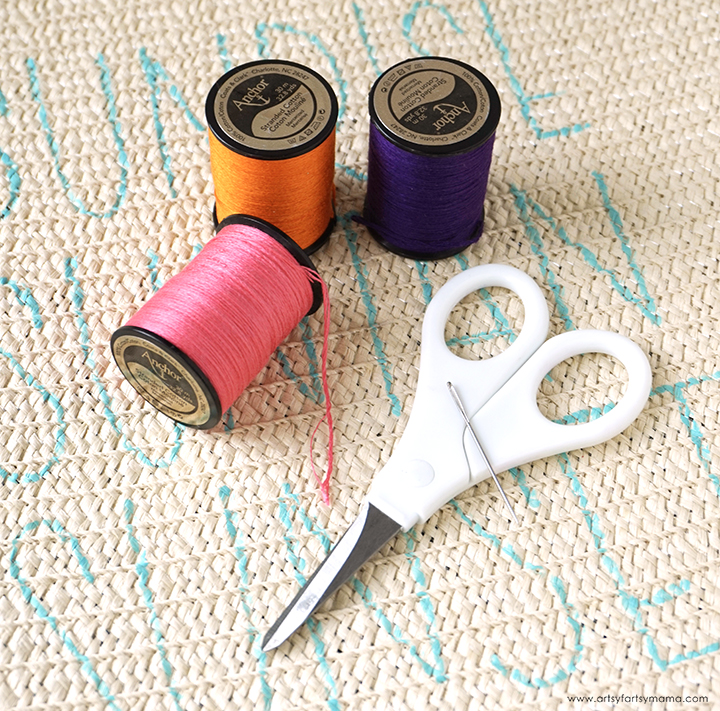
Remove the printable from the bag, and choose three of your favorite colors of Anchor Embroidery Floss Spools. It doesn't matter what colors you choose, but I would recommend something bright and colorful to really make it pop! I chose pink, orange, and purple, one color for each word. You will also need an embroidery needle and scissors.

Follow the traced guidelines to stitch the wording onto the bag. This will feel a little awkward to begin with, since you will need to work with one hand inside the bag while stitching, but you'll get used to it.
Make the words come to life with any type of stitches you'd like. I started with a simple backstitch, but it was a little too thin for me. To make it bolder, I added an extra line to each side of the main stitch but made the outer stitches a little "off" of the original one. I like the texture from the uneven stitches, and how they kind of look like chain stitches from farther away.
I would highly recommend working with a bag that has thinner straw. Thicker straw may be a little more difficult to stitch through.

Once all of the wording has been stitched onto the bag, spray or rinse the bag in warm water to remove the marker. Let the bag hang to dry for a few hours, or overnight.
Once dry, the Embroidered Beach Tote Bag is ready to pack up and take to the beach or pool. I absolutely love how this beach bag turned out, and it was a really fun embroidery project to make. Since it's unique, the bag is easy to spot when we are looking for our things when coming out of the pool.
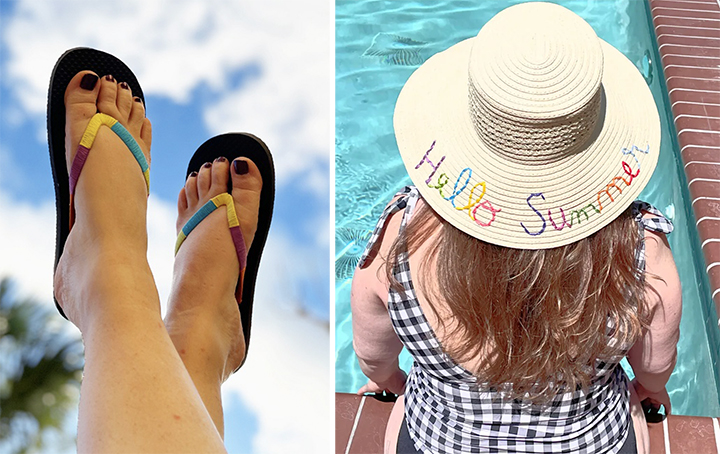
Want more summer-inspired embroidery inspiration? Check out these adorable projects that Laura and Beth using Anchor Embroidery Floss Spools! Beth from Creatively Beth upcycled some otherwise boring flip flops into a colorful pair of summer sandals, and Laura from Me & My Inklings embroidered a sun hat that is the perfect piece of poolside fashion!
As always, I would love to see your creations! Leave me a comment, or tag a photo on Facebook, Twitter, or Instagram! #AFMcrafts
If you enjoyed this project, don't forget to Pin, Like, and Share!


What fun! It reminds me of summer bags we'd use when I was a child. Hope you get lots of use and enjoyment from your project this year. Thanks for sharing with us at Creatively Crafty #ccbg :)
ReplyDeleteWhat a fun summer project Lindsay!
ReplyDeleteThank you for sharing your embroidered tote bag at Create, Bake, Grow and Gather this week. I'm delighted to be featuring it at the party tonight and pinning too.
Hugs,
Kerryanne