
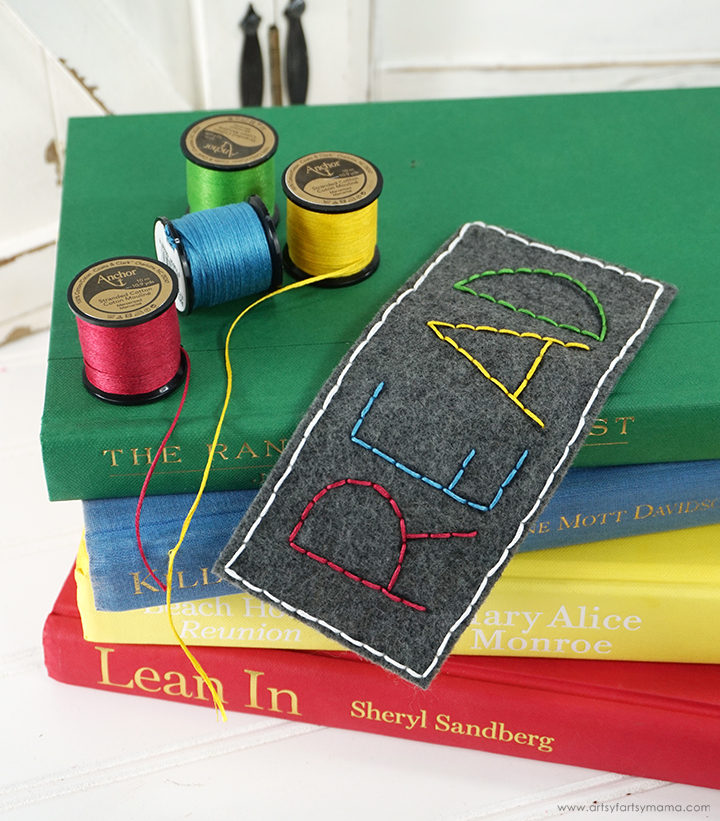
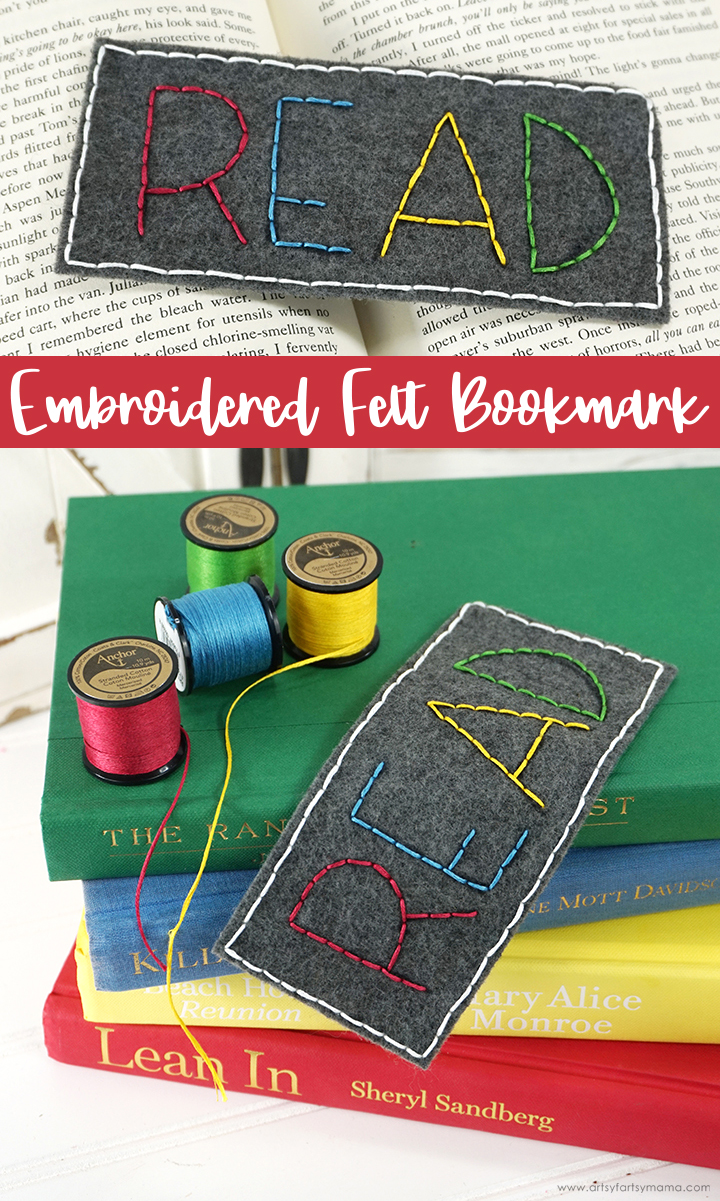
Save a spot in your favorite book with a Hand-Embroidered Felt Bookmark!

For me, there's no such thing as too many bookmarks. I love having a collection of them on-hand whenever I'm reading, and love finding new ones to share with my book loving daughter. As a fun fabric-scrap project, I decided to give an old piece of felt new life with a bit of embroidery floss. This is a good project for teens and embroidery beginners to try, because you can practice so many types of stitches on it. It's the perfect size to save a spot in your favorite book, and would be a thoughtful handmade gift for your reader friends.
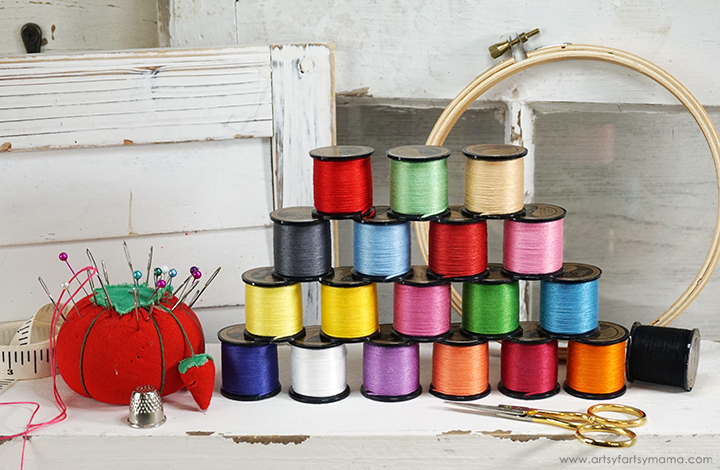
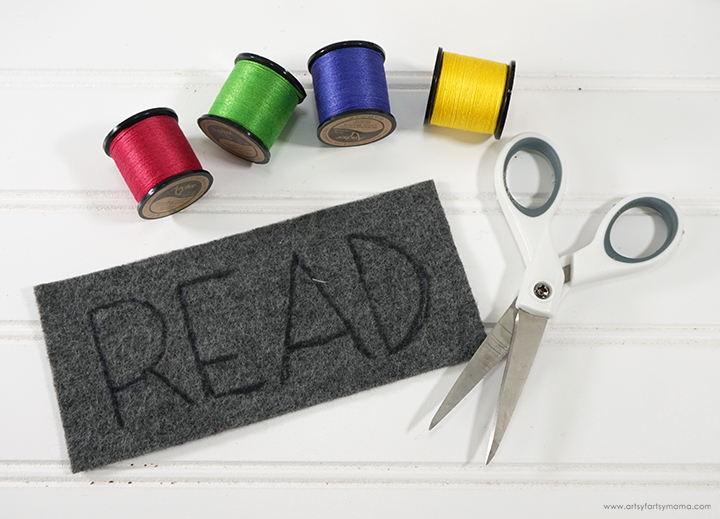
To make your own Embroidered Felt Bookmark, you will need these supplies:
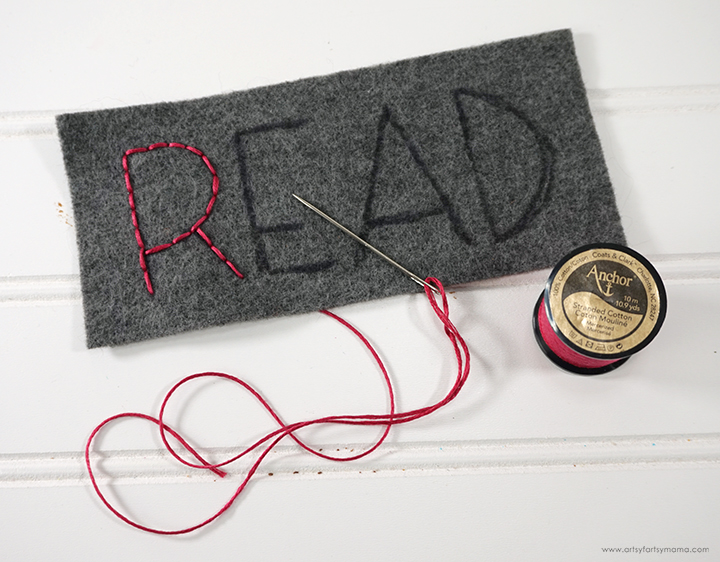
Draw or write your pattern right onto the felt with a pencil or temporary fabric marker. Unwind a length of embroidery floss from the spool, and thread all six strands onto an embroidery needle and tie a knot at the end.
Stitch along the drawn guides using your favorite types of stitches. To keep this bookmark simple, I went with a backstitch. When you come to the end of your thread or letter, tie a knot in the thread and trim.
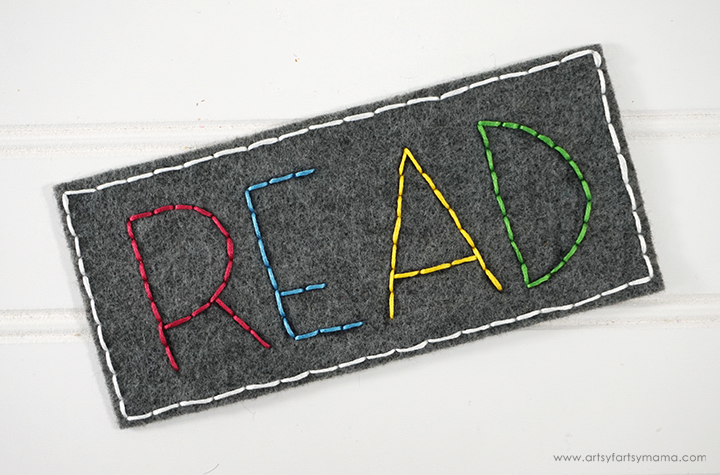
I decided to use a different color of embroidery floss for each letter, and then stitched a white border all the way around the bookmark. For some extra flair, you could make your own tassel out of floss and attach it to the top of the bookmark. For a different look, practice using all kinds of stitches in different colors. The most important part is to have fun and be creative, right?
If the back of your project looks messy, or you just want to cover up the stitching, glue another rectangle of felt or coordinating fabric onto the back using fabric adhesive.
Me & My Inklings and Creatively Beth also made some creative embroidered projects using Anchor Spooled Embroidery Floss, so be sure to go check out their tutorials!
As always, I would love to see your creations! Share yours on Instagram, Facebook, or leave a comment/photo on the project pin on Pinterest! #AFMCrafts
Don't forget to Pin, Like, and Share!


