
Add some color to your bookshelf with DIY Wood Storage Bookends!


The main structure of the bookends are made with a 1x6 board (I used poplar) cut into four 7" long pieces. If you don't have access to a chop saw, you can usually ask an employee at the home improvement store if they will cut the wood for you. Sand the boards well on all sides.
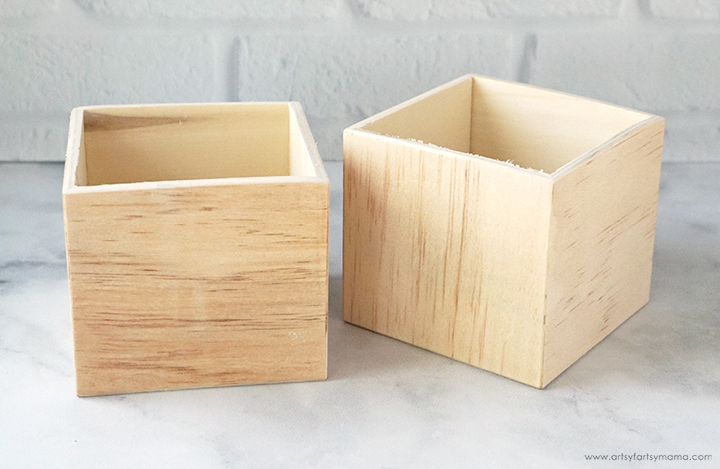
Next, you will need a pair of wooden cubes. I found these at the craft store. Cut one of the sides of the cube off using a saw or Dremel to turn them into an open-topped box. Sand the cut edges well.

After sanding, paint each of the boards on all sides with a one coat of Apple Barrel acrylic paint using a 3/4" paint brush. My daughter loves teal, so she chose the color "Laguna". Make sure to let the paint dry completely (it doesn't take long) before adding another coat. The paint is also easily washable while wet by just using soap and water!

Line the boards up at the ends - one standing vertically, and the other laying horizontally. Connect the boards together using a couple of screws. For a cleaner look, use a countersink drill bit and 2 screws. The drill bits make it so that you can add filler (spackle) over the screws so your finished project doesn't show them at all.
Let the spackle dry, and then lightly sand until smooth and even with the wood surface. Paint another couple of coats of paint on each bookend to even out the color and make them more vibrant.

We decided to add a bit of sparkle to our bookends - surprise, surprise! To do this, pour a little bit of Mod Podge into a washable or disposable cup, and then sprinkle in a generous amount of fine iridescent glitter. Stir the mixture well with a craft stick.


Add a little bit of strong adhesive to the bottom of the box. Center the box on the bottom board of the bookend and hold it in place for a minute or two until the glue starts to set. Place something heavy on top (like a book, ironically) and let the adhesive dry according to package directions.


These DIY Wood Storage Bookends were a lot of fun to make, and there are so many ways you could personalize them. I think it would be so much fun to make a set together as a family before school starts to keep all of your school books in one place.
Paint a thin coat of the Mod Podge on the bookends. We only put it on the "front" and on the sides of the bookends that will show when they're on the shelf. Let the bookends sit for at least 30 minutes to dry. You will know if the Mod Podge is dry, because it will change from white to clear and it won't be tacky to the touch.
Now all that's left is that gorgeous sparkle! The bookends are protected, and that glitter is NOT coming off. This is such a simple (and CLEAN) way to add glitter to your projects.
For the boxes, choose three coordinating colors of Apple Barrel acrylic paint. We decided to go with Pale Daffodil, Grape Jam, and Tropic Orange.
Sketch out a pattern or use some painter's tape to mark off areas to paint. Press the tape down well to keep the paint from bleeding underneath.
Paint a couple thin coats of paint, and peel the tape off immediately after painting. Look at that clean line! Let the paint dry completely before putting any tape on top of it.
Paint the rest of the boxes with blocks of color. I painted about 2 coats of each for full coverage. I also painted the insides of each box with the same Laguna paint as the bookends.
Paint the outside of the boxes with a thin coat of Mod Podge. This will give them a glossy finish and will protect the paint from getting scratched off. Set the boxes aside to let the Mod Podge dry completely.
Once the adhesive has dried, the bookends are ready for use. We've been using our bookends to keep books we're using for homeschool together, and they've been working great! Place your favorite books between the bookends, and they are sure to be held in place. The boxes are perfect for storing your favorite bookmarks, and for keeping small papers with writing utensils for taking notes!


