
Make a custom doormat for your front porch using the new Cricut Maker 3!

After hours of trying to settle on a mat design, the answer was basically made for me when we had a week full of uninvited solicitors stop by our house. I tried to combine style and humor to the design, and am crossing my fingers that it does the job! I'm also sharing the FREE cut file for you to use if you are having a similar problem.

I highly recommend using the new Cricut Maker 3 machine* for making this doormat project. Not only does it cut twice as fast, but it can cut vinyl up to 12 feet long! You can use all of the original Maker blade and tools with this machine to cut 300+ materials, including the new Smart materials. Personally, I am loving the Roll Holder attachment with the built-in trimmer to cut a clean, straight line once your project is done cutting!


With the two items still selected, click "Attach" at the bottom right menu bar to keep the two parts together.


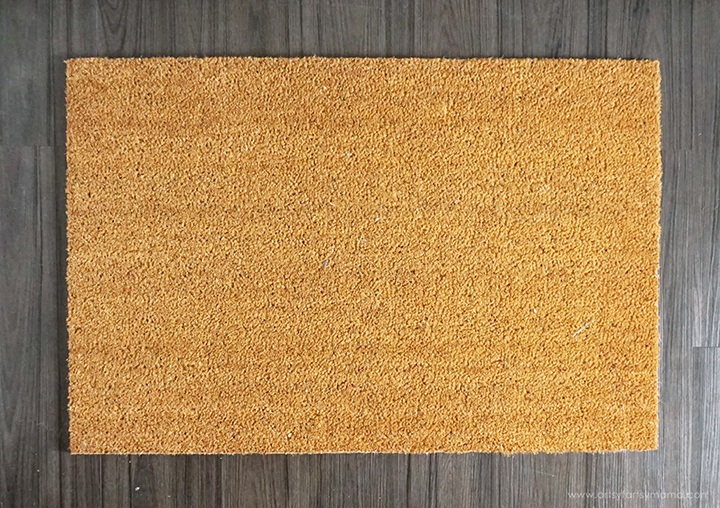
To make your own custom doormat, you will obviously need a blank doormat to start with. After shopping around, the best deal I found is the large Trampa doormat from IKEA for $9.99. This rug also comes in a smaller size, and I think it's only $4.99! It's the perfect blank canvas for a custom mat for your front porch!
*I'll be sharing a machine comparison soon!


Usually the design is completely grouped once it's been uploaded. If this happens to you, select the design and click "Ungroup" in the top right menu bar. Select the tan "no soliciting" part of the design and click "Attach" in the bottom right tool bar to keep that part of the design connected. Next, select the black text and click "Attach" to keep this part of the design together.
Open Design Space to a new canvas. Click "Upload" in the left tool bar and follow the prompts to add the FREE No Soliciting Cut File (personal use only) to the canvas.
Also make sure to select the "Maker 3" option in the dropdown next to the green "Make It" button to be able to cut the design as shown here in the tutorial!
If you don't attach, the letters will arrange themselves to fit the mat instead of keeping the text looking the way it does in the design.
Click the "Shapes" icon in the left menu bar and create a rectangle. When the shape pops up, click the lock in the bottom left corner of the shape to "unlock" the image. This allows you to change the rectangle to a different width/height ratio.
Change the size of the rectangle to 35.5" wide by 11.75 inches tall. Change the color of the rectangle and the smaller text to the same color (any color).
*I created the design to fit the doormat I used. If your doormat is a different size, select the entire design and size the width (only) to fit your specific mat.
You need to make sure that the text is lined up inside the rectangle, both horizontally and vertically. To do this one simple step, select both the (smaller) text and the rectangle. Click the "Align" icon in the top menu bar, and then click "Center" at the bottom of the options.
Click the green "Make It" button in the top right corner to go on to the cutting process!

Here is where you can see the project virtually on a mat. If the letters/design are broken apart and spread randomly on the preview, then you need to go back and "Attach" the design pieces again.
You can use either Smart Adhesive Vinyl or Smart Iron-On Vinyl (HTV) for this project. I am using HTV, so you HAVE to make sure to "mirror", or reverse, the images - especially if there is text! To do this, select the mats, one at a time, and click the "Mirror" toggle. If the preview doesn't look backwards, then you haven't mirrored the image. Once you have done this, click the green "Continue" button.
**Even though I have the two parts of the design in different colors in Design Space, I am still cutting them out of the same color of vinyl. Separating them by color just helped me to remember that they are two separate parts of the design and didn't get things mixed up.
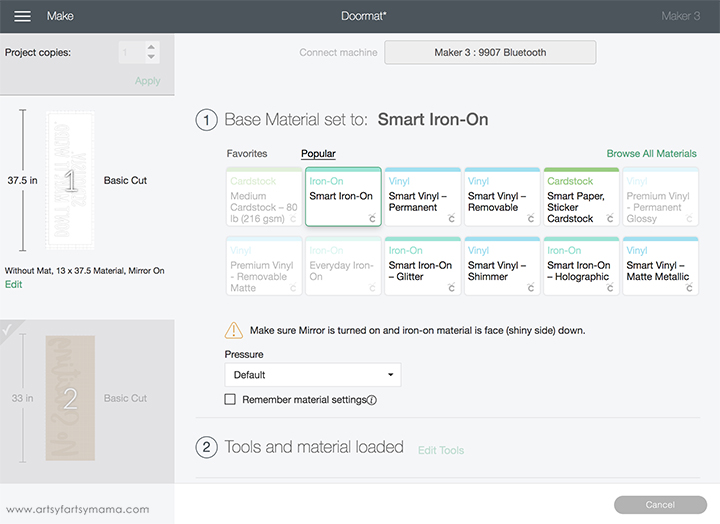
The next step is to connect to your machine, select materials, and load your tools. When you are connected to the Maker 3, all of the materials it is compatible with will be available to pick from, including the new Smart materials. Select which material you will be using (refer to your packaging, if necessary) and check that you have the right tool loaded in the machine.

Like I said, you can use either Smart Iron-On or Smart Vinyl for this doormat project. It comes in a variety of finishes, colors, and lengths. For this project, the vinyl is going to basically work as a stencil. So, I would recommend using a color you aren't too attached to and make sure it is one of the longer lengths (9-12 ft).
If you decide to use adhesive vinyl, you will also need some transfer tape.

Place the roll of Smart Iron-On into the Roll Holder attachment. Feed the end of the vinyl under the trimmer and under the white tabs in the machine with the shiny side down and the end right under the gray wheels.
Follow the prompts in Design Space for pressing the "Load/Unload" materials button and for cutting your project. I was SO impressed with how quickly and efficiently the Maker 3 cut the vinyl, all without a mat! Before unloading, trim the vinyl with the trimmer. This will cut right where it needs to be, and will leave the edge on the roll straight and smooth so that your next cut will load just as easily as this one!


Set the EasyPress 2 (I used the 12"x10") to 330º for 60 seconds. Once the light turns green and the machine beeps, it's ready to use. Starting at one of the edges, set the EasyPress over the vinyl and press the green "C" button. Hold the EasyPress in place, with a bit of pressure, while the timer counts down. Move along to the next section, press, and repeat until you have pressed all of the vinyl to the mat.
Start with the "No Soliciting" part of the design, and use your weeding tools to remove everything except the words. Don't forget to remove the insides of letters, like "o" and "g"!
For the second part of the design, do the opposite. Use your weeding tools to remove ONLY the words, leaving the rectangle. Be sure to leave the insides of letters this time, like "O" and "R". You will also need to remove the excess vinyl from around the rectangle.
Lay the vinyl (with the rectangle) on top of the mat, lined up with the sides and the bottom edge of the mat. Use a ruler to center the "No Soliciting" vinyl above the rectangle.
Gently press the vinyl down so the carrier sheet holds them in place. Even though the carrier sheet is sticky, it will only barely stick to the mat because of the fibers, so keep that in mind if you need to move it around. I stuck a few straight pins into mine!
Carefully peel the carrier sheet away from the vinyl. Definitely work slowly though, because it's easy to pull the vinyl away from the mat even though it's stuck on! If you have any parts that do peel away from the mat, cover it with an iron-on protective sheet to keep from melting the vinyl.
Wrap some painter's tape around the bottom section of the doormat to keep the lower sides and bottom edge from getting paint on it.
Carefully take the mat outside (or to a well-ventilated area) and lay something down to protect the ground or workspace. I used a couple sheets of poster board.
Shake up a can of black, waterproof, leak seal spray paint. Spray a thin, even coat over the entire mat. After about 10-15 minutes, spray another coat. If you need more coverage, add another coat or two. Let the paint dry for about 20 minutes for it to be dry to the touch.
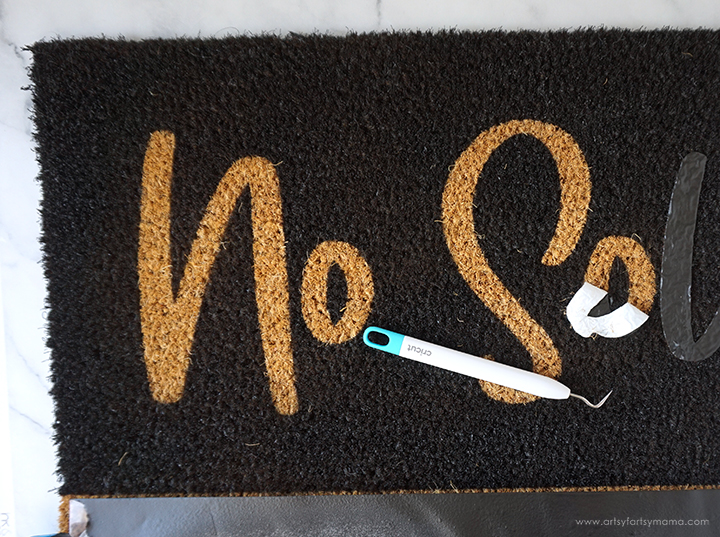
Use your weeding tools, especially the hook and tweezers, to remove the vinyl from the mat. It should peel up quite easily, but the tweezers do come in handy for any stubborn pieces.
The part I can't believe is that there was NO bleeding through the vinyl at all on the mat - look how crisp those lines are!!
Let the paint cure according to package directions (mine was 24 hours), and then mat is ready to be put on display! It will be safe from the weather, and is an eye-catching piece of decor to add to your front porch. I am thrilled with how this project turned out, and am so impressed at how simple it was with the help of my Cricut Maker 3!! If you've ever wanted to make a doormat, don't be afraid to jump in and give it a try!!


This is fantastic. Our street has a no soliciting sign, but it doesn't stop the door-to-doors "just doing work in the area and....aggressive sales pitch. Going to need to make one of these!
ReplyDeleteThis is great! I like this even more than the sign you previously shared.
ReplyDeleteAlexandra
OnRockwoodLane.com