
Share some holiday cheer with a handmade Christmas Gnome Shaker Card!

What is a type of craft you have been wanting to try? I have been wanting to try stamping and card making. I dabbled a bit with stamps as a kid and I did a bit of scrapbooking back in the day, but stamping and paper crafts have come so far since then! This Christmas Gnome Shaker Card was a lot of fun to make, and it was fun to try something new!

To make your own Christmas Gnome Shaker Card, you will need these supplies:
- Jingle Joy Patterned Paper
- Jingle Joy Coordinating Cardstock
- Acetate Sheet or Circle Shaker Window
- Gnome for Christmas Stamp + Thin Cuts
- Circle Shaker Thin Cuts (optional)
- Sizzix Big Shot (or other die cutting machine)
- Paper Adhesive
- 1/2" Double-Sided Foam Tape
- Paper Trimmer + Scissors
- Scoring Tool + Ruler
- Acrylic Stamp Blocks
- Gold Sequins

Use a paper trimmer to cut a piece of green cardstock to measure 4"x12". With the paper laying horizontally, measure 6" and mark the paper at the top and bottom. Use a scoring tool and ruler to add a score line down the center of the card. Fold the paper along the score line.
I wanted this card to be a little different, so I cut it like this to have it open vertically instead of horizontally like a typical card. This card measures 4"x6", and will still fit in a standard A4 envelope!

Choose a pattern from the Jingle Joy Patterned Paper set and cut a strip measuring 2.5"x6". Put some paper adhesive on the back, and place it about 1/2" or so away from the left edge. This might look weird now, but trust me that it will all "even" out!


Attach the white cardstock circle to the center of the card using paper adhesive.

Since I'm new(ish) to stamping, I read and watched a lot of videos on the best ways to actually use the stamp. I'm no pro yet, bu here's some of the tips I used to help me come out with a successful project.
Try to center the stamp onto an acrylic stamp block that is about the same size as the stamp. Place the stamp down onto the stamp pad and tap it down a few times. Apply the stamp to your paper in a straight down motion, using firm and even pressure all over the stamp image. Lift the stamp straight up off the paper. If you use too much pressure, the stamped image may be blurry. Before stamping your project, practice using the stamp a few times on a scrap piece of paper to get a feel for it.

Like any craft supply, stamps are an investment. To make sure your stamps last as long as possible, be sure to clean your stamps and blocks immediately after use using warm water and a mild soap. The longer you leave the ink on the stamp, the harder it will be to remove it. You can use a Stamp Shammy or even a soft toothbrush to scrub off stubborn ink. Let the stamp and block air dry. Do not EVER use alcohol, acetone, bleach, or any oil-based cleaners on your stamps!


After coloring in the gnome, place the matching Gnome for Christmas Thin Cut die over the image. Hold the die in place with a piece of washi tape. Run the paper and die through a Sizzix Big Shot (or your favorite die-cutting machine), or use scissors to cut the gnome out.
Cut small pieces of 1/2" double-sided foam tape and place them around the entire edge of the circle. Make sure there are no gaps, and leave the top liner piece on.
Sprinkle a variety of gold sequins, festive confetti, or your favorite mix of extra-chunky glitters into the center of the circle.
Remove the tape liner, and carefully place the acetate circle on top. Press it down well. Add a line of paper adhesive around the edge of the acetate, and then place the black circle frame on top. Hold it in place until the glue sets. Gently shake the card and make sure your filler doesn't fall out. If it does, find the source and block it with a small piece of tape.
At the top of each piece of Jingle Joy Patterned Paper, there is a 1/2" strip of a coordinating pattern called a "zip strip". I cut this pink zip strip off at a little over 3", and stamped the little cross-stitch line stamp (from the Gnome for Christmas Stamp Set) on top. Glue the strip down with paper adhesive about an inch or so from the bottom.
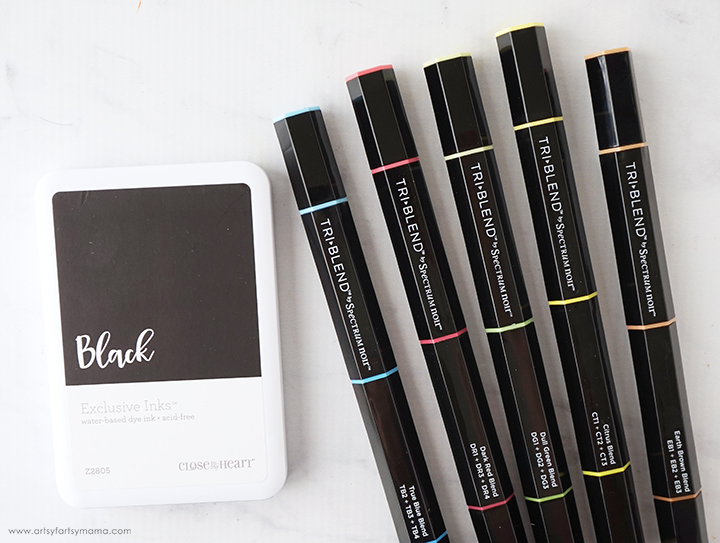
For the last addition to the card, I stamped this cute Christmas gnome holding a string of lights (from the Gnome for Christmas Stamp Set) onto some white cardstock. I colored in the gnome using Tri-Blend Markers in a variety of colors. These were a lot of fun to use! Each alcohol-based marker comes with 3 separate fine tips in different shades of the color. As you add layers with each tip, you can get a that perfect light to dark effect! Check out the green Christmas light for what I mean!

Turn the gnome piece over and put a little bit of paper adhesive on the top half of the gnome's hat. Cut small pieces of foam tape and place them on the body and arms/hands. Using both adhesives like this will allow the piece to stick to the card base and the the shaker window at the same time.
Stick the gnome down almost to the right edge of the card, placing the bottom/foam tape down first. Stick the hat end down on the top of the shaker window. For a little added sparkle, I dotted each of the light bulbs that the gnome is holding with a gold Shimmer Brush. It's kind of hard to see, but I also added some gold to the trees on the patterned paper.

On the inside of the card, you can add in your message. For a little extra pizzazz, I made this card double as a gift card holder! It's easy and quick to do this: place the gift card in the center. Use a pencil to make small marks maybe about 1/8" around each corner of the card. Line a ruler up at each pair of corner marks, and use a craft knife cut the lines. Pop the corners of the gift card into the cuts, and voila!
I hope you enjoy this project, and as always, I would love to see your creations if you decide to make it yourself. Please share your projects and tag me on Instagram, Facebook, or leave a comment/photo on the project pin on Pinterest!
Don't forget to Pin, Like, and Share!


DO you need my address to send this card to me? It's so dang cute.
ReplyDeleteWhat a sweet card!
ReplyDeleteAlexandra
EyeLoveKnots.com