
Create a magical winter wonderland with these Easy Mini Snow Globes!
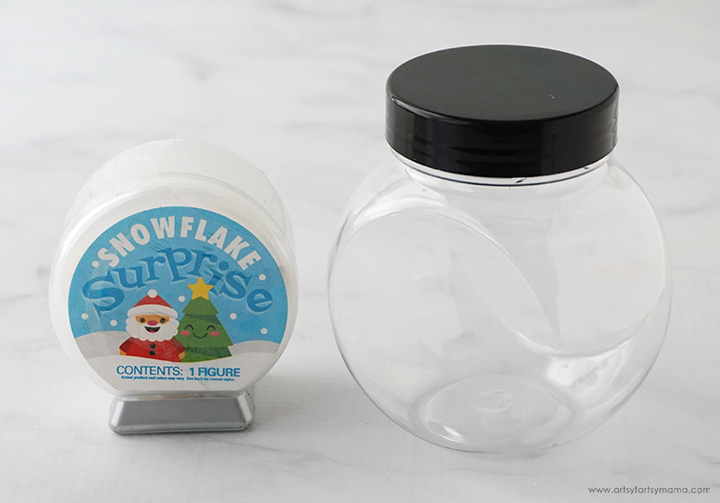
To make our Christmas snow globes, I started with a clear plastic round storage container. If you are making snow globes with kids, I definitely recommend going the plastic route. You don't want to mess around with glass!! I also found these adorable Snowflake Surprise toys that are have a fun "unboxing" element that kids love.
*You can also recycle your empty jars to make upcycled snow globes!


The figures can sometimes be a little too short to place right into the snow globe on its own. Attach the figure to the top of a soda bottle lid using hot glue. Let it dry completely, and then attach it to the bottom-side of the lid.
We decided to use two figures instead, so I glued one elf to the top of the other and let it set. Then I added a glob of glue to the bottom of the lid and waited until it was almost set before placing the stacked figures on top. Sprinkle a little bit of glitter on the glue while it's still wet for a sparkly base.

Pour some of the confetti "snow" and some chunky white glitter into the container. I recommend chunky glitters instead of fine glitters. Fine glitters seemed to just cloud up the water and you can't see them fall as well as the chunkier glitters.

Fill the jar with some water* and slowly place the lid onto the jar. Watch the water - if it looks like it's about to overflow, take off the lid and remove a spoonful of water. Keep repeating until you can screw the lid on tightly without any water leaking. This will help prevent any large air bubbles at the top of your snow globe.
*Not necessary, but also an option: make the snow fall slower by filling the jar almost to the top with hot water and add 1-2 tablespoons of glycerin (found in baking sections or at a pharmacy) or light corn syrup. Stir well to combine. Do this BEFORE adding glitter!

Shake the snow globe up and watch the snow fall around the figurine(s). If you feel like you need more glitter, snowflakes, or anything else, now is the time to do so. Once you're happy with the snow globe, carefully remove the lid and dry the rim of the jar and the edges of the inner lid with a q-tip. Add some strong craft glue and close the lid one last time to seal it closed.
This is my best tip if kids will be playing with the snow globe. You definitely don't want this coming open! Set the snow globe somewhere it won't be bothered lid-side up to let the glue dry before shaking it up again. For extra sealant, go around the entire rim after the jar is closed with some hot glue.
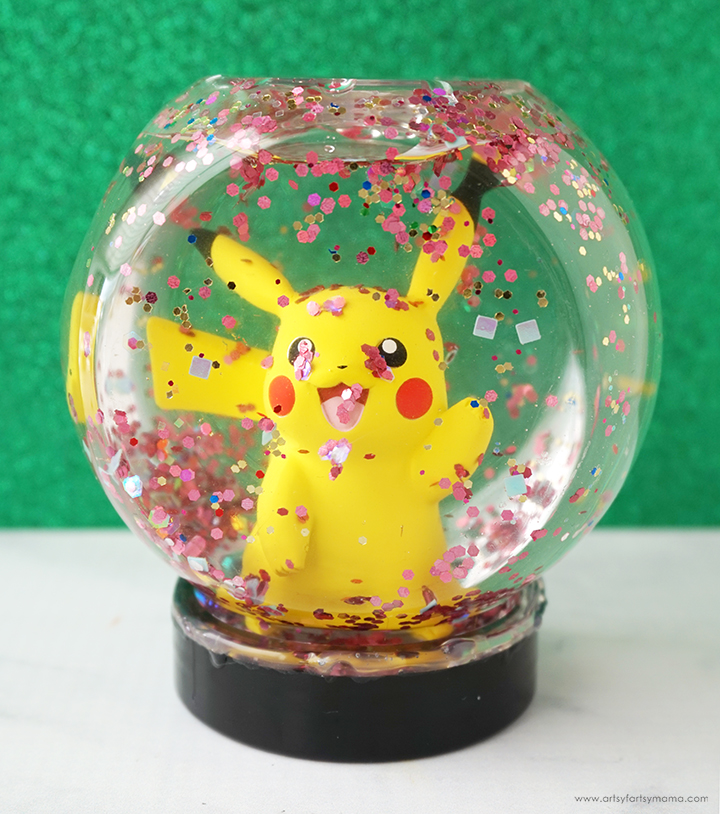
My daughter LOVES Pokemon, so she was thrilled when she found this Pikachu ornament. Remove the eye screw and ribbon from the top of the ornament. Make sure that the ornament fits inside the container, and then attach the ornament to the lid using hot glue. Pour your favorite glitters inside - we used some chunky red, gold, and blue glitters to coordinate with Pikachu's bright yellow color.

I found this owl figure that looked a lot like Hedwig, Harry's owl from Harry Potter. I thought it would make a perfect Harry Potter Christmas snow glob when paired with a miniature sisal tree. I attached the owl to the tree, and then attached the tree to the bottom of the lid with glue.

I put the snow globe together the same way as the others, and sealed the jar. I love it so much! However, I noticed the snow slowly started disappearing off the tree, making the water cloudy. So, if you decide to make this particular kind of snow globe, I highly recommend sealing the tree well before adding it to the water!
Don't forget to Pin, Like, and Share!


