
Cozy up next to this "Cup of Cheer" Christmas Sign with your favorite holiday drink!
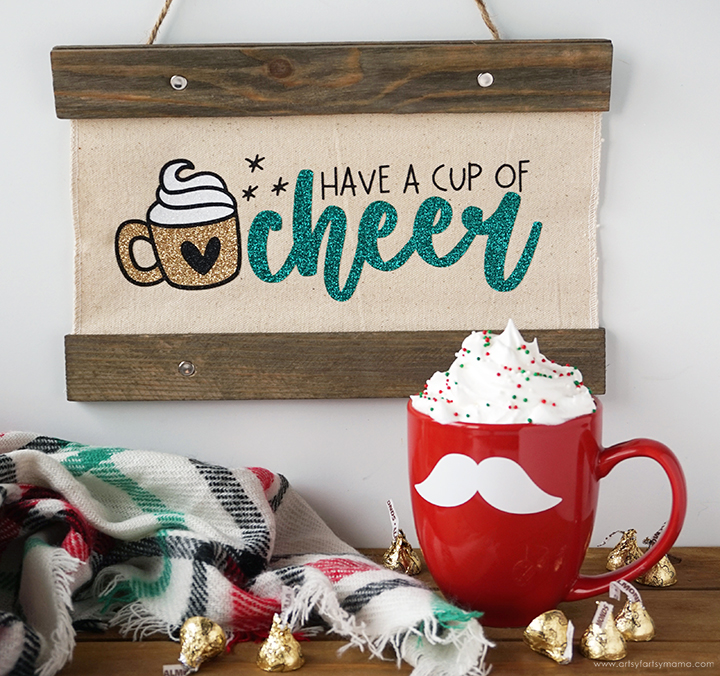
Do you have a favorite holiday drink? There are so many to choose from, but my favorite is peppermint hot chocolate, with lots of whipped cream on top! No matter your preferred beverage, you can make this sign to hang in your comfy-coziest spot in your home to enjoy your "cup of cheer" during the holiday season. This sign is very simple to make, especially for beginner Cricut users, and would be a fun project to make with a group of friends!
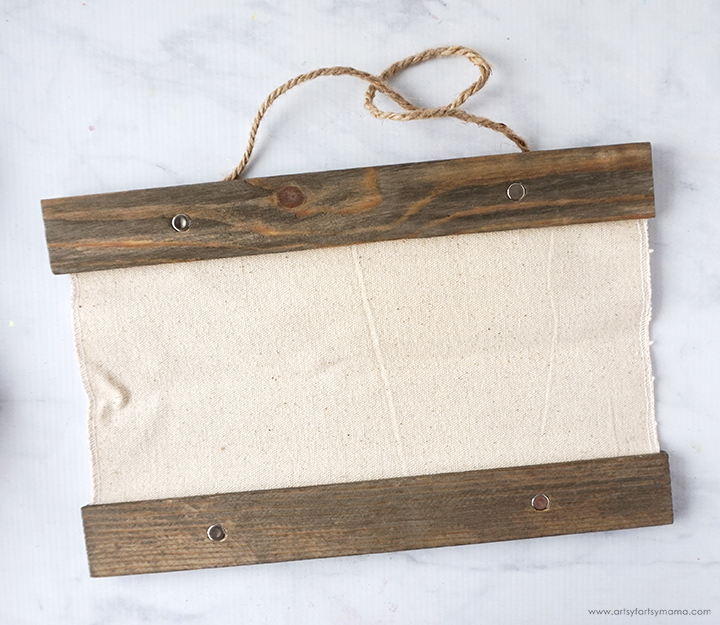
Before cutting the design, you need to find something to put it on. This can be almost anything: a pillow, a shirt, wood sign, or something like this canvas hanging sign I found. I love the look of the wood planks with the canvas. So perfect for a project like this one!

Upload the "Cup of Cheer" design into Design Space. Select different parts of the design and change colors as necessary. Select the parts of the design that are the same color, and click "Attach" in the bottom right menu. This will keep all of the parts of the design in the same place when you go to cut the image. Select the entire image, and "Group" it together (top right, below "Make It"). Size the image to fit the sign. Once you are happy with the size, click the green "Make It" button in the top right corner.
*Here's a great tutorial on how to upload your own images into Cricut Design Space.
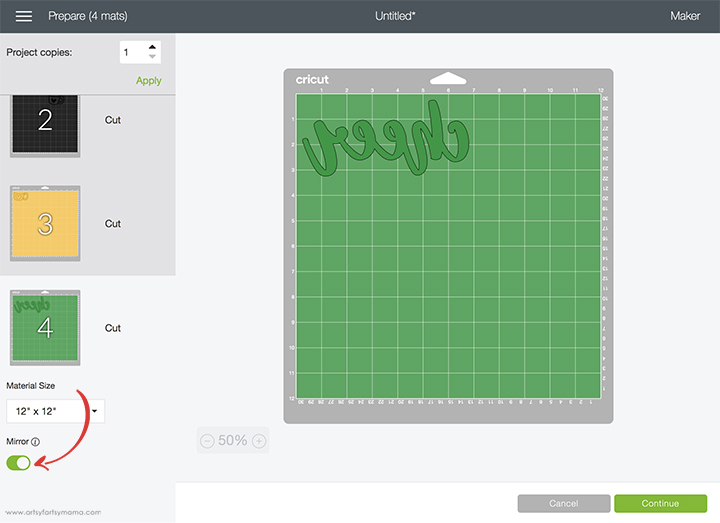
Make sure to mirror your image before cutting the iron-on vinyl! Otherwise, your design will be backwards when you put it on the shirt. To do this, select the mat thumbnail in Design Space before cutting, and click the "Mirror" toggle to reverse the image.
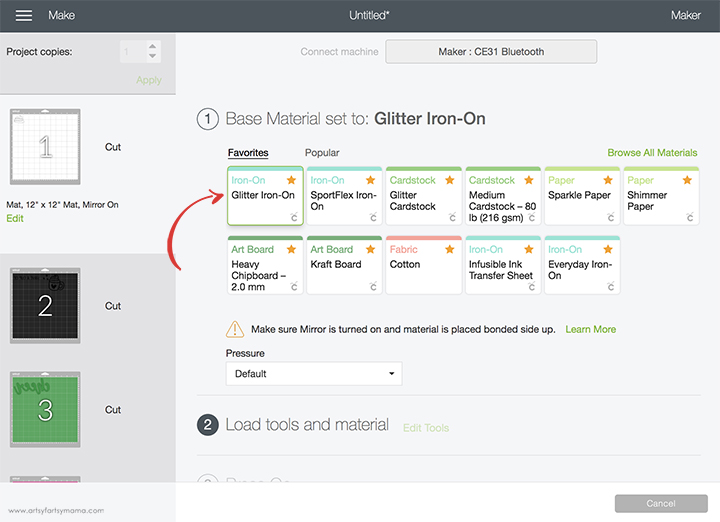
Place the vinyl face-down on the mat and load it into the machine. Change the material settings to the type of vinyl you are cutting. I cut my entire design out of glitter HTV (iron-on), so I chose that from the materials list and and then click the "Go" button to cut the vinyl.

"Weed" the excess vinyl by removing all of the parts that don't belong in the design. I usually peel away the outer edges starting at the corner and working my way around the design. Then I use weeding tools to remove the smaller pieces of the design.
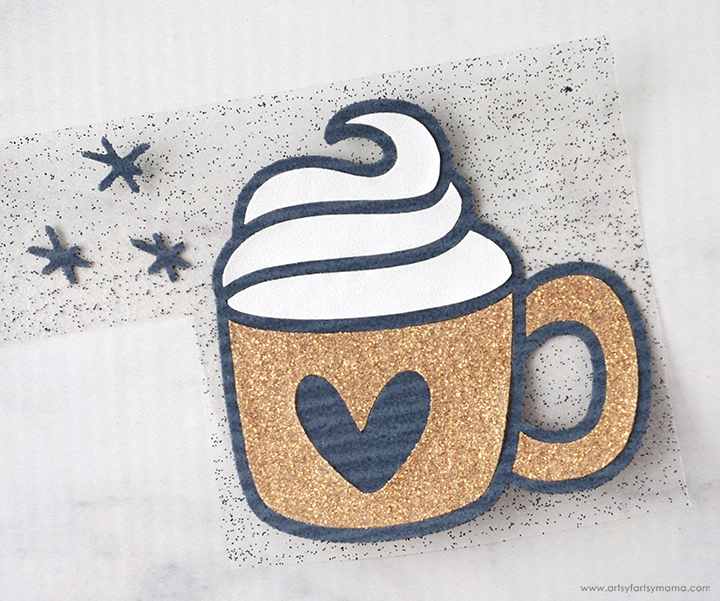
Layering glitter HTV can be tricky, so here's my little trick (for simple designs). Since the black part of the design is the largest, I carefully peeled the white and gold parts of the design from the backing, and stuck them onto the black carrier sheet. Make sure everything is lined up perfectly, and press it down well. This way everything is pressed on all at the same time, and you don't have to worry about anything shifting!
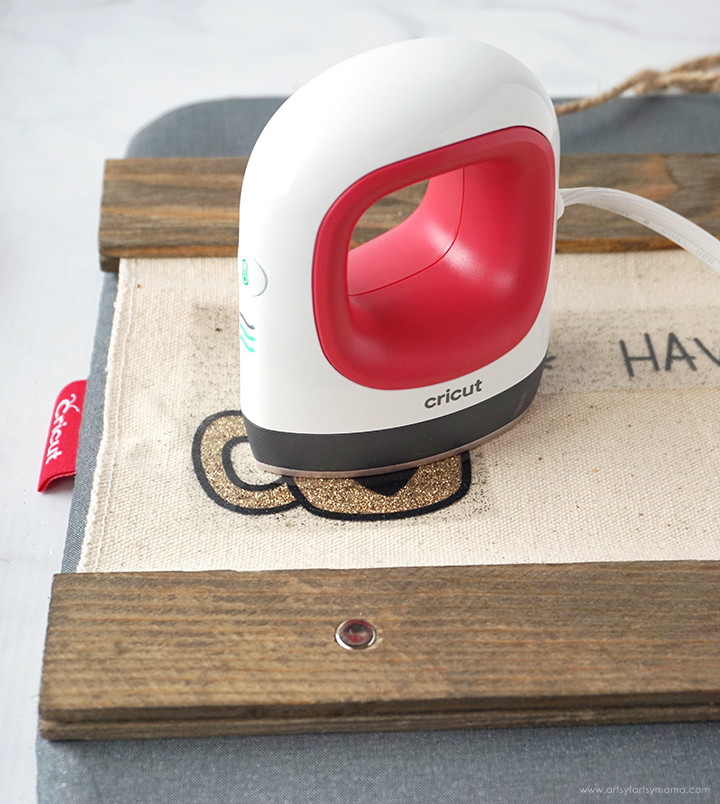
Plug in the EasyPress Mini. Each kind of HTV has a different heat and time setting, so be sure to check the recommended EasyPress settings before getting started. Adjust the heat setting to your material and vinyl specifications. Once the light turns green and the machine beeps, it's ready to use.
When the EasyPress is up to temperature, place the sign on the EasyPress Mat and preheat the area for 5-10 seconds. Center the HTV down on the sign, with the clear carrier sheet facing up. Set the EasyPress over the vinyl and hold it in place while your timer counts down. Turn the sign over and press the EasyPress firmly again for 15 seconds. Peel off the carrier sheet while the vinyl is still warm.
Place the word "Cheer" on the sign, and cover the entire design with a heat transfer cover sheet to protect the vinyl already placed on the sign. Press the HTV with the EasyPress Mini, and peel away the carrier sheet while it's still warm.
Now the "Cup of Cheer" Christmas Sign is complete and ready to put up on display! This is such a quick and easy project that anyone can make. I also love how you can customize it with different vinyl finishes and colors to match any holiday decor style.
So "Cheers" to you all, and I hope you like this project as much as I do. As always, I would love to see your creations if you decide to make this project! Please tag me on Instagram and Facebook, or leave a comment/photo on the project pin on Pinterest!


