
"Make..the...BEST...Valentine's...Day...Card...Box...this...year!"
- This Sloth, probably
- This Sloth, probably
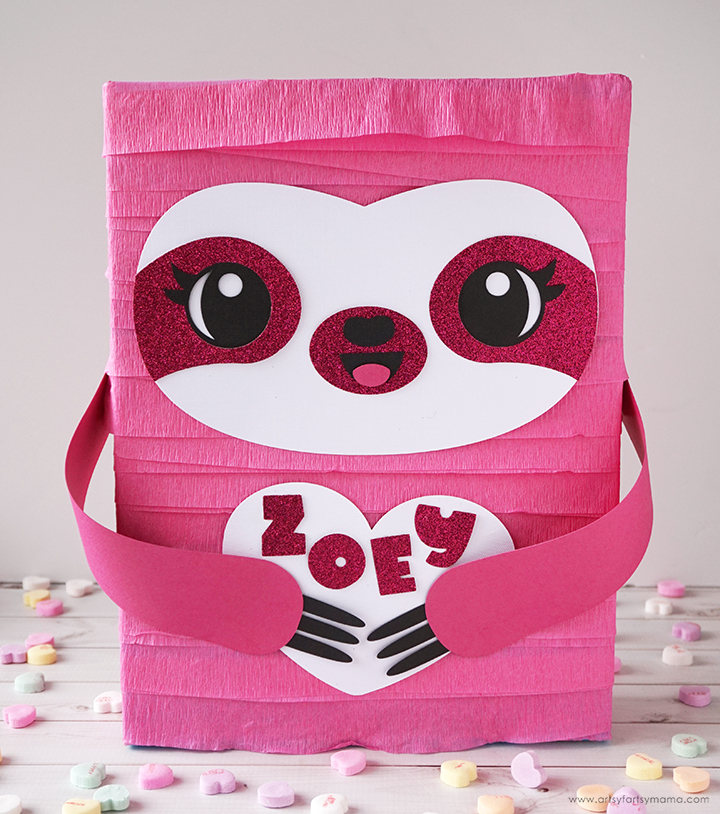
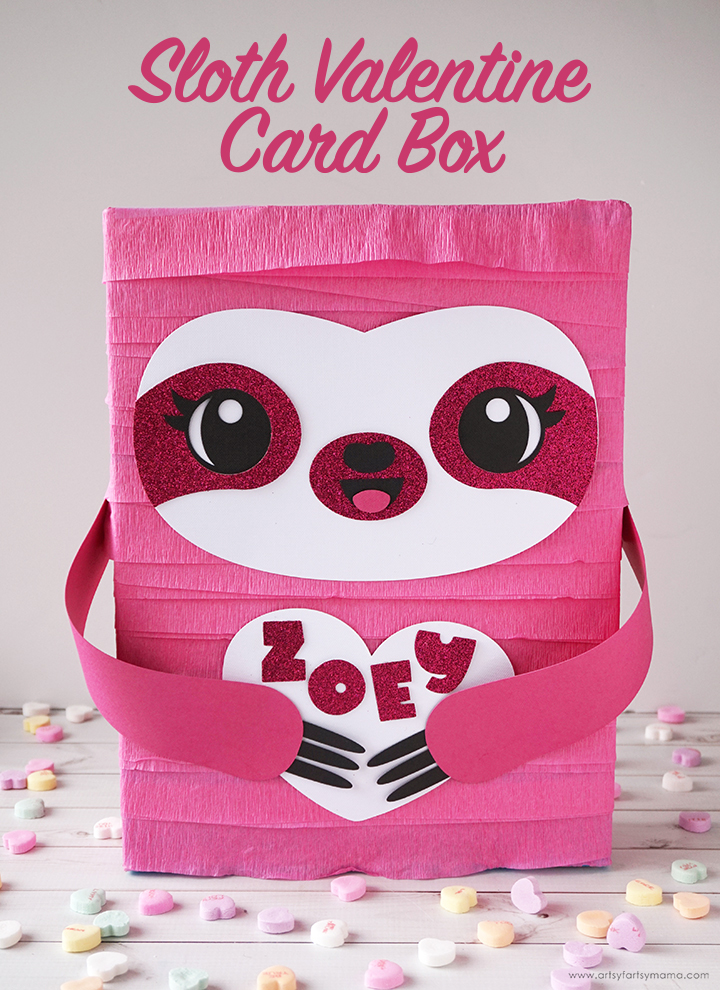
It's February, which means it's time to start thinking about Valentine card boxes to hold all those sweet notes from classmates! Making these boxes has become something I look forward to, and I am positively giddy about how this Sloth Valentine Card Box turned out! It's very simple to make (especially if you own a Cricut), ironically quick to put together, and is definitely one-of-a-kind!!
If you're looking for more creative Valentine card box ideas, be sure to check out our Unicorn Valentine Card Box, Panda Valentine Card Box, Puppy Valentine Card Box, Llama Valentine Box, and Taco Valentine Card Box!
If you're looking for more creative Valentine card box ideas, be sure to check out our Unicorn Valentine Card Box, Panda Valentine Card Box, Puppy Valentine Card Box, Llama Valentine Box, and Taco Valentine Card Box!
This post contains affiliate links for your convenience. As always, I only share things that I use myself and truly recommend!
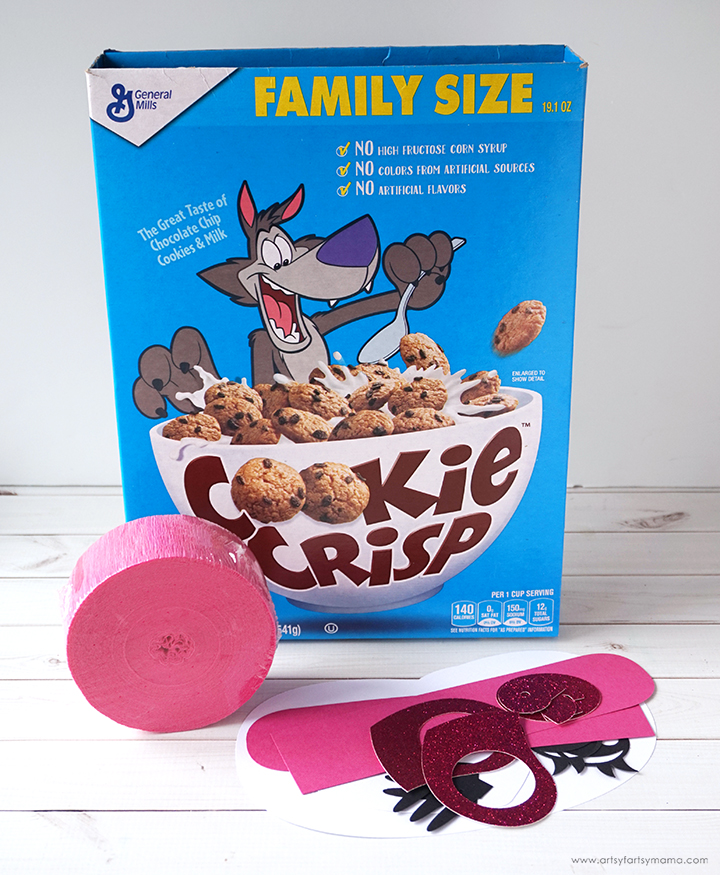
- Cardboard Box
- Pink Crepe Paper Streamer or Pink Tissue Paper
- Scissors
- Double-Sided Tape
- Sloth Valentine Card Box Cut File* (PERSONAL USE ONLY)
- Cricut Explore or Cricut Maker machine
- Cricut LightGrip Mat (Blue)
- Cardstock - white, black, pink (preferably a similar shade to the crepe/tissue paper)
- Glitter Cardstock - pink
- Paper Adhesive
*Don't have a Cricut? No problem! Along with the cut file, I have also included a PDF in the download so that you can use it for pattern pieces, or you can color and cut the pieces out by hand!
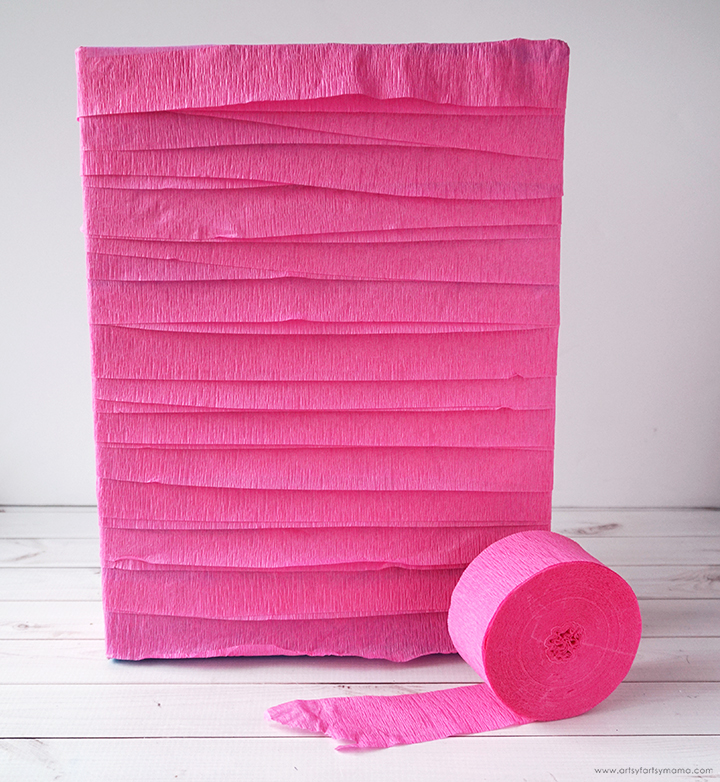
Fold the top flaps of the box down to the inside of the box. I figured this would be easiest for adding/retrieving Valentine cards to the box instead of cutting a separate hole.
Start at the bottom of the box and add a line of double-sided tape (glue will show through) and work from the back (to cover any seams), wrapping crepe paper streamer around the box. I used a new line of double-sided tape for each layer as I wrapped up to the top. I decided to use streamers for the box because it gave it a kind of "furry" texture for a sloth. If you don't want to do this, you can wrap the box like a gift using some or pink tissue paper instead.
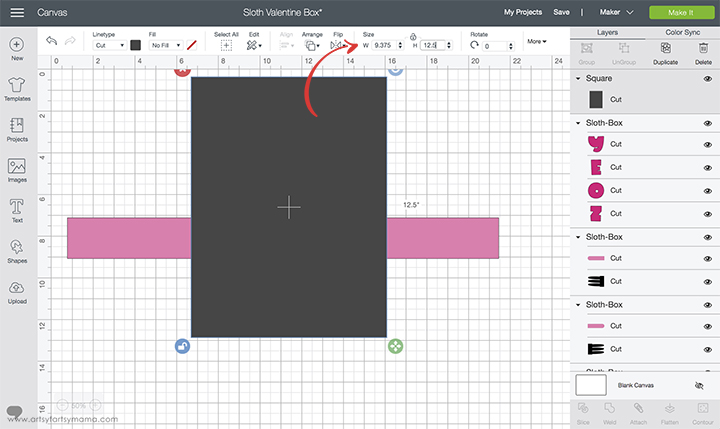
Measure the front of the box you will be using. Open up Design Space and create a rectangle the same size as the measurement.
*You will need to click the "unlock" toggle in the bottom left corner of the rectangle/above the size dropdown boxes in the menu before making adjustments.
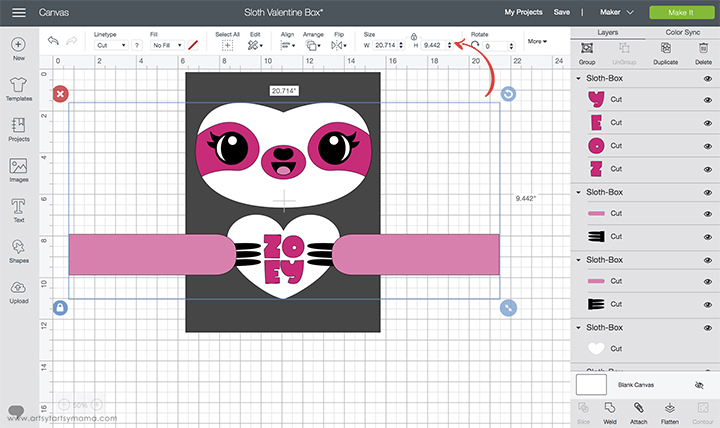
Upload the Sloth Valentine Box SVG (personal use only please) into Design Space*. Keep the file grouped, and size it to fit in the rectangle (don't worry that the arms are off the box). This is a trick I use to make sure my cut project will fit on my base before it's even cut out.
*Here's an easy tutorial on how to upload an SVG into Design Space.
Next, open a Text Box (in the menu on the left side) and type in your child's name. I recommend using a thicker/chunkier font. Size the letters to fit inside the heart.
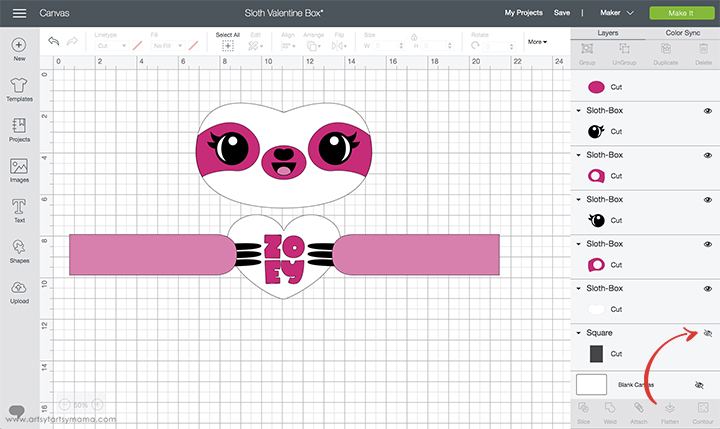
Click on the rectangle and click on the "eye" icon on the right side of the layer. Since it doesn't need to be cut, this hides your rectangle and DS won't try to add it to a mat later. There is also the option to delete it, but I like to keep it around until I cut my project out. Once you have done this, click on the green "Make It" button in the top right corner.
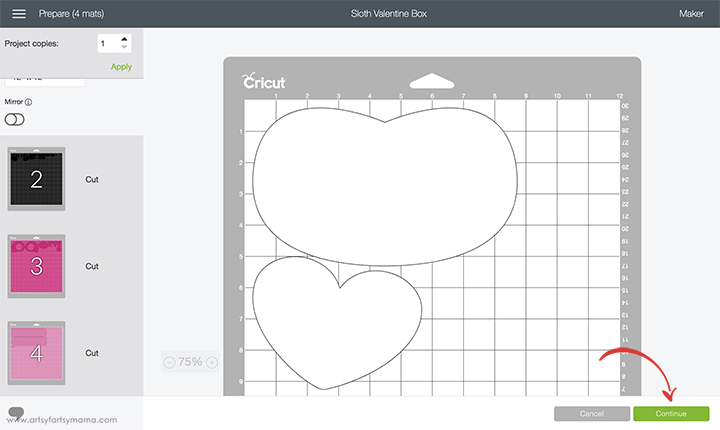
The next step is to prepare all of your mats. First, take a look at all of the different colors of paper you will need and gather your materials. I used regular cardstock for the white, black, and lighter pink mats and glitter cardstock for the darker pink mat. This is also the time for you to move items around on the mat, if necessary. Once you are ready, click on the green "Continue" button in the bottom right corner.
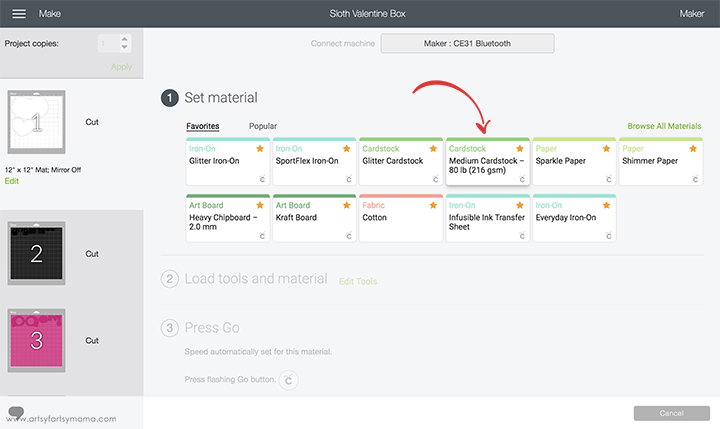
Make sure that your computer is connected to the Cricut, and start with Step 1: setting your material. If you don't see "Medium Cardstock" listed right away, click on the "Browse All Materials" link to the right and select the cardstock option from the list.
Stick the white piece of cardstock on the mat and load it into the machine and press "Go". Repeat this process for all of your mats, but be sure to change the material setting to glitter cardstock for the dark pink mat!!
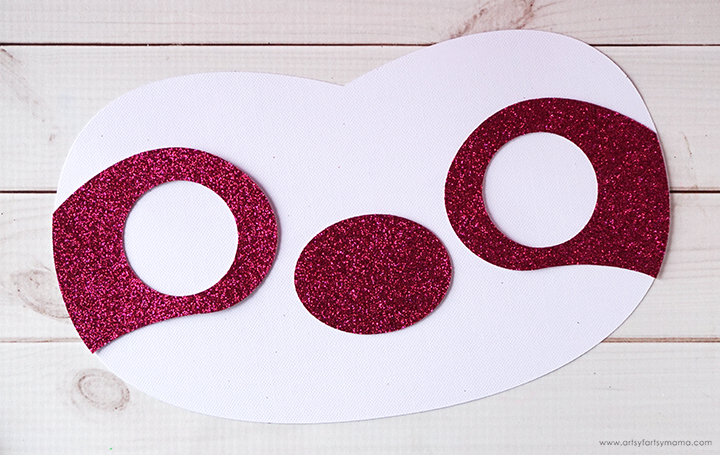
Lay the white face piece with the "V" at the top. Line the eye patch pieces up on each side of the face (refer to the SVG image, if necessary) and stick them down with adhesive. Next, stick the circle piece in the center of the face, aligned with the bottom of the eye patches.
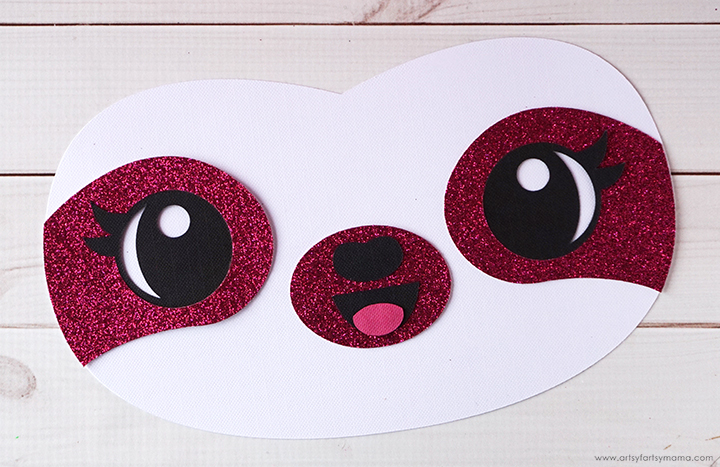
Next, stick the eye pieces down with adhesive over the circles in the eye patches*. Then place the nose and mouth on the circle in the center. Lastly, stick the tongue down over the mouth. Now the sloth face is complete!!
*If you want to make a "boy" sloth, simply trim off the eyelashes!
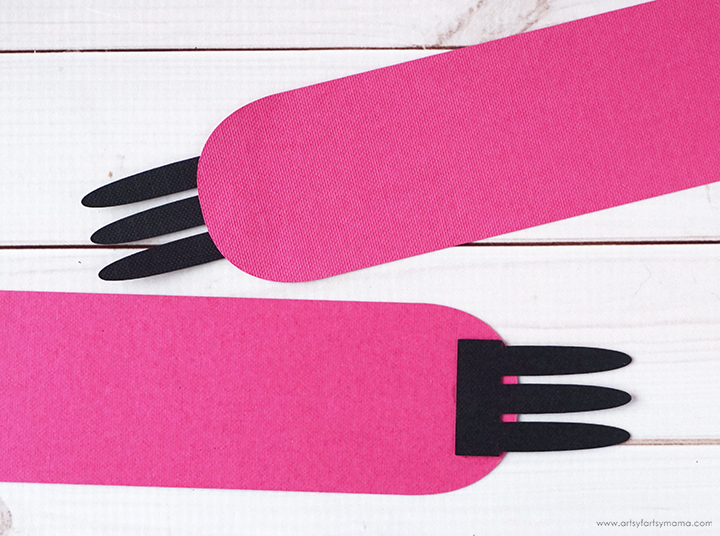
Attach the black claw/hand to the back of rounded end of the arm with adhesive. Repeat for the other arm.
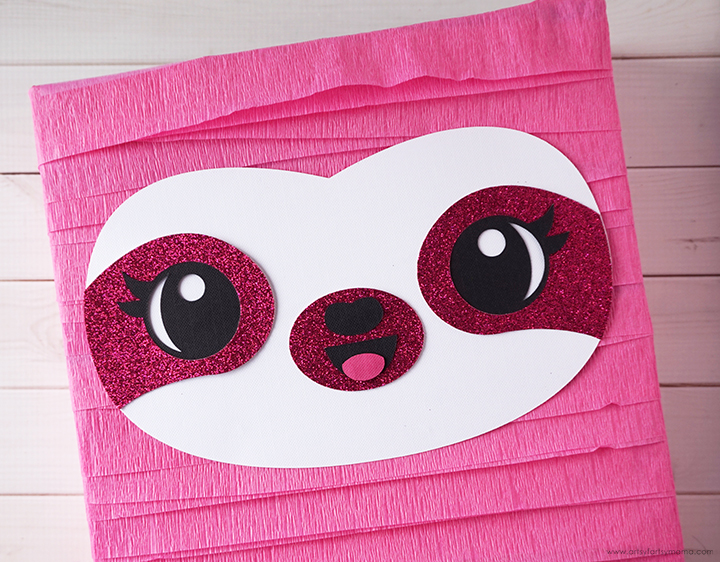
Place some adhesive to the back of the face and carefully lay it on the front of the box, over the crepe paper streamer. Press it down well.
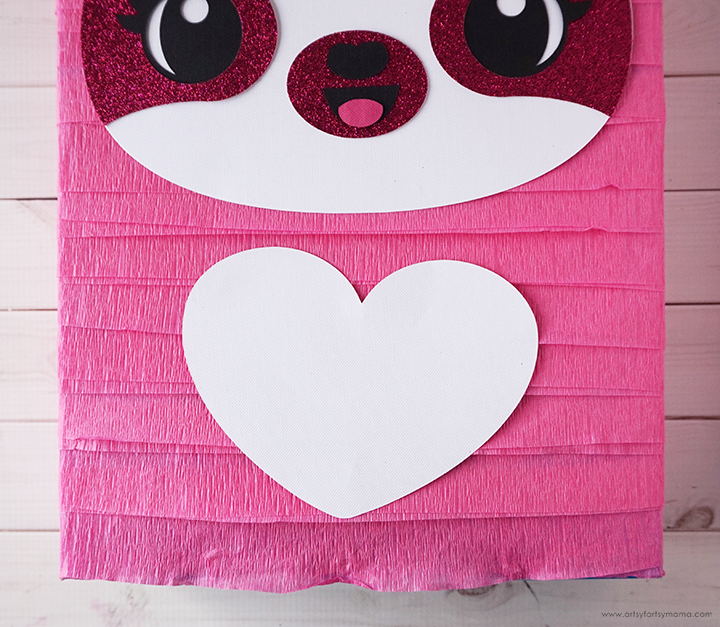
Add some adhesive on the back of the heart piece and place it on the center of the box a little bit below the face.
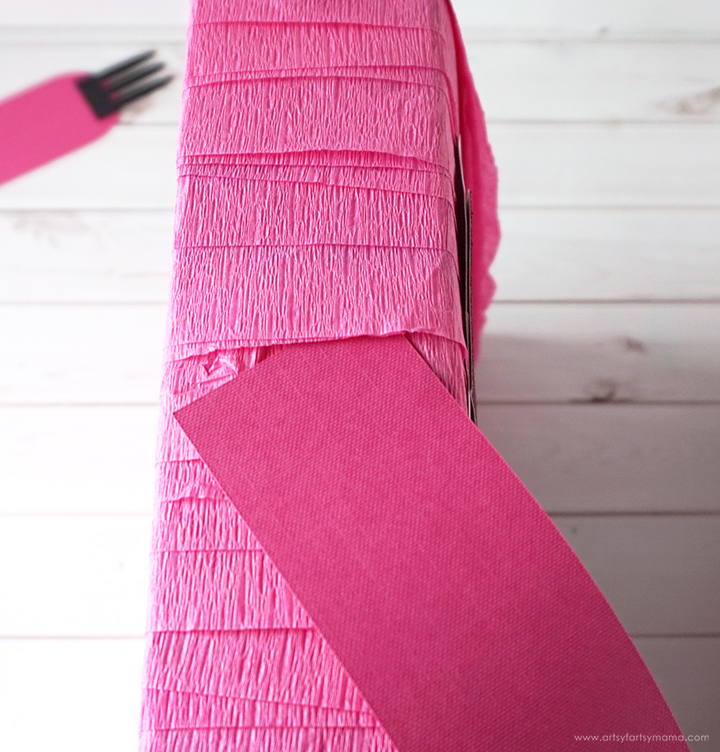
Attaching the arms can be a little tricky, so here's my tip: put some adhesive on the straight edge of the arm and stick it to the side of the box at an angle. I found that if you follow the bottom of the face around to the side of the box, that is the perfect place to line up the top corner of the arm!
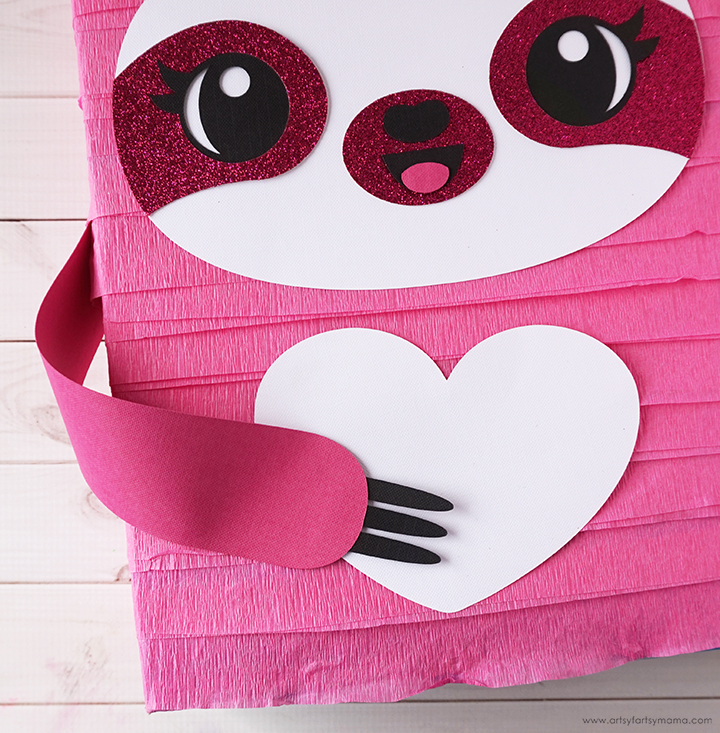
Put a little more adhesive on the "hand". Carefully curl the arm around to the front of the box and stick the hand down on the edge of the heart.
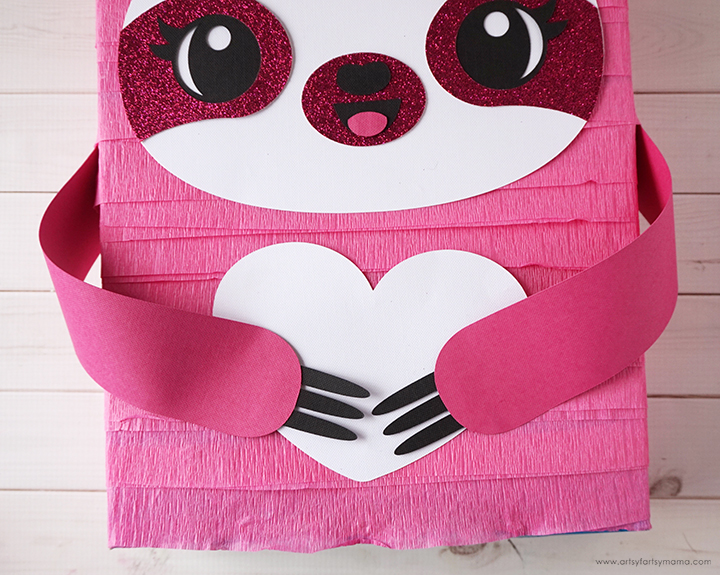
Repeat the process for the other arm. Be sure to leave some empty space on the heart!!
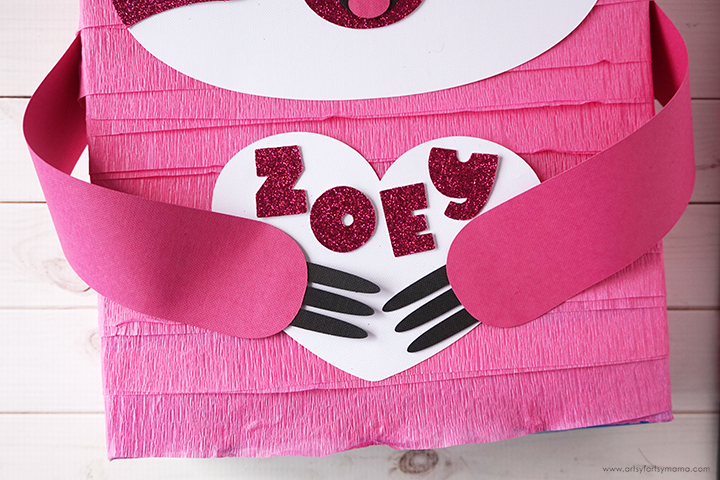
Last, but certainly not least, place the letters of your child's name in the empty space on the heart using adhesive.

This Sloth Valentine Box is definitely one-of-a-kind, and I am sure it's going to bring a smile to everyone's face this Valentine's Day! It was so much fun to put together, and is even easy enough for my daughter to do on her own - which is a win for me!
If you're looking for more creative Valentine card box ideas, be sure to check out our Unicorn Valentine Card Box, Panda Valentine Card Box, Puppy Valentine Card Box, Llama Valentine Box, and Taco Valentine Card Box!
Feel free to share your pictures on my Facebook page!
Don't forget to Pin, Like, and Share!


So cute!!
ReplyDeletewould you please put more sloth boxes
DeleteThis box is so adorable ~ Pinned. How can you not like a sloth lol. I love your llama box, too!
ReplyDeleteJust made this with my 9 year old sloth obsessed daughter. Thank you so much for posting the pdf file, such a big help! This is the cutest Valentine's box, can't wait for her to turn it in!
ReplyDeleteMy daughter and I are going to give this a shot! However, I can't seem to find the PDF file?
ReplyDeleteI can’t either.
DeleteThe design link is in the list of supplies.
DeleteThis is the cutest thing! thank you for sharing with us at Handmade Monday.
ReplyDeleteI can't find the pdf to download.
ReplyDeleteThe download link is located in the list of supplies.
DeleteI can't get the PDF to open.
ReplyDeleteIt was so fun and cute
ReplyDelete