
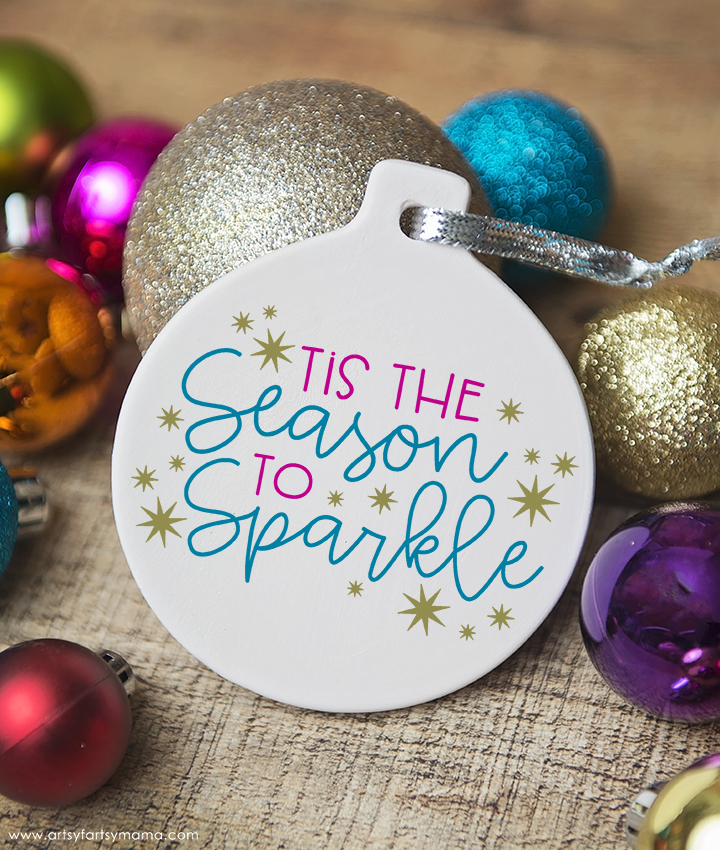
Add some glam to your Christmas tree with a "Season to Sparkle" Ornament and Free Cut File!

To me, the holidays are all about the glimmer, shimmer, and sparkle! My Christmas tree is packed with DIY glittery decorations, and this new "Tis the Season to Sparkle" ornament is going to fit right in! The ornament is easy to make using a Cricut, and I've got the free cut file and tutorial to share with you so that you can make some for yourself this holiday season.
To make your own "Tis the Season to Sparkle" Ornament, you will need these supplies:
- Ceramic Ornament
- "Tis the Season to Sparkle" Cut File (personal use only - commercial use available)
- Cricut Maker or Cricut Explore machine
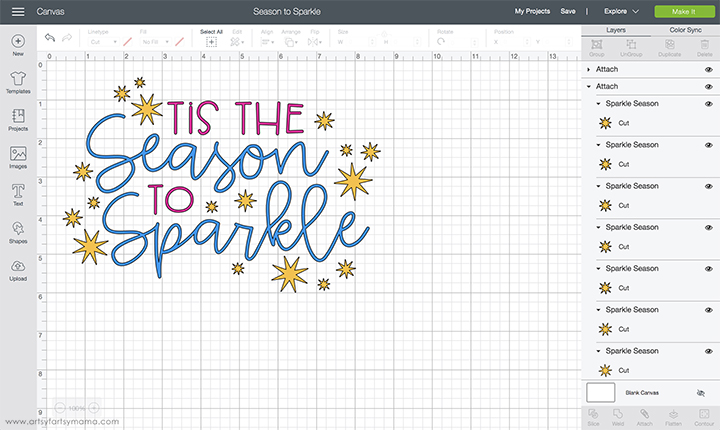
Upload the "Season to Sparkle" cut file into Design Space and size the image to fit the ornament. This is also the time to change colors in the design. Start by clicking "Ungroup" in the layers panel on the right-hand side. Select the different parts of the design and change the color in the top menu bar.
*Here's a great tutorial on how to upload your own images into Cricut Design Space.
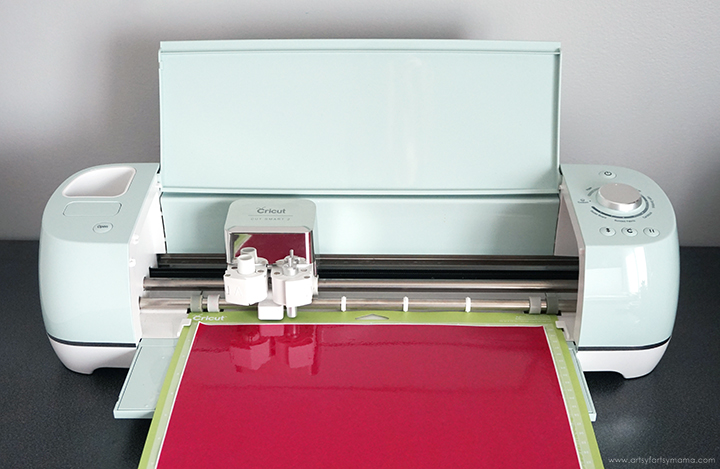
Place the vinyl on the mat and load it into the machine, and then click the "Go" button to cut the vinyl. Repeat if you are cutting multiple colors of vinyl.
After the vinyl has been cut, you'll need to "weed" the vinyl. Start by carefully peeling away excess vinyl (or the largest parts of the design that you won't be using) with your fingers. For smaller areas like the insides of letters you'll need to use weeding tools.
Cut a piece of transfer tape and lay it over the dogs cut out of vinyl. Use a scraper tool to press it down well. Remove the backing from the vinyl, then center the design over the ceramic ornament. Use the scraper tool again to press the vinyl down and to remove any air bubbles.
If your ornament doesn't have a string, thread some ribbon through the hole in the top of the ornament and tie the ends in a knot. Now you can hang the ornament on your tree or wrap it up to give away as a gift!
If your ornament doesn't have a string, thread some ribbon through the hole in the top of the ornament and tie the ends in a knot. Now you can hang the ornament on your tree or wrap it up to give away as a gift!
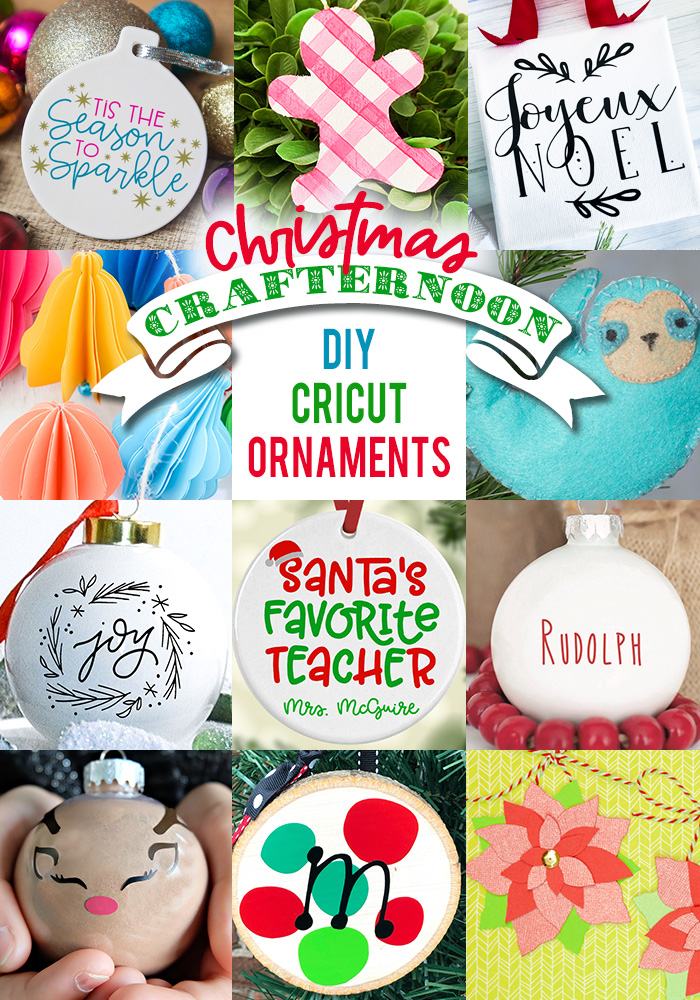
I'm thrilled to be part of "Christmas Crafternoon" with some of my favorite bloggers to share creative DIY ornament ideas that you make with your Cricut! Click the links below to see how to make all of the different ornaments shown in the image above:
1. Tis the Season to Sparkle - Artsy Fartsy Mama (you are here)
2. Gingerbread Cricut Ornaments - Pineapple Paper Co.
3. Joyeux Noel Mini Farmhouse Sign Ornament - Celebrating Everyday Life
4. DIY Paper Christmas Ornaments - Abbi Kirsten Collections
5. DIY Sloth Ornament - Brooklyn Berry Designs
6. Joy Christmas Ornament - SeeLindsay
7. Christmas Teacher Cricut Ornament - Happy Go Lucky
8. Easy DIY Christmas Ornaments - Everyday Party Mag
9. DIY Reindeer Hot Chocolate Ornament - Hello Creative Family
10. Easy Woodblock Cricut Ornament - Me and My Inklings
11. Easy Cricut Poinsettia Ornament - Kingston Crafts
Which DIY Cricut Ornament is your favorite?


Cute, cute, CUTE!! I'm all about the sparkle at the holidays too! Your Cricut design is so fun and festive and I love that you could so easily customize it to any decor color scheme just by switching up the vinyl colors. Thanks for sharing this Lindsay! I've got to go get some of those ceramic ornaments now! :-)
ReplyDeleteThat is so cute!!
ReplyDeletePersonalized ornaments would be so much fun to make!
ReplyDeleteI would love to make Christmas cards! Love the ornament
ReplyDelete