
This is a sponsored conversation written by me on behalf of Cricut. The opinions and text are all mine.
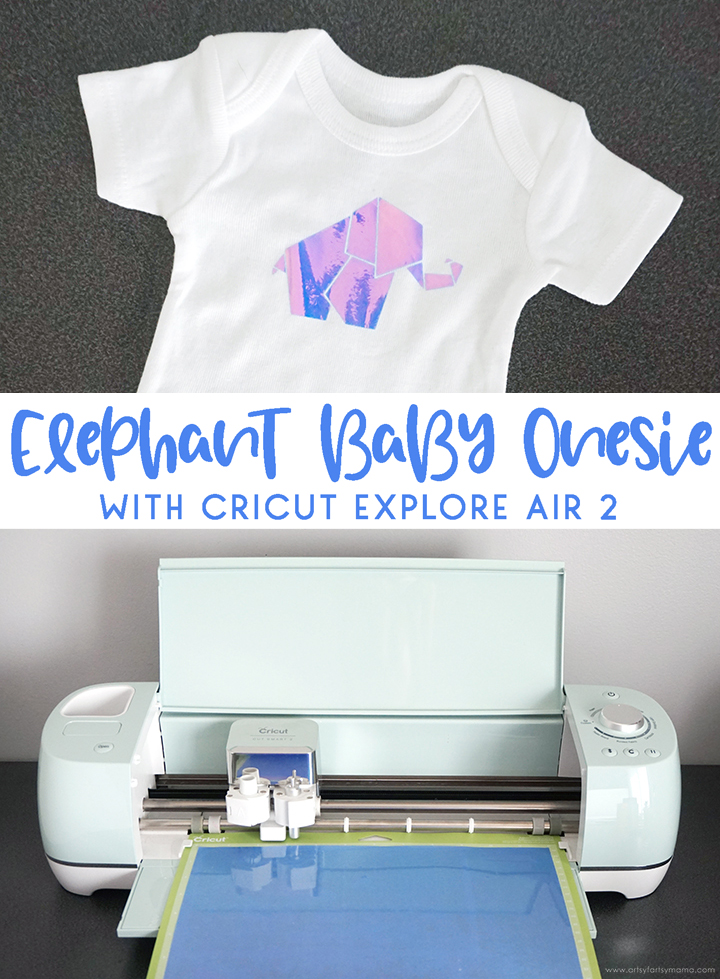
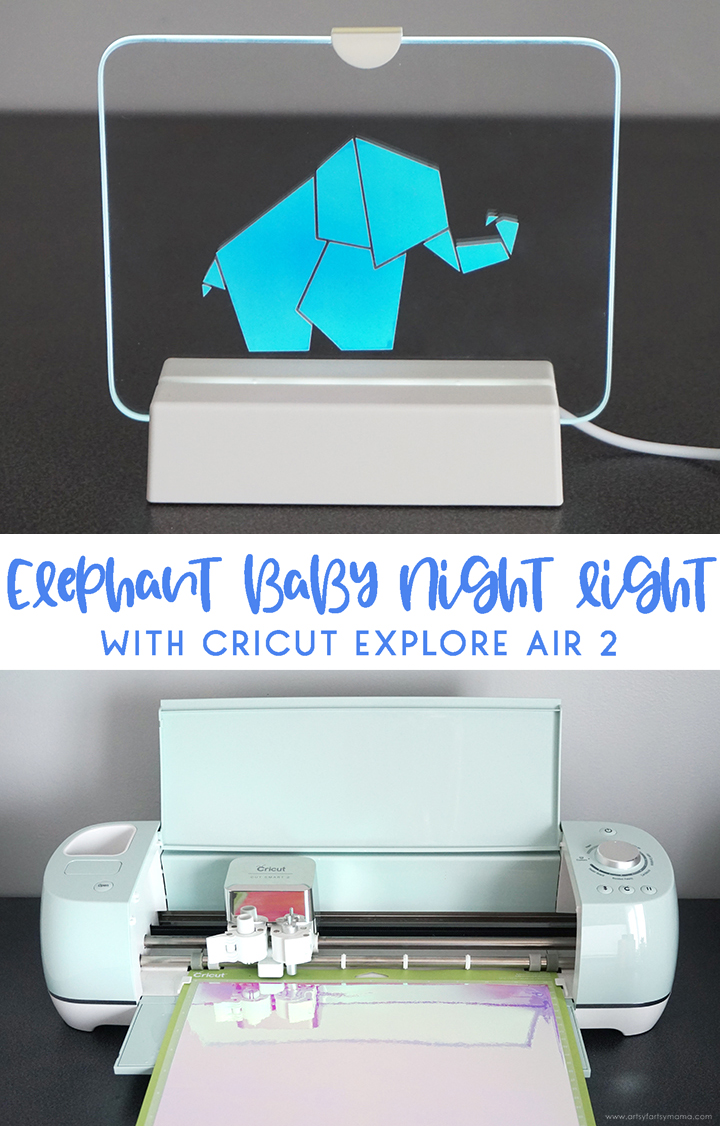
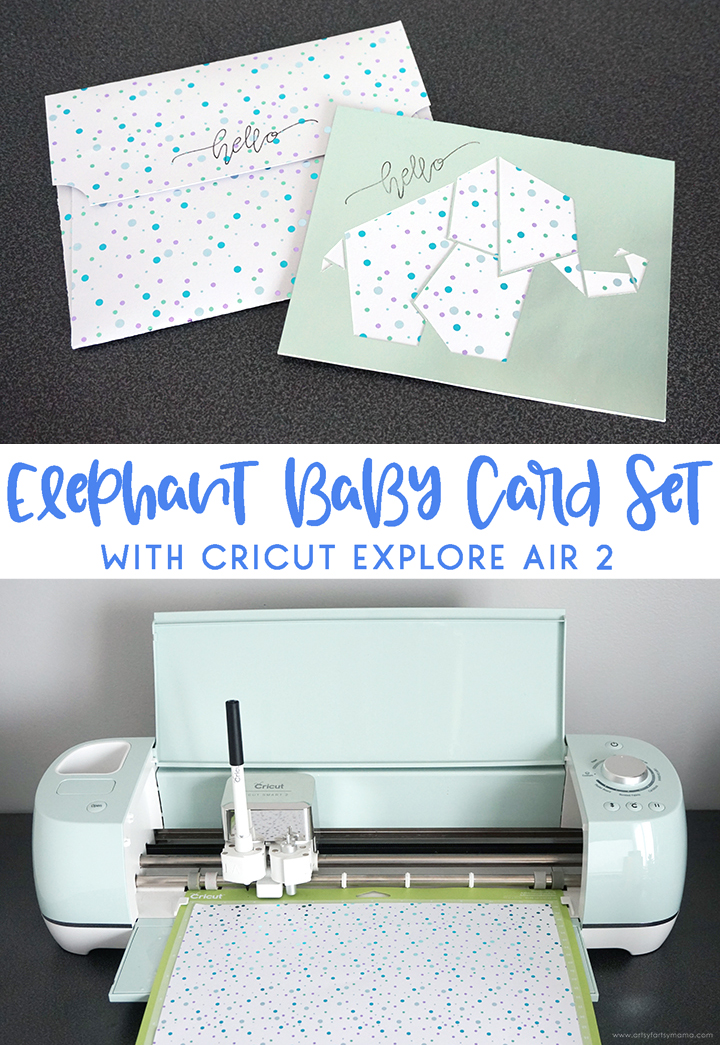
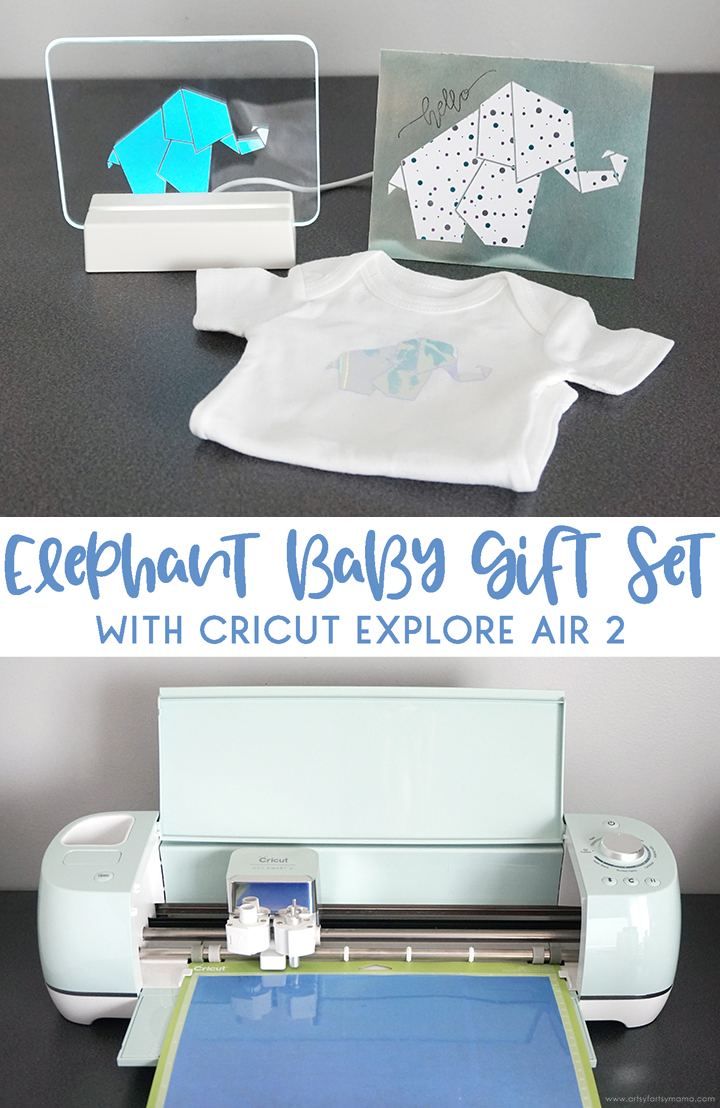
Use the Cricut Explore Air 2 to make this adorable Elephant Baby Gift Set!

It's no secret that the Cricut is my favorite crafting tool. There are just so many things you can create using a Cricut machine, and I've been wanting to show how you can cut the same image using different materials to create a project. In this case, I made an adorable baby gift set that anyone can make and is the perfect gift for any new baby!
New to Cricut? Find out which machine is right for you:
I have owned other cutting machines in the past, and unfortunately for me, projects took a lot of user error and wasted materials to get things right. When I was first introduced to Cricut, I was nervous to learn to use a whole new machine. One thing I learned right away is that the Cricut team works hard to make sure that their machines are user-friendly, and that they listen to their customers. Even if you feel that you aren't crafty or technology-savvy, you don't need to worry. You can do this!
But what about the Maker?? I honestly love both my Cricut Maker and Explore Air 2 machines for different reasons. They are both incredible machines, and you can't go wrong with either one. My shortened opinion is that if you are a crafter who enjoys creating more with paper, vinyl, and iron-on, then the Cricut Explore Air 2 is definitely for you. In fact, that's why I'm sharing how to make this baby gift set using this machine!!

When you open the Elephant Baby Gift Set Project in Design Space, you'll see all of the projects in one place to make a couple of gifts and a card. Select "Customize" to make adjustments to sizes and colors of the design. When finished, click the green "Make It" button in the top right corner.
I'll go through the steps for each project to make things a little more clear:
I'll go through the steps for each project to make things a little more clear:
Elephant Baby Onesie
For this project, you will need:
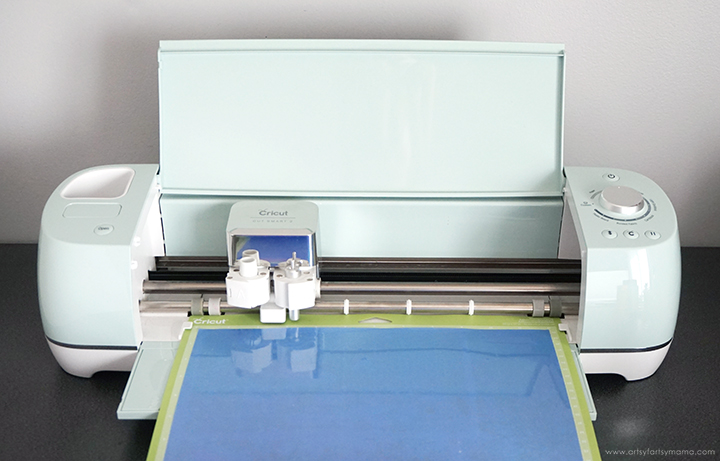
- Cricut Explore Air 2 machine
- Cricut StandardGrip Mat (green)
- Baby Onesie (any size)
- Holographic Iron-On Vinyl (HTV)
- Weeding Tools
- Cricut EasyPress Mini or Cricut EasyPress 2 (6"x7")
- Cricut EasyPress Mat 8"x10"

Measure the front of the onesie to determine the size the elephant needs to be. I used a newborn-sized onesie, and my design was about 3.25" x 2.25". Adjust the size of the lighter gray elephant in the Elephant Baby Gift Set Project, and then click the green "Make It" button.
The next step is the Mat Preparation screen. When you cut iron-on vinyl, you need to make sure to "Mirror" the image so that it isn't backwards on the onesie. I actually already mirrored the image in the project to save you step, but it's still good to learn how to do it:
If you click the toggle below the mat preview (see the arrow above), it will mirror the image for you. This is VERY important when your design has wording, otherwise it will be backwards on your project when you iron it!! Luckily this design is only an image, so it won't matter which direction it goes.
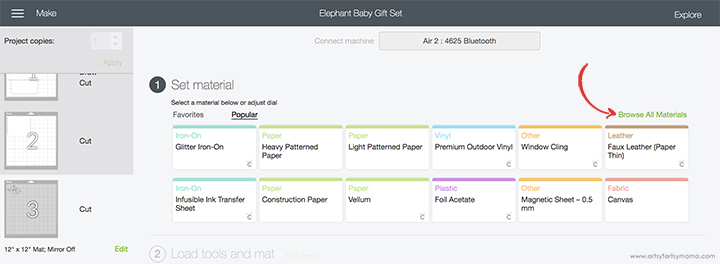
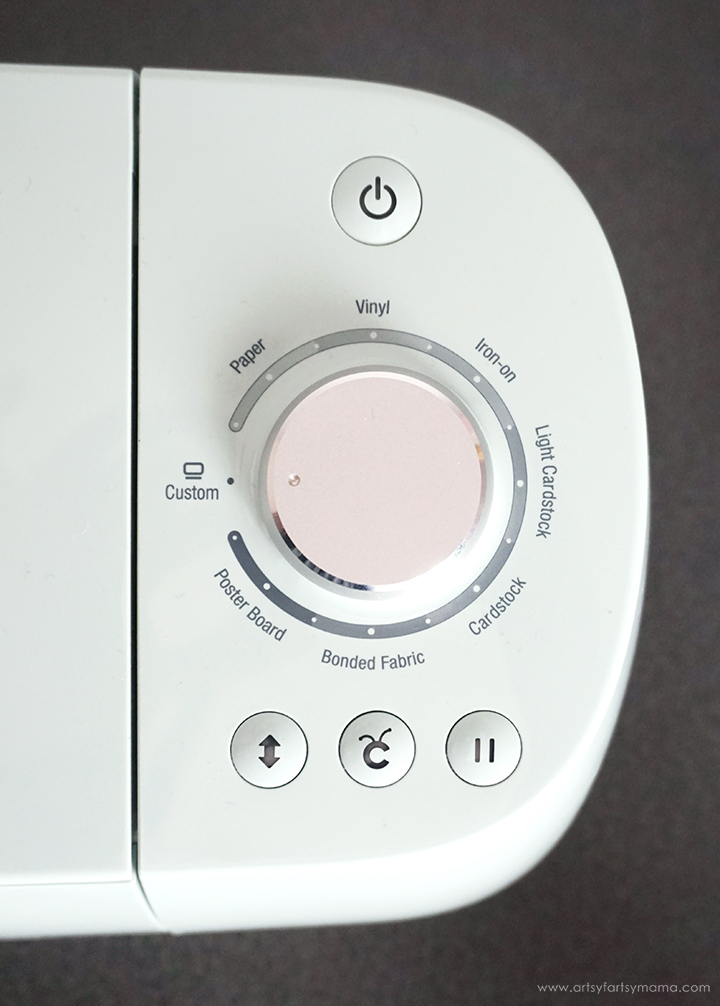
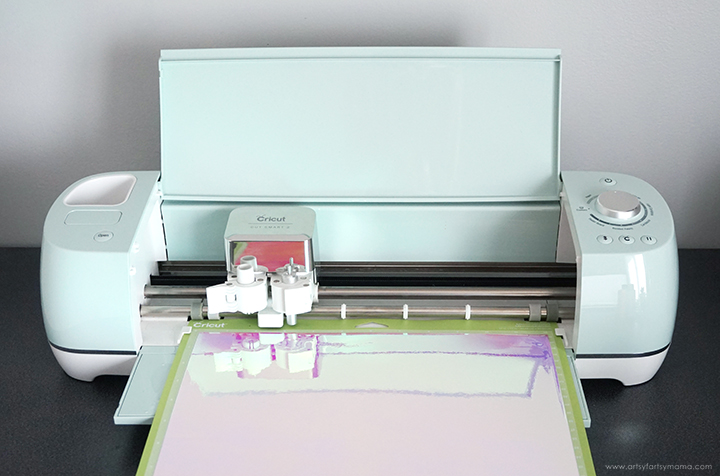
In the next step, you will need to connect to your Explore Air 2 machine via Bluetooth or cord. Then, you need to set your material. You can turn the Smart Dial to "Iron-On", or you can get more specific by turning the dial to "Custom" and clicking on "Browse All Materials" (see image above).
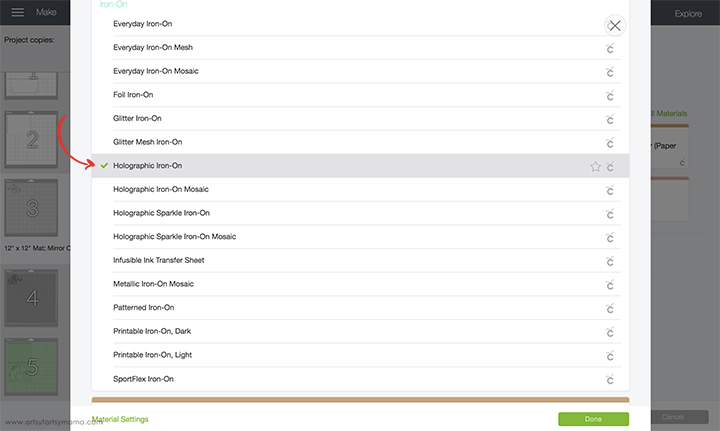
This screen will have that ever-growing list of materials I was telling you about earlier. Here, you can scroll down to "Iron-On" and choose the specific type of vinyl you will be cutting to ensure a perfect cut.
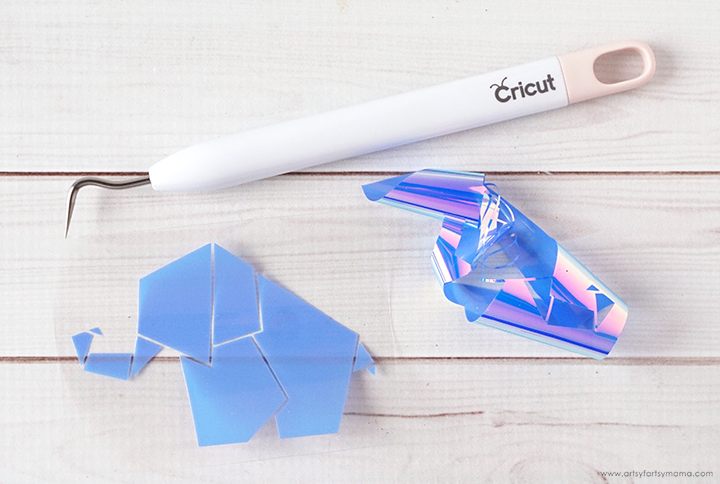
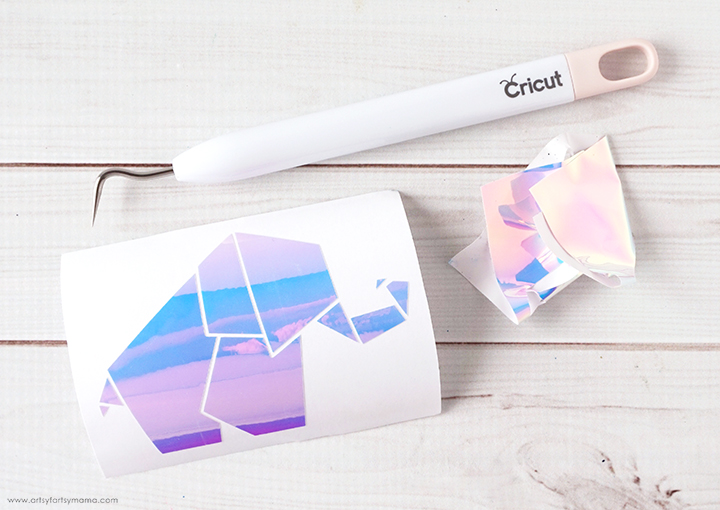
After the vinyl has been cut, you'll need to "weed" the vinyl. Use weeding tools to carefully peel away excess vinyl (or the parts of the design that you won't be using).
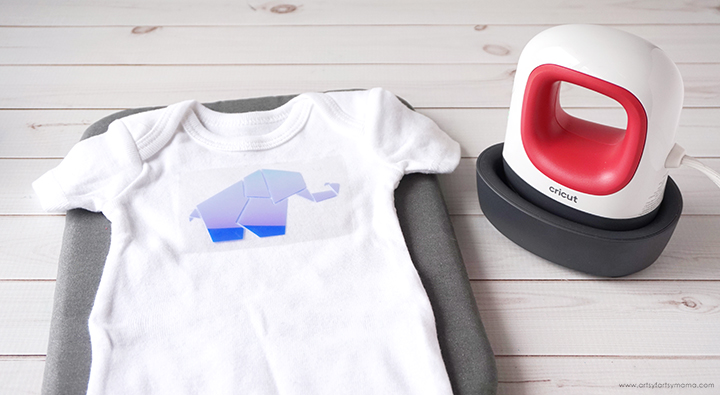
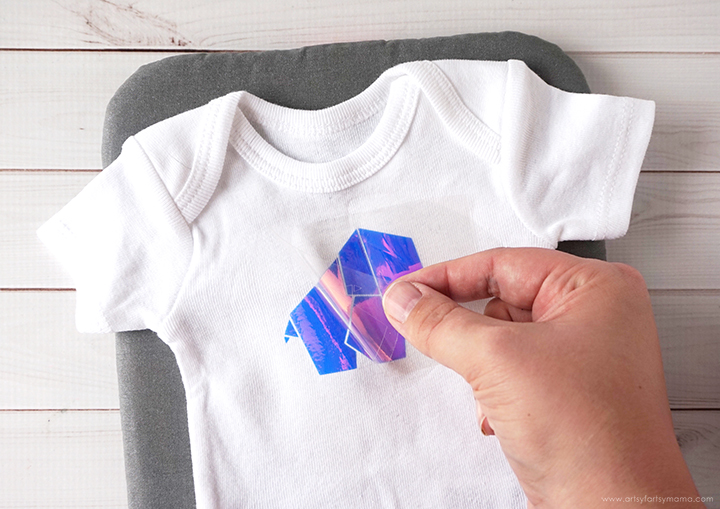
Adjust the setting on the EasyPress Mini to your shirt and vinyl specifications*. Once the light turns green and the machine beeps, it's ready to use. When the EasyPress is up to temperature, place your onesie on the EasyPress Mat and preheat the area for 5 seconds. Lay the vinyl down on the onesie, with the clear carrier sheet facing up.
*Instead of the specific temperature settings like the rest of the EasyPress family, the EasyPress Mini has three heat settings: Low, Medium, or High. Every project is a little bit different, so I recommend always referring to the Cricut EasyPress Heat Transfer Guide.
Set the EasyPress Mini over the vinyl and use a separate timer to keep track of the countdown. Turn the onesie over and press again for 15 seconds. Peel off the carrier sheet while the vinyl is still warm.
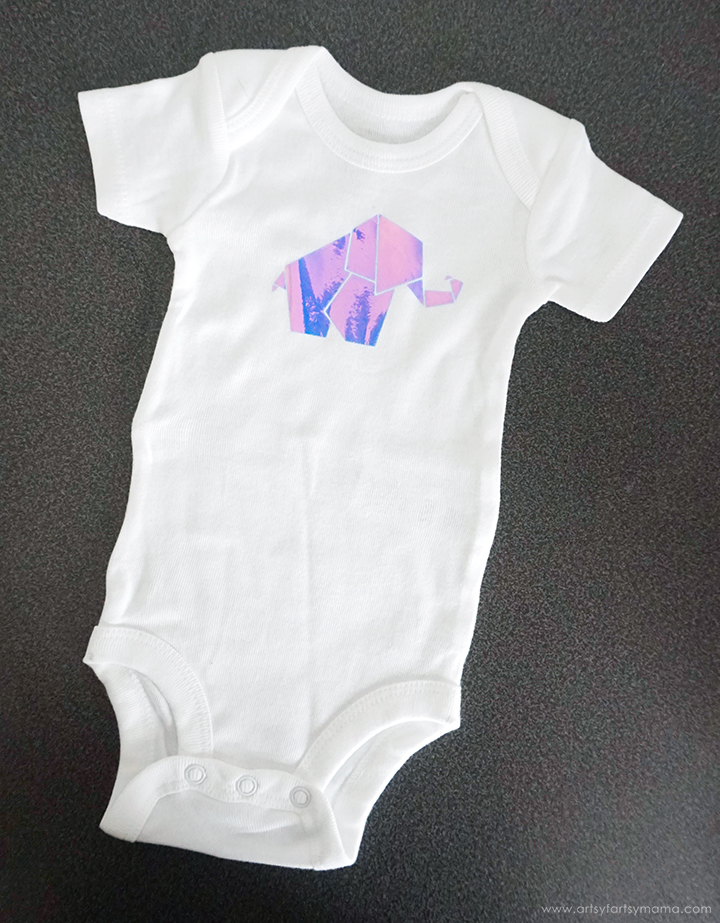
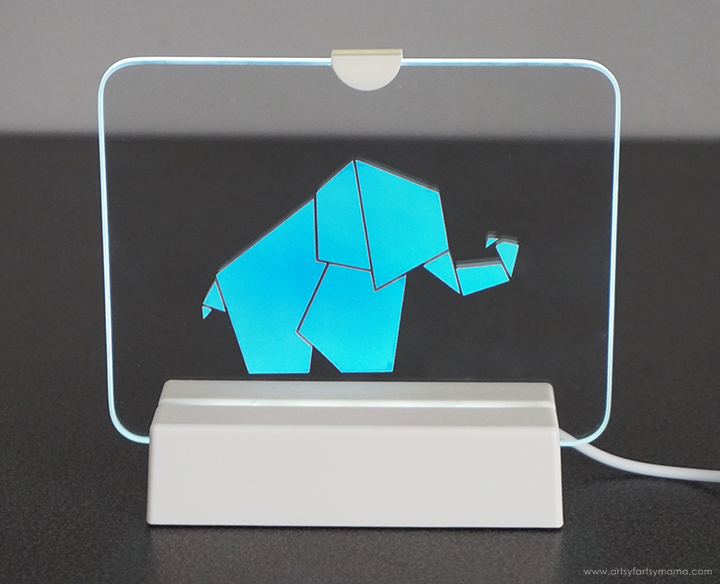
Isn't this onesie sweet? The onesie is totally washable, and now that you know how easy it is to apply vinyl, you can make a whole tiny collection of them! That origami-like elephant is modern, chic, and the holographic vinyl adds a pop of color that works for both boy or girl babies - which is helpful for baby shower gifts!
Pin this project:
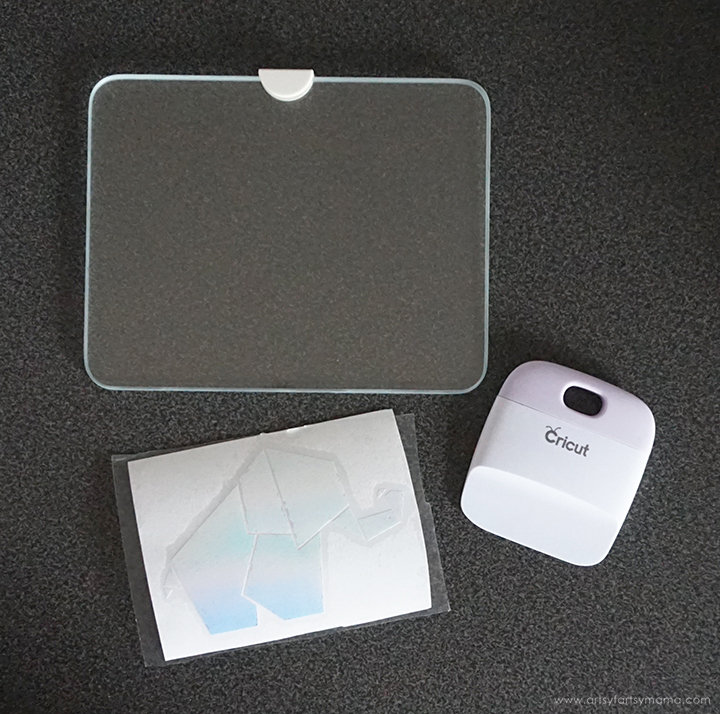
Elephant Baby Night Light
- Cricut Explore Air 2 machine
- Cricut StandardGrip Mat (green)
- LED Night Light
- Holographic Adhesive Vinyl
- Transfer Tape
- Weeding Tools
- Scraper Tool

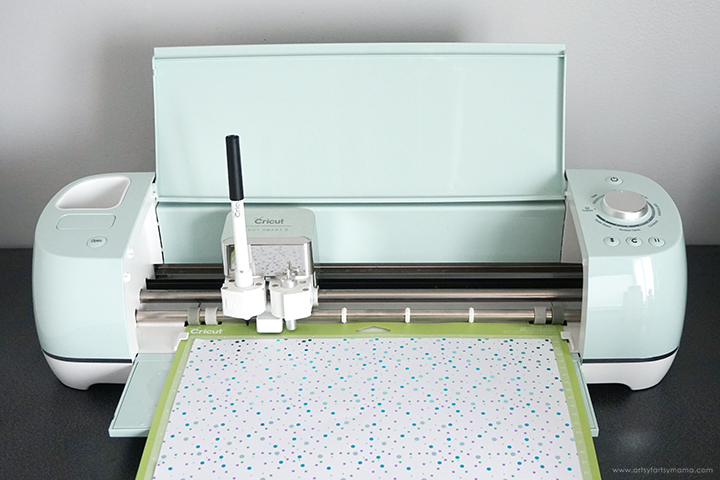
Turn the Smart Dial to "Vinyl", or to "Custom" and then select Premium Holographic Vinyl from the material settings menu.
Lay the Holographic Vinyl on the green StandardGrip Mat with the vinyl-side up, and load it into the machine by pressing the flashing arrow button below the dial. When the button with the Cricut logo begins flashing, you can then press it to cut your project out.
After the vinyl has been cut, you'll need to "weed" the vinyl. Use weeding tools to carefully peel away excess vinyl (or the parts of the design that you won't be using).
Cut a piece of transfer tape and lay it over the vinyl. Use the scraper tool to press it down well.
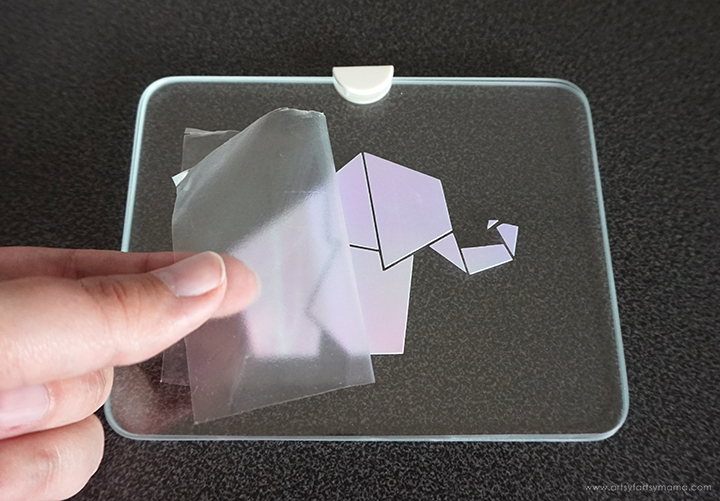
Remove the backing from the vinyl, then center the elephant on the glass. Use the scraper tool again to press the vinyl down and to remove any air bubbles. Slowly peel the transfer tape away from the vinyl. If the vinyl is still sticking to the transfer tape, lay it back down and press it again with the scraper tool.
Pin this project:
Elephant Baby Card and Envelope
For this project, you will need:
When cutting the card pieces, make sure to check Smart Dial settings. For the envelope, turn the dial to "Cardstock" or to "Custom" and then select Foil Embossed Cardstock from the material settings menu. For the card, turn the dial to "Poster Board" or select Foil Poster Board using "Custom".
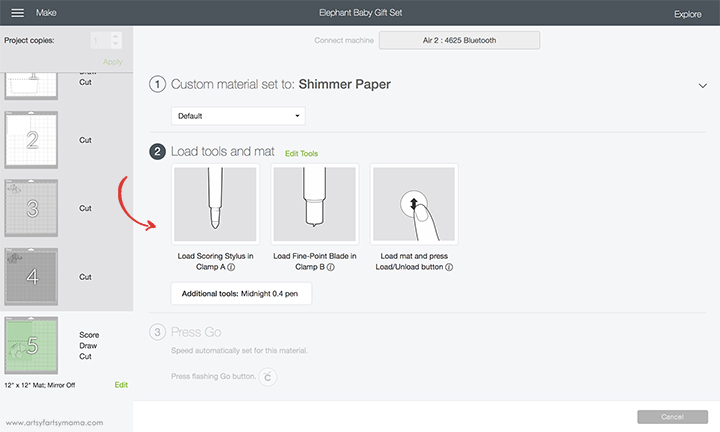
**With this project, make sure to look at Step 2 to see which tools (Scoring Stylus or Black Pen) to load into the machine before cutting.
Lay the paper on the blue StandardGrip Mat with the design facing up, and load it into the machine by pressing the flashing arrow button below the dial. Be sure to also load the Scoring Stylus/Black Pen when prompted to score/write, and cut in one step. When the button with the Cricut logo begins flashing, you can then press it to cut your project out. Repeat the process for all three pieces.
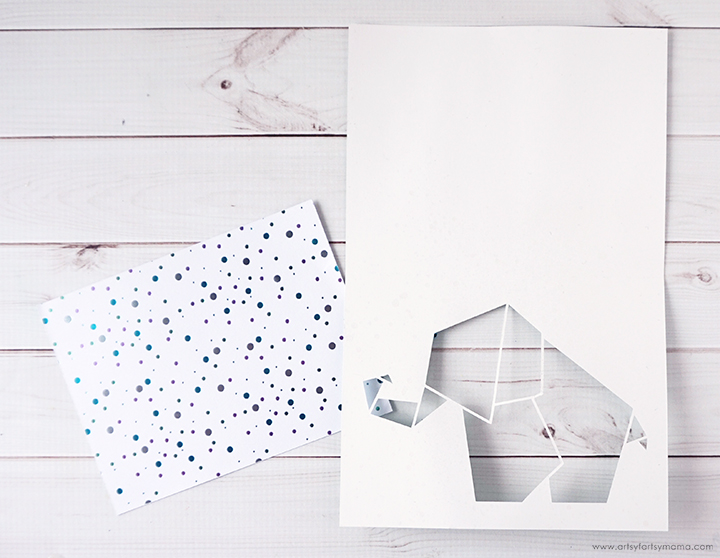
Carefully remove the papers from the mat. On the inside of the card, add a small amount of adhesive along the thin cut lines around the outside of the elephant. Place the rectangle cut out of Foil Embossed Cardstock face-down over the cut-out. Hold in place until the glue has set.
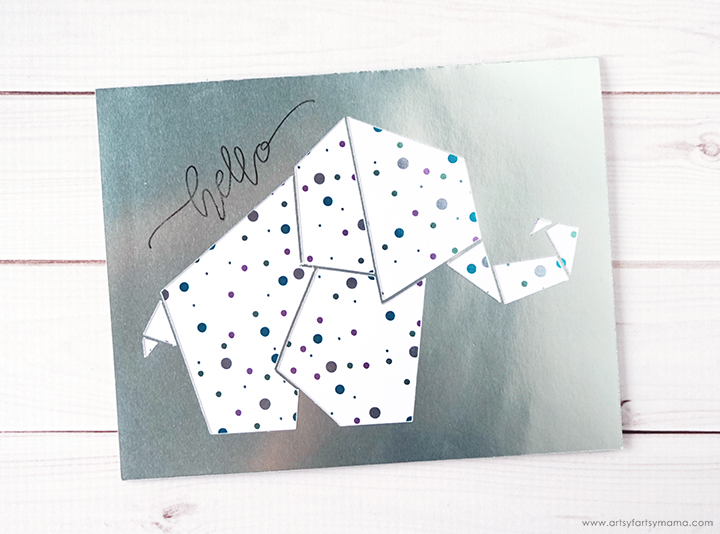
Fold the card closed along the score line, but be careful not to touch where the pen has written "hello". The ink takes a while to dry on the Foil Poster Board and may smudge easily!
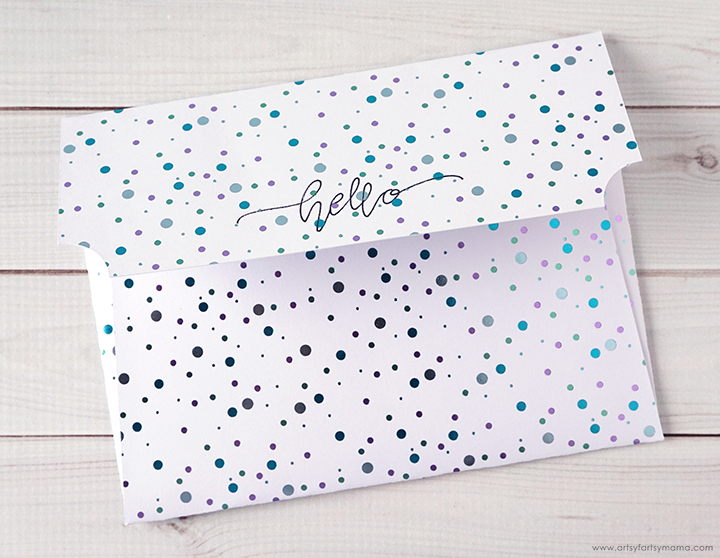
Fold the envelope along all of the score lines. To assemble, fold in the side pieces first and add a little bit of adhesive along the edges. Fold the bottom section up, and press down on the sides well for the glue to stick. Lastly, fold the top tab down but don't seal it shut yet!
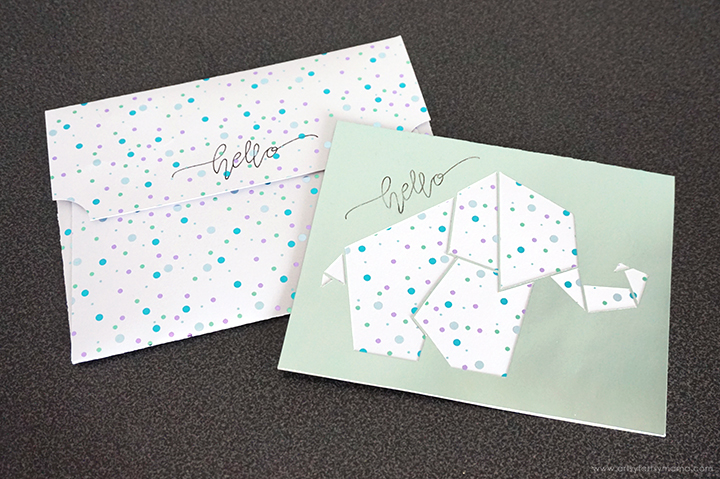
Write a message to the mother-to-be inside the card and then place it in the envelope. Use a little bit of adhesive to seal the envelope. Isn't this card set so cute? You can also easily customize the front of the envelope (name, address, etc) in Design Space for the pen to draw if you want!
Pin this project:
What do you think of this Elephant Baby Set? This will be such a special handmade gift for a future mother-to-be at her baby shower or to greet a new member of your own family.
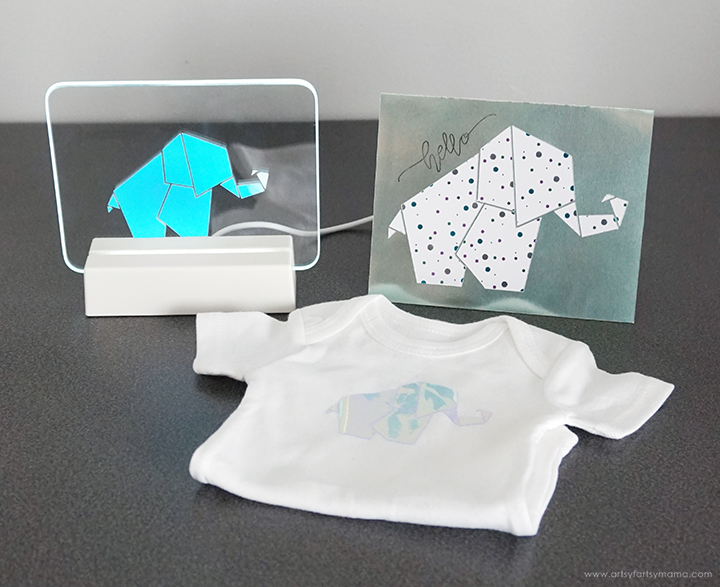
Do you see what I mean about how versatile the Explore Air 2 machine is? I was easily able to cut one design, using a variety of materials to create such a unique gift set. This, my friends, is exactly why the Cricut will always be one of my favorite crafting tools!
Don't forget to Pin, Like, and Share!
What will you create with your Cricut machine?


This is adorable! Thank you for sharing.
ReplyDelete