
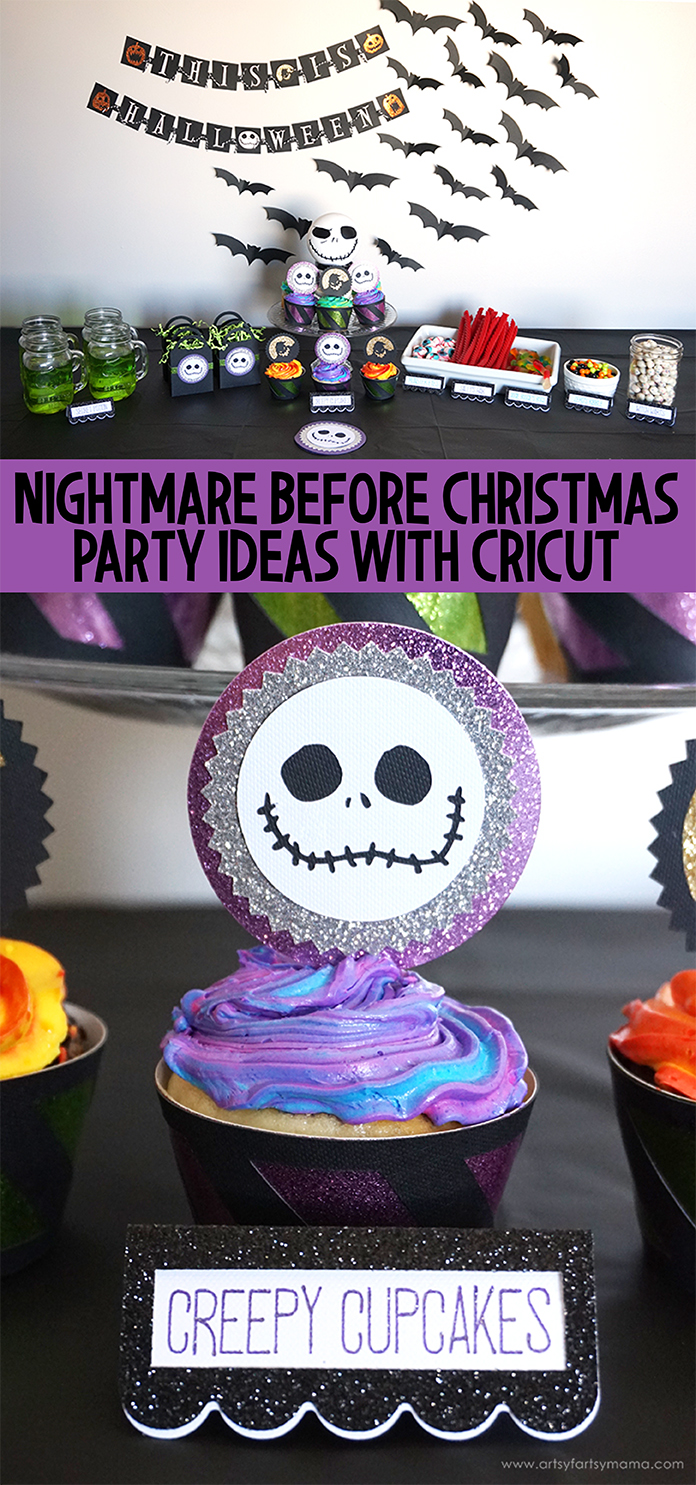
What's this? What's this? Use the Cricut to delight your guests with a frightfully fun Nightmare Before Christmas Party!

Nightmare Before Christmas is one of my favorite movies. We are a little bit obsessed with it, actually, considering my daughter wore a DIY Sally costume for Halloween last year! This year, we are going to celebrate Halloween with a frightfully fun Nightmare Before Christmas Party. Not only is this perfect for Halloween, but I think it would also be a fabulous birthday party! I can't wait to show you all of the details (including project files!) and how I used the Cricut to make our party one to remember.
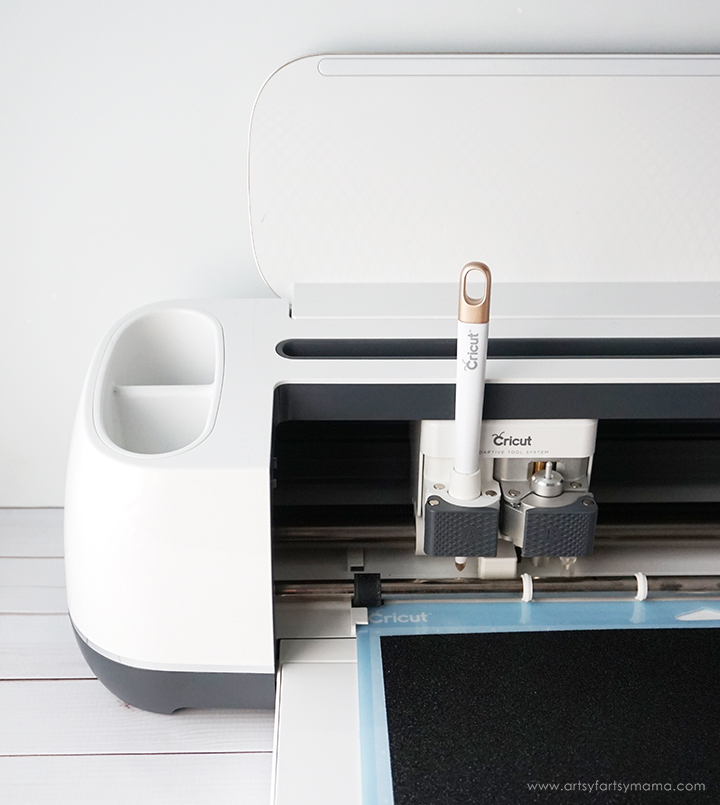
For our party, the Cricut Maker machine was a life-saver. I was able to make all of the decor, party favors and even party invitations with my machine! Plus, you can make everything exactly how you want it, and makes your party one-of-a-kind.
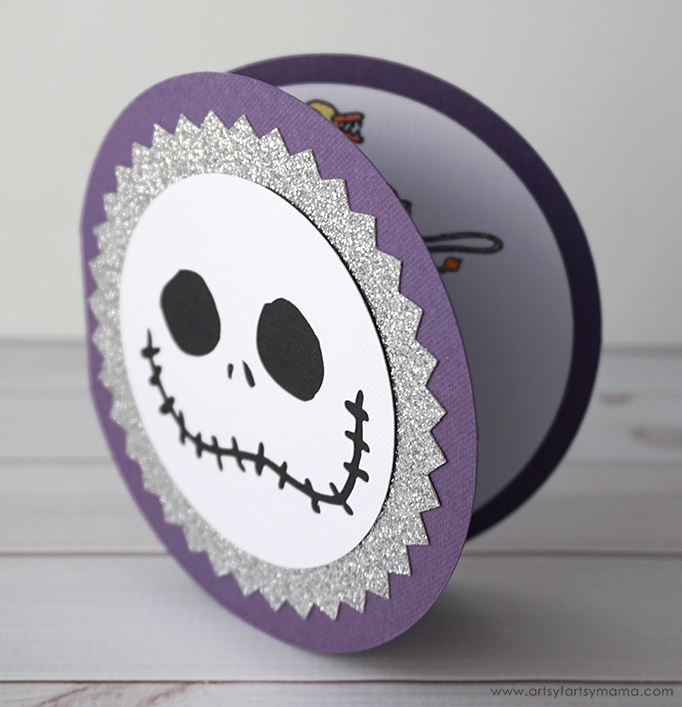
Nightmare Before Christmas Party Invitation
Invite your guests to your frightfully fun Nightmare Before Christmas Party with a custom invitation!
Supplies:
Cricut Maker machine
Cricut Cardstock (Black, White, Purple)
Cricut Glitter Cardstock (Silver)
Cricut Fine Point Pen (Black)
Nightmare Before Christmas Party Invitation Design Space Project
Glue or Tape Runner
*Before you cut the papers, make sure to select "Cardstock" or "Glitter Cardstock" in the material settings to get the right cuts every time. The machine's Adaptive Tool System ensures professional-level cutting of hundreds of materials, so you don't have to worry about adjusting any settings besides choosing the material you are cutting.

Open up the banner and the bat cut files in Design Space. Click "customize" to change paper colors or to resize the banner. If you click "Make It", it will take you straight to cutting the elements of the banner out. Before you cut the papers, make sure to select "Cardstock" or "Glitter Cardstock" in the material settings to get the right cuts every time.


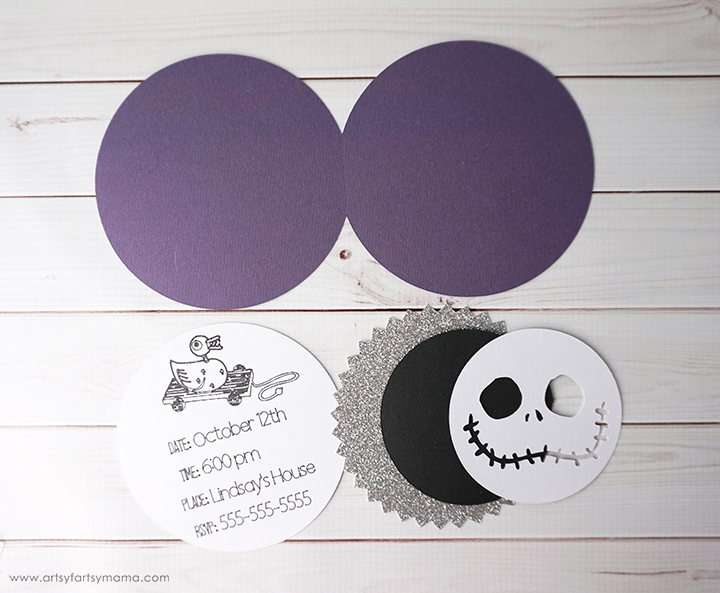
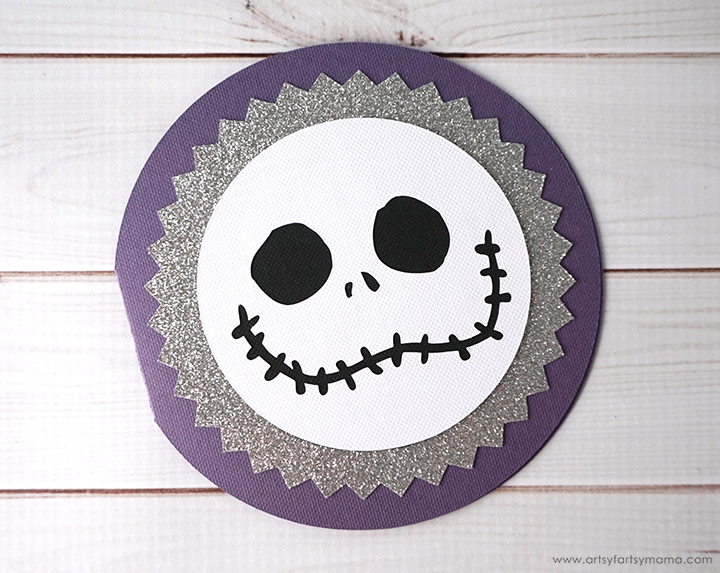
Fold the invitation along the score line. To assemble Jack's face, add some glue or tape lines to the back of the white cardstock piece, then place it on top of the black cardstock circle and press well. Next, add some glue or tape lines to the back of the black circle, and place it in the center of the silver glitter piece. Last, add some glue or tape lines to the back of the glitter cardstock and place it in the center of the front of the card and press well to hold it in place.
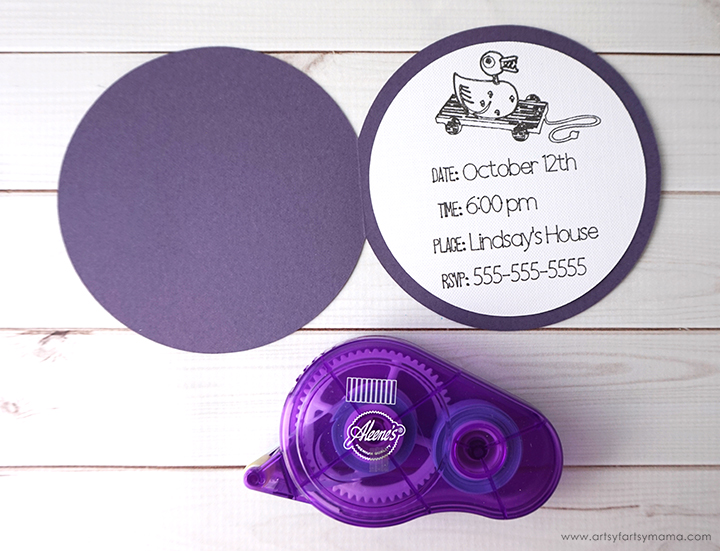
Since the Cricut machine did all of the writing for me with the black pen, all I have to do is place the information inside the card! Add a few lines of tape runner or a thin layer of glue to the back of the white cardstock and place it inside the card, in the center of the right-hand side.
Since it was drawn similar to a coloring book, I used some colored pencils to color in the toy duck character from Nightmare Before Christmas. I love how it brings this creepy guy to life and adds a pop of color to the invitation!
Now you can send your invitations to friends to get your party started! These invitations measure 4.5", and fit great in a 5" square envelope.
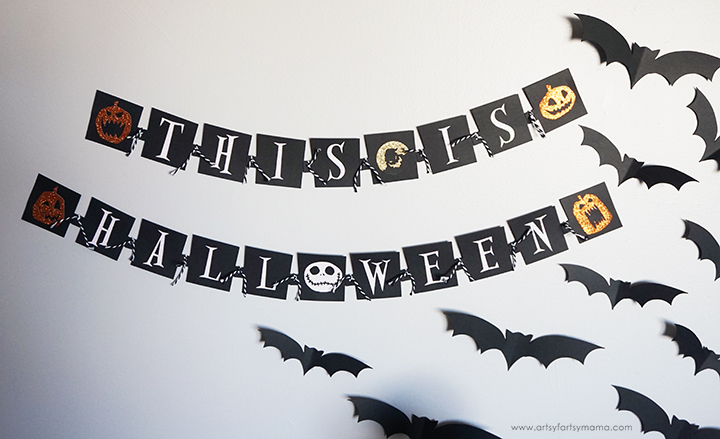
Nightmare Before Christmas Banner and Flying Bats
Create a creepy cool Nightmare Before Christmas Party Banner and Flying Bats to accent your party wall!
Supplies:
Cricut Maker machine
Cricut Cardstock (Black)
Cricut Glitter Cardstock (White, Gold, Orange)
Nightmare Before Christmas Party Banner and Nightmare Before Christmas Bats Design Space Project
Glue or Tape Runner
Twine or String
The banner pieces are all the same size, so I kept them all in a stack. Then I glued the letters, pumpkins, and other characters onto the banner pieces and set them aside. There are tabs with small circles on each of the banner pieces. Assemble the banner by lining up the hole with the next piece of the banner, thread some twine through the two pieces and tie it in a knot. Repeat the aligning and tying until you have two completed banners to read, "This is Halloween"!
The bats come in two different sizes. I cut seven of each size out of black cardstock. The more room you need to fill, the more bats you should cut out. Fold each of the bats along the score line. Place a piece of tape to the back of the bat and stick it to the wall, making sure that the wings are away from the wall to give the flying effect. Easy as that!
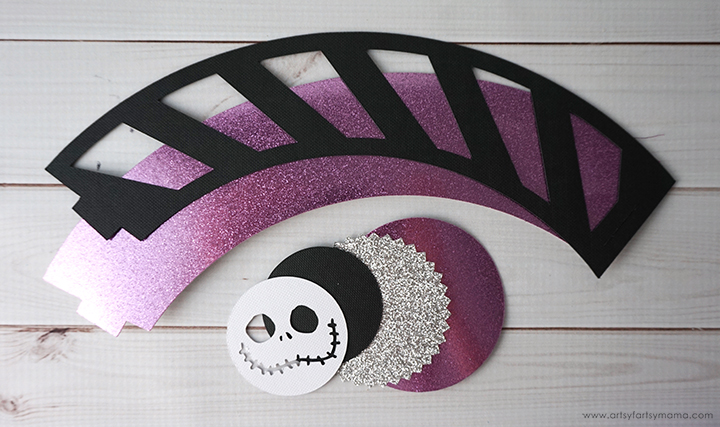
Nightmare Before Christmas Jack Skellington and Oogie Boogie Cupcake Wrappers and Toppers
Spookify ordinary cupcakes with Jack Skellington and Oogie Boogie Nightmare Before Christmas Cupcake Wrappers and Toppers!
Supplies:
Cricut Maker machine
Cricut Cardstock (White, Black)
Cricut Glitter Cardstock (Silver)
Cricut Sparkle Paper (Orchid)
Nightmare Before Christmas Cupcake Wrappers & Toppers Design Space Project
Glue or Tape Runner
Open up the cupcake wrapper & topper cut file in Design Space. Click "customize" to change the paper colors and adjust the size. If you click "Make It", it will take you straight to cutting the project. Before you cut the papers, you can also decide how many of the wrappers and toppers you want to make so that you can cut them all in one session.
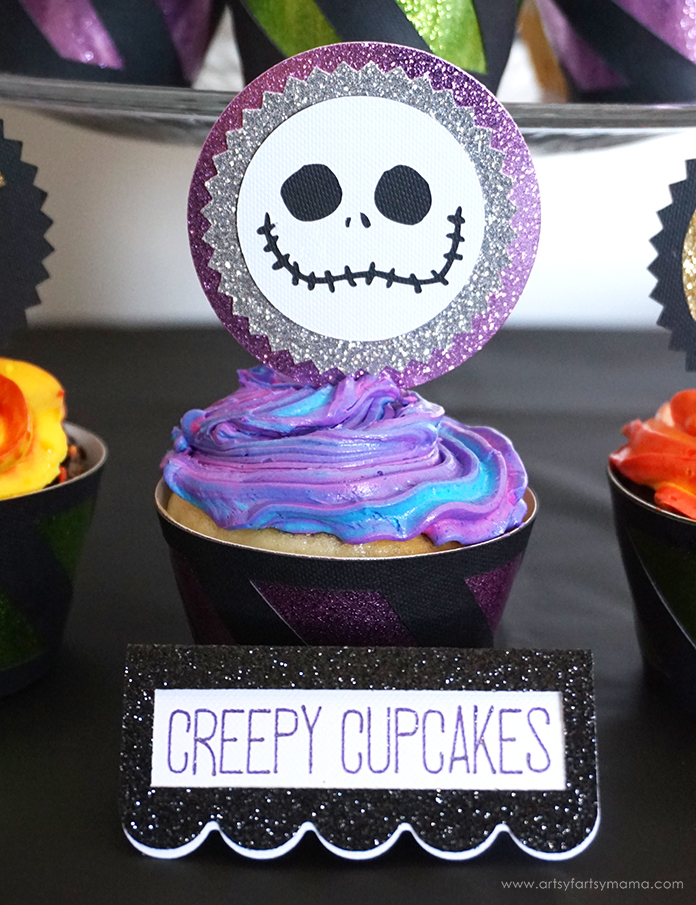
To assemble the Jack Skellington cupcake topper, add some glue or tape lines to the back of the white cardstock piece, then place it on top of the black cardstock circle and press well. Next, add some glue or tape lines to the back of the black circle, and place it in the center of the silver glitter piece. Last, add some glue or tape lines to the back of the glitter cardstock and place it in the center of the sparkle paper and press well to hold it in place. That's it!
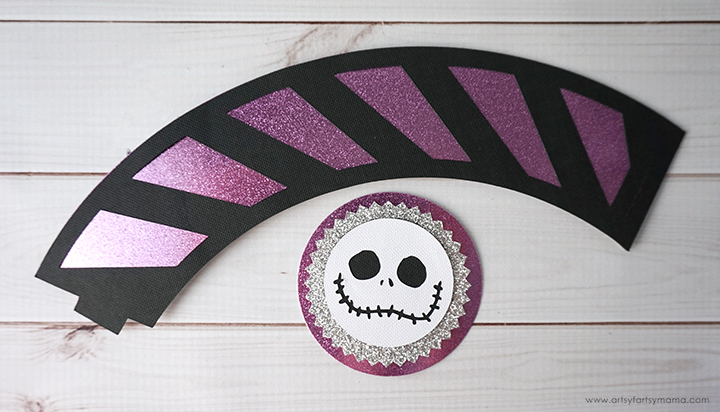
The cupcake wrapper is even easier. add some glue or tape lines to the back of the black stripe cupcake wrapper. Align it with the purple sparkle cupcake wrapper and press well so that they adhere well.
Bring the ends of the cupcake wrapper together around a cupcake and tape to keep it together. For the topper, use some tape on the end of a mini craft stick and place it on the back of the Jack Skellington cupcake topper. Press the stick down into the top of a cupcake, and voilá! Instant Nightmare Before Christmas spooky glam!!
Supplies:
Cricut Maker machine
Cricut Cardstock (Black)
Cricut Glitter Cardstock (Gold)
Cricut Sparkle Paper (Light Green)
Nightmare Before Christmas Cupcake Wrappers & Toppers Design Space Project
Glue or Tape Runner
To make the Oogie Boogie cupcake topper, add a little bit of glue around the back of the Oogie Boogie cutout. Place it on top of the glitter cardstock and hold in place until the glue has set. Really, that's it!!
Assemble the Oogie Boogie cupcake wrapper the same way as the Jack Skellington cupcake wrapper.
Wrap and top all of your cupcakes with the Nightmare Before Christmas Cupcake Wrappers and Toppers. When you place them all on your table, it's like... "EUREKA!!"
I used a DIY $2 Cupcake Stand to hold the cupcakes, and made it all into a centerpiece by placing our Jack Skellington head case from the Nightmare Before Christmas Yahtzee game on a small pedestal in the center of the stand. It fit perfectly, and looks amazing surrounded by the brightly colored cupcakes.
Nightmare Before Christmas Party Food Labels
Get creative with creepy DIY Party Food Labels for your Nightmare Before Christmas party!
Supplies:
Cricut Maker machine
Cricut Cardstock (White)
Cricut Glitter Cardstock (Black)
Cricut Sparkle Paper (Light Green)
Nightmare Before Christmas Party Food Labels Design Space Project
Glue or Tape Runner
Making labels for your party food can be helpful for guests and is one of the easiest projects in this party post. The Cricut does all of the work for you: cutting, scoring, AND writing! All you have to do is tape or glue them together.
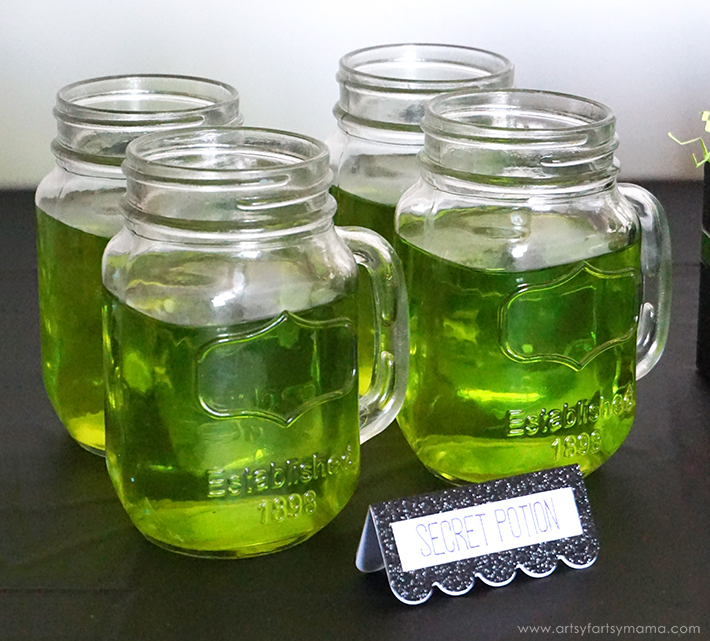
Instead of labeling what the food actually is, I decided to come up with different names for our party food to go with the theme! Take, for instance, our beverages: it's just some green punch and poured into glass mugs, but we call it "Secret Potion"!
We also found different candies like gummy worms, gummy eyeballs, chocolate candies, and licorice. On the labels, we called them Monster Eyes, Sally's Hair, Oogie Boogie's Bugs, Zero's Kibble, and Witch Warts! Perfect for our Nightmare Before Christmas Party!!
Nightmare Before Christmas Party Favor Bags
Surprise your guests with frightfully fun Nightmare Before Christmas Party Favor Bag filled with goodies!
Supplies:
Cricut Maker machine
Cricut Cardstock (White, Black, Purple)
Cricut Glitter Cardstock (Silver)
Cricut Sparkle Paper (Light Green)
Nightmare Before Christmas Party Favor Bags Design Space Project
Glue or Tape Runner
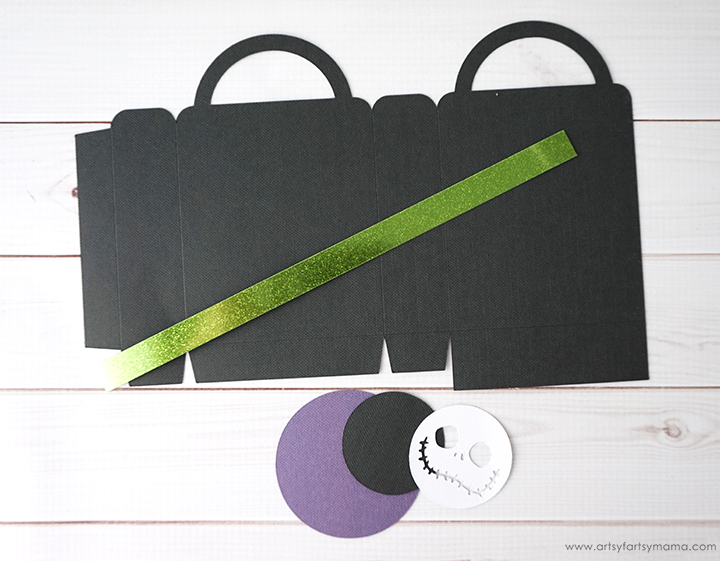
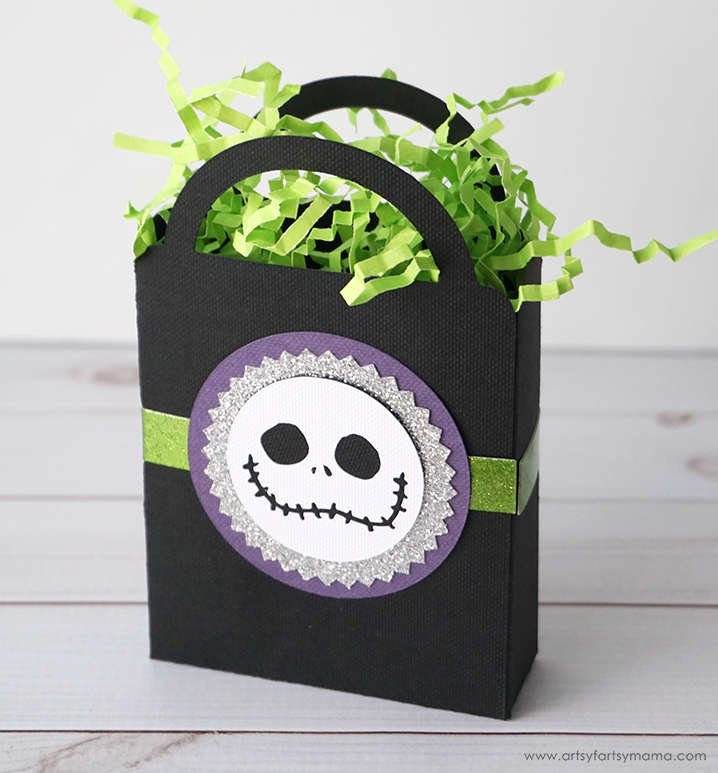
Open up the party favor bag cut file in Design Space. Click "customize" to change the bag paper colors or to adjust the size. If you click "Make It", it will take you straight to scoring and cutting the project.
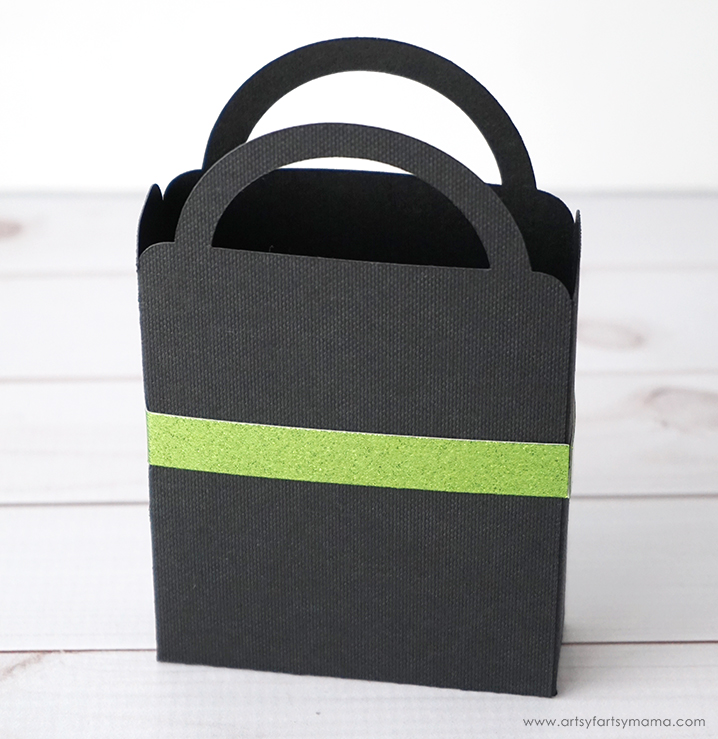
Fold the favor bag along all of the score lines. Use glue or tape lines to assemble the bag and keep it together. Fold the green sparkle paper along the score lines. Wrap it around the bag and attach it with glue or tape lines.
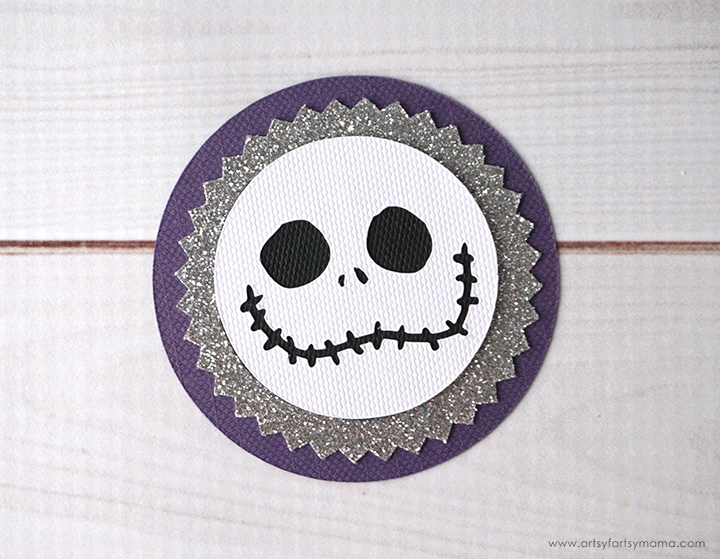
Much like the other projects in this party post, Jack's face is going to be front and center! Add some glue or tape lines to the back of the white cardstock piece, then place it on top of the black cardstock circle and press well. Next, add some glue or tape lines to the back of the black circle, and place it in the center of the silver glitter piece. Last, add some glue or tape lines to the back of the glitter cardstock and place it in the center of the purple cardstock and press well to hold it in place.
Lastly, add some glue or tape lines to the back of the Jack piece and stick it to the front of the bag over the green stripe. Hold in place firmly to make sure it is attached well.
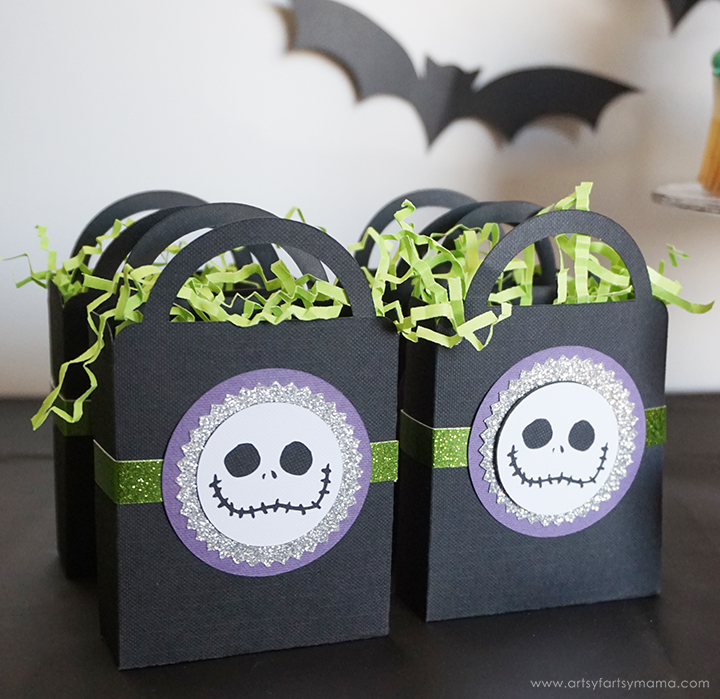
Guests can fill their own favor bags with candy from the party, or you can add treats and surprises beforehand. We pre-filled the bags and topped them with green crinkle paper to give a little extra color. They look so cute all lined up on the party table!!
This Nightmare Before Christmas Party couldn't have been as successful without my Cricut! I am thrilled with how our party table turned out, and know it's going to be one frightfully fun bash with our friends. After putting this all together, my daughter asked if she can have the same party setup for her birthday. How can I say no??
Pin this project to save for later:
This is a sponsored conversation written by me on behalf of Cricut. The opinions and text are all mine.


how do I get the file for this?
ReplyDelete