
This "I Arted" Canvas Sign is one of 50 FREE projects that you can make with the Cricut Maker!

The Cricut Maker is the newest cutting machine to the Cricut family. I have been using mine for a little over a month now, and am absolutely astounded by everything it can do. I'm currently working on my craft room, and looking for inspiration when I was invited to join fellow Cricut bloggers to feature the 50 FREE projects that can be made with the Maker. As soon as I saw this "I Arted" design, I knew it was meant to be in my craft room.
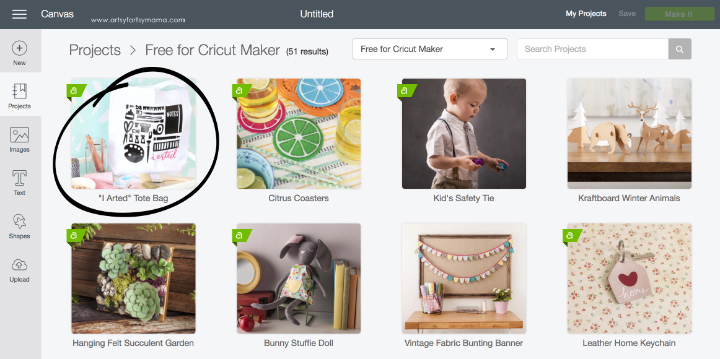
This design is a Make It Now project found in Design Space titled the "I Arted" Tote Bag. When you click on the project image, you can find step-by-step directions and a product list so you get an idea of what you're going to be working on beforehand. If you want to make the project according to the instructions, just click "Make It Now".

Instead of making a tote bag, I wanted to use the design to create a work of "art" for my craft room. To adjust the design to fit a 12x12 canvas, click "Customize" instead of "Make It Now". Keep the design grouped, and change the size so that the width is 11". You can also adjust the colors of the art supplies image or the text by clicking on the circles of color in the menu on right. This will mainly help you to remember which vinyl you want to use and to get a preview of what your project will look like.
Click "Make It" in the top right corner to get cutting!
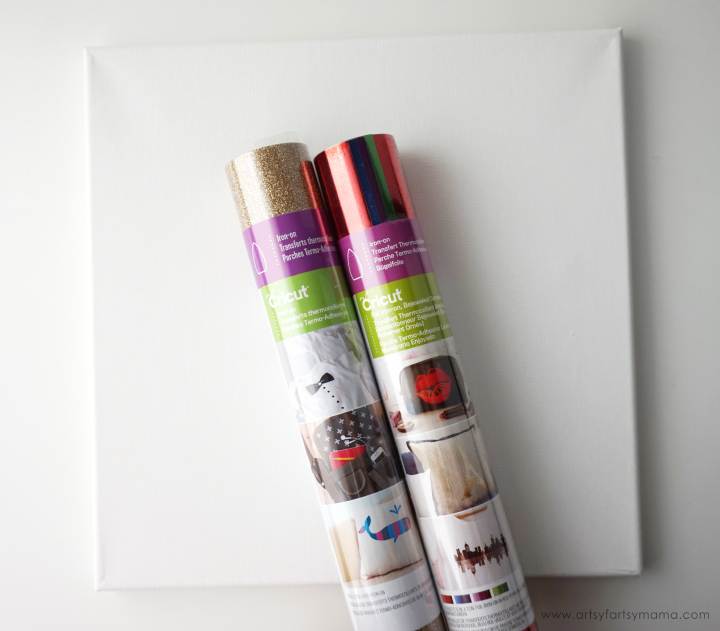
To make this "I Arted" Canvas Sign, you'll need:
- Cricut Machine - I used the Cricut Maker, along with a LightGrip Mat
- Iron-On Vinyl - You can use any color or type you like to fit your style. I used Glitter Iron-On in Gold, and a Foil Iron-On in Royal Blue to match my craft room.
- 12x12 Canvas
- Weeder Tool
- Cricut EasyPress or Iron

Before cutting, make sure you click on the boxes below each mat so that they will be mirrored! This means the images will flip horizontally so that they will be cut backwards. This is essential for whenever you cut iron-on vinyl. If you don't mirror, your vinyl will end up backwards in your final project.
You will also be directed to choose which type of vinyl you are cutting (foil, glitter, lite, etc) so that the Maker will calibrate to cut it perfectly the first time.

Iron-On Vinyl is made up of two parts: the iron-on vinyl, which will be what is ironed on to your project. One side is the pretty side that you will see on your project. The opposite side is more matte because it has a heat-activated adhesive so that it will stick to whatever you iron it on to. The other part is the liner. The liner is a clear carrier sheet (think transfer paper) that is sticky to hold the design in place and also protects the vinyl from the heat during application.
Place the vinyl you want to use for each cut on the mat face down/liner down. This is why you need to mirror the images before cutting. Load the mat into the machine by pressing the arrow button, and then press the button with the Cricut image to begin cutting the vinyl.
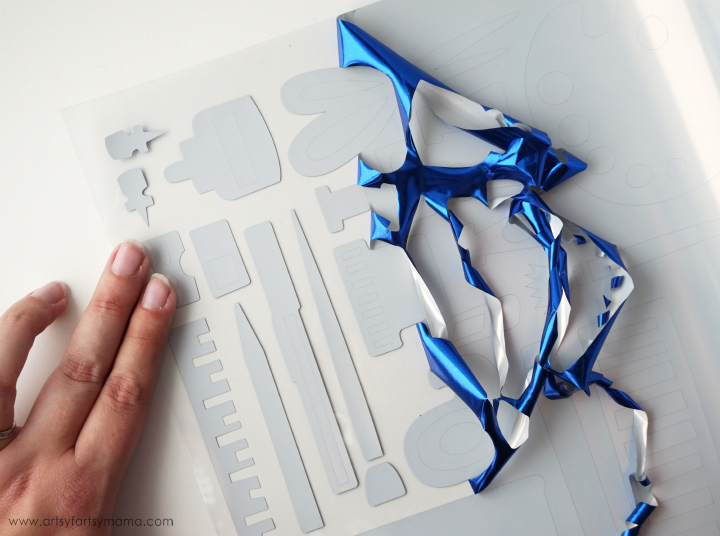
After the vinyl has been cut, it's time to "weed" it! Probably the most tedious part of the entire project, but I'll admit that I actually enjoy doing it. If you're new to the vinyl scene, "weeding" is when you are removing the vinyl from the design that you won't be using. I start at one corner and slowly peel the "background" vinyl away from the art supply images.

I use the Weeder Tool to help remove smaller pieces that need to be removed, such as the insides if letters. Use the sharp end of the hook to help lift out those tiny pieces without disturbing any of the vinyl around it. If you are going to be working with vinyl a lot, this tool is definitely an essential.

Lay the vinyl with the art supplies down on the canvas with the liner on top. Press it down with your hands so that the tacky liner sticks to the canvas to keep the vinyl in place.

To get iron-on vinyl to stick, you need heat. The Cricut EasyPress is a cross between an iron and a heat press. What makes it different than the two is that the EasyPress distributes consistent temperature across its 9" x 9" plate. This compact piece of equipment heats up quickly and is easy to use!

The EasyPress comes with a manual with all of the settings for different iron-on vinyls. Plug the EasyPress in and power it up. Adjust the temperature and timer settings using the buttons. When it has completely heated up, the EasyPress will beep and the Cricut logo will change from red to green.

Lift the EasyPress out of its base and set it down over the vinyl. Press the green Cricut button to start the timer, and add pressure while you hold the EasyPress in place. When the timer goes off, move it over to another section of vinyl. Repeat until the entire vinyl design has been attached to the canvas.

Carefully lift one corner of the liner. If the vinyl isn't completely stuck to the canvas, lay the liner back down and repeat the process with the EasyPress or an iron. If it looks like it's sticking well, keep peeling the liner up slowly until it is completely removed.

Lay down the "I Arted" piece of vinyl and iron it in place. Carefully peel up the liner or re-iron as necessary until the vinyl stays in place.

Now you can hang up your new piece of "art" on a wall or display on an easel. I absolutely love the look of the foil and glitter vinyls together and how they change a little bit with the way the light hits. Plus, the phrase "I arted" is a great excuse for why my craft room looks the way it does!!
Check out the rest of the 49 FREE projects other bloggers have made with their Cricut Makers by clicking on the images below!
Which of the 50 Cricut Maker projects is your favorite?
Check out the rest of the 49 FREE projects other bloggers have made with their Cricut Makers by clicking on the images below!


