Posts may contain affiliate links (see Disclosure). Thank you so much for supporting Artsy-Fartsy Mama!
Thursday, March 28, 2024

Glitterific Wooden Rainbow

Add a pop of color with a whole lot of sparkle with this Glitterific Wooden Rainbow!


Glitterific Wooden Rainbow

It's no secret that I love glitter! It's one of my favorite craft supplies, and I can't resist adding it to almost every project that I can. There's just something about that sparkle that makes me happy, and so I want to be surrounded by it - even though most of the time it's by accident... you know how glitter can be! I recently grabbed a blank wood rainbow from Target and have had it sitting in my craft room just waiting to be painted. As soon as I got my hands on some Glitterific Pastels, I knew that the wood blank was just the thing to use it on! This is such a fun and easy afternoon craft project that really anyone of any age could complete, and the best news is that the glitter application is MESS-FREE!!


Glitterific Wooden Rainbow

To make your own Glitterific Wooden Rainbow, you will need these sparkling supplies:


Glitterific Wooden Rainbow

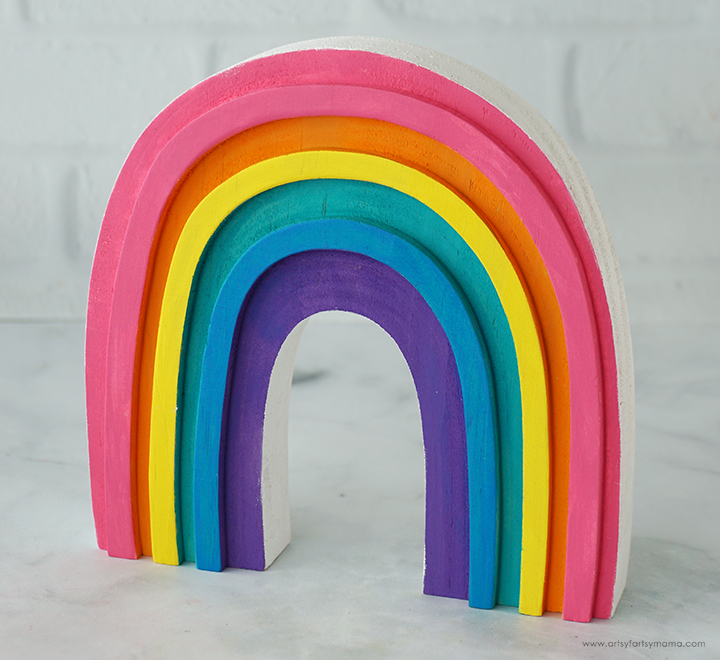
Use sandpaper along the edges of the wood rainbow, if necessary. Then use acrylic paints in pink, orange, yellow, teal, blue, and purple to paint the front of the front of the rainbow and then cover the sides and back with white paint. Allow the paint to dry completely.

Glitterific Wooden Rainbow

The Folkart Glitterific Pastels work best when applied in a thick coat. Use a paint brush or even a sponge brush to apply the different colors of Glitterific pastels over each coordinating color of acrylic paint on the rainbow. The great part about this formula is that it's a mess-free way to add glitter to ANY project!!

Glitterific Wooden Rainbow

When the Glitterific is first painted on, it has kind of jelly opaque look to it. As it dries, the gel turns a little more clear, letting the chunks of glitter stand out even more. In the image above, you can see just how much glitter is packed into this paint! It's a glitter enthusiast's dream come true.

Glitterific Wooden Rainbow

After each color of Glitterific is applied over each color of acrylic paint on the rainbow, give it plenty of time to dry. Apply more paint to any areas that need any extra glitter. If you REALLY want to pack the sparkle on (which I don't think you need to), feel free to add another coat of Glitterific to the entire rainbow and allow it to dry.

Glitterific Wooden Rainbow

The Glitterific dries to a smooth, glossy, and non-sticky finish that also keeps the glitter in place, so you don't need to apply any kind of sealant or Mod Podge to the surface. This Glitterific Wooden Rainbow is such an easy afternoon craft, and will look great in a nursery or kids room, craft room, or anywhere you need a pop of sparkly color!

As always, if you make any of these projects for yourself, I'd love to see your creations! Tag me on Instagram and Facebook, or leave a comment/photo on the project pin on Pinterest! #AFMCrafts

Don't forget to Pin, Like, and Share!
Glitterific Wooden Rainbow

Would you like to comment?

Thank you so much stopping by! If you have any questions, please leave them here and I'll try to answer ASAP!