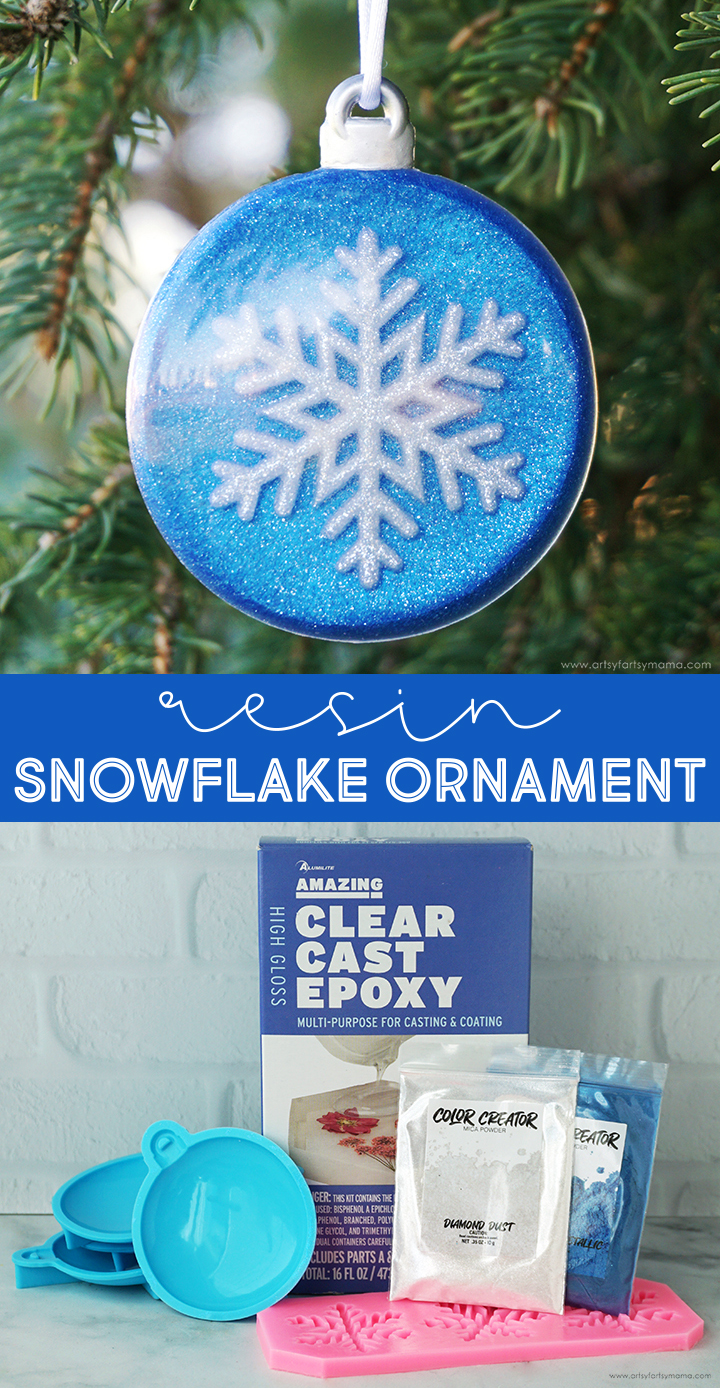
Adorn your Christmas tree with sparkling Snowflake Ornaments made of resin!

Have you put up your Christmas tree yet? Mine is going up soon, and I am so excited! To add some extra sparkle to my tree, I decided to make some Snowflake Ornaments using resin and shimmery mica powders. This is a simple project for resin crafters of any level and is a lot of fun to make! I love how this snowflake ornament set turned out, and I hope you feel inspired to give it a try!
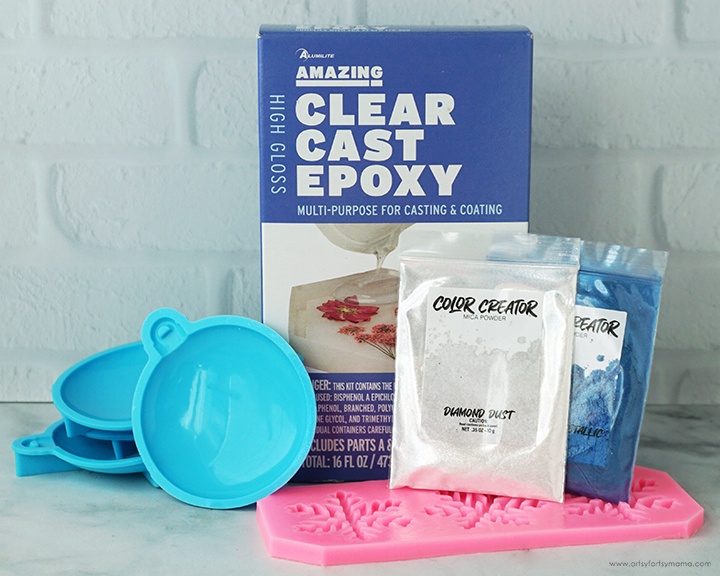
To make your own Resin Snowflake Ornaments, you will need these supplies:
*Save 10% on Polytek resin supplies when you shop with code AFM
SAFETY FIRST: Before getting started, wear disposable gloves, protect your workspace, and be sure to work in a well-ventilated area!
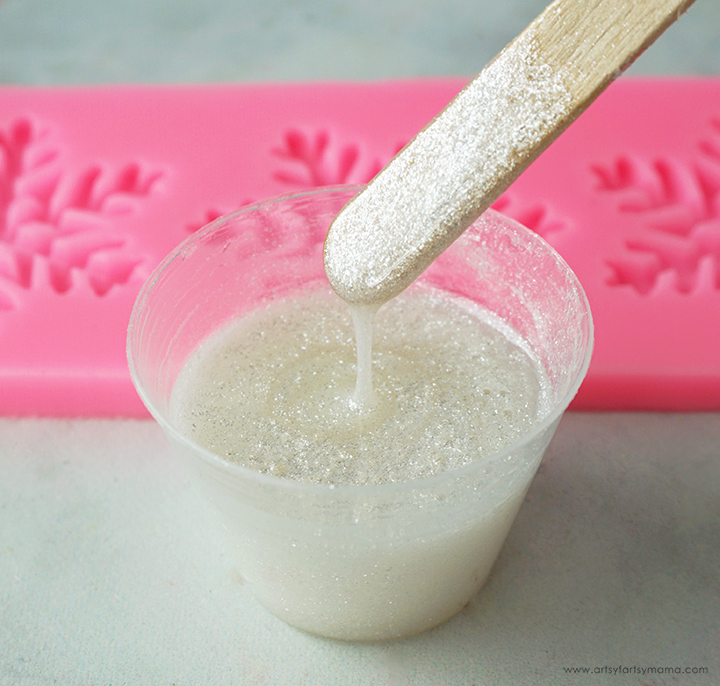
Prepare 20ml of Amazing Clear Cast epoxy according to package directions. Pour in equal parts of resin and hardener to a large mixing cup. Slowly stir the resin together with a stir stick for two minutes or until combined. If the resin looks cloudy or has any streaks running through it, you need to keep stirring it until it becomes clear.
Add a generous amount of Diamond Dust mica powder to the clear resin, and mix it in with a clean stir stick until evenly incorporated. Slowly pour the resin into the snowflake mold until each one is filled to the top, but be careful to not overfill. Let the resin sit for a few minutes, then use a straw, heat gun, or spritz with 91% alcohol to remove any surface bubbles.
Leave the resin to cure in an undisturbed, well ventilated area for 12-24 hours. The resin is completely cured when it is no longer tacky to the touch and easily pulls away from the edges of the mold.
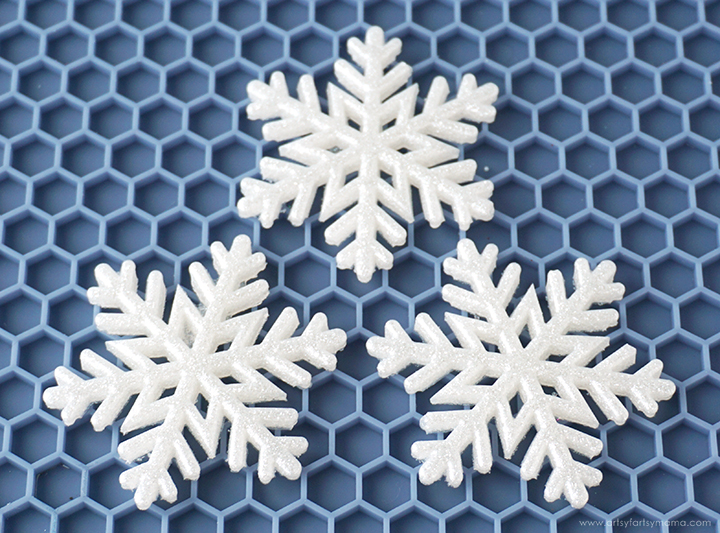
Carefully remove the snowflake pieces from the mold. Trim away any excess resin with scissors or a craft knife. Sand down edges, if necessary, and bring back the shine with clear spray sealant.
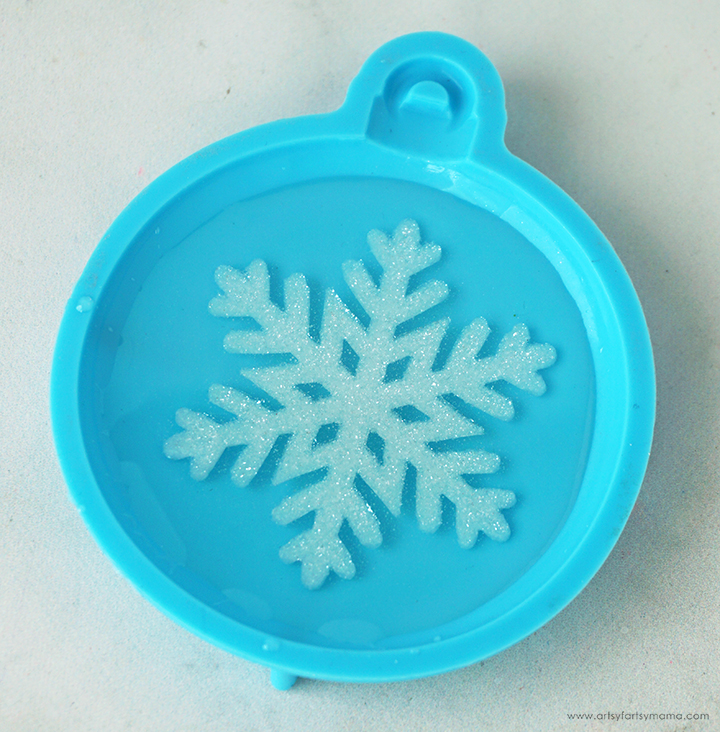
Mix together 1oz of Amazing Clear Cast epoxy together with a stir stick for two minutes or until combined. Slowly pour resin into the ornament molds until each one is filled a little less than halfway. Carefully place a snowflake face-down into the center of the ornament, and push it down with the stir stick.
Let the resin sit for a few minutes, then use a straw, heat gun, or spritz with 91% alcohol to remove any surface bubbles. Allow the resin to cure for at least 4 hours. DO NOT REMOVE FROM THE MOLD.

Prepare 1oz of Amazing Clear Cast epoxy together with a stir stick for two minutes or until combined. Add in a generous amount of Ocean Blue Metallic mica powder and mix until evenly incorporated. Slowly pour the resin into the ornament molds untilfilled to the top, but be careful to not overfill.
Let the resin sit for a few minutes, then use a straw, heat gun, or spritz with 91% alcohol to remove any surface bubbles. Leave the resin to cure in an undisturbed, well ventilated area for at least 12-24 hours.

"Demolding" is my favorite part of the process! Carefully remove the ornament from the mold. Trim away any excess resin with scissors or a craft knife. Sand down edges, if necessary, and bring back the shine with clear spray sealant.
If the resin still feels flexible, it may just need more time to cure. Let the pieces sit in a warm, flat area to cure for a few hours (or days) to completely harden.
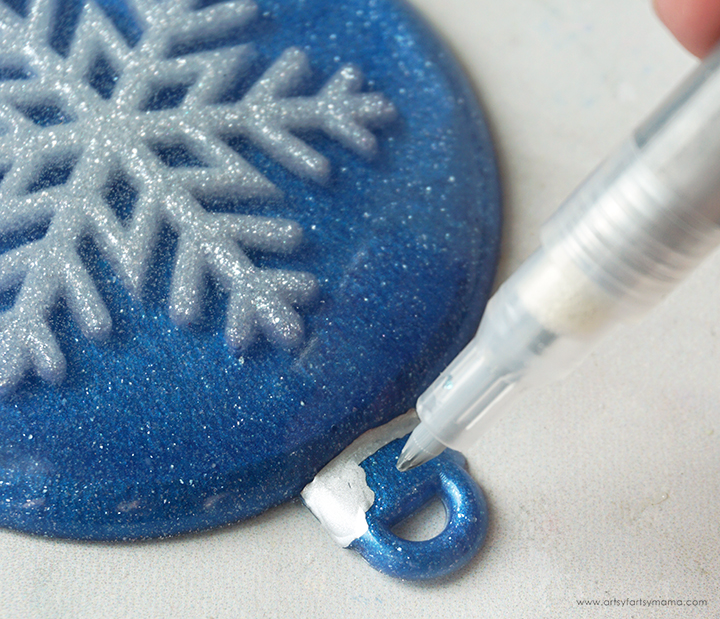
To give the top of the resin piece that "ornament" look, I simply colored the top section with a silver acrylic paint pen. It covered the resin beautifully, and looks just how I wanted it to. To keep the paint from scratching off while in storage, I would recommend covering that part of the ornament with some clear spray sealant.

Last, but not least, thread some white ribbon through the top of the ornament. Make sure to knot the ends together well so that the ornament won't fall off the tree!
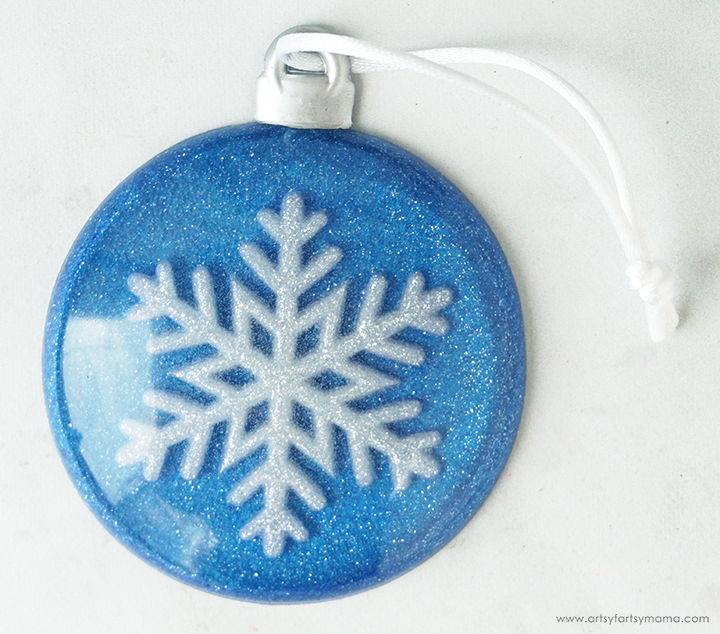
Repeat the process for all of the ornaments you've made. I just love all of that gorgeous shimmer and shine!

Looking for more Christmas ornament inspiration?
Check out this collection of OVER 100 creative ornament ideas!!

Don't forget to Pin, Like, and Share!