
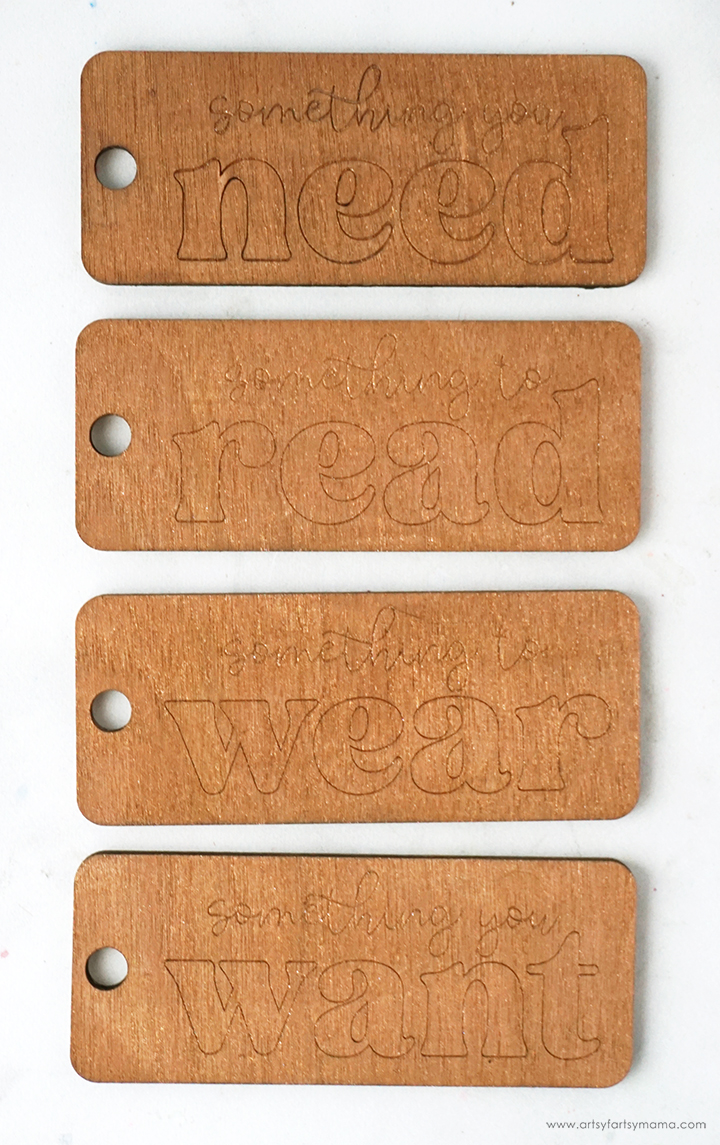
Use this FREE laser cut file to make custom wooden Christmas gift tags for something they want, something they need, something to wear, and something to read!
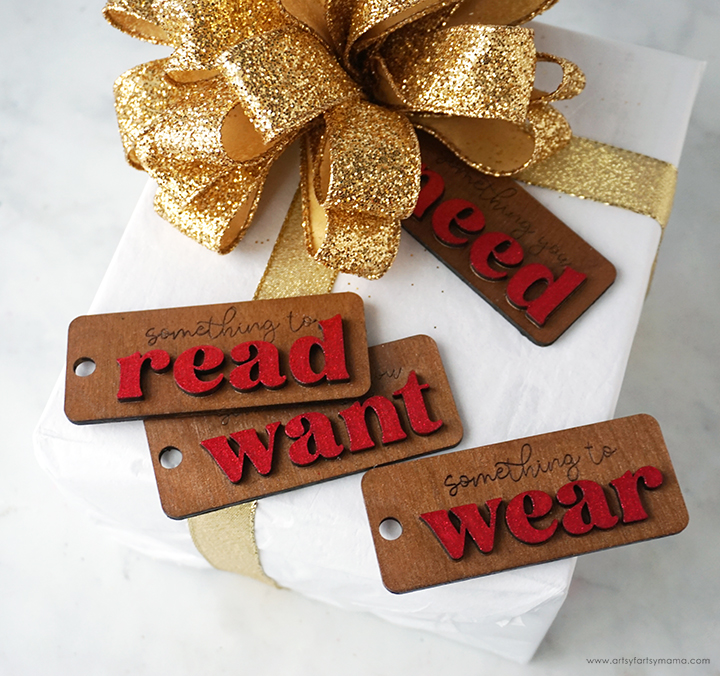
As my child gets older, holiday shopping has gotten a little more complicated. To make gift giving a little easier this year, I am going to start the "Four Gift" tradition, where you split gifts into four categories: something you want, something you need, something to wear, and something to read. I think it's going to not only help us to get creative with the gifts, but it will probably help us to stay on budget! To top off the gifts, I made these gorgeous wooden Christmas gift tags using my xTool M1. If you're interested in making these tags for your family I'm sharing the FREE laser cut file!

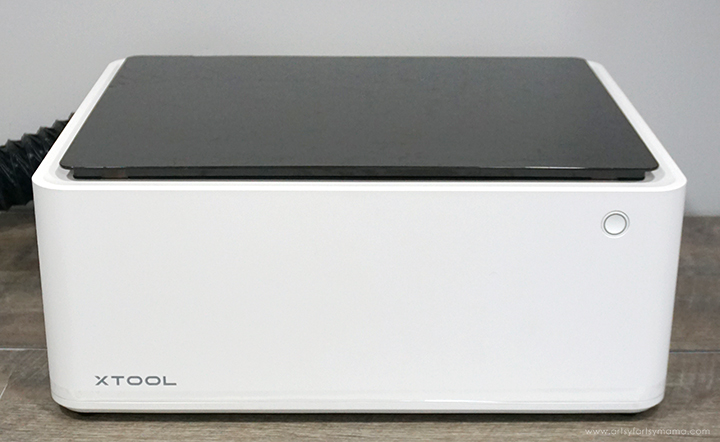
The crafting possibilities are endless when it comes to using the xTool M1 laser cutting machine, and it's actually very easy to use! Once you have one of these, the hardest thing you'll have to do is decide what to make first. If you want to learn more about how this incredible machine works, be sure to check out my complete xTool review.
Place your piece of wood into the xTool M1 machine, on top of the triangular prisms. When you close the lid, the image of the inside of the machine should show on your screen. If it isn't, click "Refresh" in the top right (green) section of the menu and it should show up.
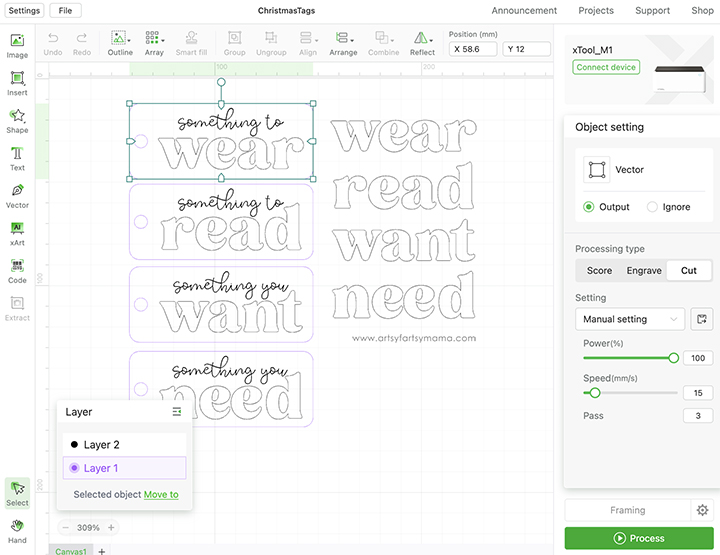
Upload the Christmas Gift Tag Set laser cut file into xTool Creative Space. Next, select the material type from the drop-down menu on the right side of the screen. I used the pre-loaded settings for "3mm Cherry Plywood" material. Make sure that you also select "Triangular Prism" from the "Height Raised" drop-down menu. By selecting the material before you get started, it will automatically adjust the settings for cutting, scoring, and engraving your project.
Copy and paste the words, "Want Need Wear Read", and place them next to the tags. Select the set of words and the borders of the 4 gift tag pieces and click on the "Cut" option in the right menu bar. As long as you set the material first, the cut settings will automatically adjust.
Now select the "Something to/you" words located on the tags and click on the "Engrave" option in the menu bar.
Lastly, select the words, "Want Need Wear Read" on the tags. Click on the "Score" option. Scoring is similar to engraving, but doesn't cut as deep into the lines and leaves more of an outline of the design instead.
Download Want/Need/Wear/Read Gift Tags Laser Cut File
**Cut files are for PERSONAL USE only**
Printables and cut files from Artsy-Fartsy Mama are for personal use only. You may use these files for personal projects, but you may not sell them. If you'd like to share this project digitally, share a link to this post/website only. Do not share a direct link to the file.

Press the large, lit button on the front of the machine to start the cutting, scoring, and engraving process. It's so fun to watch the laser in action, and to see how precise the xTool is for even the smallest of details.
Tip: If you are making tags for multiple kids, turn the tags over, put it into the machine, and engrave the names on the back!

Once the cutting and engraving process is complete, remove the gift tag holder pieces from the machine. Do your best to keep the letters of each of the words together! They are slightly different sizes! Before assembling the project, I would recommend cleaning the soot away from around the edges of the wood using a Magic Eraser or baby wipe to prevent making marks all over your hands.
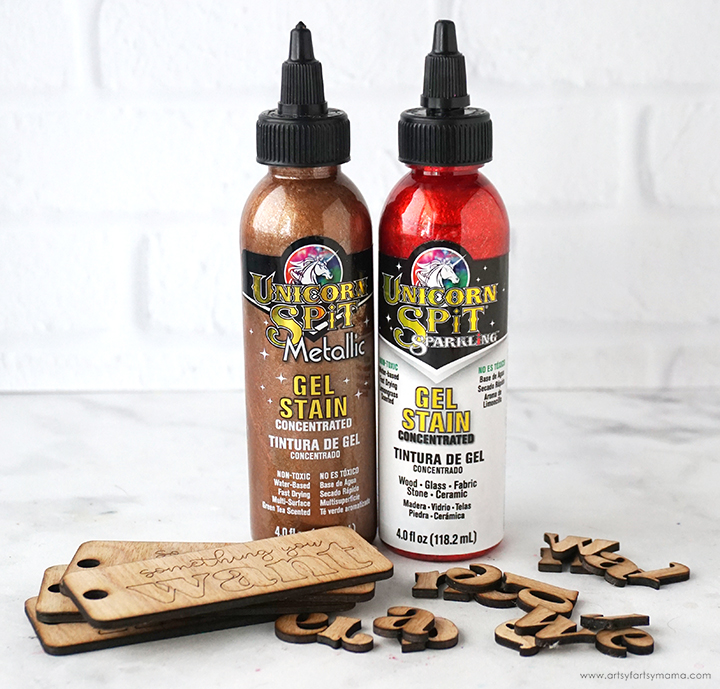
To complete the Wooden Want/Need/Wear/Read Christmas Gift Tags, you will need these supplies:

Fill a small mixing cup about a quarter of the way with Athena (a gorgeous brown) metallic Unicorn Spit. For a more solid coverage, use the Unicorn Spit as is. If you want the grain of the wood to show through the stain, add a little bit of water to the gel stain and mix it up well using a stir stick.

Use a brush to paint a thin coat of the Unicorn Spit over the front and back of the gift tag. Don't worry if the stain fills the engraved areas. As it dries, the wood absorbs the stain and they will show back up.

I painted two coats of stain to my tags. The more coats you add, the more vibrant the color will be. Just make sure to let the previous coat dry before adding another one.
Repeat the process to stain all four of the tags and allow them all to dry completely.
Seal both sides of the gift tags with a thin coat of clear sealant. Not only will this make the engraving and wood grain really pop, but it will allow you to fill in the engraving without it bleeding into the porous wood.
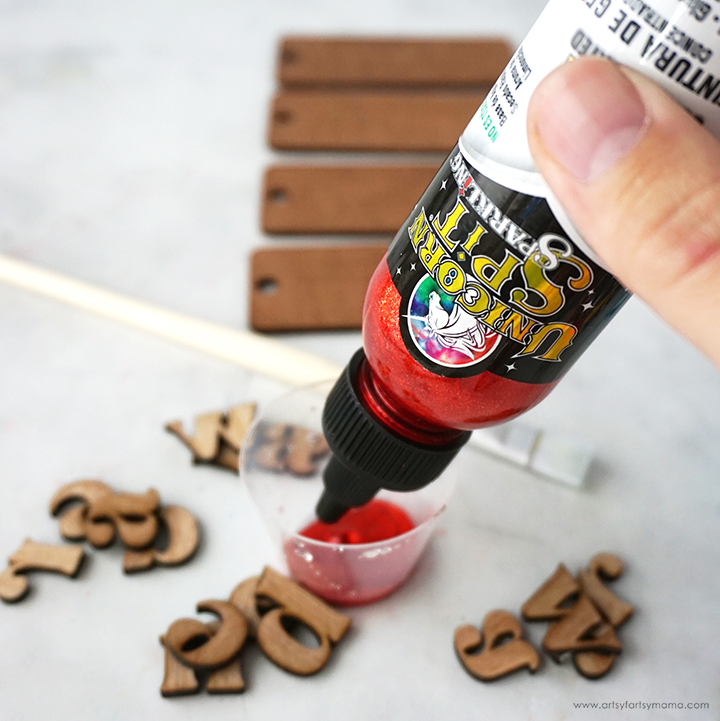
Next, pour a little bit of red Sparkling Unicorn Spit into a clean mixing cup. You don't need to add any water to this stain. You want this stain to look as vibrant as possible.
Tip: If you are making tags for multiple kids, use different colors of Unicorn Spit!

Again, make sure to keep the letters for each of the words separated from each other!!


When both the tags and the letters are completely dry, you can start assembling the gift tags. Pair the tag and the matching letters together. Use E6000 Adhesive with a Precision Tip to add small drops of adhesive to the scored letters on the tags. Use these score lines as a guide to line the colored letters up on top of the tags. Gently press the letters down onto the tag and give the adhesive time to dry.
Repeat this process to add the wooden letters to each of their matching tags.
To give the "something you/to" engravings a little more dimension, carefully go over the letters with an extra fine black paint marker. Do NOT touch the paint, and give it plenty of time to dry. Repeat for all o the gift tags.
Apply another thin coat of clear sealant to the front of all the gift tags. This extra coat of sealant will protect the tags, and keep them looking good as new for years to come.
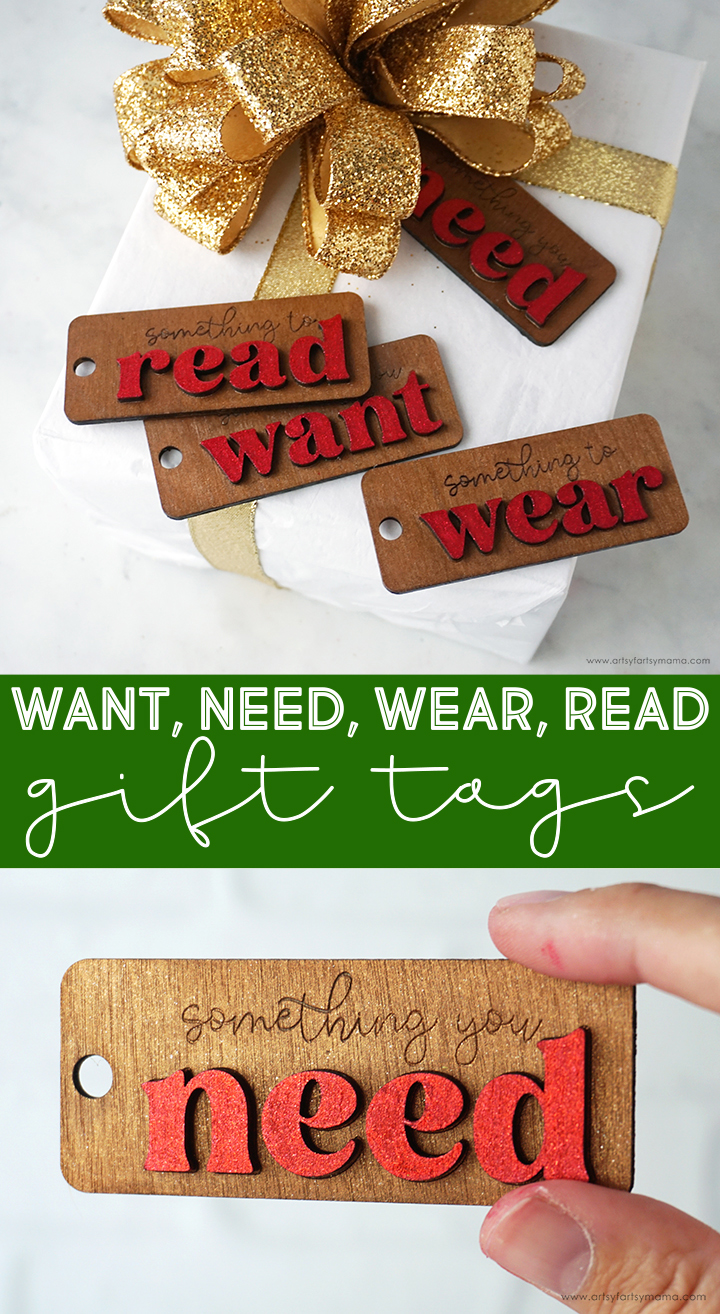
After wrapping your four themed gifts, simply tie the tag on to the coordinating gift with gorgeous ribbon. These Wooden Want/Need/Wear/Read Christmas Gift Tags turned out more beautifully than I imagined, and it makes me so excited for Christmas morning! As always, if you make any of these projects for yourself, I'd love to see your creations! Tag me on Instagram and Facebook, or leave a comment/photo on the project pin on Pinterest!
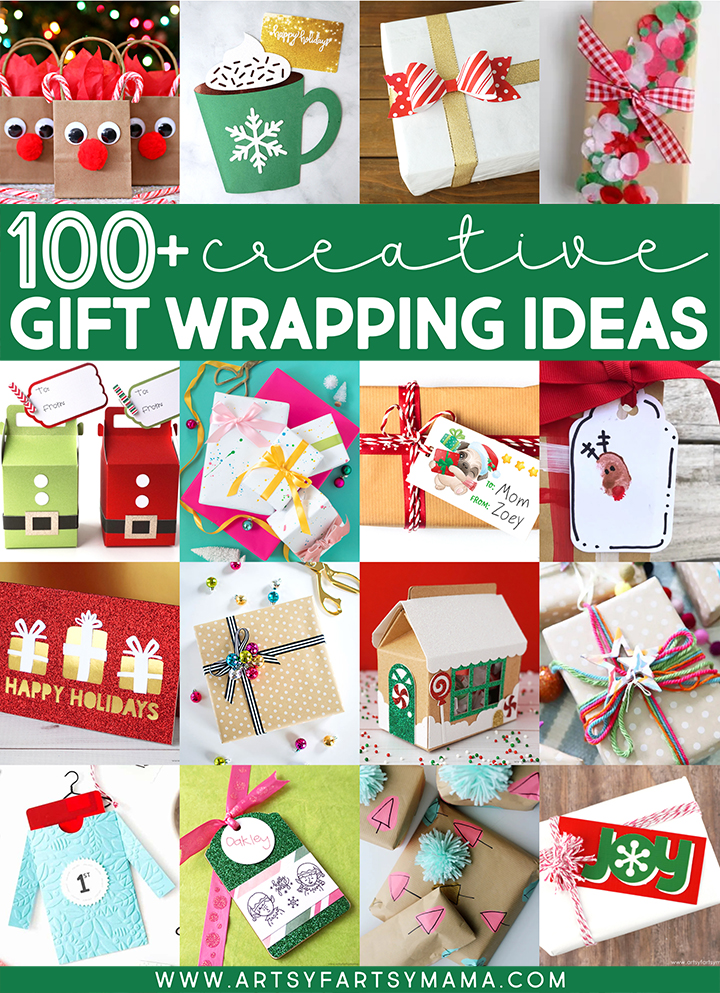
Looking for more holiday gift inspiration?
Check out this collection of OVER 100 creative holiday gift wrapping ideas!!
Don't Forget to Pin, Like, and Share!


