
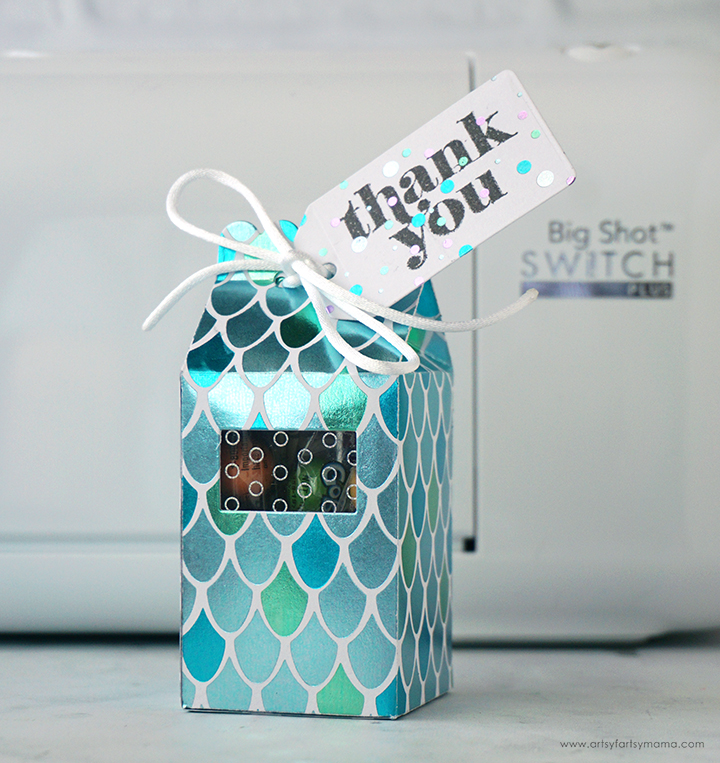
Treat your favorite teacher to a handmade Mini Thank You Gift Box filled with surprises!
One of my favorite parts about back to school season and Teacher Appreciation week is coming up with creative ways to thank our teachers for all of their hard work! This Mini Thank You Gift Box was so fun and easy to make using my new Sizzix Big Shot Switch Plus machine, and I love that kids can even help put it together. Teachers are going to love receiving one of these gift boxes, and I've been so excited to show you how to make one. I'd love to hear what you think!
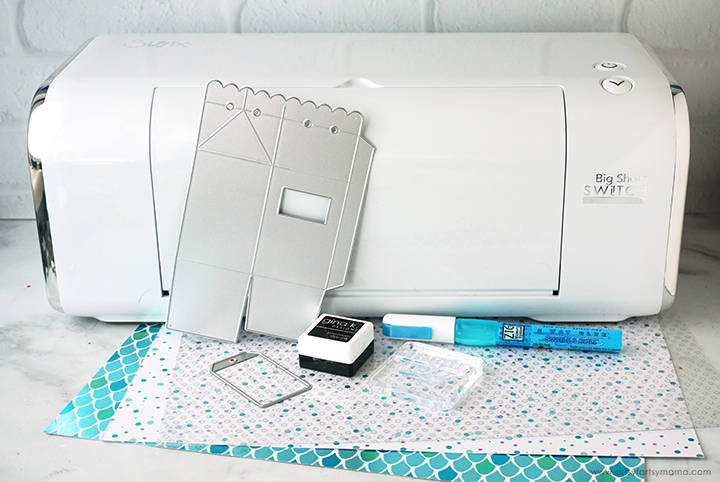
To make your own Mini Thank You Gift Box, you will need these supplies:

Use scissors or a paper trimmer to cut pieces of patterned cardstock larger than the milk box template die and the tag die. Place the dies face down on the papers and hold them in place with small pieces of removable tape.
There is a small rectangle opening in the milk box template. Cut two pieces of acetate slightly larger than that opening and set them aside.
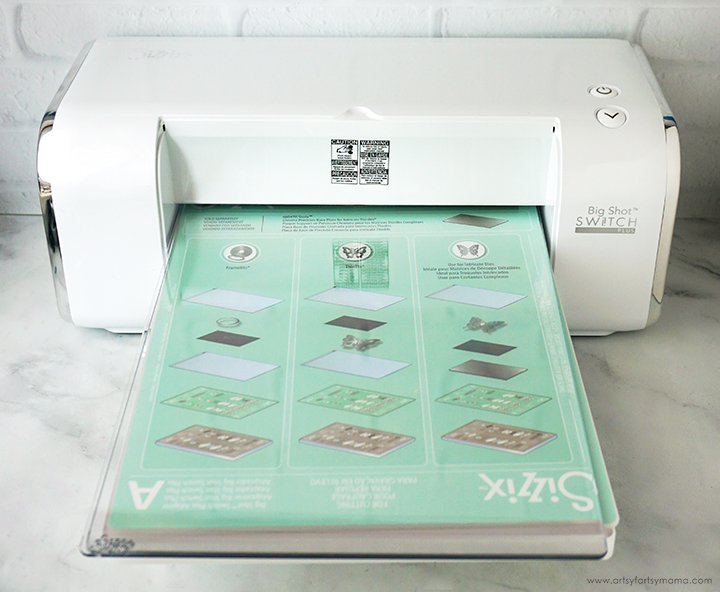
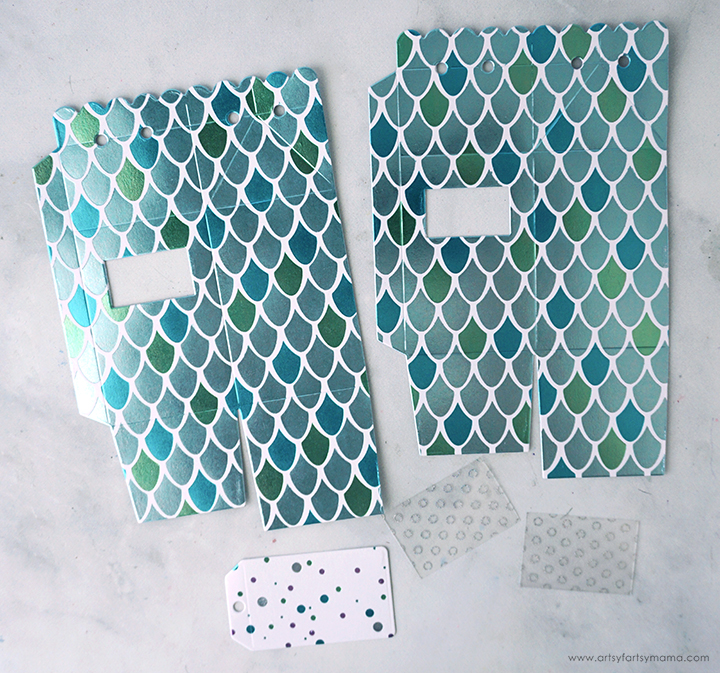
Run the papers and dies through the Sizzix Big Shot Switch Plus. Even though there is one milk box template die, you need to cut two pieces to create the box.

Turn the box pieces face-down with the scalloped edges at the top. Add a thin line of adhesive around the "window" openings in the box pieces. Place the acetate over the windows and press them down well over the adhesive so that they stick well.

Next, fold all of the score lines in the box so that it will make it easier to assemble later. Add a line of adhesive along the tab on the left side of the box pieces.

Place the tab with the adhesive under the right side of the second piece. Press the papers together well until the adhesive has set. Fold the box around and place the other tab under the opposite end so that you have created a tube-like shape with your box pieces.

To close the bottom of the box, fold the smaller tabs in first (no adhesive needed). Fold one of the larger tabs in, and then line the 3 open edges of the other tab with thin lines of adhesive. Fold that tab up and hold it in place until the glue sets.

Now the adorable mini gift box has been constructed - it's as simple as that! Honestly, writing out the instructions took me a lot longer than it did to actually cut and assemble the box itself. It's such a quick and simple Sizzix craft!

Another great addition to the box is having your child write a note specifically for their teacher. My husband (a 3rd grade teacher) has said that notes and drawings from the students has been one of his favorite things to receive.

Now that the box is ready to go, now it's time to get the tag ready! If you haven't cut it out yet, choose a coordinating patterned cardstock and use the tag die to cut it with the Sizzix Big Shot Switch Plus.
Place the thank you stamp onto an acrylic stamp block. Tap the stamp on a stamp pad a few times. Before stamping on your project, practice using the stamp a few times on a scrap piece of paper to get a feel for it. Once you're comfortable, stamp onto the center of the tag piece. Again, feel free to add a little message on the back of the tag!
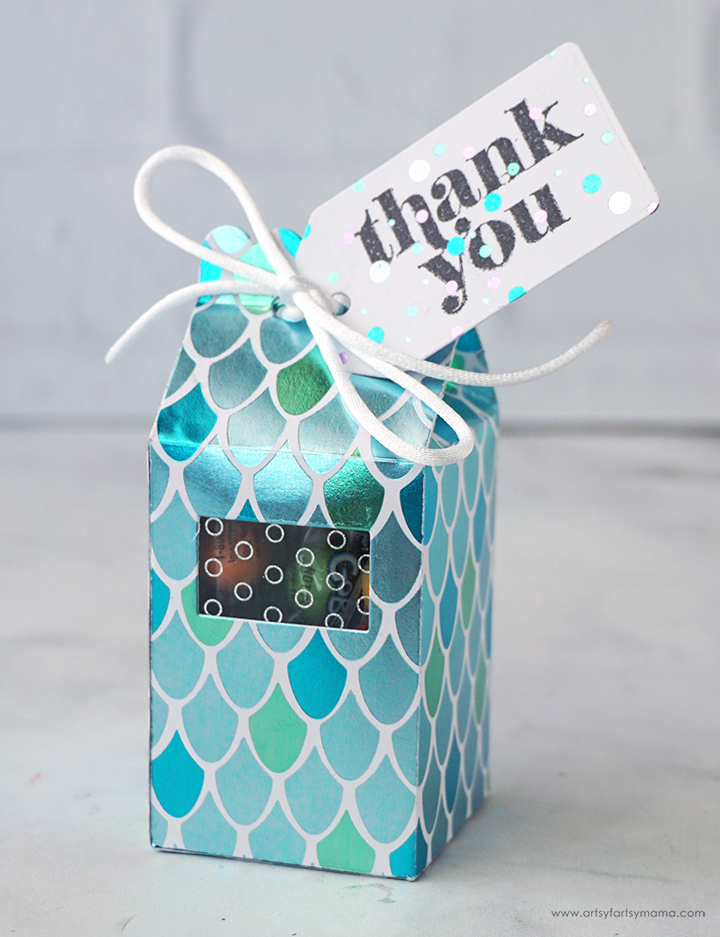
Fold the top of the gift box closed (like a milk box). While holding it closed, loop ribbon or twine through the holes in the top. Thread the ribbon/thread through the tag and tie the box closed. Now the Mini Thank You Gift Box is ready for gifting!
This project is a lot of fun for beginners, and is so simple. By using different papers, you can make these boxes match the personalities of your favorite teachers! As always, I would love to see your creations! Share your creations on Instagram, Facebook, or leave a comment/photo on the project pin on Pinterest!
Don't forget to Pin, Like, and Share!


