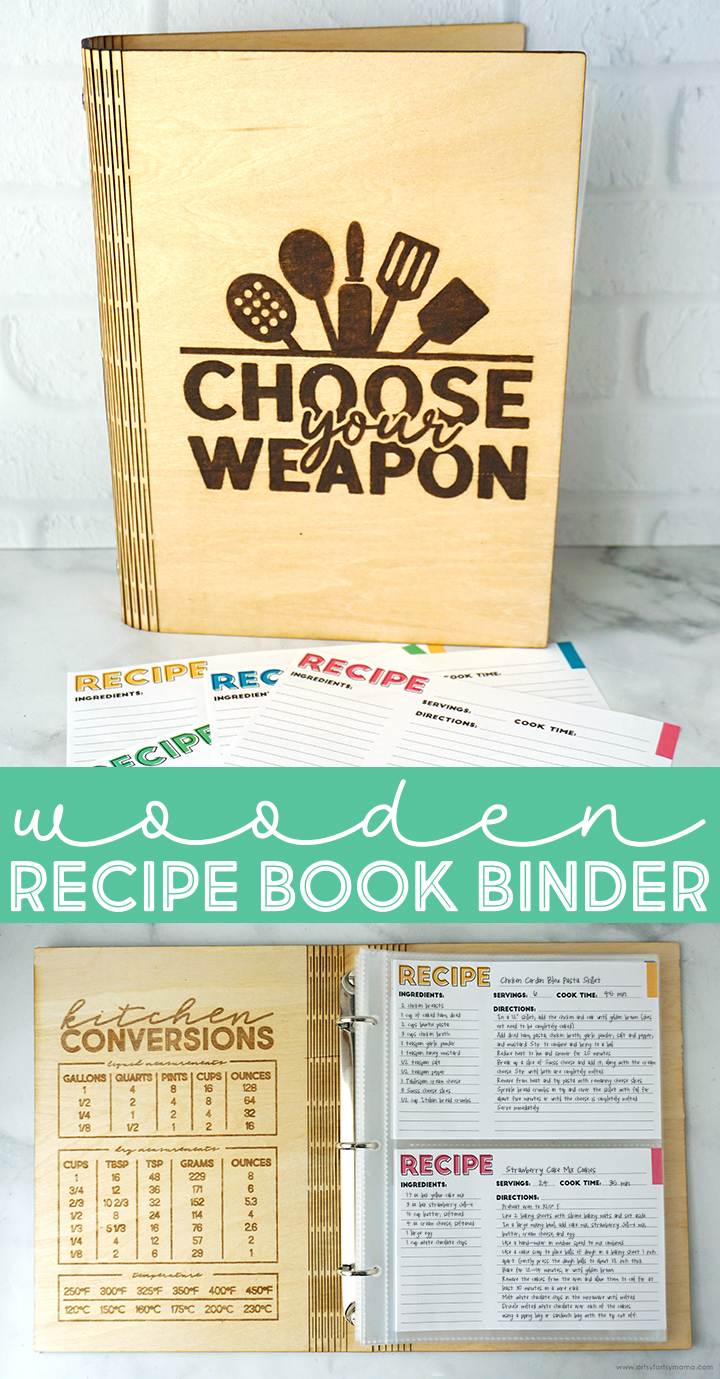
Organize your favorite recipes in a custom Wooden Recipe Book Binder made with xTool M1!
After writing down recipes on scrap pieces of paper over the last few of years, I finally decided to get them all organized. Instead of a recipe box, I prefer to keep my recipes in a binder. With some help from my xTool M1, I was able to bring the idea of a custom Wooden Recipe Book Binder to life - and it turned out better than I ever imagined! This would be a great gift idea, and I'm sharing the FREE laser cut files and printable recipe cards so that you can make a custom recipe binder for yourself!

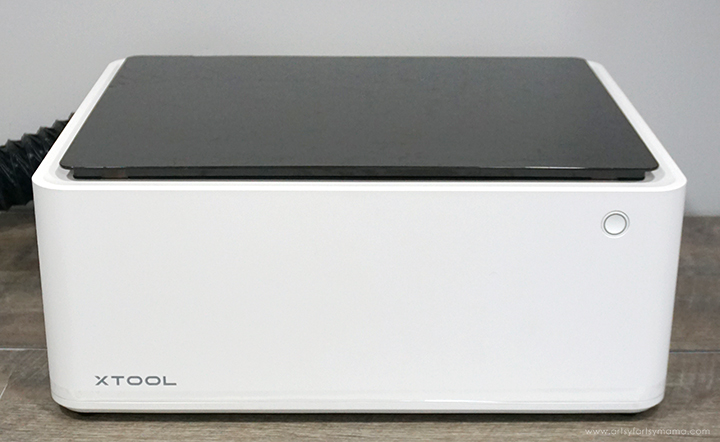
There are SO many projects you can make using the xTool M1 hybrid laser machine, and it's actually very easy to use! Once you have one of these, the hardest thing to do is decide what to make first. If you want to learn more about how this incredible machine works, be sure to check out my complete xTool review.
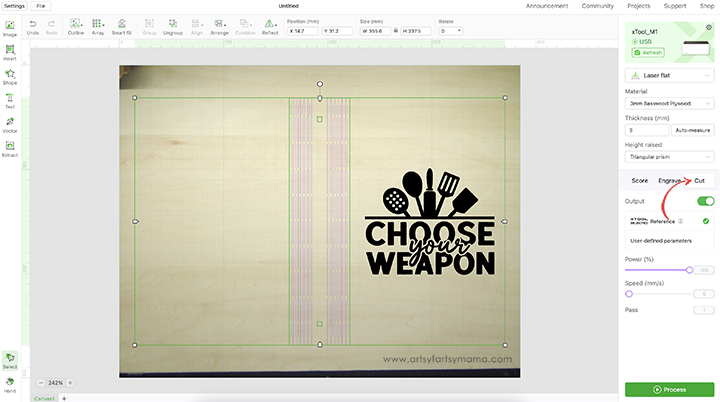
Place your piece of wood into the xTool M1 machine, on top of the triangular prisms. When you close the lid, the image of the inside of the machine should show on your screen. If it doesn't, click "Refresh" in the top right (green) section of the menu and it should show up.
Select the material type from the drop-down menu on the right side of the screen. I used the pre-loaded settings for "3mm Basswood Plywood" material. Make sure that you also select "Triangular Prism" from the "Height Raised" drop-down menu. By selecting the material before you get started, it will automatically adjust settings for cutting and engraving your project.
Upload the recipe book laser cut file and a design for the cover into xTool Creative Space. Arrange both designs to fit on the material. Select the recipe book image, and click on the "Cut" option in the right menu bar. As long as you have the material selected, the cut settings will adjust automatically. Anything set to "Cut" will change to have a purple outline.
Printables and cut files from Artsy-Fartsy Mama are for personal use only. You may use these files for personal projects, but you may not sell them. If you'd like to share this project digitally, share a link to this post/website only. Do not share a direct link to the file.
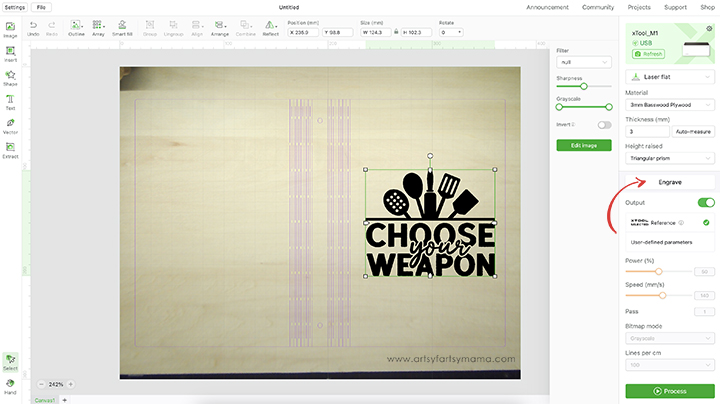
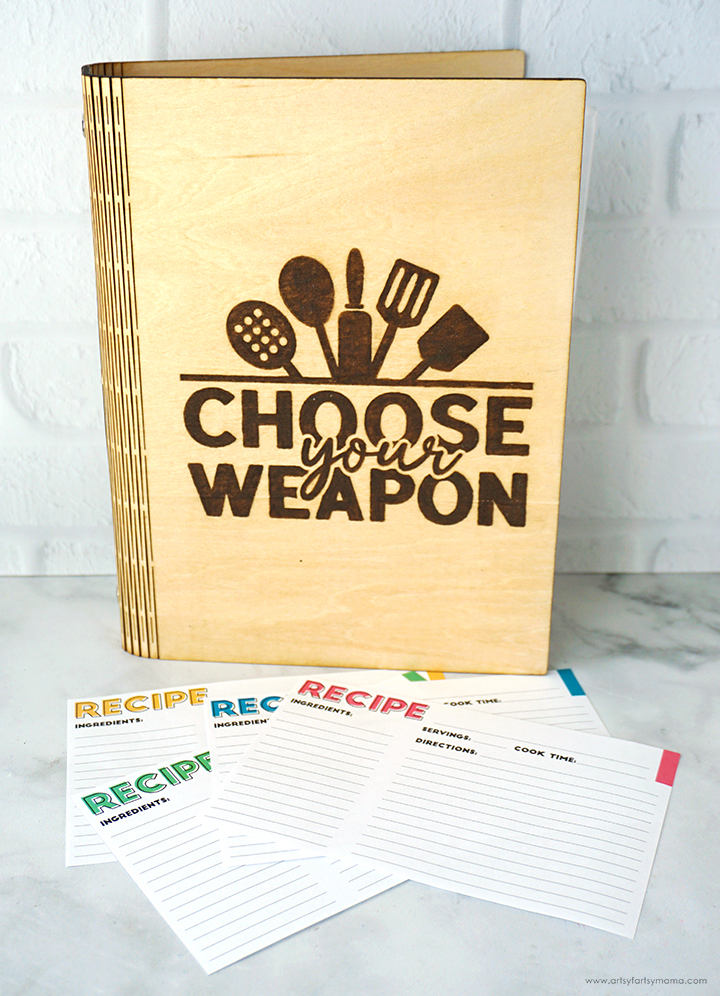
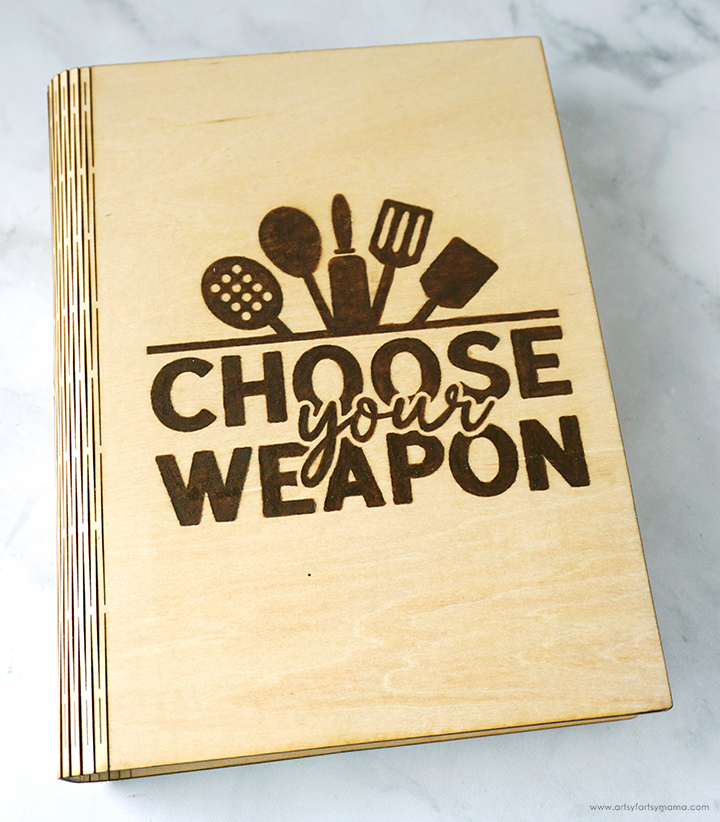
Next, select the image you want to use for the cover. For engraving, I would recommend using a PNG versus an SVG. The process goes a lot faster, and I've noticed the result is a lot cleaner. For my cover, I created this fun "Choose Your Weapon" design! I thought it would be the perfect fit since the book will be filled with a variety of recipes that require different "weapons".
When uploading a PNG, it will only give the option to be engraved. With the material settings already selected, the engraving parameters will adjust automatically.
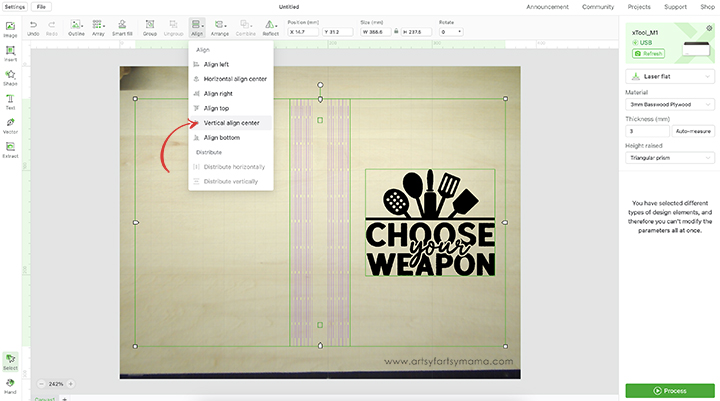
Select both the book and cover design and align the two by selecting "Vertical Align Center" under the "Align" option in the top menu bar. Once you're done making adjustments, click the green "Process" button in the bottom right corner.
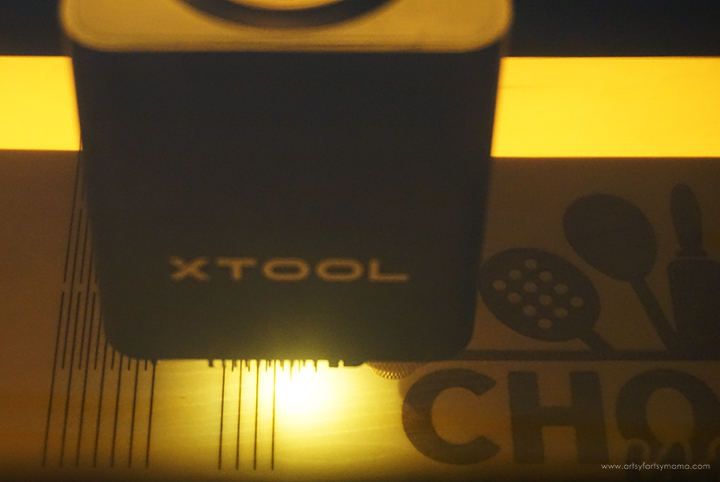
Press the large, lit button on the front of the machine to start the cutting and engraving process. It's so fun to watch the laser in action! No matter what I'm making, I am always so impressed with the how precise the xTool is for even the smallest of details.
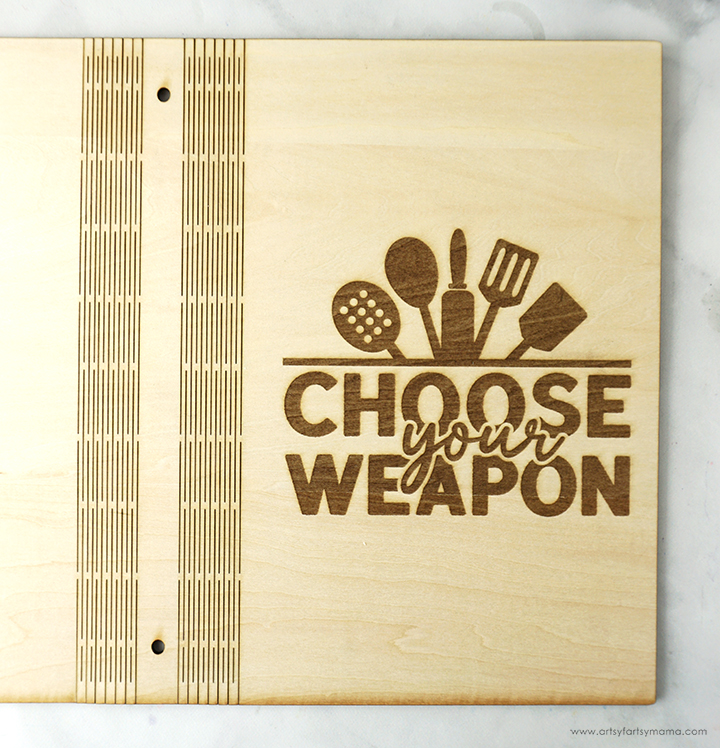
Once the cutting and engraving process is complete, you can remove the book cover from the machine. Now, this isn't going to be your ordinary wooden book cover. Unlike most of the cover design, those strange-looking lines down the center aren't just for looks. These kinds of lines are called a "living hinge", and are an incredible way to make wood projects become flexible!
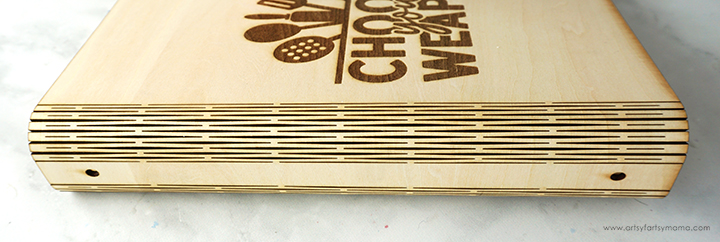
A "living hinge" is basically a section of thin cuts through the wood, but the wood is still connected. This allows the wood to become flexible! For example, these thin cuts down the center of the wood allow you to fold the cover closed - just like any other book!
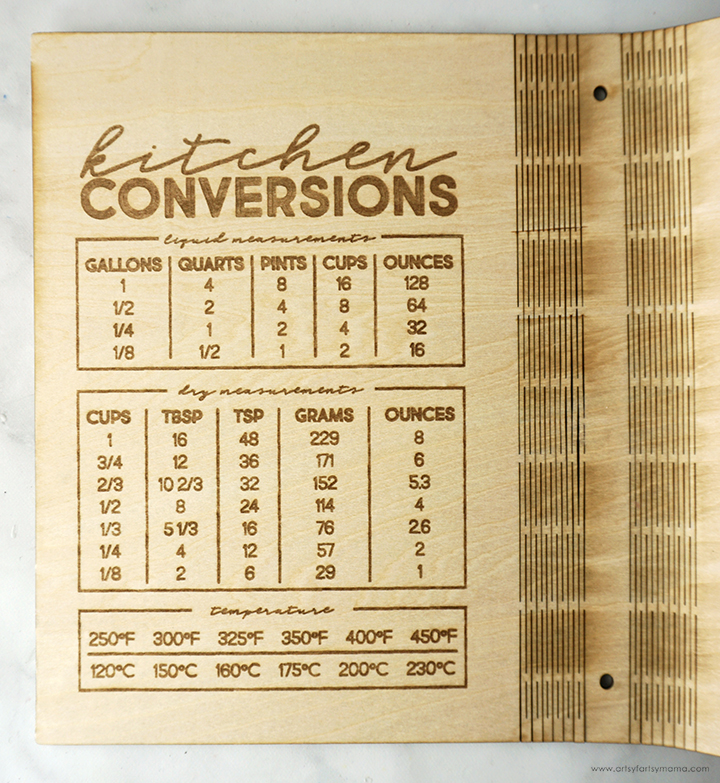
As a helpful addition, I decided to flip the wood over so that I could engrave my Kitchen Conversion Chart design on the inside of the cover. No more needing to look things up on my phone while cooking - I can just flip to the front of the book!
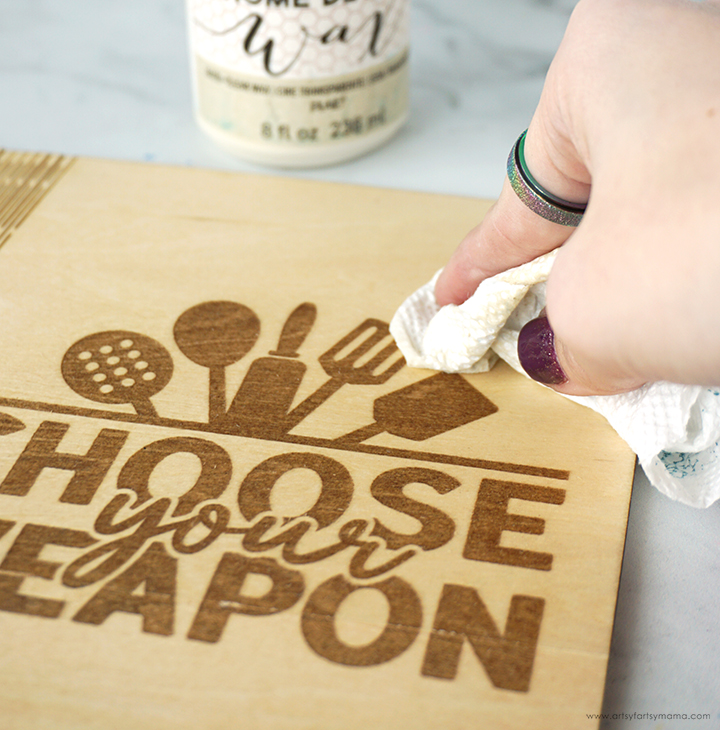
At this point, you can customize the look of the recipe book cover using paint, stains, and so much more. I really like the natural look of the wood, so I just needed to seal it. You can do this with a thin coat of clear sealant or clear FolkArt Wax. I applied a couple of coats of wax, and then buffed it smooth once it was dry.
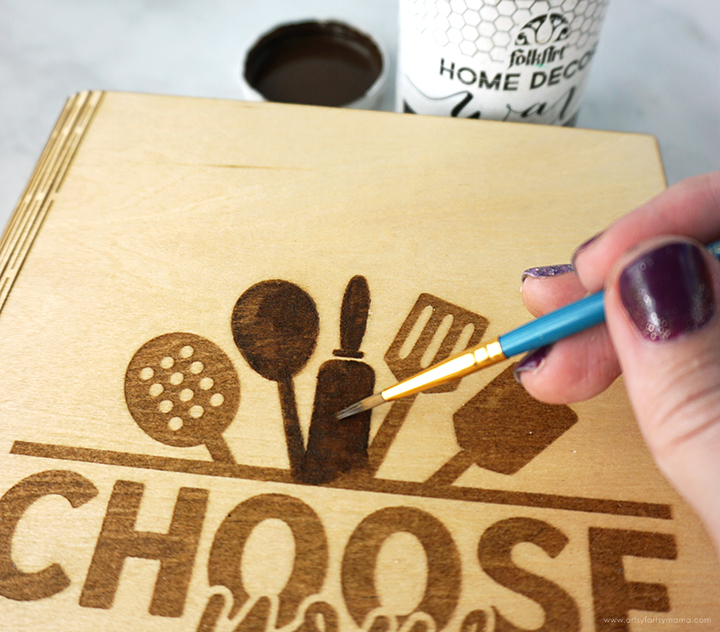
To darken the engraving, I used a detail brush to carefully fill in the engraved areas with a single coat of Antique FolkArt Wax.
I let the wax dry completely, and then topped with one more coat of clear wax. Once dry and buffed, I applied a coat to the inside of the book cover as well. Now the recipe book cover is ready for use!
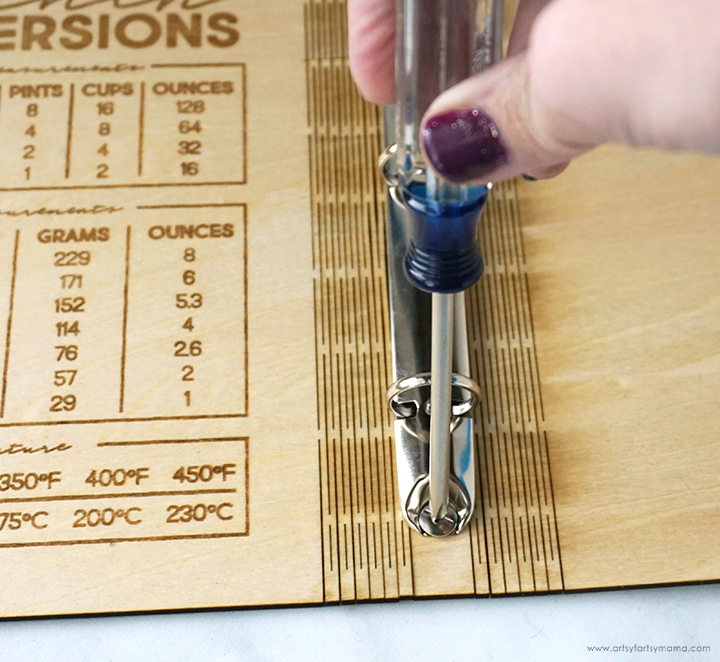
To make the recipe book into a useable binder, you need to install a binder mechanism. The book cover design already has the holes to make this installation easy as, well, pie! Pop the little rivets into the holes of both the mechanism and the spine of the cover, and use a screwdriver to finish the job.

Another reason I like to use a binder for my recipes is because of the plastic pages made for 4x6 photos. They help to prevent the cards from getting spilled on, and it's a great way to keep them organized. Pop the mechanism open, and hook all of the plastic pages on.

Download Free Printable Recipe Cards
Printables from Artsy-Fartsy Mama are for personal use only. You may use these in an educational setting, but you may not sell them. If you'd like to share this printable digitally, share a link to this post/website only. Do not share a direct link to the printable.
I am so excited about how this Wooden Recipe Book Binder turned out, and would love to hear what you think! If you are looking to start a small business using the xTool M1 hybrid laser machine, something like this would be a great product to sell. As always, if you make these projects for yourself, I'd love to see your creations! Tag me on Instagram and Facebook, or leave a comment/photo on the project pin on Pinterest!
Don't forget to Pin, Like, and Share!