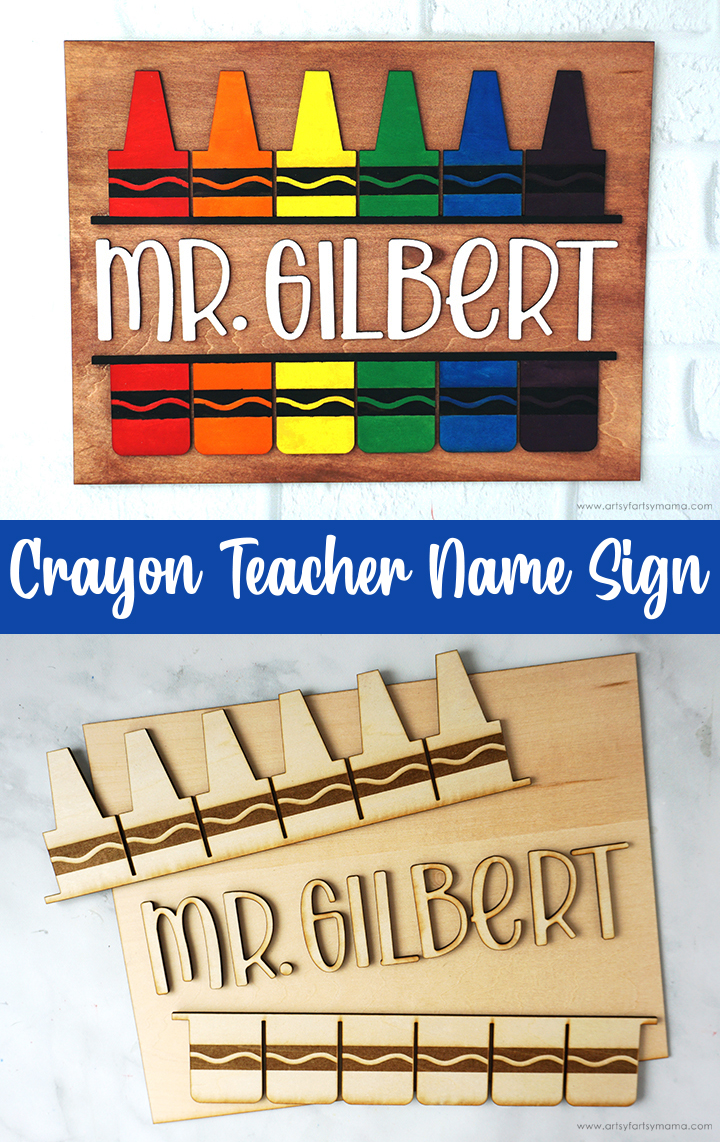
Create a custom Crayon Name Sign for a custom teacher appreciation gift idea!!
I love making things for my teacher husband to display in his classroom. This colorful Crayon Name Sign is such a great gift idea for teachers and would even be adorable kids room decor. It's so easy to make using an xTool M1 laser cutter, and can be customized to fit every teacher you know. Not only am I going to walk you through the process of making the sign step-by-step, but I'm sharing the FREE cut file so that you can make one, too!
To make your own Crayon Teacher Name Sign, you will need these supplies:
- xTool M1
- Crayon Teacher Sign Cut File (for personal use only)
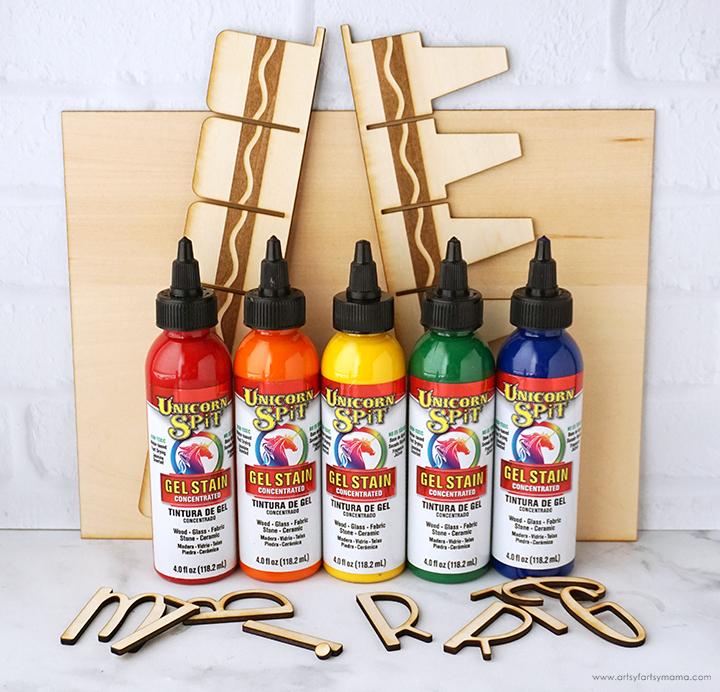
- Unicorn SPiT Gel Stain
- Paint Brush
- Detail Brush
- Adhesive
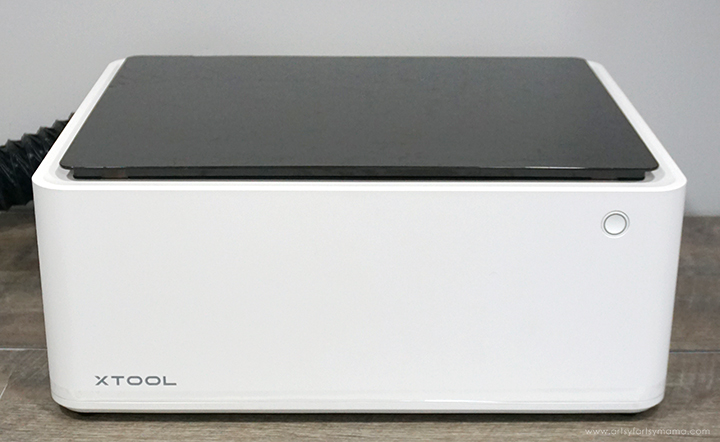
I am loving my xTool M1 hybrid laser machine, and have been so excited to share my first project I made with it. There is so much that can be created using this machine, and it's actually very easy to use! If you want to learn more about this incredible machine, be sure to check out my complete xTool review!
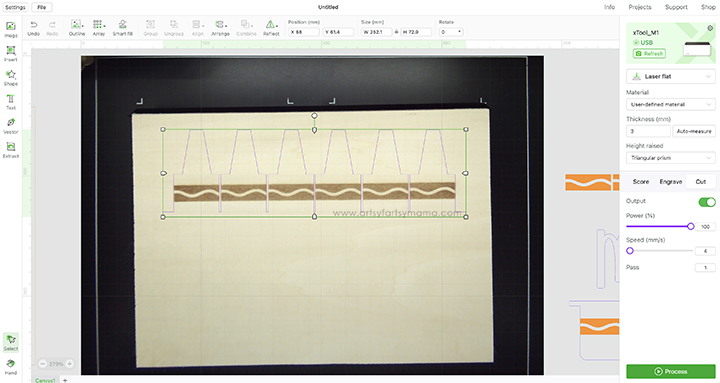
Place a sheet of basswood in the machine, and close the lid. Wait for the real-time camera in the machine to show the wood on your screen. Load the Crayon Teacher design into xTool Creative Space, and arrange the top and bottom crayon pieces (with the wavy lines) on the the wood.
Select the wavy line part of the crayon design and set it to engrave (in the menu on the right-hand side). My settings* for engraving are 70/175/1 (power/speed/passes). Next, select the crayon part of the design and set it to cut. My settings for cutting the basswood are 100/4/1. Once you're ready, click the green "Process" button in the bottom right corner.
*If you open the XCS file (included in the download), the settings should already be adjusted.
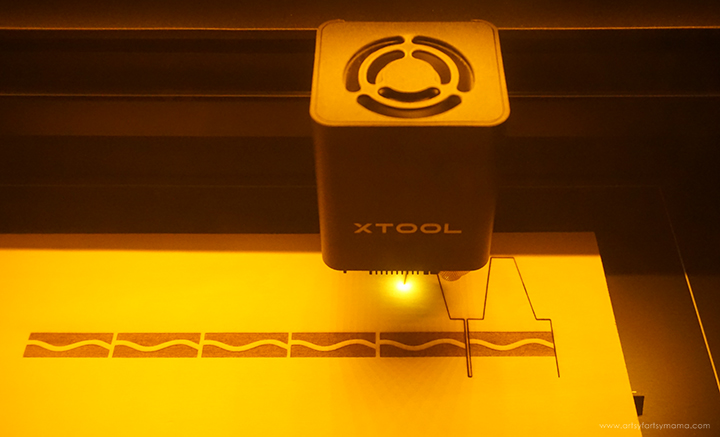
Now all you have to do is press the big button (on the front of the machine) and watch the magic happen! Always make sure that you are working in a well-ventilated area, and use a smoke purifier accessory if you can to reduce the smoke and dust.
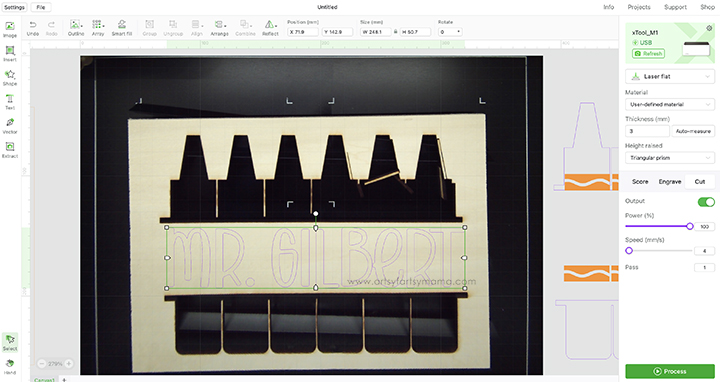
Another great thing about the real-time camera in the machine is that it's helpful to get the most use of your material! After cutting out the crayon pieces, type up and place the teacher's name in the center. Size it to the same width as the crayon pieces. Select the letters and set them to the same cut settings as the crayons.
Don't forget to cut out the back piece to mount the project on!
Important: before cutting the name out, make sure that the crayon and wavy lines are off of the canvas! If they are still on when you cut the name, the machine will try to cut and engrave where there isn't any wood!
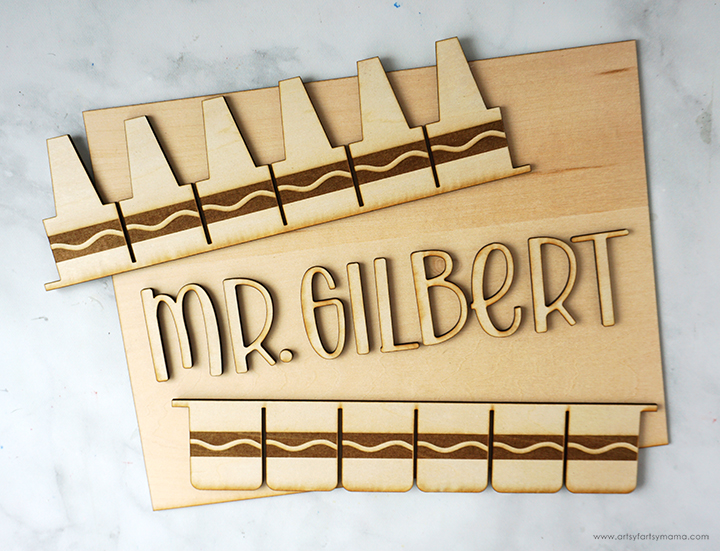
Hooray, you did it!! The pieces all came out perfectly for me, and it is so cool to see my idea come to life. Because the wood has literally been burned to be cut out, you can sometimes get soot on your pieces. To remove it, you can gently wipe the wood with a damp cloth or baby wipe. If you leave the soot on, it can mix into your paint and make it muddy looking.

Now it's time to paint! You can use any kind of paint you want, but I wanted to try Unicorn SPiT gel stain so that the grain of the basswood would show through. Make sure your paint brush is damp (not wet), and paint a light coat above and below the wavy line of the crayons. I painted mine in rainbow order (red, orange, yellow, green, blue, purple).
I only needed one coat of stain, but the more coats you add, the more vibrant the color will be. Just make sure to let the previous coat dry before adding another one.
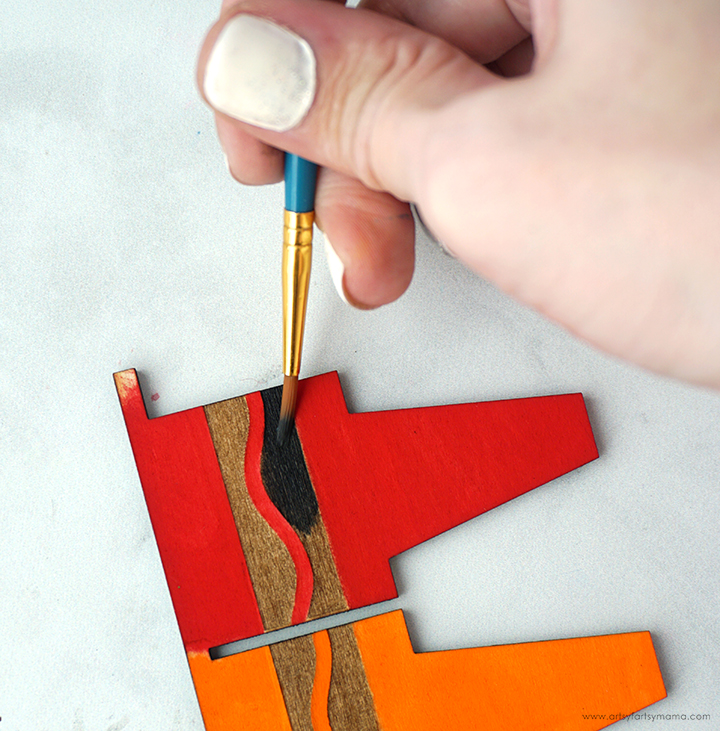
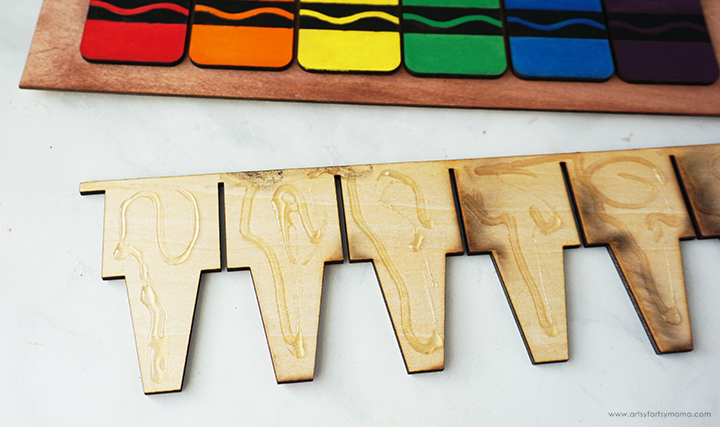
Once all of the crayons have been painted, use a detail brush to add a thin coat of black Unicorn SPiT to all of the wavy lines of the design.
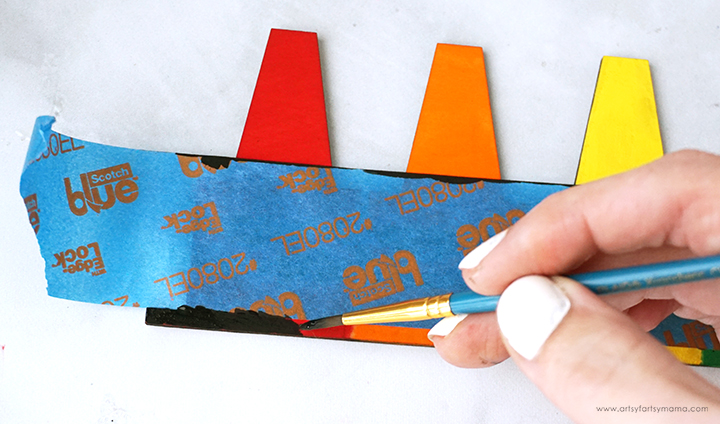
There is a small border at the bottom of the crayon tops. Align a piece of painters tape to the top of the border (on the ends) and press it down well. Cover the border with a coat of black Unicorn SPiT. Repeat this process for the bottom crayon piece.
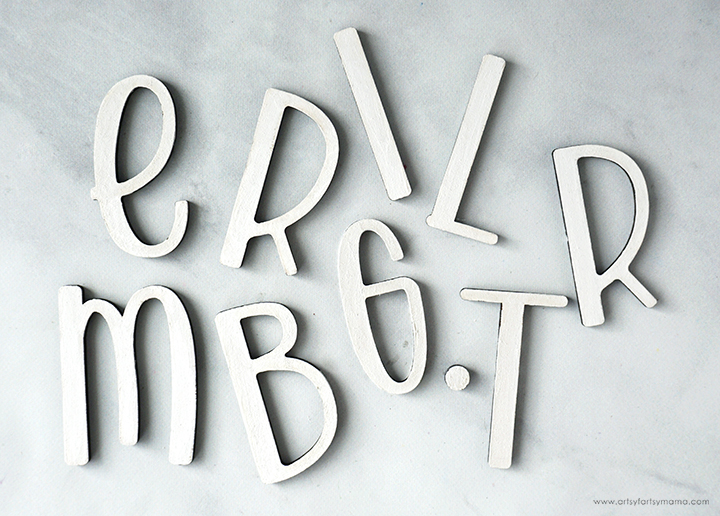
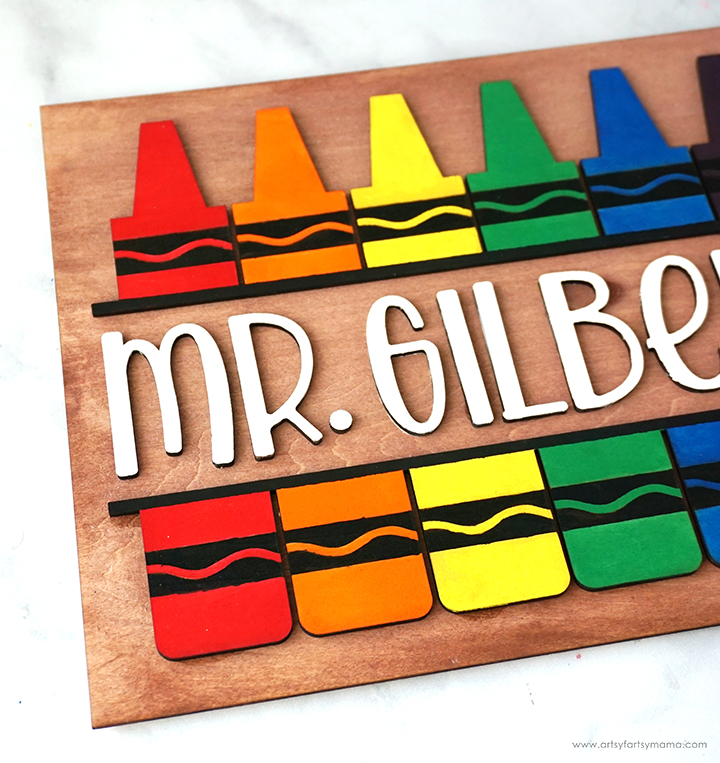
Last, but not least, paint the front of the letters with white Unicorn SPiT. Because it's a lighter color, you may need more than one coat.
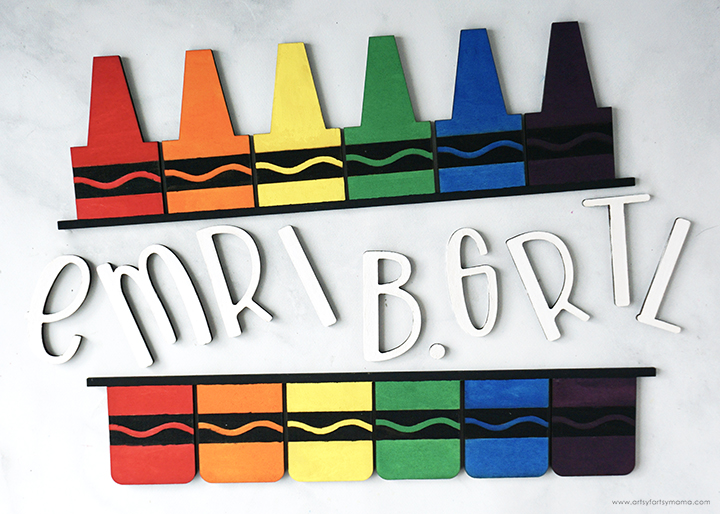
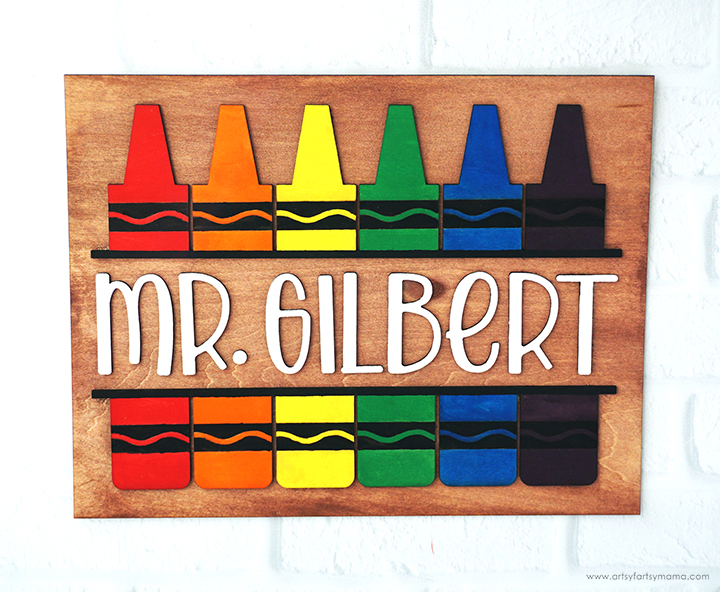
Let the Unicorn SPiT dry completely. I love how vibrant all of the colors are! The purple looks dark in this image, but it looks great in person.
While the pieces are drying, stain the back board with brown Unicorn SPiT. To make it lighter, wipe the board with a damp paper towel.
Give the adhesive time to dry. As a parent, I love how easy this project is, and how it can be customized for every teacher. My husband is a teacher, and is so excited to hang this new sign up in his classroom. He's really thrilled to tell the kids in his class that we made the entire thing from scratch using the xTool M1.
I would love to hear what you think about this Crayon Teacher Name Sign! As always, if you make any creative projects using my tutorials, I'd love to see your creations! Tag me on Instagram and Facebook, or leave a comment/photo on the project pin on Pinterest!
Don't forget to Pin, Like, and Share!