
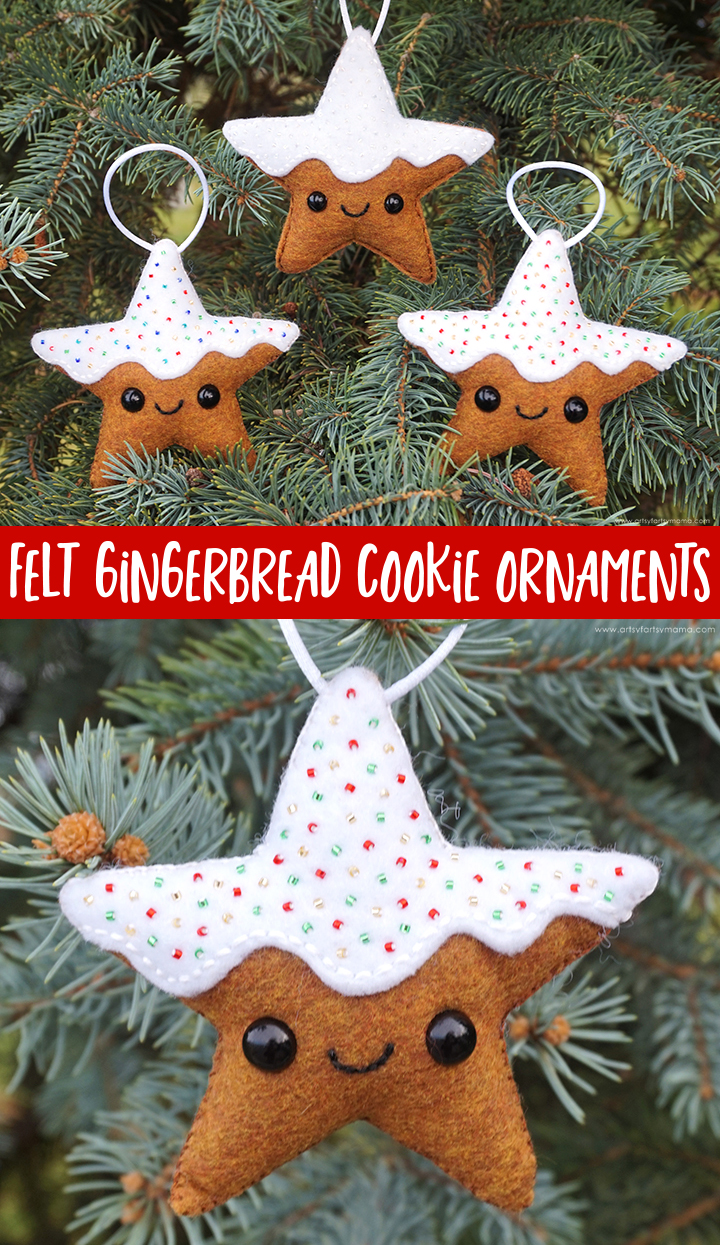
Decorate your Christmas tree with adorable handmade Felt Gingerbread Star Cookie Ornaments!

Have you put up your Christmas tree yet? Mine is going up soon, and I can't wait! Creating handmade felt ornaments is such a great holiday project that crafters of any skill level can do with confidence. These Felt Gingerbread Star Cookie Ornaments are not only adorable, but they are such a fun and easy craft to add some "sweet" holiday spirit to your home. To help you get started, I'm sharing a FREE pattern for you to make your own set of Felt Gingerbread Star Cookie Ornaments!

To make your own Felt Gingerbread Star Cookie Ornaments, you will need these supplies:
- Gingerbread Star Cookie Ornament Pattern (for personal use only)
- Kunin Classic Felt - Copper Canyon
- Kunin Premium Felt - White
- Cricut machine or Fabric Scissors
- Thin Black Marker
- Safety Eyes with Washers
- Embroidery Floss - brown, black, white
- Embroidery Needles
- Glass Seed Beads
- Poly-fil
- Satin String - White
I've got two different types of pattern files to help you create a Gingerbread Star Cookie Ornament. There is a PDF Gingerbread Star Cookie Pattern that makes it easy to hand-cut the felt pattern pieces. There is also an SVG Gingerbread Star Cookie Pattern that makes it possible to cut the felt pieces out with your favorite cutting machine! Both patterns are for personal use only.
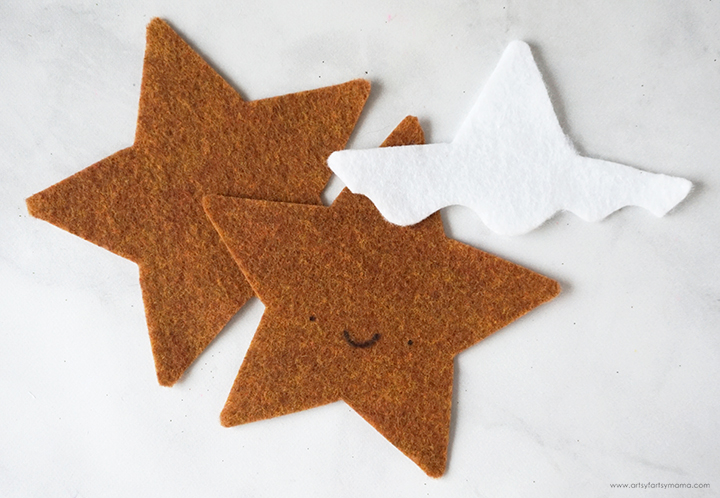
Cut the Gingerbread Star Cookie Ornament Pattern (for personal use only) out of felt using a Cricut machine or fabric scissors. Cut the star shapes out of a gingerbread-brown shade of felt (I used Copper Canyon Kunin Classic felt), and a thicker white felt (I used Kunin Premium felt) for the icing. You will also need to draw the face with a marker.
If using a Cricut, it will do all of the cutting AND drawing for you!

Use scissors to cut a small "X" or to poke a hole on the eye marks. Push a safety eye through the hole, and hold the pieces in place on the back by pressing the washer onto the post on the back of the eyes. If you don't want to use these kind of eyes, you can stitch French knots over the marks, or sew on a small bead.

Sew over the little mouth using black embroidery floss. I recommend doing this with a simple backstitch.
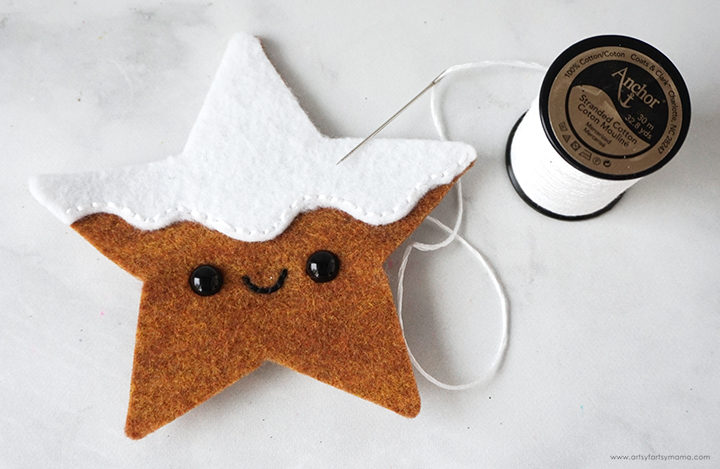
Lightly rub a glue stick on the back of the white felt piece. Line the top and side edges up with the top of the gingerbread star piece and press it down well. The pieces will be sewn together, but the little bit of glue helps the felt stay in place until then.
Backstitch with white embroidery floss just along the bottom edge of the white piece, attaching it to the gingerbread star.

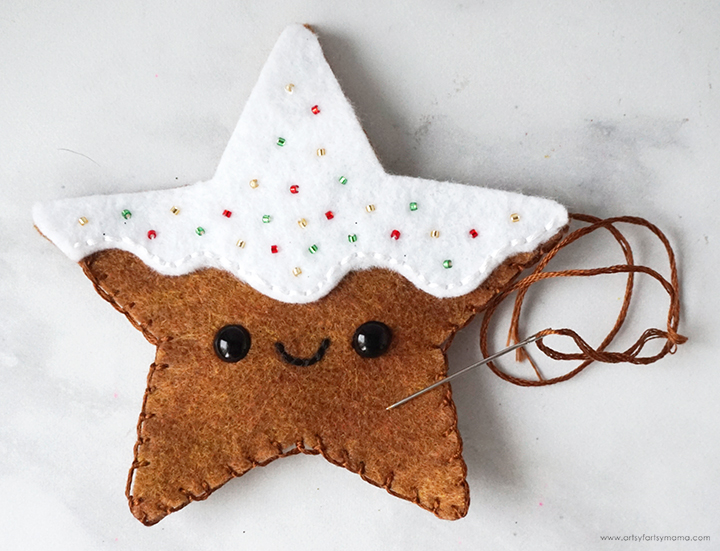
You may need a smaller embroidery needle for this step. Split the embroidery floss in half (3 strings), and thread the needle. Bring the needle up from the back, and thread a bead on. Bring the needle back down right next to where you came up. Keep attaching beads over the white felt until you are happy with the coverage.
Have fun making the ornament all your own using different color combinations!


If you use a wider blanket stitch like I did, thread the string through the stitches at the top, and then use a lighter to melt the string ends together to make a complete circle. Turn the circle so that the melted area is inside the ornament.
Another option is to attach it to the ornament when you are stitching around the top. Place about 1/2"-3/4" of string inside the top of the ornament, and bring the needle through the back piece, then the string, and then up through the front. Continue blanket stitching, and then attach the other end of the string the same way on the opposite side.
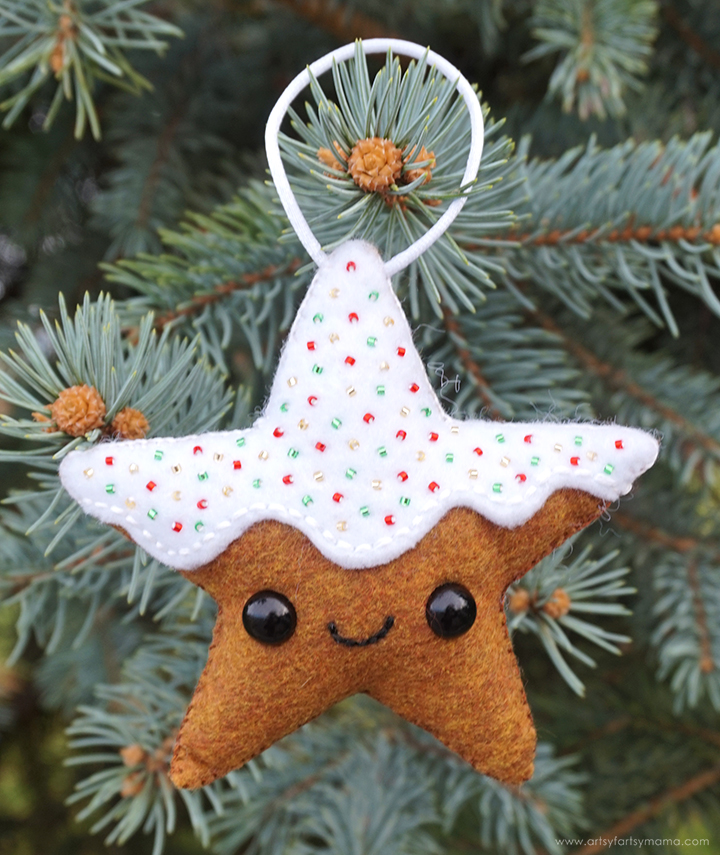
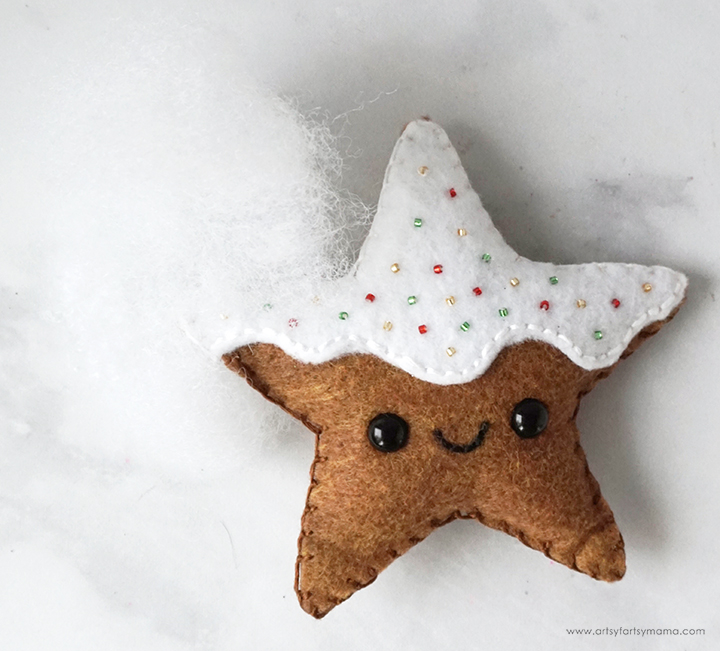
Now you can hang your ornament on the tree using the hanger! Don't you think it would be so cute to make a collection of gingerbread cookie ornaments to cover your entire tree?! I just love that little face, and the sparkle coming from the "sprinkle" beads.
After making the first one, I decided to make more ornaments using different colors of beads. The one at the top is white/clear glass beads, which gives this one a more "sugar crystal" look, which I love!! The multi-colored beads are on the bottom left ornament, which will match my non-traditional, colorful holiday decor. Which ornament color combination is your favorite??
As always, I would love to see your creations! Share yours on Instagram, Facebook, or leave a comment/photo on the project pin on Pinterest! #AFMCrafts
Don't forget to Pin, Like, and Share!


These are so stinkin' cute!
ReplyDeleteAww! These are so cute!!
ReplyDeleteAlexandra
EyeLoveKnots.com
OnRockwoodLane.com
I adore those cute little faces! Your cookie star ornaments turned out amazing, I'm definitely going to give them a try this Christmas. Also, I wanted to drop a quick message to let you know that I’ve featured your tutorial on Crafts on Display, hope you enjoy it! - https://craftsondisplay.com/sewing/diy-felt-gingerbread-star-cookie-ornaments-75611/
ReplyDeleteThe pattern does not come up, just a white box on a black page that doesn't allow me to click on it.
ReplyDelete