
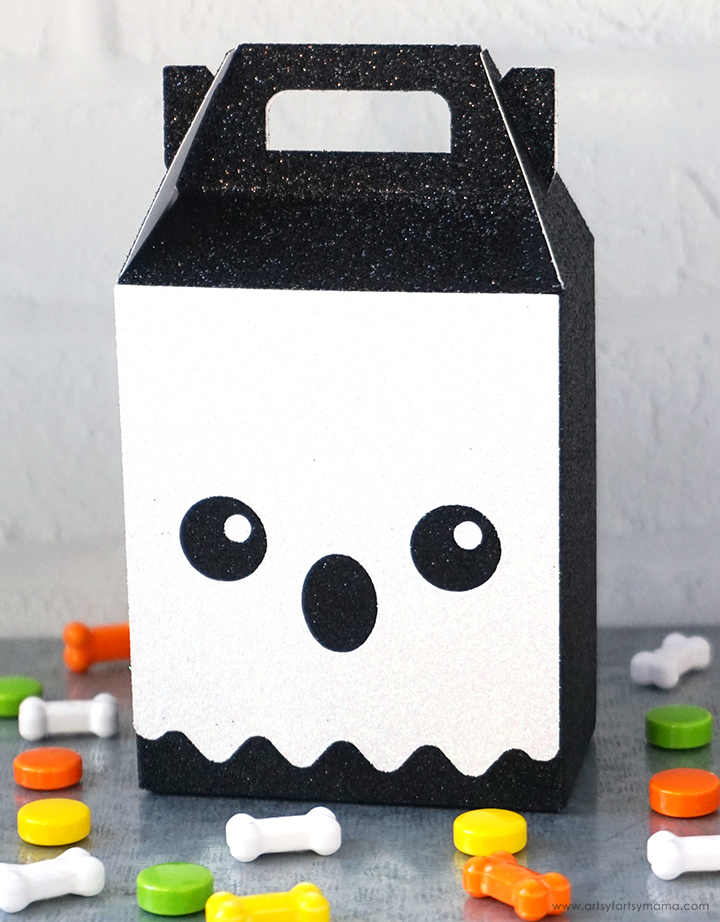
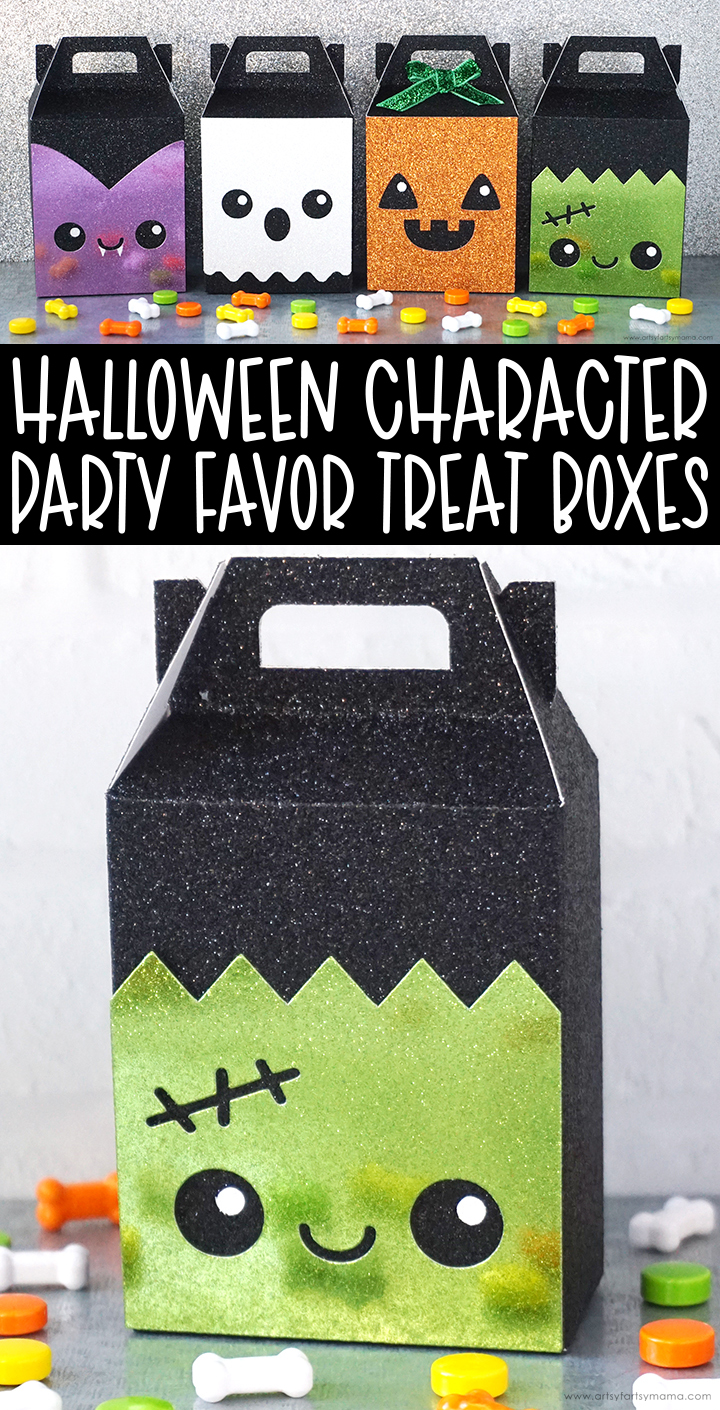
Kids of all ages will love these frightfully adorable Halloween Character Treat Boxes!

One of the best parts of a Halloween party is the party favors you get to take home at the end. Instead of a boring paper sack, make some adorably spooky Halloween Character Treat Boxes to share with your party guests this Halloween! They are so simple to make using your Cricut (or other cutting machine), and can hold a whole lot of Halloween goodies to share with party guests or your favorite friends.
To make your own Halloween Character Treat Boxes, you will need these supplies:
- Cricut Maker or Cricut Explore machine
- Scoring Wheel or Scoring Stylus
- Halloween Character Treat Box SVG Cut File (personal use only)
- Black Glitter Cardstock
- Cardstock or Glitter Cardstock - white, purple, orange, green
- Easy-Tear Tape or Paper Adhesive
- Ribbon (optional)
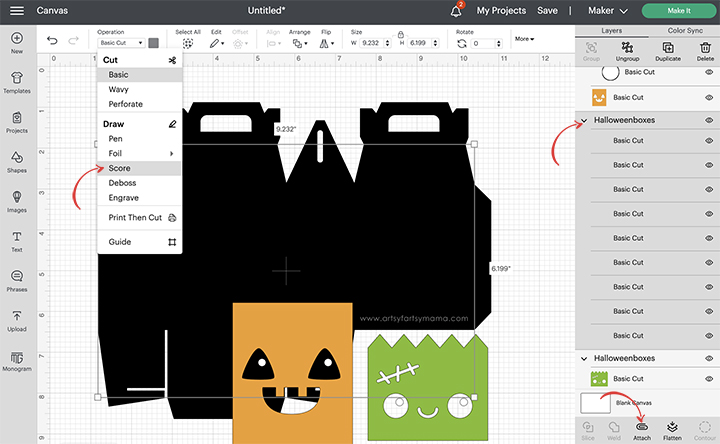
Upload the Halloween Character Treat Box cut file into Cricut Design Space. The file comes with the box template, and all four character face templates. Ungroup the project images and select all of the fold lines. While selected, click the "Operation" drop-down menu and change the lines from "Cut" to "Score".
*Here's a great tutorial on how to upload your own images into Cricut Design Space.
Next, select both the score lines and the box template piece in the right menu. Click "Attach" at the bottom of the right menu bar. This will make it so the box template will be both cut out scored in a couple of easy steps.
If you don't want to make all four Halloween characters, you can delete the ones you don't want to cut. Select just the box template, and click "Duplicate" in the top right corner of the menu to make enough copies for your guests. Depending on which Halloween character faces you are using, select each one and duplicate enough of them so that there is one to pair with each box.
When you're ready, click the green "Make It" button in the top right corner to cut out the treat box pieces. The next step is to see your project arranged on mats by color. Mats are arranged automatically, but did you know that you can move things around? Supplies can be expensive, so to make the most of your cardstock or glitter cardstock, manually arrange the pieces to fit on one mat instead of two.
To do this, select the piece you want to move and click the top left circle with the three dots. There, you can move the piece to another mat. To rotate the piece to fit, select the image and click the top right circle with the arrow inside it.

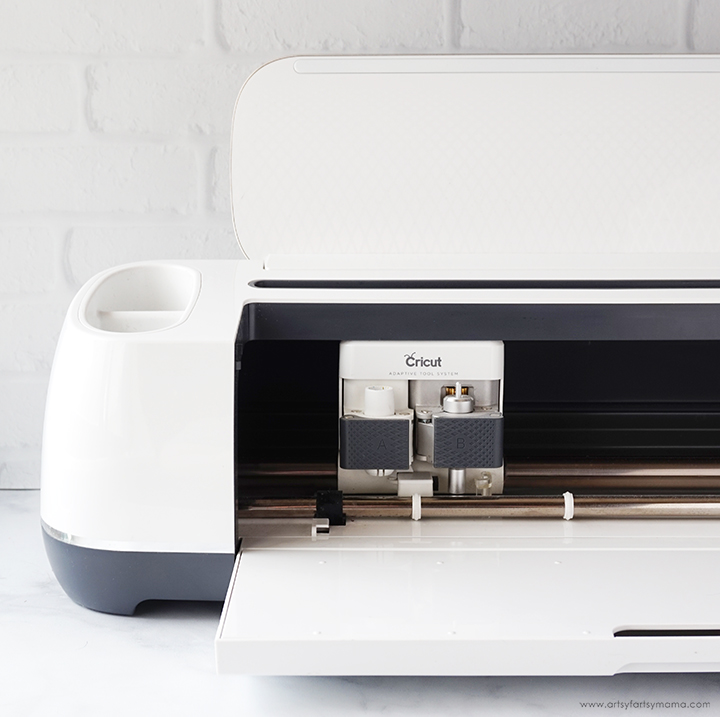
Cut the pieces out of any kind of cardstock or glitter cardstock that you want. My box templates are cut out of black glitter cardstock, and you will also need a Scoring Stylus or Scoring Wheel (for the Maker) to create the score lines to make the box easier to fold. I cut the Halloween character faces out of different colors of glitter cardstock.
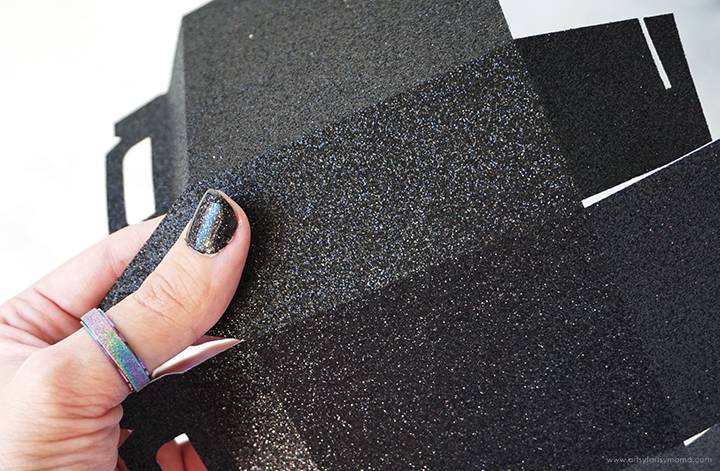
Assembling the treat boxes is easier than you'd think! Start by carefully fold along each of the score lines. Don't forget the ones up by the handles. If you are having trouble folding the paper, you can use a ruler and the Scoring Stylus to go over the lines again.
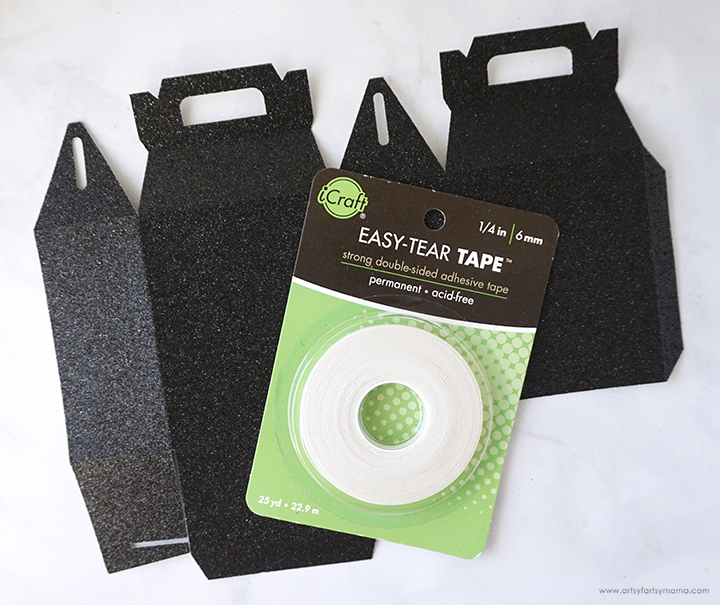
Next, you need to decide on what kind of adhesive you want to use for this project. If you are using regular cardstock, any paper adhesive should work great. Glitter cardstock, however, can be a little more tricky when it comes to adhesives because of that layer of glitter. For these kinds of projects, I have had luck using Easy-Tear Tape or a stronger paper adhesive.

The Easy-Tear Tape really is easy to use. Unroll as much tape as you need and literally tear it off the roll. Stick the adhesive-side down on your project - luckily, the box template has only one tab that needs adhesive! Once the tape (or adhesive) is in place, peel the top layer away from the tape. Bring the other end of the box around, and place the tab underneath. Press the seam together well.
If it pops apart, that's all thanks to the layer of glitter. Add a little more pressure to the tape, or add some additional adhesive to the area.
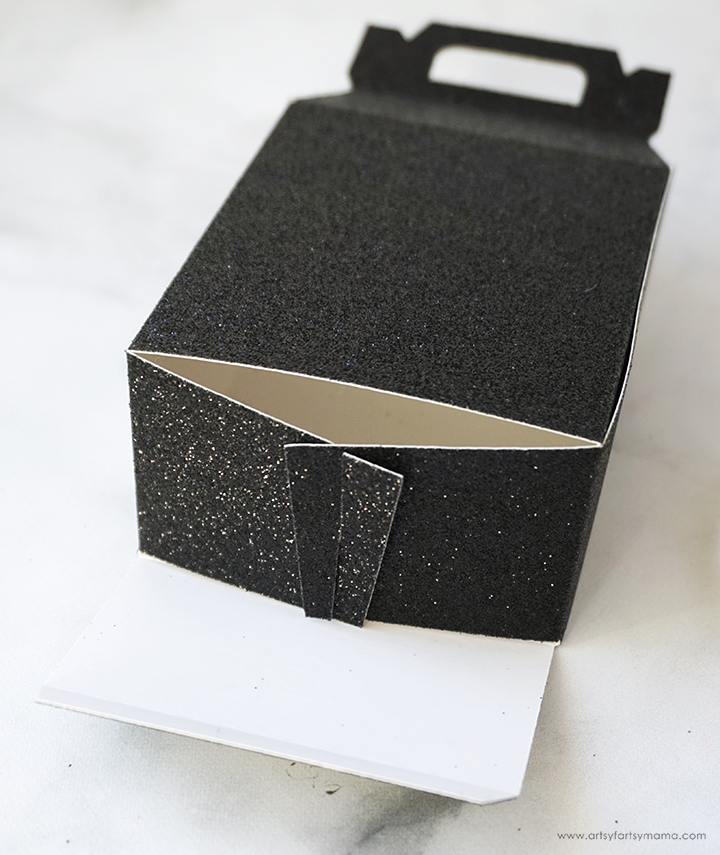
To close the bottom of the box, bring the side tabs in and hook them together. Then bring the other tab up and tuck the end into the box.
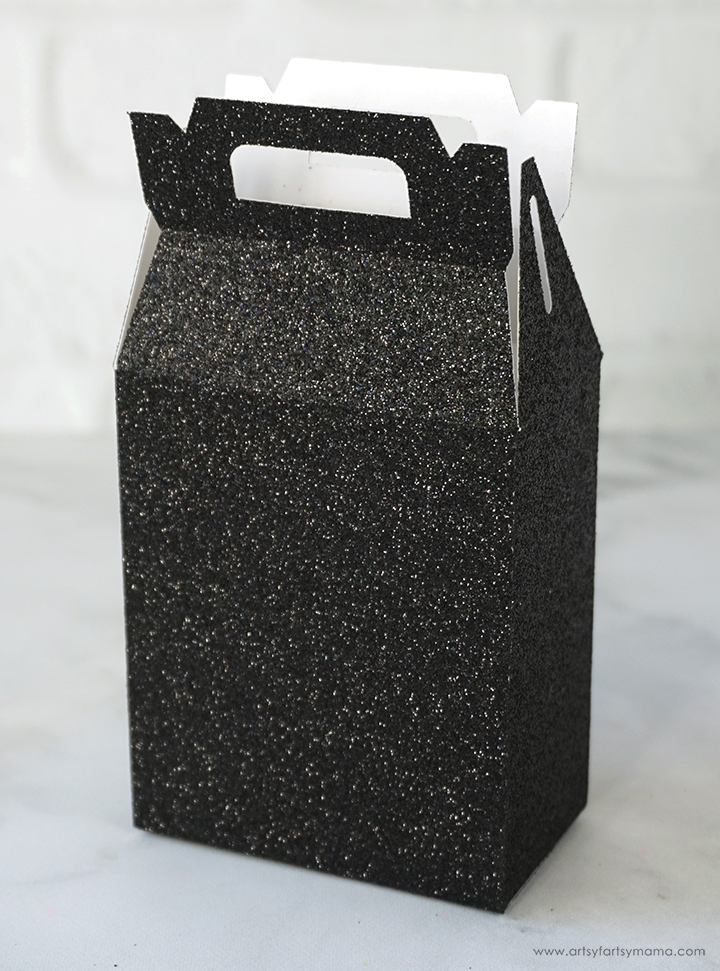
Stand the box up, and it's ready to be spookified!! To close the top of the box, bring the handles together and line them up. Bring the side tabs in and hook the sides of the handles through the holes in the side tabs. The box will keep closed with no additional adhesive needed!
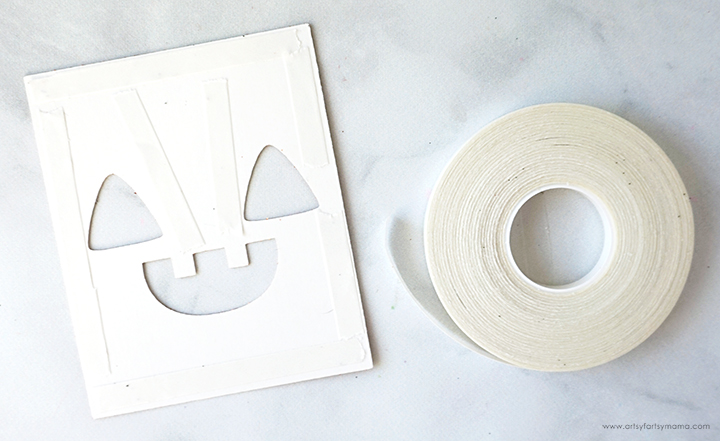
The next step is to apply the Halloween character faces to the front of the treat boxes. Turn the face piece over, and apply tape or adhesive to the outer edges of the cardstock. If you want some extra hold, apply more adhesive to the center of the face piece.

For the Frankenstein treat box, line the face piece up with the bottom edge of the treat box and press the piece into place. Add some tape or adhesive to the backs of the white eye highlights, and press them into place.

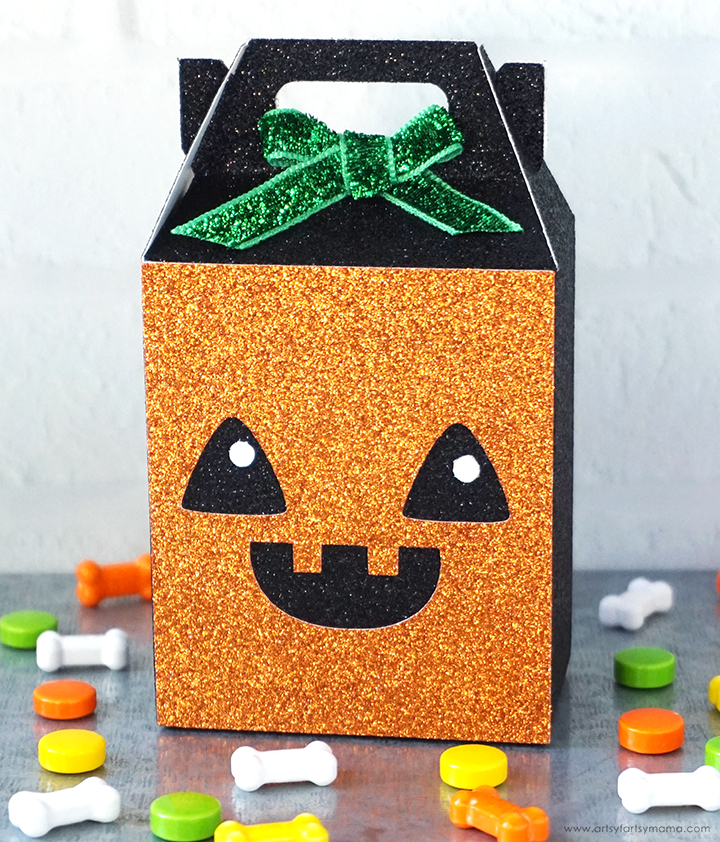
For the Pumpkin treat box, line the face piece up with the bottom edge of the treat box and press the piece into place. Add some tape or adhesive to the backs of the white eye highlights, and press them into place. As a little accent and to represent the stem/leaves on a pumpkin, I tied a little bow out of ribbon and attached it to the box, just below the handle.
Once the boxes are filled with Halloween treats or party favors, you can close them up. These Halloween Character Treat Boxes are fang-tastic party favors, and would also be a fun little gift to share with a teacher or neighbors. As always, if you make any of these projects for yourself, I'd love to see your creations! Tag me on Instagram and Facebook, or leave a comment/photo on the project pin on Pinterest!
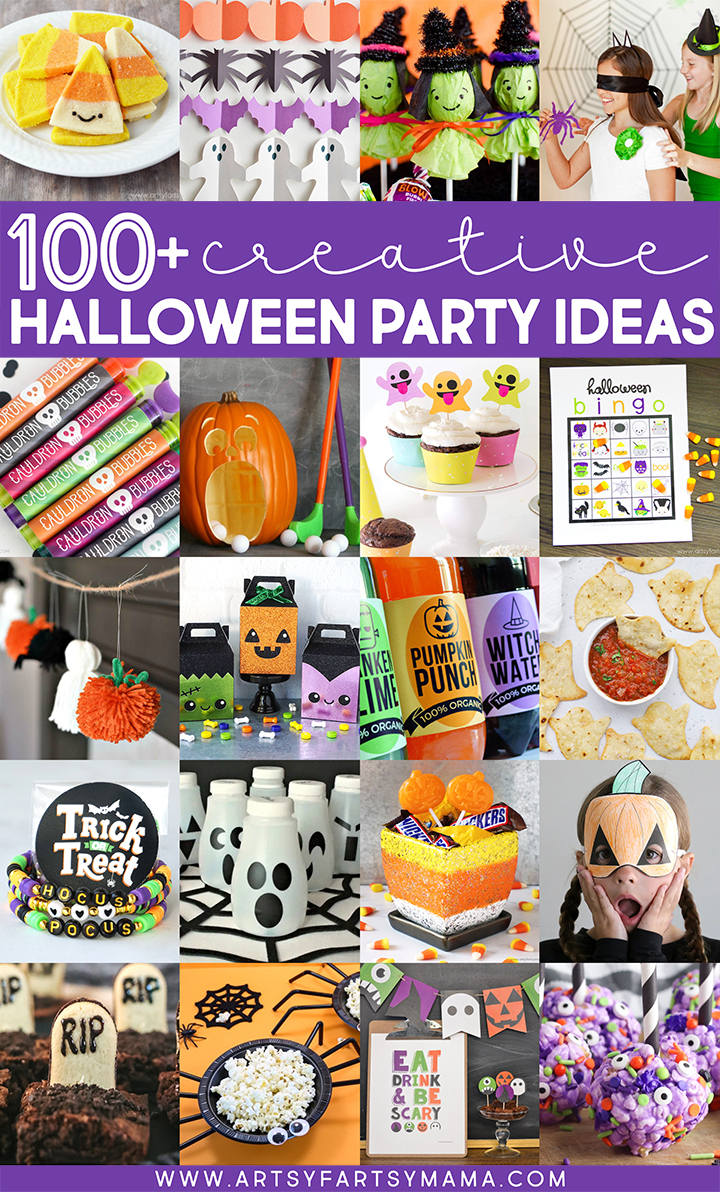
Looking for more Halloween Party inspiration?
Check out this collection of OVER 100 creative Halloween Party ideas!!
Don't Forget to Pin, Like, and Share!


These are so cute!
ReplyDeleteWhere can I download the SVG?
ReplyDeleteLook under "To make this" - it's in the list of supplies. Click the link and it should download immediately.
Delete