
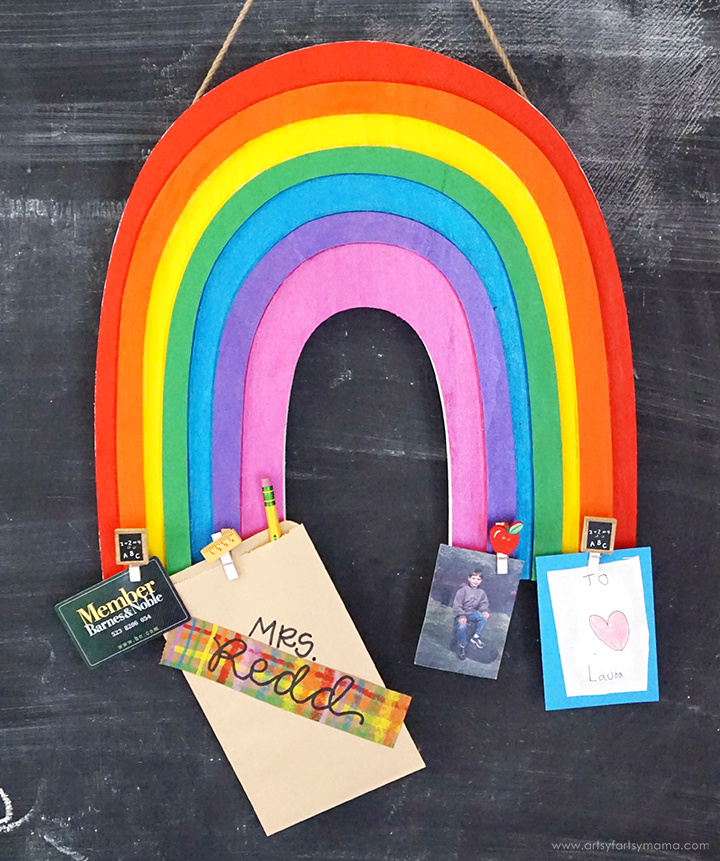
This Wood Rainbow Display Sign is a vibrant piece of decor to hold your favorite cards, photos, and more!
Rainbow decor is all the rage right now, and I am so excited to share this colorful creation with you. As soon as I spotted this large, unfinished wood rainbow at Target, I knew it belonged in a classroom! Teachers always love receiving handmade decor, but we decided to take this a step further and added a little bit of storage so that they can put their favorite little items on display. I love how vibrant the Kwik Stix paints are on this project, and can't wait to show you how fun and easy they are to use!!
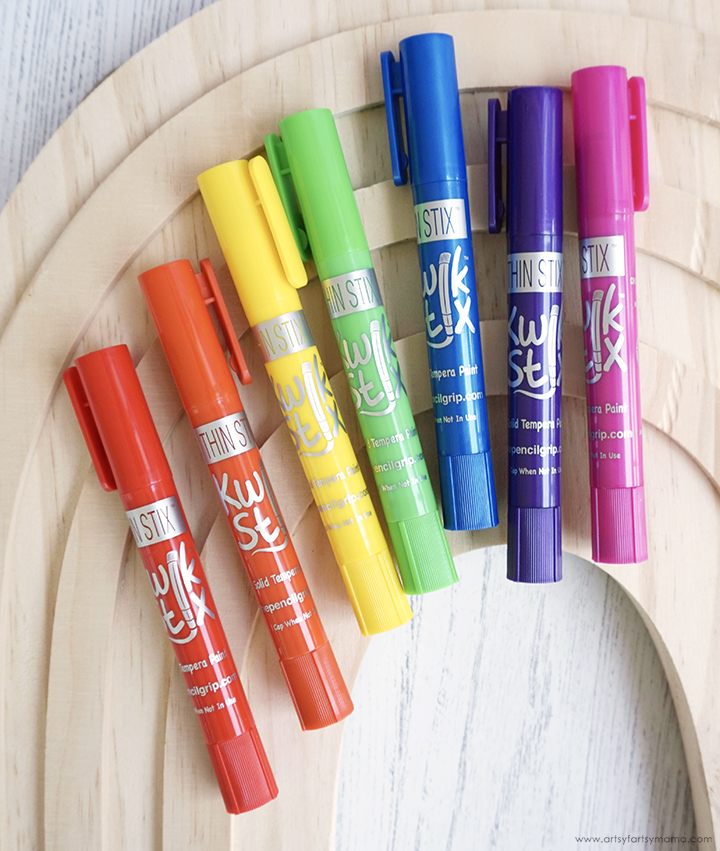
To make your own Wood Rainbow Display Sign, you will need these supplies:
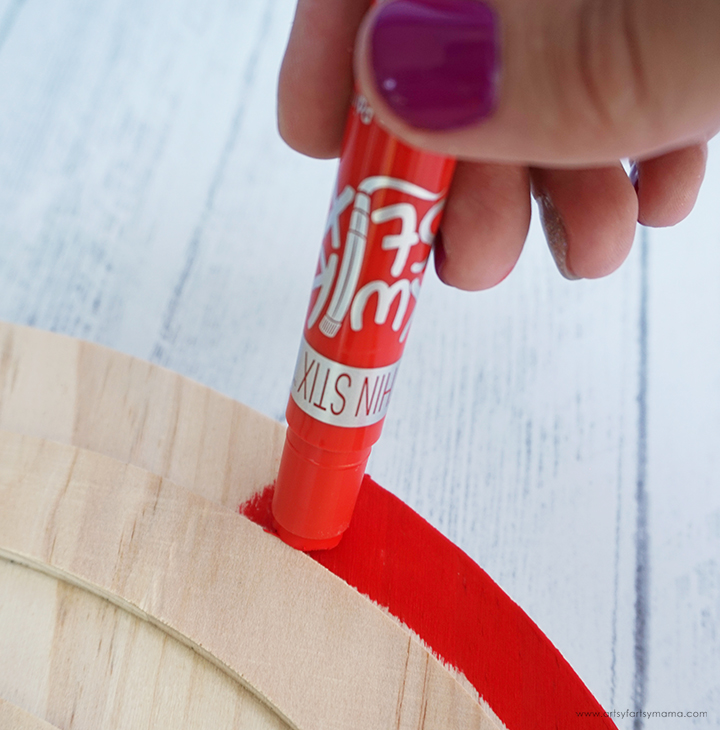
Imagine coloring a piece of wood with a tube of lipstick. That is EXACTLY what it feels like to paint with Kwik Stix paints! See that coverage? That's just one coat!! Simply uncap, twist (like a glue stick), and paint - no need for paint brushes, smocks, cups....or the mental preparation for the cleanup afterward.
If that's not enough to convince you to give Kwik Stix a try, listen to this: the paint is completely dry in 90 seconds! The Kwik Stix come in multiple vibrant colors, and two different size sticks to help you complete any paint project. The lines of this rainbow are the perfect size for the Thin Stix.
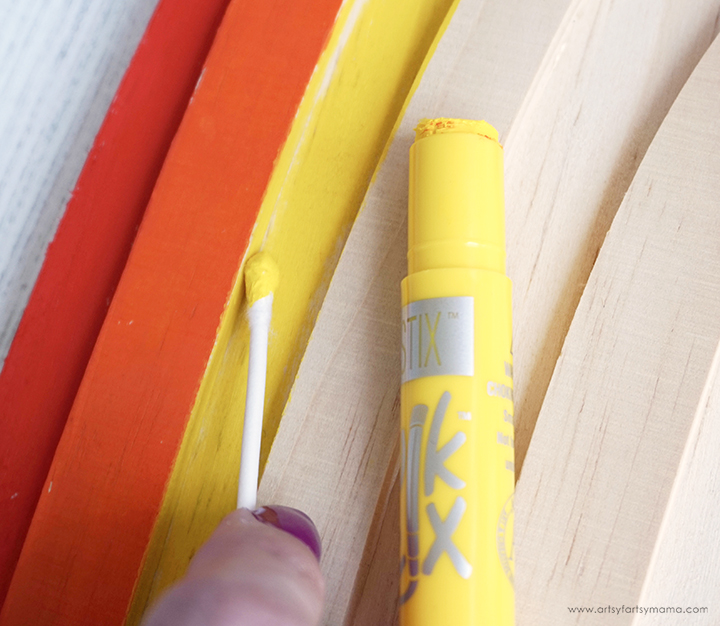
Getting into the corners with the Thin Stix is a little tough. After a few experiments, I found that scraping some of the paint off onto a cotton swab and then painting in the corners was such a helpful trick! The paint went on smoothly and blended right in to the areas painted with the sticks.
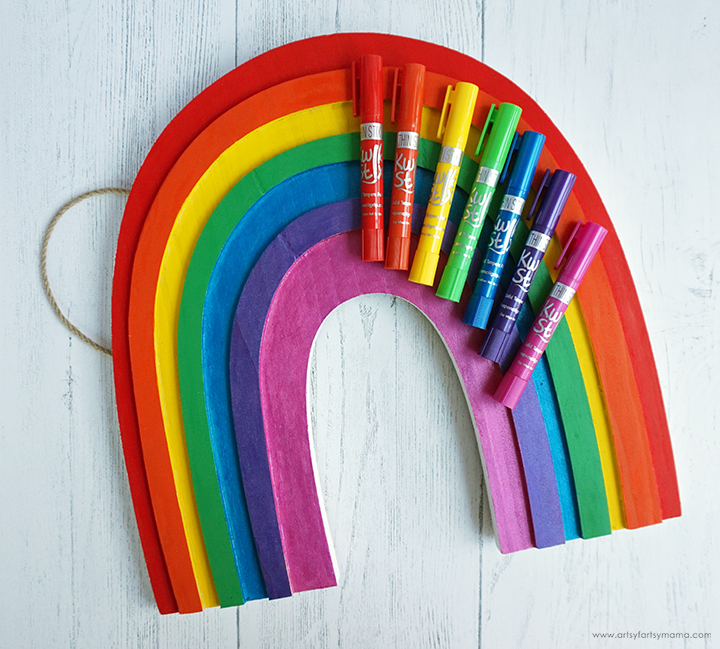
Carefully color in each of the lines with a vibrant rainbow Thin Stix paint colors, making sure to fill in the corners. I also painted around the outer edge with a coat of white Thin Stix to finish it off. The paint has beautiful coverage, and you don't need to add a sealant.

Next, gather four mini clothespins. and paint one side with a white Kwik Stix. Since we are making this rainbow sign for the classroom, I also found some cute little school-themed embellishments to add to the sign.
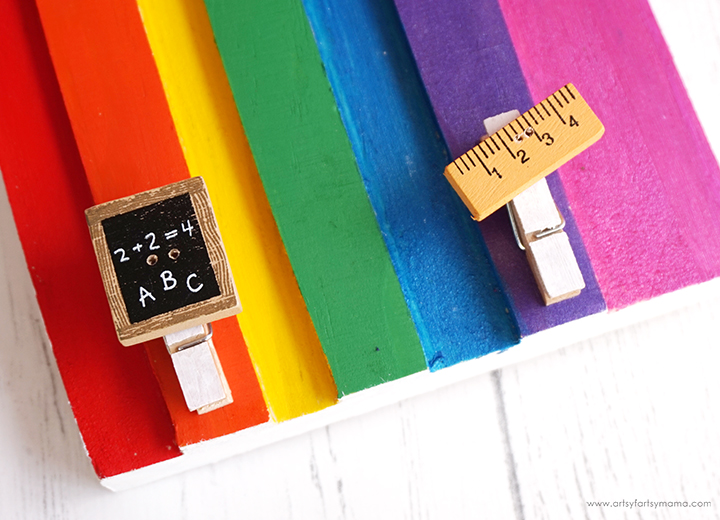
Use a glue gun to attach the embellishments to the top of the clothespins. Then attach the clothespins to the bottom edges of the orange and purple lines of the rainbow.
Now the sign is ready to be hung up and to have all kinds of small gifts, cards, photos, and so much more put on display! Isn't this the cutest piece of decor for a teacher to have in the classroom? This was such a fun project to make, and it will be even more fun to share this as a gift with someone you love.
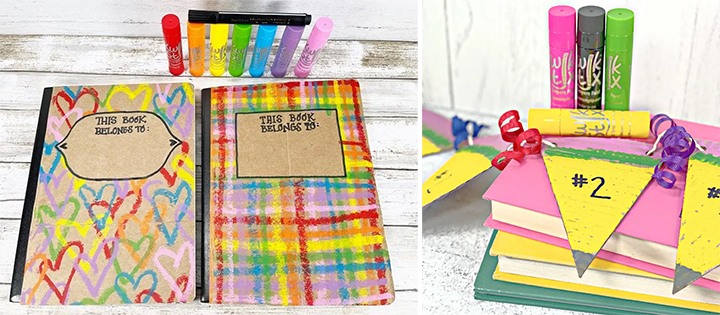
Want more colorful inspiration? Check out these adorable projects that Laura and Beth made using Kwik Stix paints! Beth from Creatively Beth transformed simple paper bags into a set of colorful notebook covers, and Laura from Me & My Inklings recycled a pizza box to make a pencil garland!
As always, I would love to see your creations! Share yours on Instagram, Facebook, or leave a comment/photo on the project pin on Pinterest! #AFMCrafts
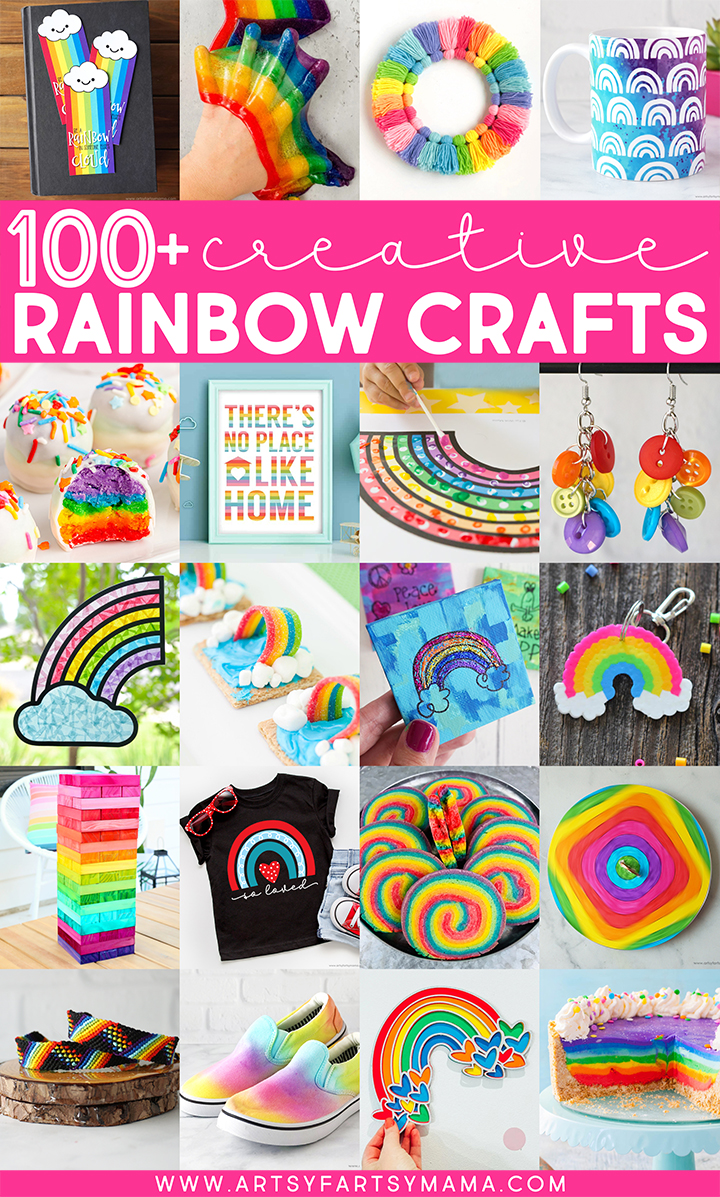
Looking for more Rainbow inspiration?
Check out this collection of OVER 100 creative rainbow crafts and recipes!!
Don't forget to Pin, Like, and Share!


