
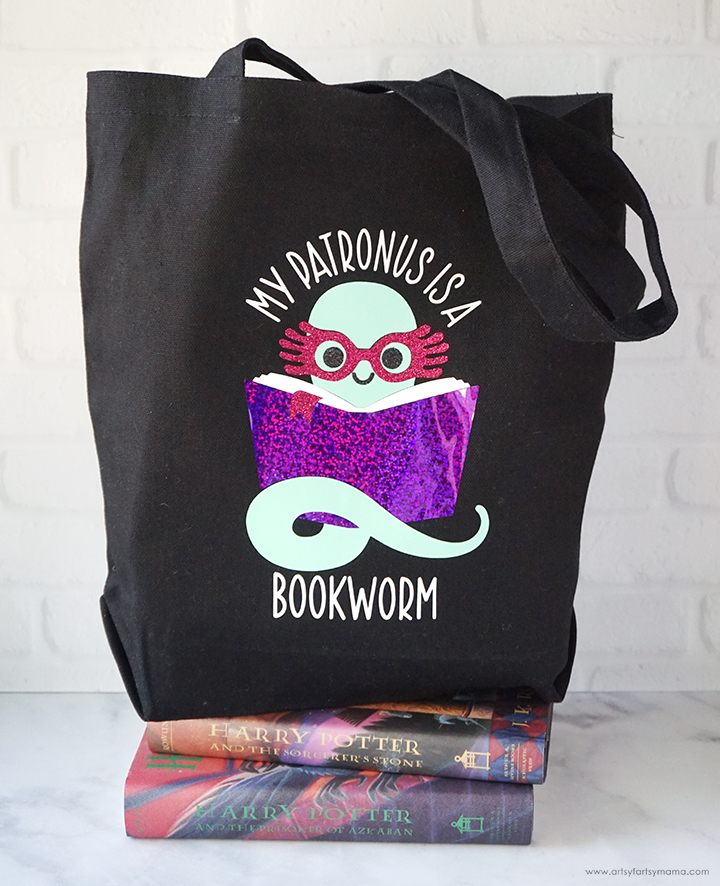
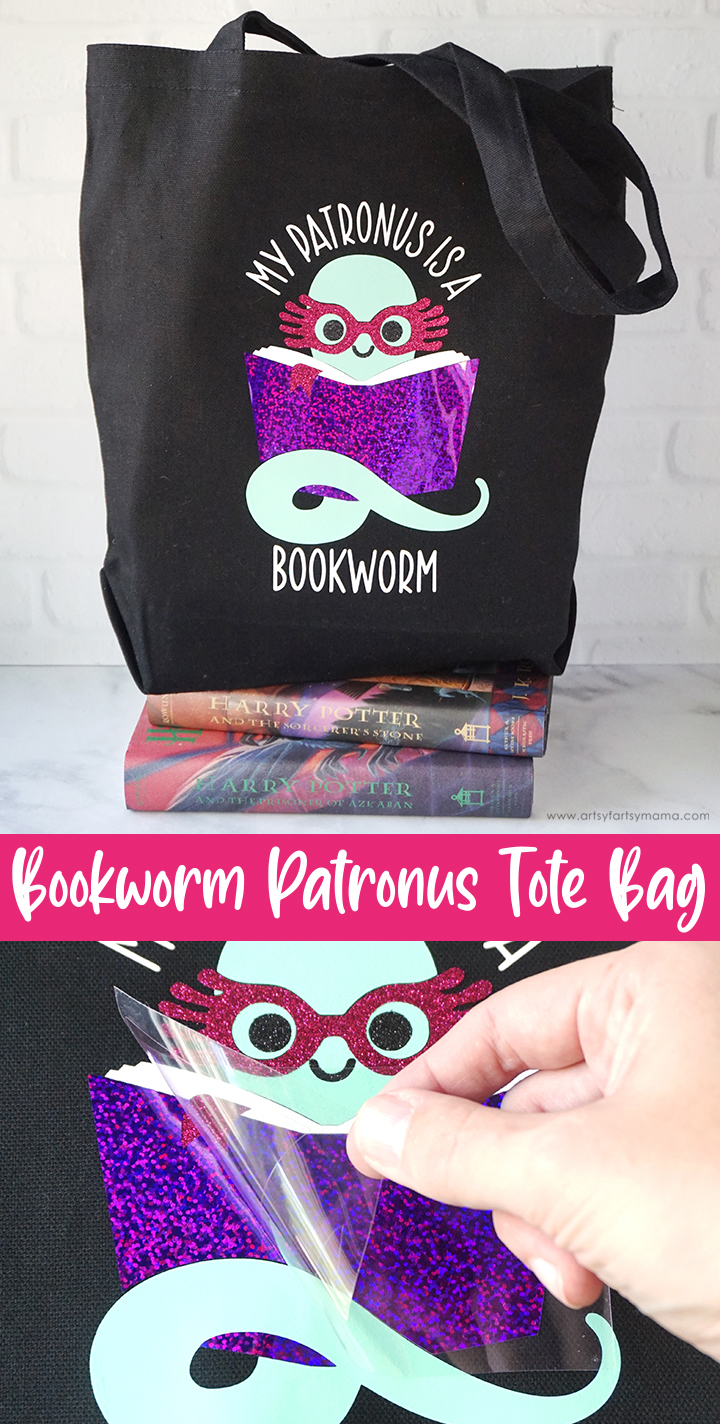
Use colorful HTV to make your own magical Bookworm Patronus Tote Bag!
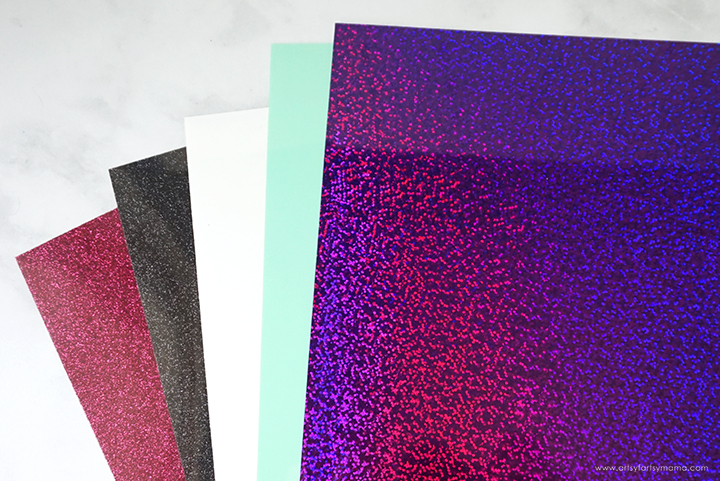
To make your own Bookworm Patronus Tote Bag, you will need these supplies:
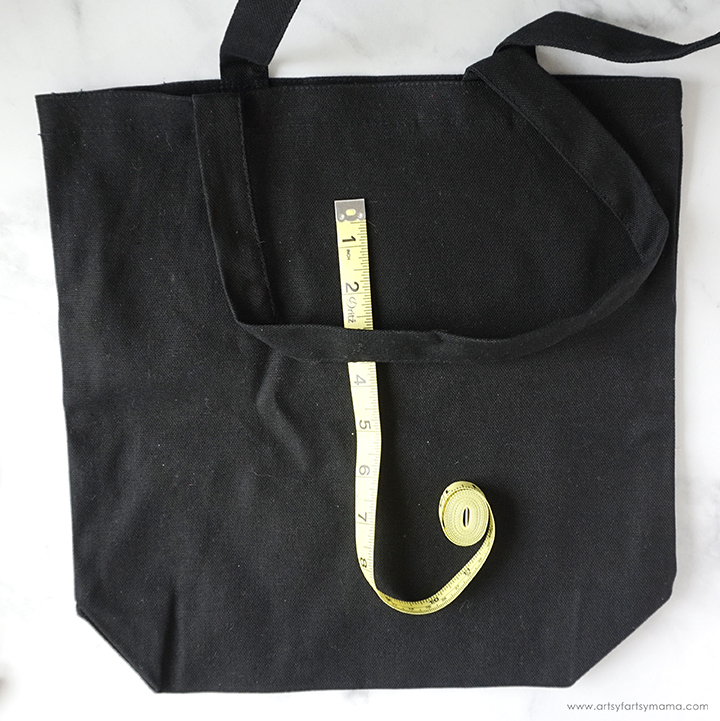
Lay the tote bag down flat and use a measuring tape to determine how large the design needs to be to fit on the front of the bag.
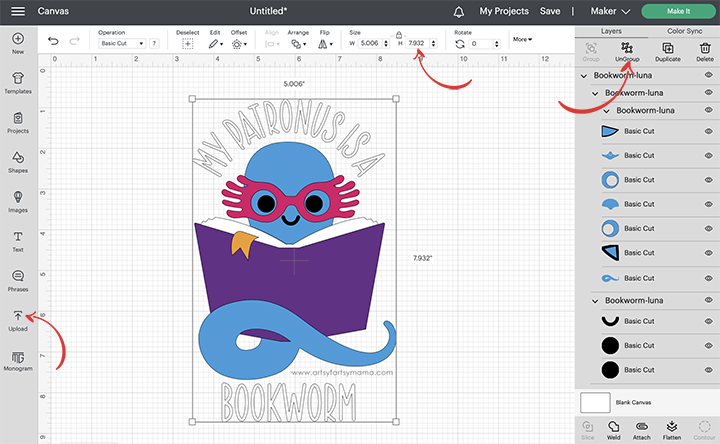
Upload the "Bookworm Patronus" cut file into Design Space by clicking on the Upload icon in the menu on the left side of the screen. Size the image to fit your tote using the measurement you took. Next, select the whole image and click "Ungroup" at the top of the right-side menu.
*Here's a great tutorial on how to upload your own images into Cricut Design Space.
*Here's a great tutorial on how to upload your own images into Cricut Design Space.
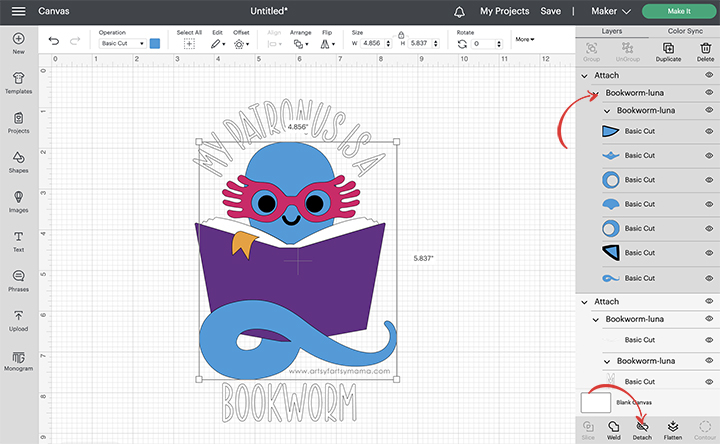
Select the pieces of the image that are all the same color, and click "Attach" at the bottom of the menu. Repeat this process for all of the different pieces of the design. If you don't attach them, all of the parts of the design will re-arrange themselves to fit on the mat instead of keeping their place on the design.
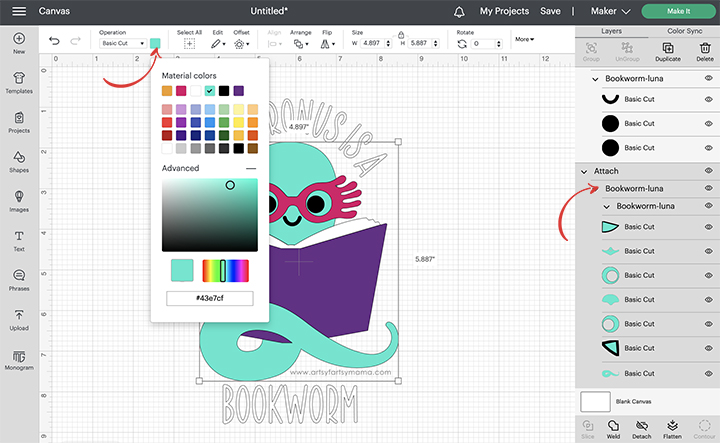
To change colors of the design, select the different groups and then click the color box icon in the top menu bar. From there, you can choose from a rainbow of colors, or use a custom color by clicking the "Advanced" option.
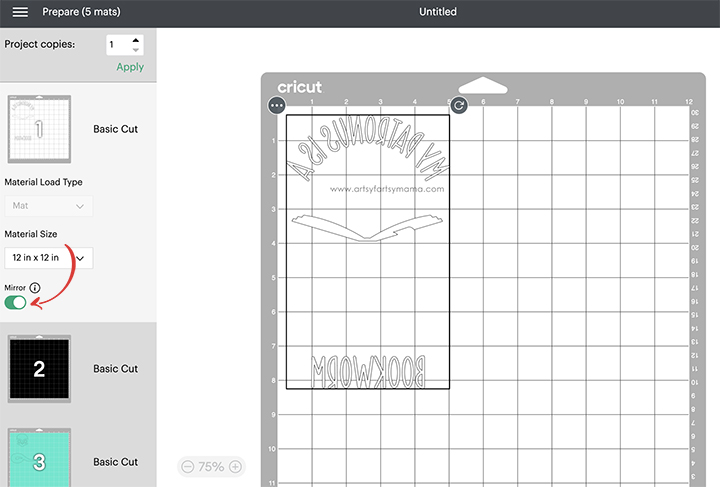
Before cutting the HTV, make sure to mirror your images! If you don't, your design will be backwards when you put it on the shirt. To do this, select each mat thumbnail in Design Space before cutting, and click the "Mirror" toggle to reverse the image.
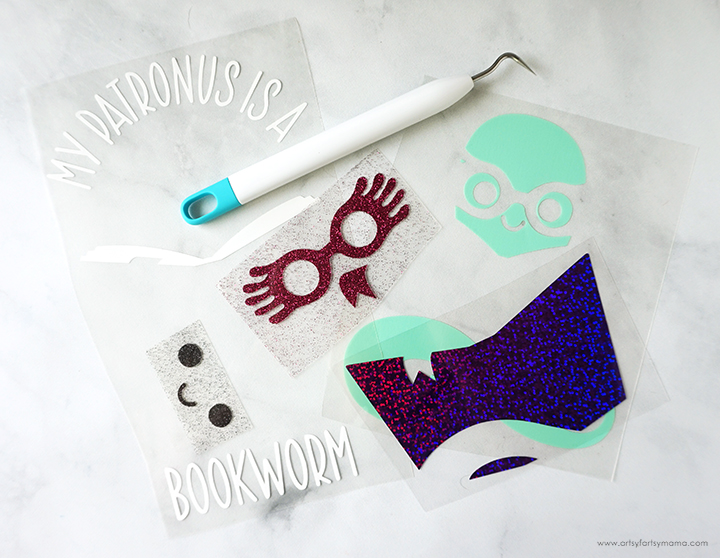
"Weed" the excess HTV by removing all of the parts that don't belong in the design. I usually peel away the outer edges first (starting at the corner), and then work my way around the design. Then I use weeding tools to help remove the smaller pieces of the design, like the insides of the letters.
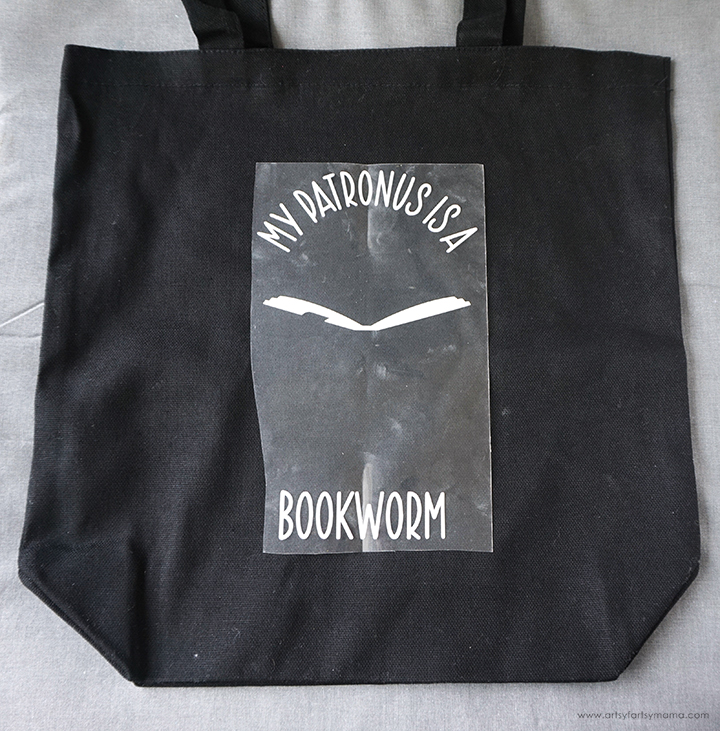
Place the tote on the EasyPress Mat. Fold the tote in half and press it with the EasyPress to make a crease. Next, fold the piece of HTV with the wording on it in half vertically and make a crease at the top and bottom of the carrier sheet. Line the crease in tote with the crease in the carrier sheet up. This is a simple trick to ensure that the vinyl is aligned in the center of your project!
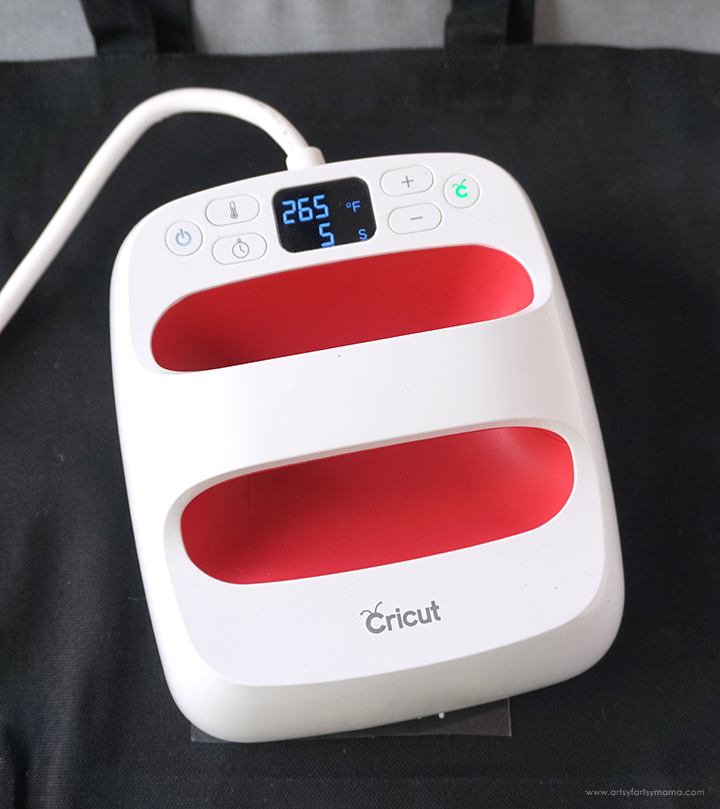
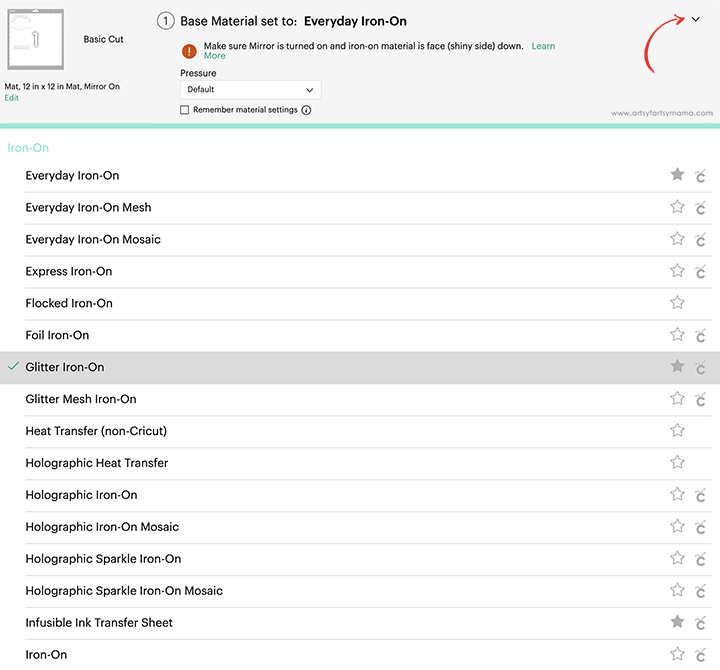
The Turbo HTV is actually really cool - it looks and feels like a typical iron-on HTV, but it uses a lower temperature and only need 5 SECONDS of pressing time!! Turn the EasyPress on and adjust the heat and time setting. Once the light turns green and the machine beeps, it's ready to use.
Set the EasyPress over the vinyl and press the green "C" button. Hold firmly in place while the timer counts down. Turn the tote over and press the EasyPress firmly again for 15 seconds. Let the vinyl cool down to warm/luke warm to the touch before removing the carrier sheet.
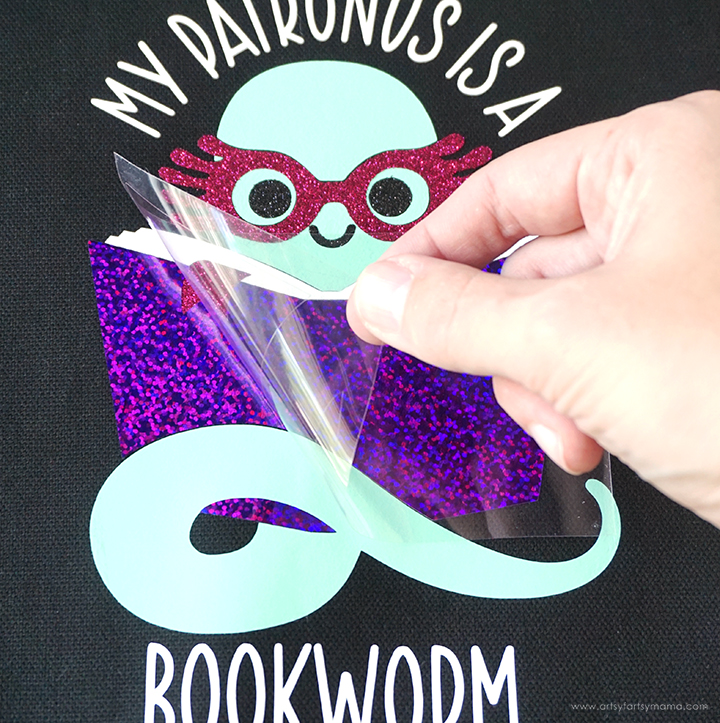
Place another piece of HTV onto the tote, one at a time, and match the pieces up like a puzzle. Cover the vinyl with a protective sheet to prevent scorching the vinyl that has already been pressed onto the tote. Refer to the pressing directions for each different type of vinyl for best results.
Once the last carrier sheet has been removed, the Bookworm Patronus Tote Bag is ready to use! My daughter immediately took a trip to the library to fill this bag up with a bunch of new books to read, and she got so many compliments on the bag while we were there.
The Bookworm Patronus cut file comes with multiple file types, so you can cut the design with any vinyl cutting machine. I hope you enjoy using this *magical* cut file, and I would absolutely LOVE to see your creations!! Tag me on Instagram and Facebook, and leave a comment/photo on the project pin on Pinterest!
Don't forget to Pin, Like, and Share!


Adorable! Thanks for sharing at Vintage Charm!
ReplyDeleteSuper cute! I know several adults and young people alike who would enjoy this bag as a gift. Thanks for sharing with us at Creatively Crafty #ccbg :)
ReplyDeletewhat app/website do you use for the cricut machine
ReplyDelete