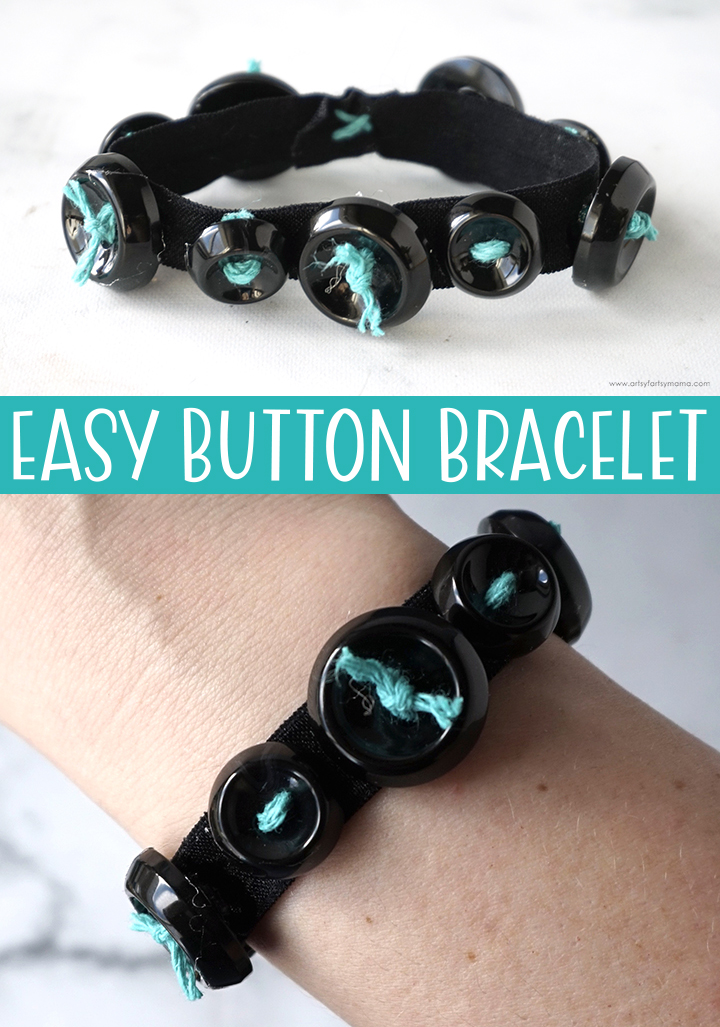
Use funky, fun, and favorite buttons to create an Easy Button Bracelet!
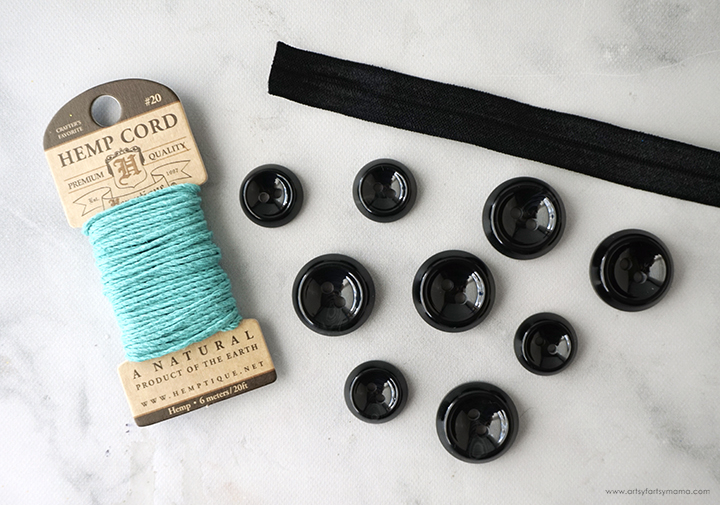
To make your own Easy Button Bracelet, you will need these supplies:
Wrap some fold over elastic around your wrist and cut it an extra inch longer. Select your favorite style of black buttons, or use an assortment of styles. I really liked these chunky black buttons that came in two sizes.
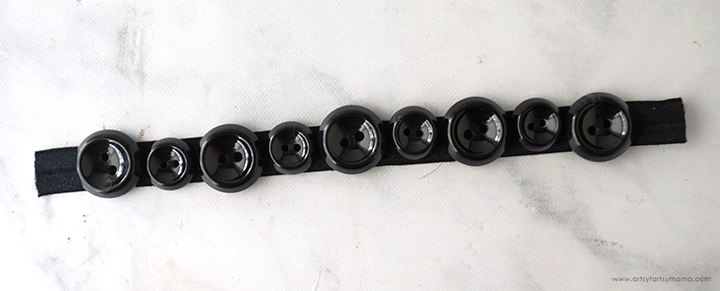
Lay the piece of elastic down, and then arrange the buttons on top of the elastic to get an idea of what you want your bracelet to look like and to see how many buttons you will actually need.
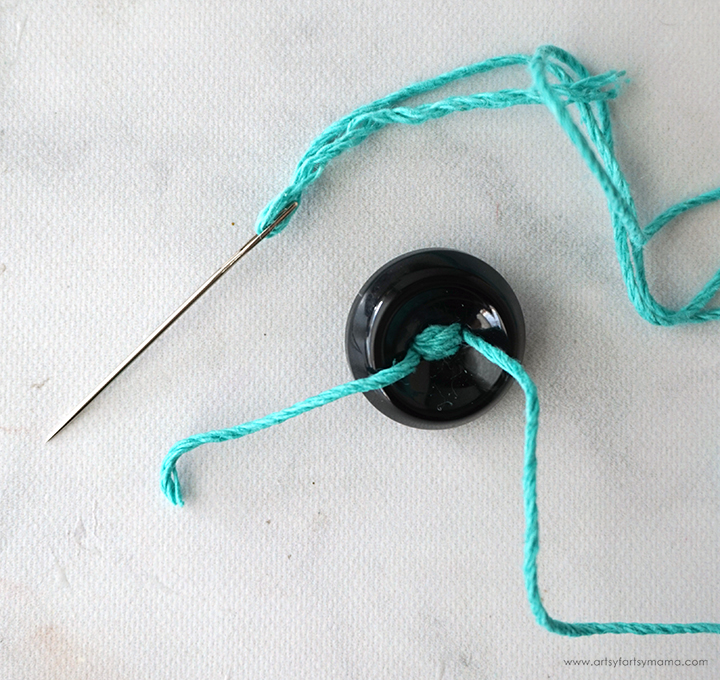
Choose a color of hemp cord or embroidery floss that compliments the buttons. Thread the needle with the floss or cord, and wind it through the button holes a couple of times. Leave a length at the beginning and end so that you can tie a knot.

I tied the cord into knots on the front side of the larger buttons, and placed the knot on the back for the smaller buttons. Trim the cord ends on each of the buttons so that they are fairly short.

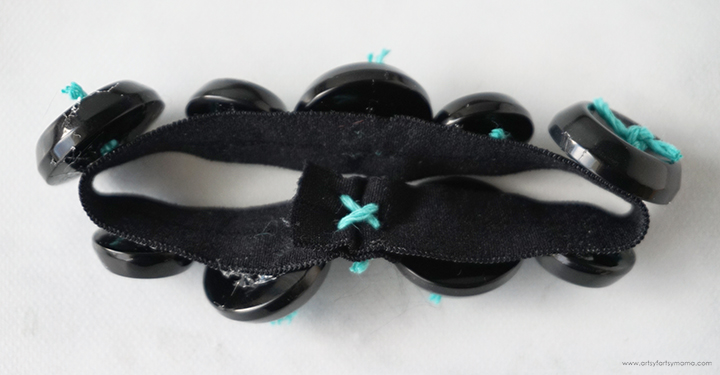
Ideally, you can sew the buttons right onto the elastic. However, I was making this for my daughter who has some sensory issues and doesn't like to feel the stitches rubbing on her wrist. To solve this problem, I simply glued the buttons onto the elastic instead.
Add a drop of adhesive to the back of a button and place it onto the elastic. Start in the center of the elastic and work your way out. Each end should have about 1/2" uncovered. Refer to adhesive packaging for drying time, but I would recommend letting the bracelet sit flat for 24 hours to let it dry completely.
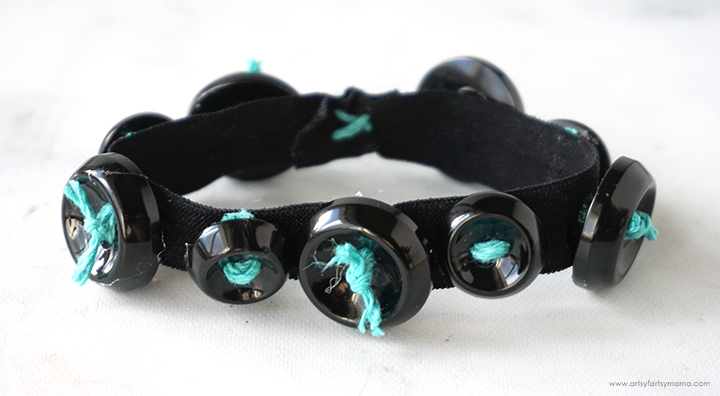
Once the adhesive is dried, bring the ends around and attach them together. You can do this using adhesive, or make a few stitches using hemp cord or embroidery floss.
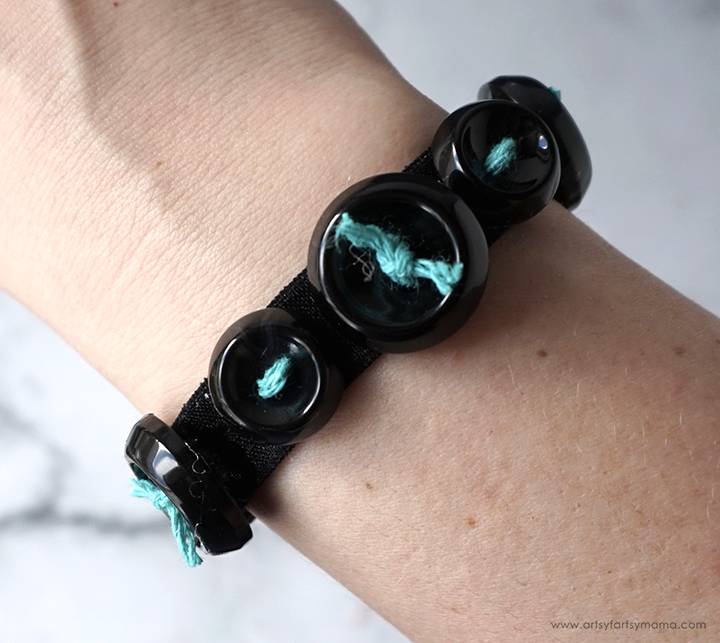
Now that the bracelet is complete, it's ready to wear or to give as a gift to friends. This bracelet is a lot of fun to make, and is such a simple project for tweens and teens. Kids can also make button bracelets, but will need some assistance from an adult.
I would love to hear if you decide to try this project out for yourself. As always, I would love to see your creations! Share yours on Instagram, Facebook, or leave a comment/photo on the project pin on Pinterest! #AFMCrafts
More Button Craft Inspiration
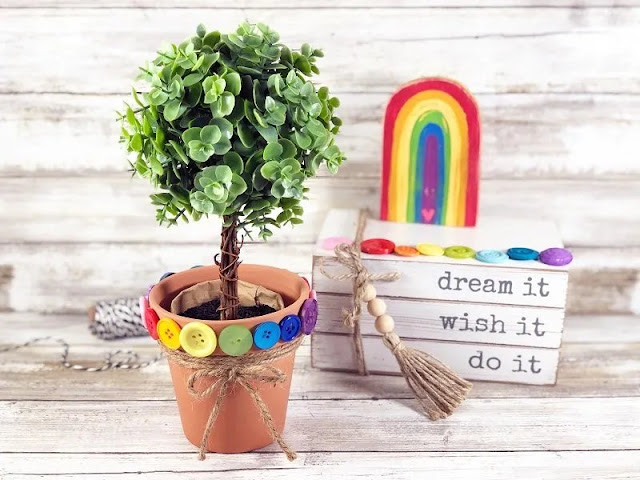
Beth from Creatively Beth made this adorable Rainbow Button Clay Pot using colorful buttons. I love how simple the project is, but makes such a statement!
Don't forget to Pin, Like, and Share!